この記事の目的
- Next.jsでブログを作成したときの備忘録
- Next.jsでブログにスライダー機能を追加した際の備忘録
概要
- swiperについて
- swiper使い方
- 【補足】基本的なswiperのオプション
- 【番外】ブログように編集
Swiperについて
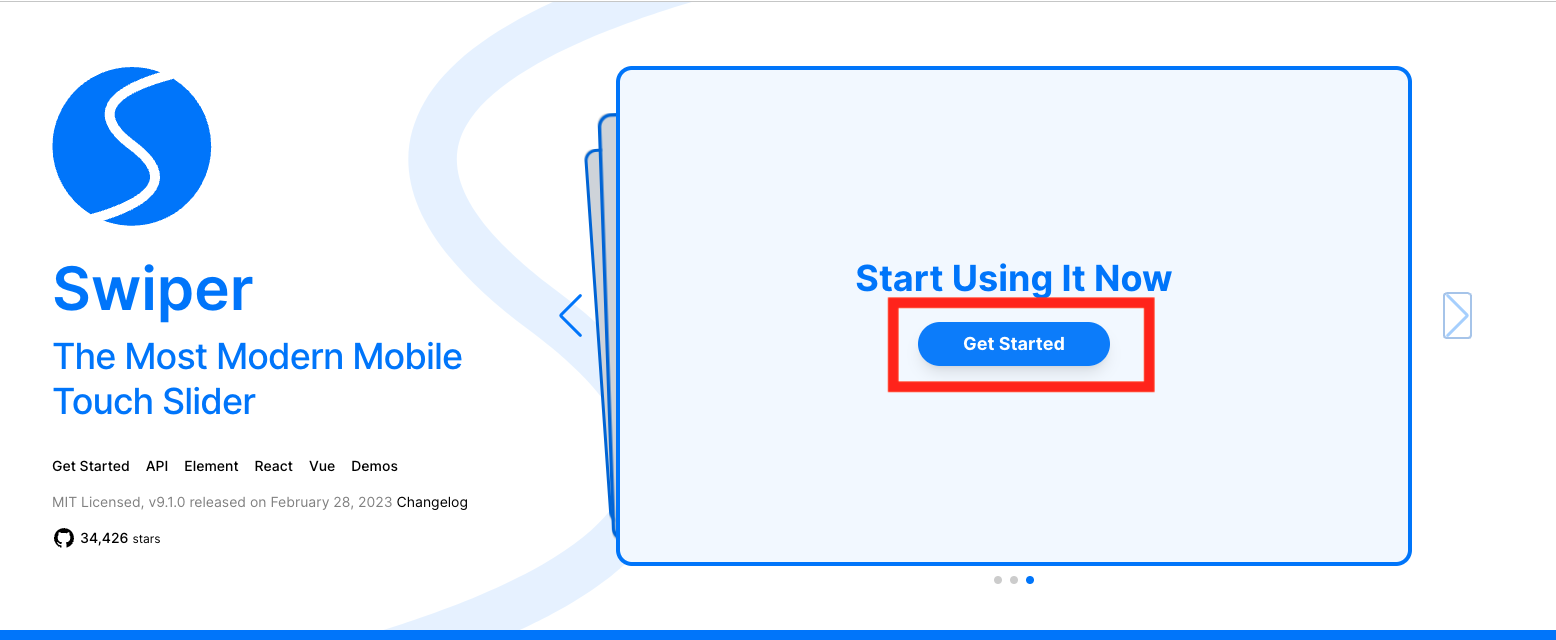
Swiperはスライダーがカンタンに作れるJavaScriptライブラリのことになります。
インストールして少しコードを追加するだけで簡単にスライダー機能を追加することができます
Swiperの公式サイト
swiper使い方
①swiperライブラリインストール
npm install swiper
こちらのコマンドは公式サイトのTOPから「Get Started」をクリックすると出てきます
②swiperをインポート
スライダーを使用するファイルでswiperをインポート
// Import Swiper React components
import { Swiper, SwiperSlide } from 'swiper/react';
// Import Swiper styles
import 'swiper/css';
公式サイトのTOPから「React」をクリックすると上記のコードが出てきます
Swiperの公式サイトReact
③swiperのコンポーネントを作成
    <Swiper
      spaceBetween={50}
      slidesPerView={3}
      onSlideChange={() => console.log('slide change')}
      onSwiper={(swiper) => console.log(swiper)}
    >
      <SwiperSlide>Slide 1</SwiperSlide>
      <SwiperSlide>Slide 2</SwiperSlide>
      <SwiperSlide>Slide 3</SwiperSlide>
      <SwiperSlide>Slide 4</SwiperSlide>
      ...
    </Swiper>
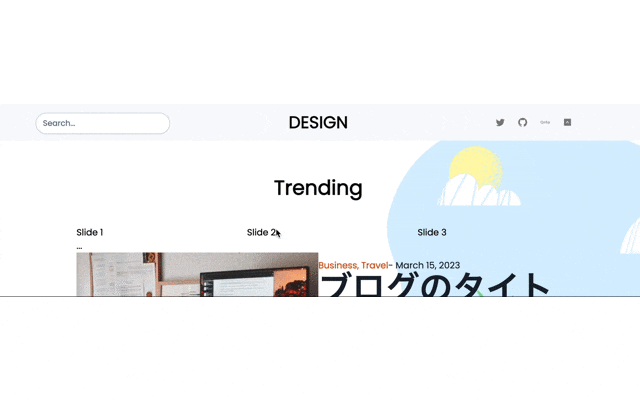
一旦追加しただけでも下記のようにスライダーが使えているのが確認できます
テスト用に追加したコードクリックして表示
// Import Swiper React components
import { Swiper, SwiperSlide } from 'swiper/react';
// Import Swiper styles
import 'swiper/css';

export const Section1 = () => {
    return (
        <section className="py-16" style={bg}>
            <div className="container mx-auto md:px-20">
                <h1 className="font-bold text-4xl pb-12 text-center">Trending</h1>
                <Swiper
                    spaceBetween={50}
                    slidesPerView={3}
                    onSlideChange={() => console.log('slide change')}
                    onSwiper={(swiper) => console.log(swiper)}
                >
                <SwiperSlide>Slide 1</SwiperSlide>
                <SwiperSlide>Slide 2</SwiperSlide>
                <SwiperSlide>Slide 3</SwiperSlide>
                <SwiperSlide>Slide 4</SwiperSlide>
                ...
                </Swiper>
            </div>
        </section>
    );
}
【補足】基本的なswiperのオプション
| オプション名 | 入力値 | 初期値 | 説明 |
|---|---|---|---|
| centeredSlides | boolean | false | アクティブなスライドを中央に表示にするかの指定 |
| slidesPerView | number | 1 | 画面に同時に表示されるスライド数を指定 |
| spaceBetween | number | 0 | スライド間の遷移距離を指定(px) |
| speed | number | 300 | スライド間の遷移時間を指定(ms) |
| loop | boolean | true | スライドをループするかの指定 |
| autoplay | delay: number | 3000 | スライド間の自動遷移時間を指定(ms) |
Swiperの公式サイトにそのほかのオプションも記載してあるので参考に!
【番外】ブログように編集
ブログように記事がスライドするように編集していきます。
ここでは確認ように2秒ごとに自動でスライドし最後までスライドが終わってもまた最初のブログに戻るようにループさせて行こうと思います。
ブログように記事がスライドするように編集したコードクリックして表示
import Image from "next/image";
import Link from "next/link";
import { Author } from './_child/author';
// Import Swiper React components
import { Swiper, SwiperSlide } from 'swiper/react';
import SwiperCore, { Autoplay } from 'swiper';
import 'swiper/css';

const images = [
    '/images/img1.jpg',
    '/images/img2.jpg',
    '/images/img3.png',
    '/images/articles/img1.jpg',
    '/images/articles/img2.jpg',
];

export const Section1 = () => {
    // インポートしたSwiperオプションを呼び出し
    SwiperCore.use([Autoplay]);
    const bg = {
        backgroundImage: "url('/images/banner.png')",
        backgroundRepeat: "no-repeat",
        backgroundPosition: "right"
    }

    return (
        <section className="py-16" style={bg}>
            <div className="container mx-auto md:px-20">
                <h1 className="font-bold text-4xl pb-12 text-center">Trending</h1>
                <Swiper
                    slidesPerView={1}
                    // ループさせる
                    loop={true}
                    // 2秒ごとにスライドさせる
                    autoplay={{
                        delay:2000
                    }}
                >
                {/* 一旦確認として画像の異なるブログを表示してみる */}
                {images.map((src, index) => (
                    <SwiperSlide key={index}>
                        <Slide src={src} />
                    </SwiperSlide>
                ))}
                </Swiper>

            </div>
        </section>
    );
}

type SlideProps = {
    src: string;
}

function Slide({ src }: SlideProps){
    return (
        <div className="grid md:grid-cols-2">
            <div className="image">
                <Link href={"/"}>
                    <Image src={ src } width={640} height={853} alt="PC Image" />
                </Link>
            </div>
            <div className="info flex justify-center flex-col">
                <div className="cat">
                    <Link href={"/"}>
                        <span className="text-orange-600 hover:text-orange-800">Business, Travel</span>
                    </Link>
                    <Link href={"/"}>
                        <span className="text-gray-800 hover:text-gray-600">- March 15, 2023</span>
                    </Link>
                </div>
                <div className="title">
                    <Link href={"/"}>
                        <span className="text-3xl md:text-6xl font-bold text-gray-800 hover:text-gray-600">ブログのタイトル</span>
                    </Link>
                </div>
                <p className="text-gray-500 py-3">
                    ブログ本文のテキストブログ本文のテキストブログ本文のテキストブログ本文のテキストブログ本文のテキストブログ本文のテキスト
                </p>
                <Author />
            </div>
        </div>
    )
}
側だけ作成しているのでブログの内容は同じですがスライダーはいい感じに動きました
