はじめに
現在、書籍を使ってSWiftの勉強をしています。
備忘録として記事を書きます。
Labelを配置
①project navigatorからファイルの一覧表示
②Main.storyboardを選択
③View Controller Scene▼
View Controller▼
Viewを選択
④Libraryをクリック
Library画面がポップアップで表示される。
⑤検索窓にLabelと入力する

⑥検索されたLabelをstoryboardの中央にドラッグ&ドロップ
オートレイアウトを設定
①配置したLabelをクリック
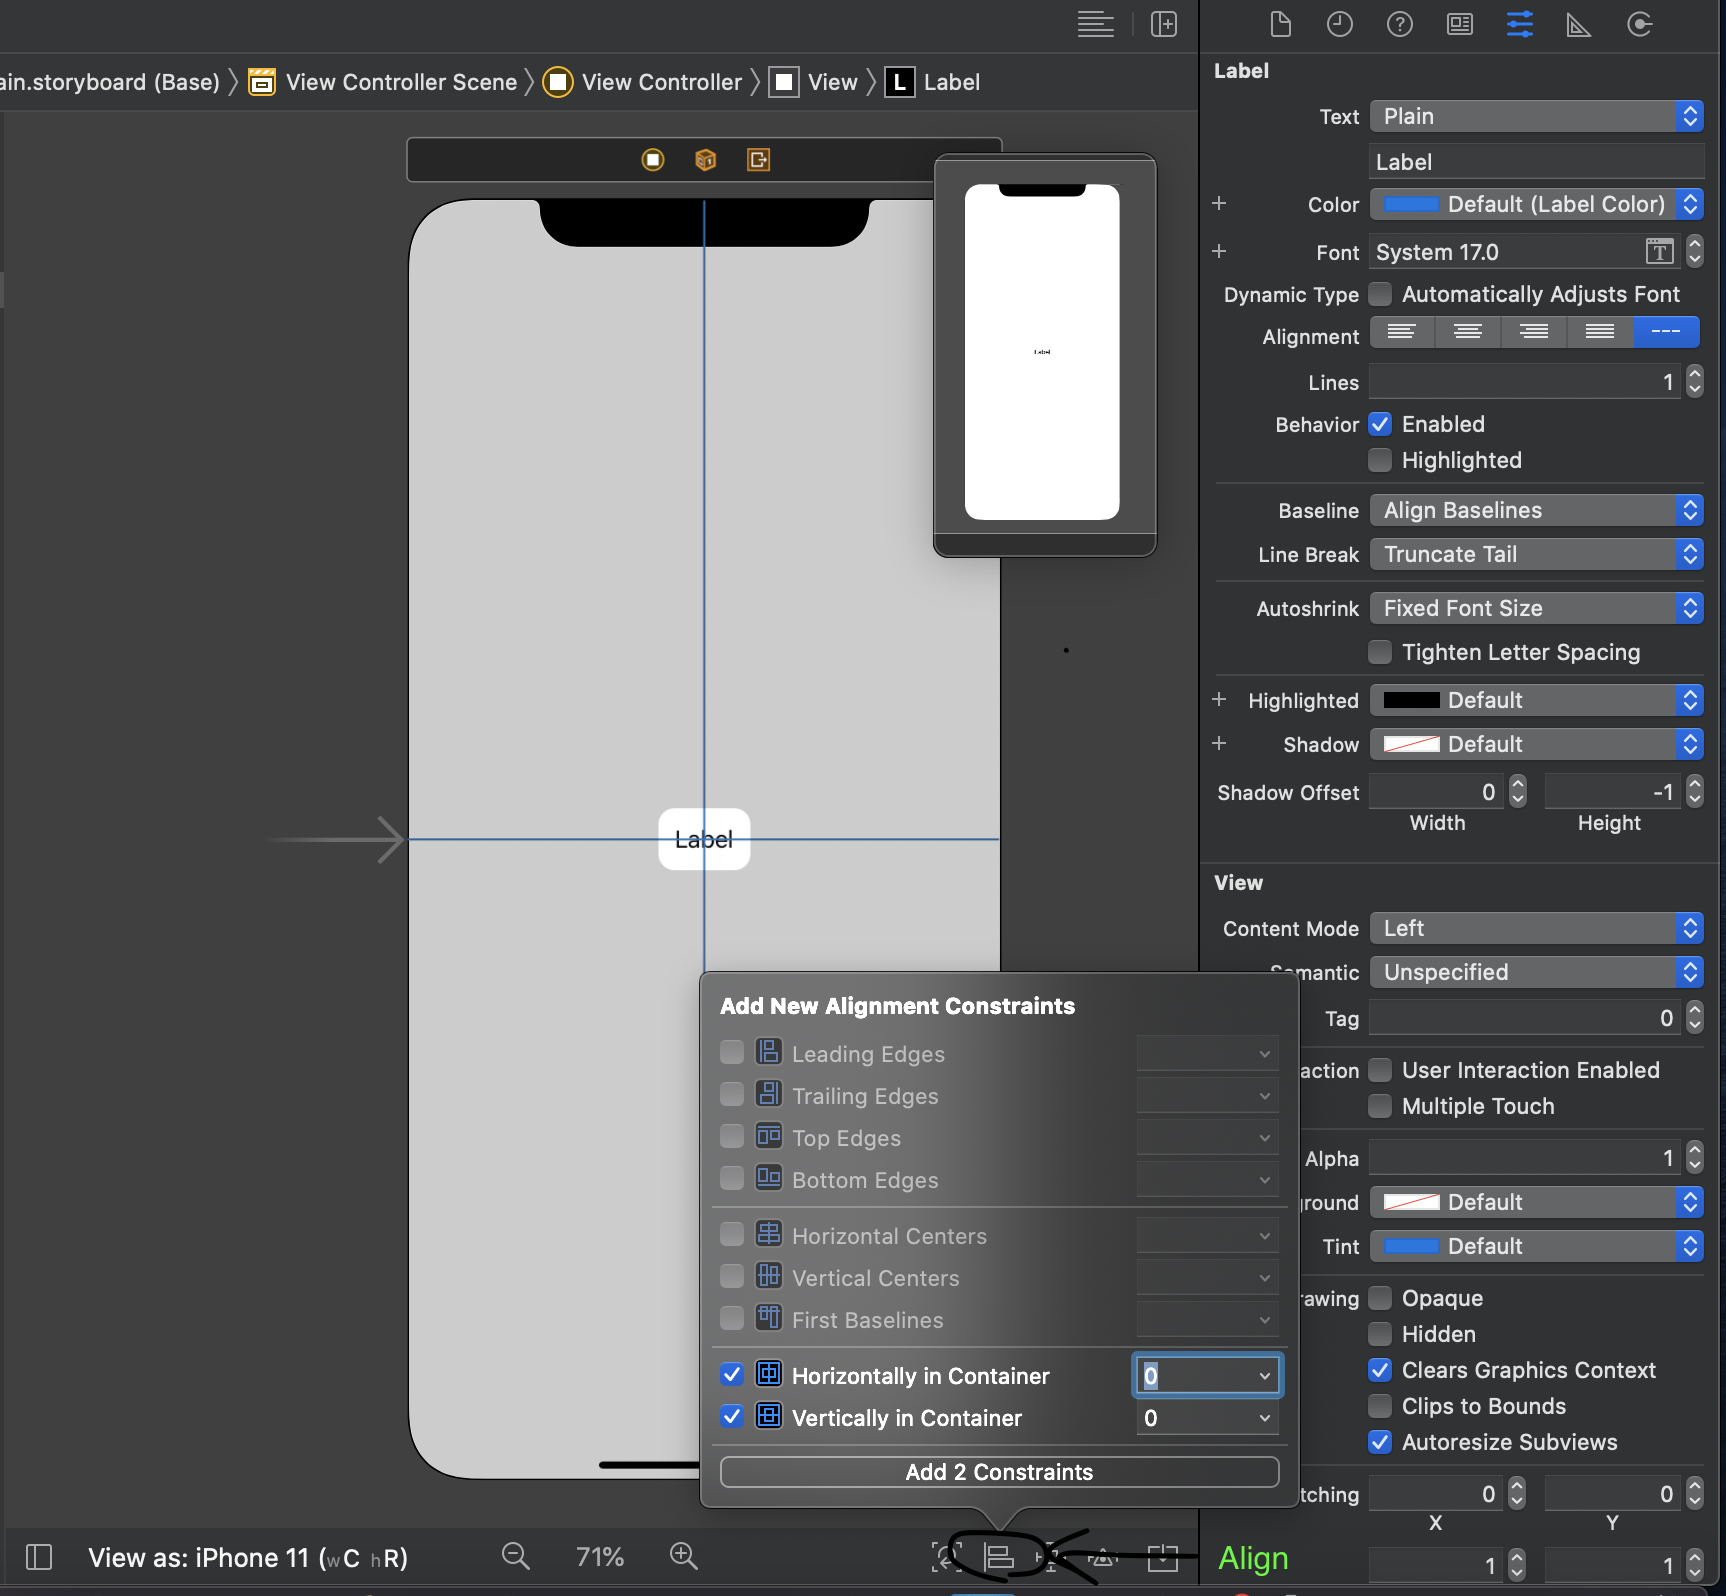
②Xcode右下にあるAlignをクリック
③[Horizontally in Container]と[Vertically in Container]にチェックを入れる。
[Horizontally in Container]で画面中央から水平方向の距離を入力。
⇨[0]であれば、左右の中央に配置される。
[Vertically in Container]で画面中央から垂直方向の距離を入力
⇨[0]であれば、上下の中央に配置される。

④[Add 2 constraints]をクリックして、制約を反映。
Labelとプログラムの関連付け
①Main.storyboardを選択、エディタの表示
②Labelからエディタへドラッグ&ドロップ
⇨Labelの上にマウスポインタを置いた状態で、「control」キー+クリックを押しながら、右方向へドラッグ(引っ張ると青いラインが出る)。エディタの最後にある中括弧のすぐ上までラインを伸ばす。
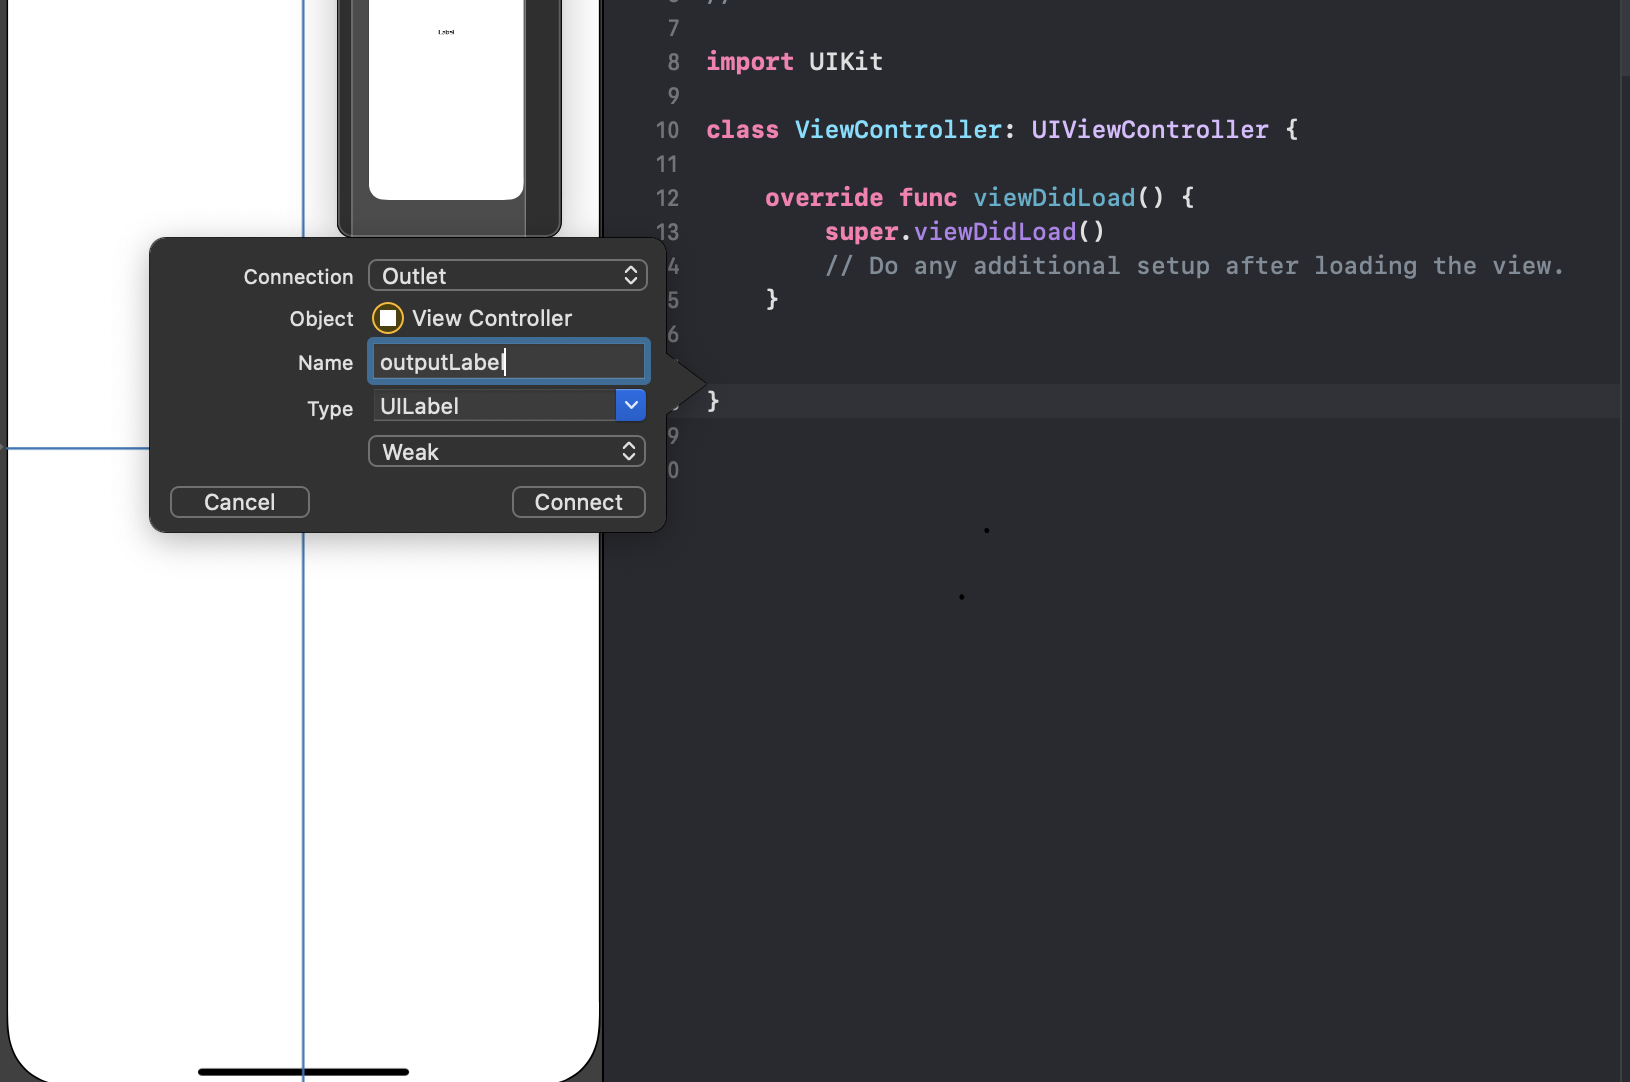
③関連付けの設定を行うためのダイアログが表示される。この画面にて、Labelとプログラムをどのような名前で関連付けるかを設定。

④[connect]をクリックすると↓のようにコードが追加されます。これがLabelとの関連付けを示すコードになる。
@IBOutlet weak var outputLabel: UILabel!
Labelに文字をセットするコードを書く
class ViewController: UIViewController {

    override func viewDidLoad() {
        super.viewDidLoad()
        // Do any additional setup after loading the view.
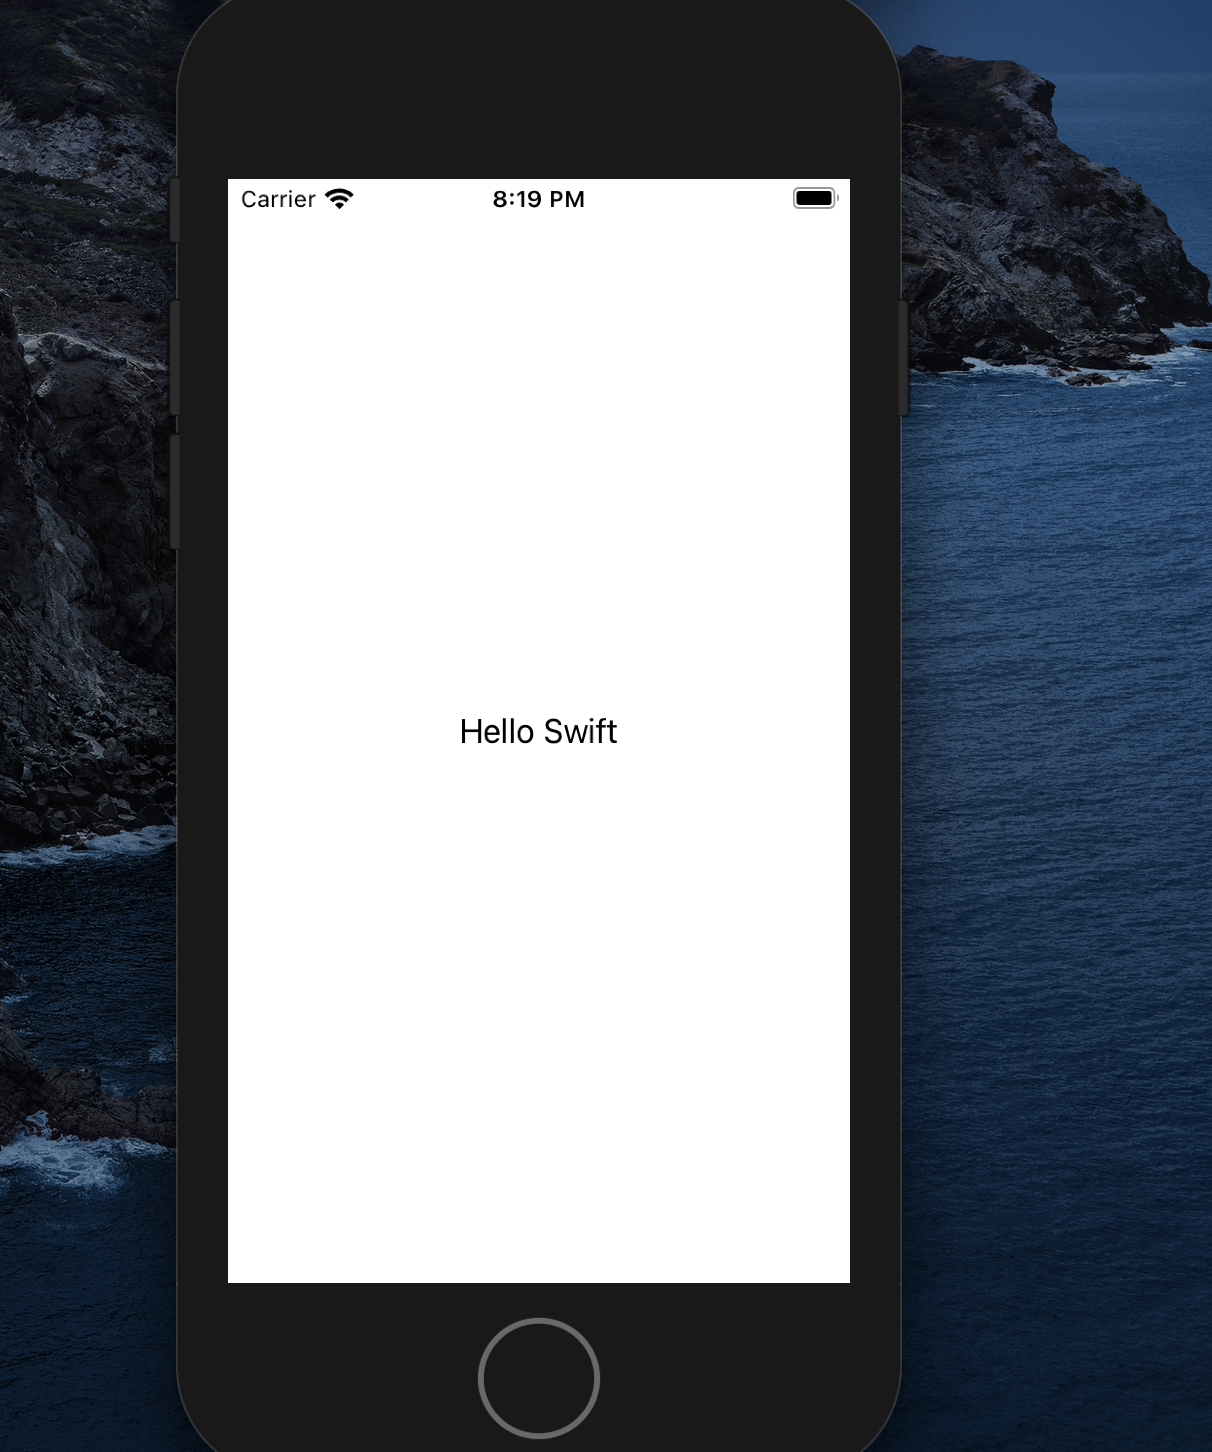
        outputLabel.text = "Hello Swift!"
    }

    @IBOutlet weak var outputLabel: UILabel!
}

以上です。
