はじめに
このページはInputSelectコンポーネントの使い方の説明をしています。コンボボックスなどは使用する頻度が高い部品だと思いますが、情報を探すのに苦労した記憶があります。 InputCheckboxを使う場合もほぼ同じ考えで使えます。
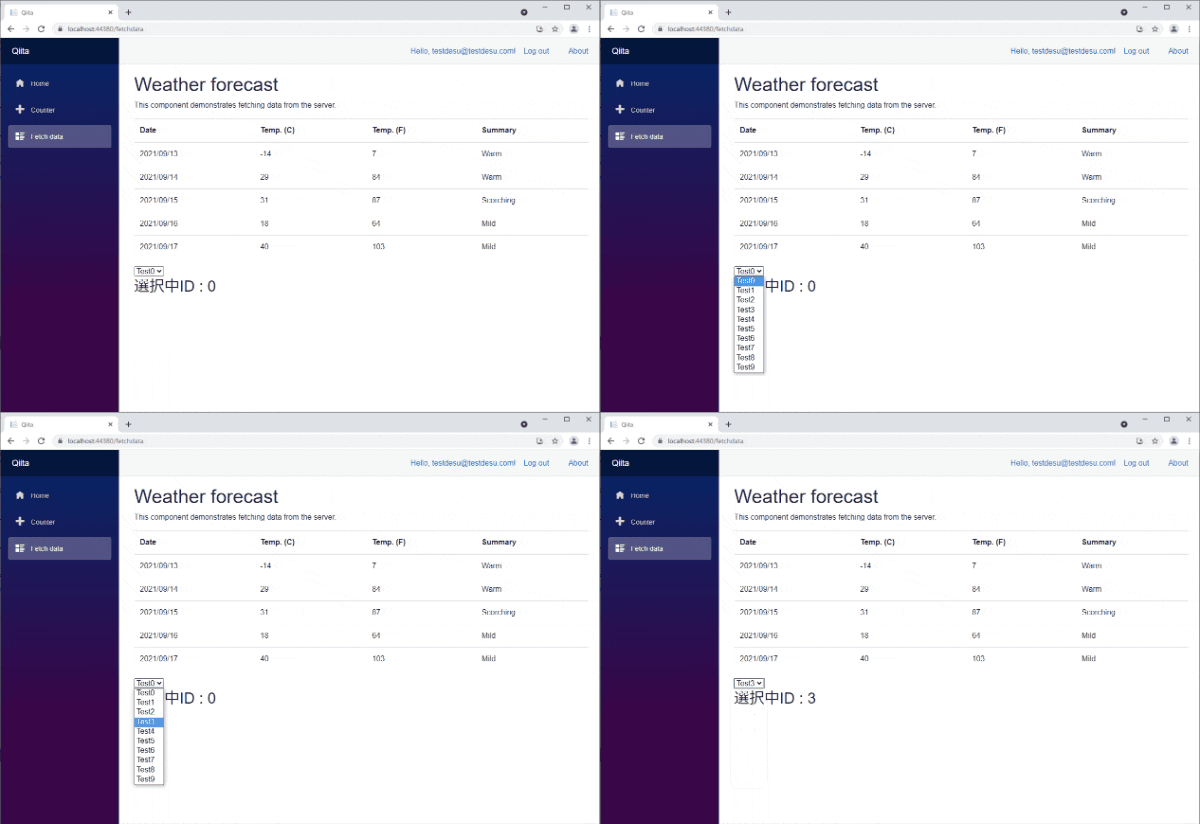
バインドして使うだけなら簡単だが、これだと変更イベントをキャッチ出来ない。
以下のやり方の場合は、選択した内容が即時にバインドしている変数に反映されるが、例えば変更したタイミングで別の処理を行う。など、変更のイベントを取得しようとしても出来ない。 @onchangeを使えば出来そうに感じるが、InputSelectやInputCheckboxの場合は機能しない。

razorコンポーネント側のコード
@page "/fetchdata"
@using Microsoft.AspNetCore.Authorization
@using Microsoft.AspNetCore.Components.WebAssembly.Authentication
@using Qiita.Shared
@attribute [Authorize]
@inherits FetchDataModel

<h1>Weather forecast</h1>

<p>This component demonstrates fetching data from the server.</p>

@if (forecasts == null)
{
    <p><em>Loading...</em></p>
}
else
{
    <table class="table">
        <thead>
            <tr>
                <th>Date</th>
                <th>Temp. (C)</th>
                <th>Temp. (F)</th>
                <th>Summary</th>
            </tr>
        </thead>
        <tbody>
            @foreach (var forecast in forecasts)
            {
                <tr>
                    <td>@forecast.Date.ToShortDateString()</td>
                    <td>@forecast.TemperatureC</td>
                    <td>@forecast.TemperatureF</td>
                    <td>@forecast.Summary</td>
                </tr>
            }
        </tbody>
    </table>

    <EditForm Model="@this.InputSelectModels">

        <InputSelect @bind-Value="InputSelection">
            @foreach (var item in this.InputSelectModels)
            {
                <option value="@item.Id">@item.Name</option>
            }
        </InputSelect>

    </EditForm>

    <h2>選択中ID :  @InputSelection</h2>

}
C#側コード
using Microsoft.AspNetCore.Components;
using Microsoft.AspNetCore.Components.WebAssembly.Authentication;
using Qiita.Shared;
using Qiita.Shared.Models;
using System;
using System.Collections.Generic;
using System.Linq;
using System.Net.Http;
using System.Net.Http.Json;
using System.Threading.Tasks;

namespace Qiita.Client.Pages
{
    public class FetchDataModel : ComponentBase
    {
        [Inject]
        protected HttpClient Http { get; set; }
        protected WeatherForecast[] forecasts;

        protected List<InputSelectModel> InputSelectModels { get; set; }
        protected int InputSelection { get; set; }

        protected override async Task OnInitializedAsync()
        {
            try
            {
                forecasts = await Http.GetFromJsonAsync<WeatherForecast[]>("WeatherForecast");

                this.InputSelectModels = new List<InputSelectModel>();
                for(var i = 0; i < 10; i++)
                {
                    this.InputSelectModels.Add(new InputSelectModel() { Id = i,Name = $"Test{i}"});
                }
            }
            catch (AccessTokenNotAvailableException exception)
            {
                exception.Redirect();
            }
        }
    }
}
InputSelectの変更イベントの取得方法
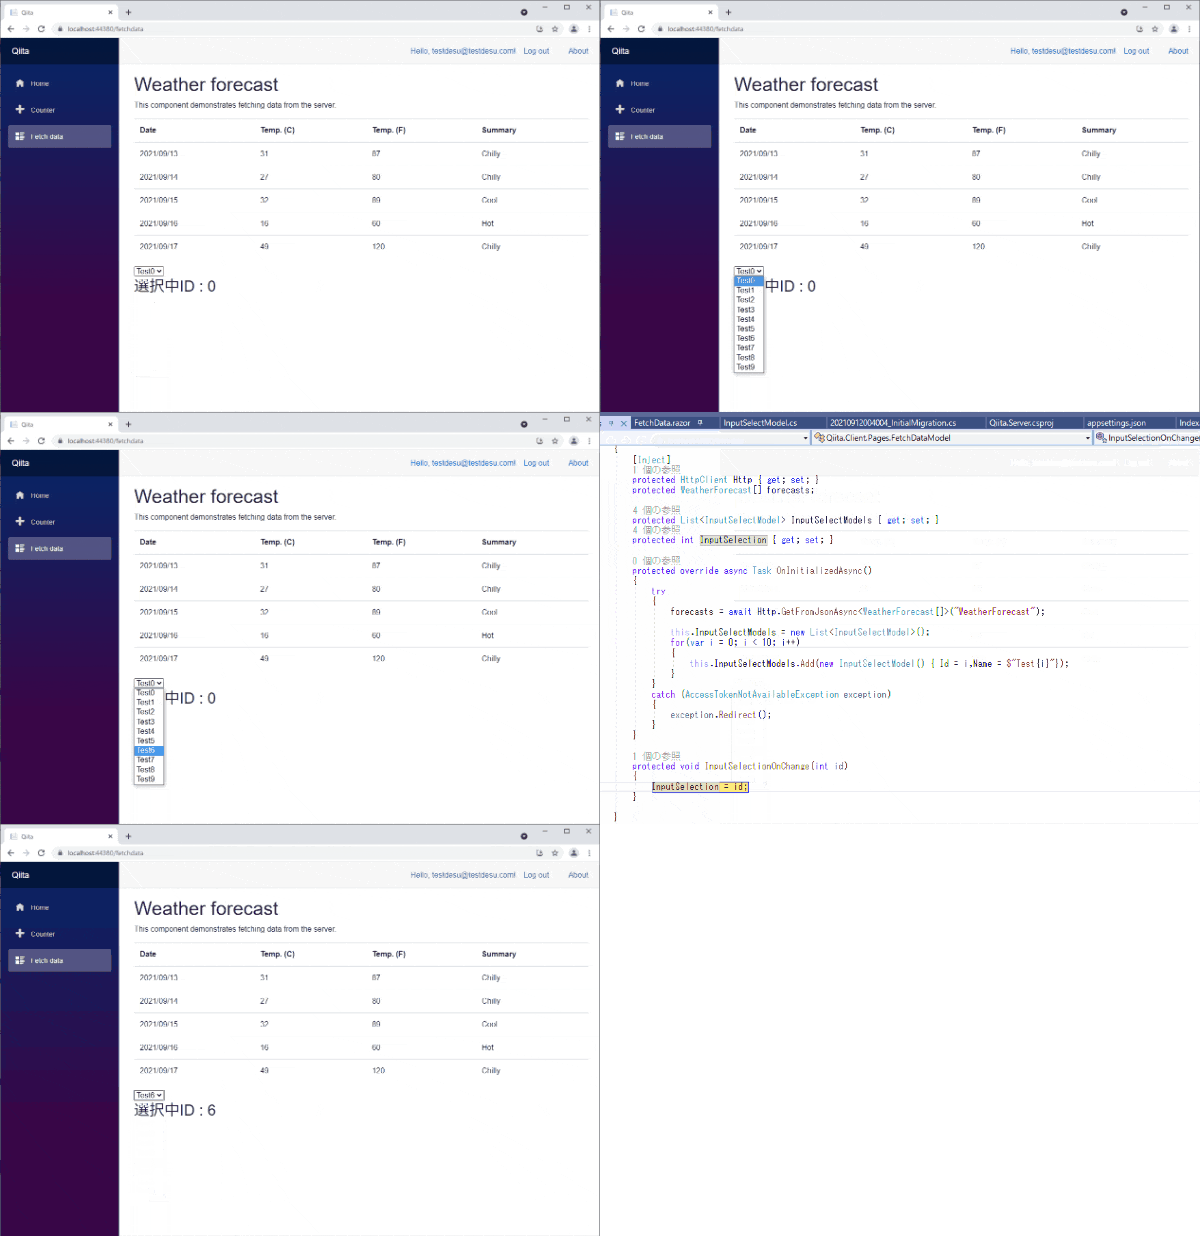
以下のようValue ValueExpression ValueChangedを実装すると変更イベントを取得出来るようになる。 この時バインドしようとしている変数の値は変わらないため入れる必要がある。

razorコンポーネント側のコード
    <EditForm Model="@this.InputSelectModels">

        <InputSelect Value="@InputSelection" ValueExpression="@(() => InputSelection)" ValueChanged="@((int id) => InputSelectionOnChange(id))">
            @foreach (var item in this.InputSelectModels)
            {
                <option value="@item.Id">@item.Name</option>
            }
        </InputSelect>

    </EditForm>
C#側追加コード
        protected void InputSelectionOnChange(int id)
        {
            InputSelection = id;
        }
[Blazor関連のリンク] [Blazor WebAssembly プロジェクト作成(認証あり)](https://qiita.com/pero_88/items/be142d5d0ba92e5c91d0) [Blazor WebAssembly 初期プロジェクト構成の入門](https://qiita.com/pero_88/items/ced1028ad536a43fec1d) [Blazor WebAssembly Postgresを使うまで](https://qiita.com/pero_88/items/23e88a1d2bc3659b9946) [Blazor WebAssembly コードビハインド](https://qiita.com/pero_88/items/be871f4ac63868f048f0) [Blazor WebAssembly InputSelectの使い方](https://qiita.com/pero_88/items/3eddcd1aedf8bbc8441b) [Blazor WebAssembly 部品コンポーネントへ渡した変数とのバインド](https://qiita.com/pero_88/items/f5d70b41337ca6d08dd1) [Asp.net core Identity 翻訳開始まで](https://qiita.com/pero_88/items/44a66b7ac217f674a7f3) [Blazor WebAssembly 使いまわしが利く部品(表)を作る。](https://qiita.com/pero_88/items/5e1e3f68d50d941ee36a)