この記事について
この記事は画像処理のメモ書きです。
あとで同じ処理を探しやすくするためにまとめていきます。
環境
python 3.7.6
使用パッケージ
opencv-python==4.2.0.32
numpy==1.18.1
matplotlib==3.1.3
パッケージのimport
import matplotlib.pyplot as plt
import numpy as np
import cv2
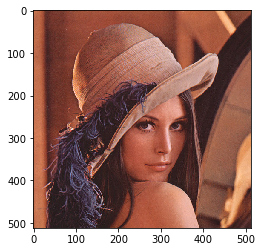
画像の読み込み
サンプル画像はお馴染みのものを使います。

# 画像の読み込み
img = cv2.imread("/home/jovyan/lena.png")

# 色の変換
img = cv2.cvtColor(img, cv2.COLOR_BGR2RGB)

# 画像の表示
plt.imshow(img)
出力結果
画像のサイズ確認
# 画像のサイズを確認
height, width, channels = img.shape[:3]
print(f'縦幅 : {height}')
print(f'横幅 : {width}')
print(f'チャンネル : {channels}')
出力結果
縦幅 : 512
横幅 : 512
チャンネル : 3
グレースケール化
img_gray = cv2.cvtColor(img, cv2.COLOR_BGR2GRAY)
# 画像の表示
plt.imshow(img_gray, 'gray') # 'gray'を指定しないと色が正しく表示されない
出力結果
| 通常時 | 色が異なる時 |
|---|---|
 |
 |
画像のマージン
画像に余白を持たせる
# 余白の幅を含めた画像のサイズを決める
padding_width = width + 100
padding_height = height +  100

# 貼り付け先の画像を作成
base_img = np.ones((padding_height, padding_width, 3), np.uint8)*[255,255,255]

# 位置を指定して画像を貼り付け
base_img[50:height+50, 50: width+50] = img

plt.imshow(base_img)
出力結果

画像を縦に連結
横の長さが同じである必要があります
チャンネル数が同じである必要があります
target_img = [img, img, img]
vertically_conectted_img = cv2.vconcat(target_img)
plt.imshow(vertically_conectted_img)
出力結果

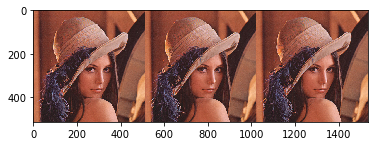
画像を横に連結
縦の長さが同じである必要があります
チャンネル数が同じである必要があります
target_img = [img, img, img]
horizontally_conectted_img = cv2.hconcat(target_img)
plt.imshow(horizontally_conectted_img)
出力結果
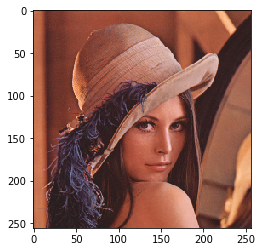
画像のサイズを変更
height = img.shape[0]
width = img.shape[1]

# 2倍に拡大
double_size_img = cv2.resize(img , (int(width*2), int(height*2)))
plt.imshow(double_size_img)

# 半分に縮小
half_size_img = cv2.resize(img , (width//2, height//2))
plt.imshow(half_size_img)
出力結果

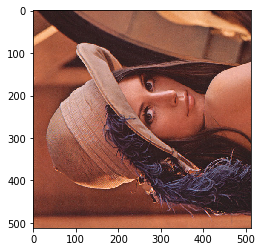
画像の回転
# 画像の中心を取得
center = (width // 2, height // 2)
#回転角を指定
angle = 90.0
#スケールを指定
scale = 1.0
#getRotationMatrix2D関数を使用
trans = cv2.getRotationMatrix2D(center, angle , scale)
#アフィン変換
rotate_img = cv2.warpAffine(img, trans, (width,height))
plt.imshow(rotate_img)
出力結果