はじめに
この記事は chillSAP 夏の自由研究2022 の記事として執筆しています。
今回は、SAP Integration Suite を使って、OData を更新する仕組みの作り方をお伝えしたいと思います。
当記事は「SAP BTP トライアル環境」で試作したものです。
また、環境設定は、過去記事の SAP Integration Suite でかんたんな WebAPI を作ってみた を御覧ください。
SAP Integration Suiteとは
SAP Integration Suite は、オンプレミスおよびクラウドベースのアプリケーションやプロセスを、SAP が管理するツールや事前構築済みコンテンツと、シームレスに統合するための iPaaS (Integration Platform as a Service) です。
引用元;https://www.sap.com/japan/products/integration-suite.html
全体像

作成物の全体像です。
OData サ-ビスからデ-タを取得し、加工した内容で更新する処理を作ります。
準備
更新対象デ-タの準備
まずは 参照更新に使用する ODataを準備します。
今回は odata.org のサ-ビスを利用します
https://www.odata.org/odata-services/
Integration Suite では、OData の V2 と V4 に対応しているので、OData V2 を利用します。

アクセスすると、参照更新可能な OData サ-ビスが 生成されるので、 URLを記録しておいてください。
SAP Integration Suite
1. HTTP リクエスト部分の作成
SAP Integration Suite へアクセスして、integration Flow を作成します。
待ち受けアドレス は /northwind/update で設定します。
2. デ-タ取得
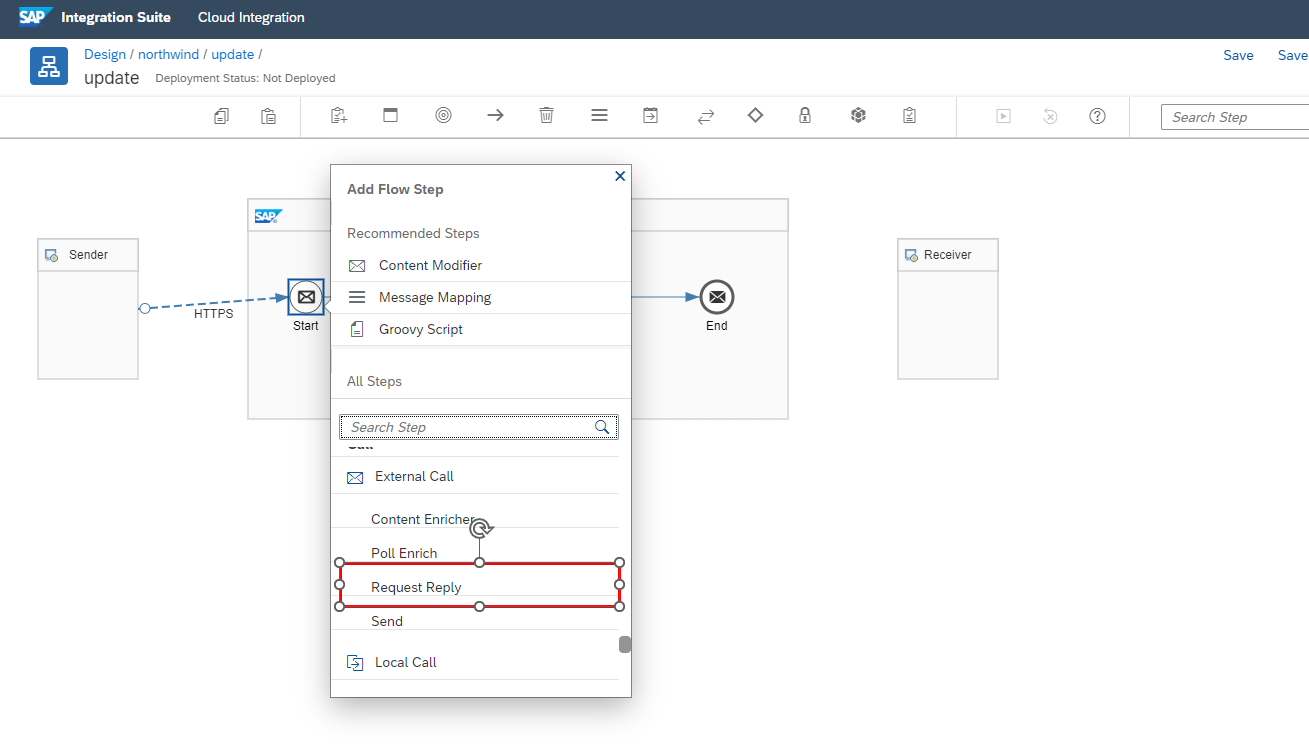
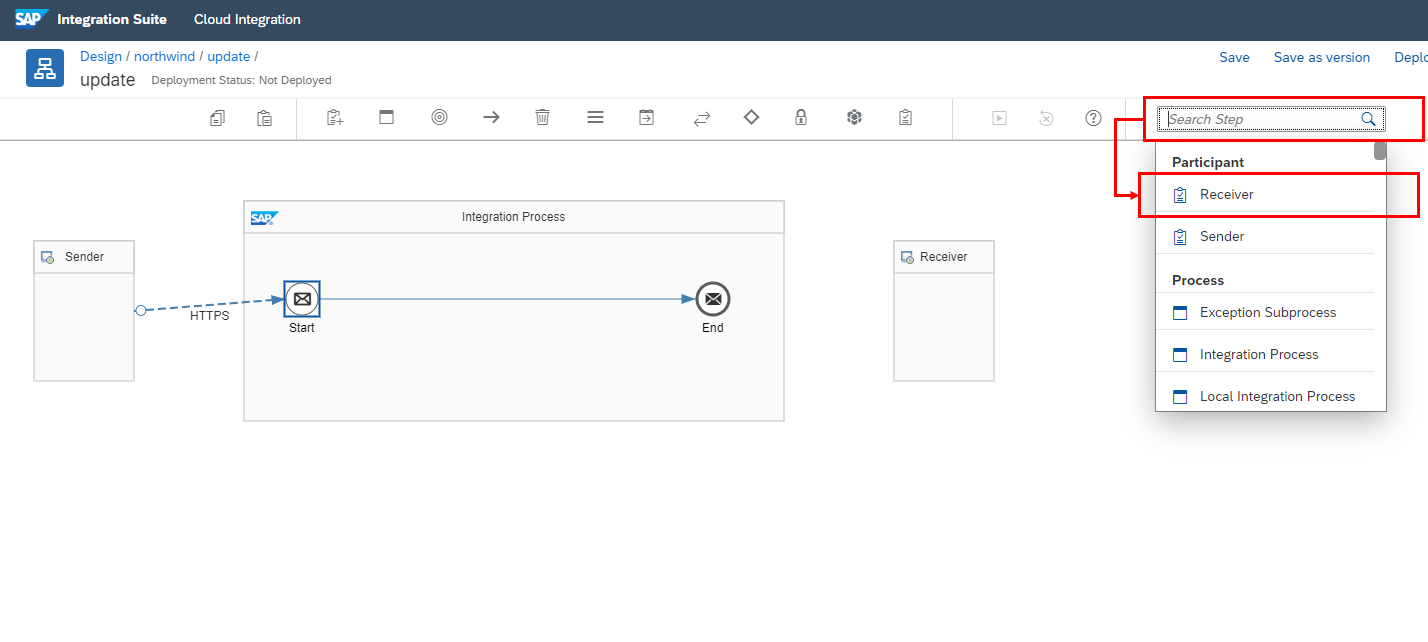
データ取得の Flow Step として、Request Reply と Reciver の 2つを追加します。
Request Reply と Reciver が設置できたら、デ-タ取得処理を作成していきます。

ここまでで、Request Reply と Reciver が 線で接続された状態が出来たと思います。

Processing タブに 設定内容が反映されていれば成功です。
3. デ-タ更新
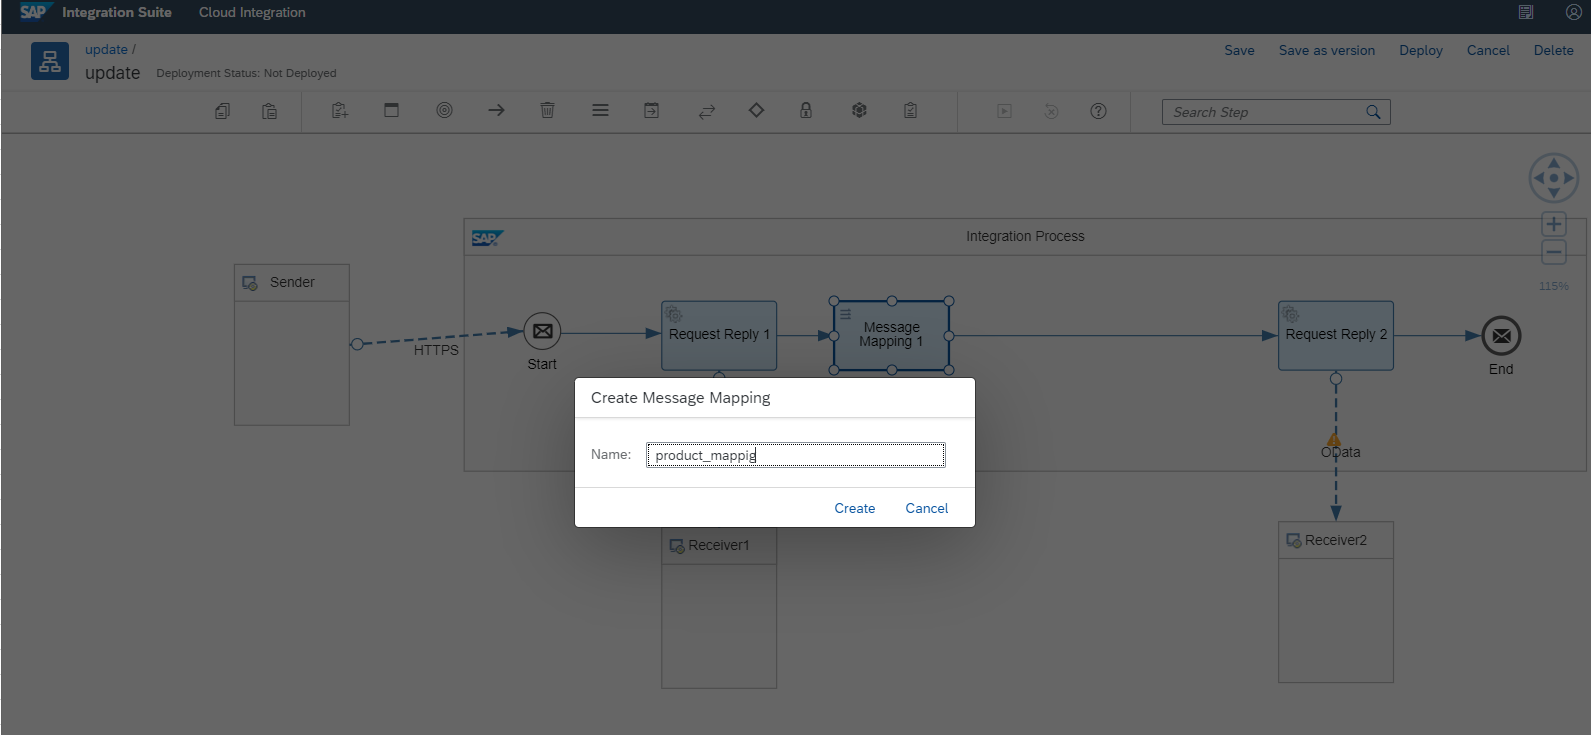
データ更新も デ-タ取得と同じように Request Reply と Reciver と 2つの Flow Step を追加します。
Processing タブに 設定内容が反映されていれば成功です。
- 更新値の設定
左右の指定が出来たら以下の画像のようになります。

左側の項目をドラッグすると、対応の線が引けるので
以下の画像のように設定します。

以上で設定は終了です。
実行
それでは、作成した iFlow を動かしてみましょう
更新前のデ-タ
更新前のデ-タ
このように、iFlow の実行前後を比べると
4. 更新値の設定 で指定した値に書き換わっていることが確認できました。
最後に
Integration Suite 上での アプリケーションの作成方法について解説してみました。
実際に触っていて、プログラムコ-ドを記述することに比べ手軽に作ることが出来ると思います。
一方で、定義された範囲外の処理を作るとなると、途端に難易度が上がる印象です。
得意範囲は、特定のデ-タを加工しながら、右から左へ流すような処理は得意そうな感じですね。


