目次
- きっかけ
- この記事をおすすめする人
- システム構成
- 実装編
- 実際に使ってみた
- 最後に
1. きっかけ
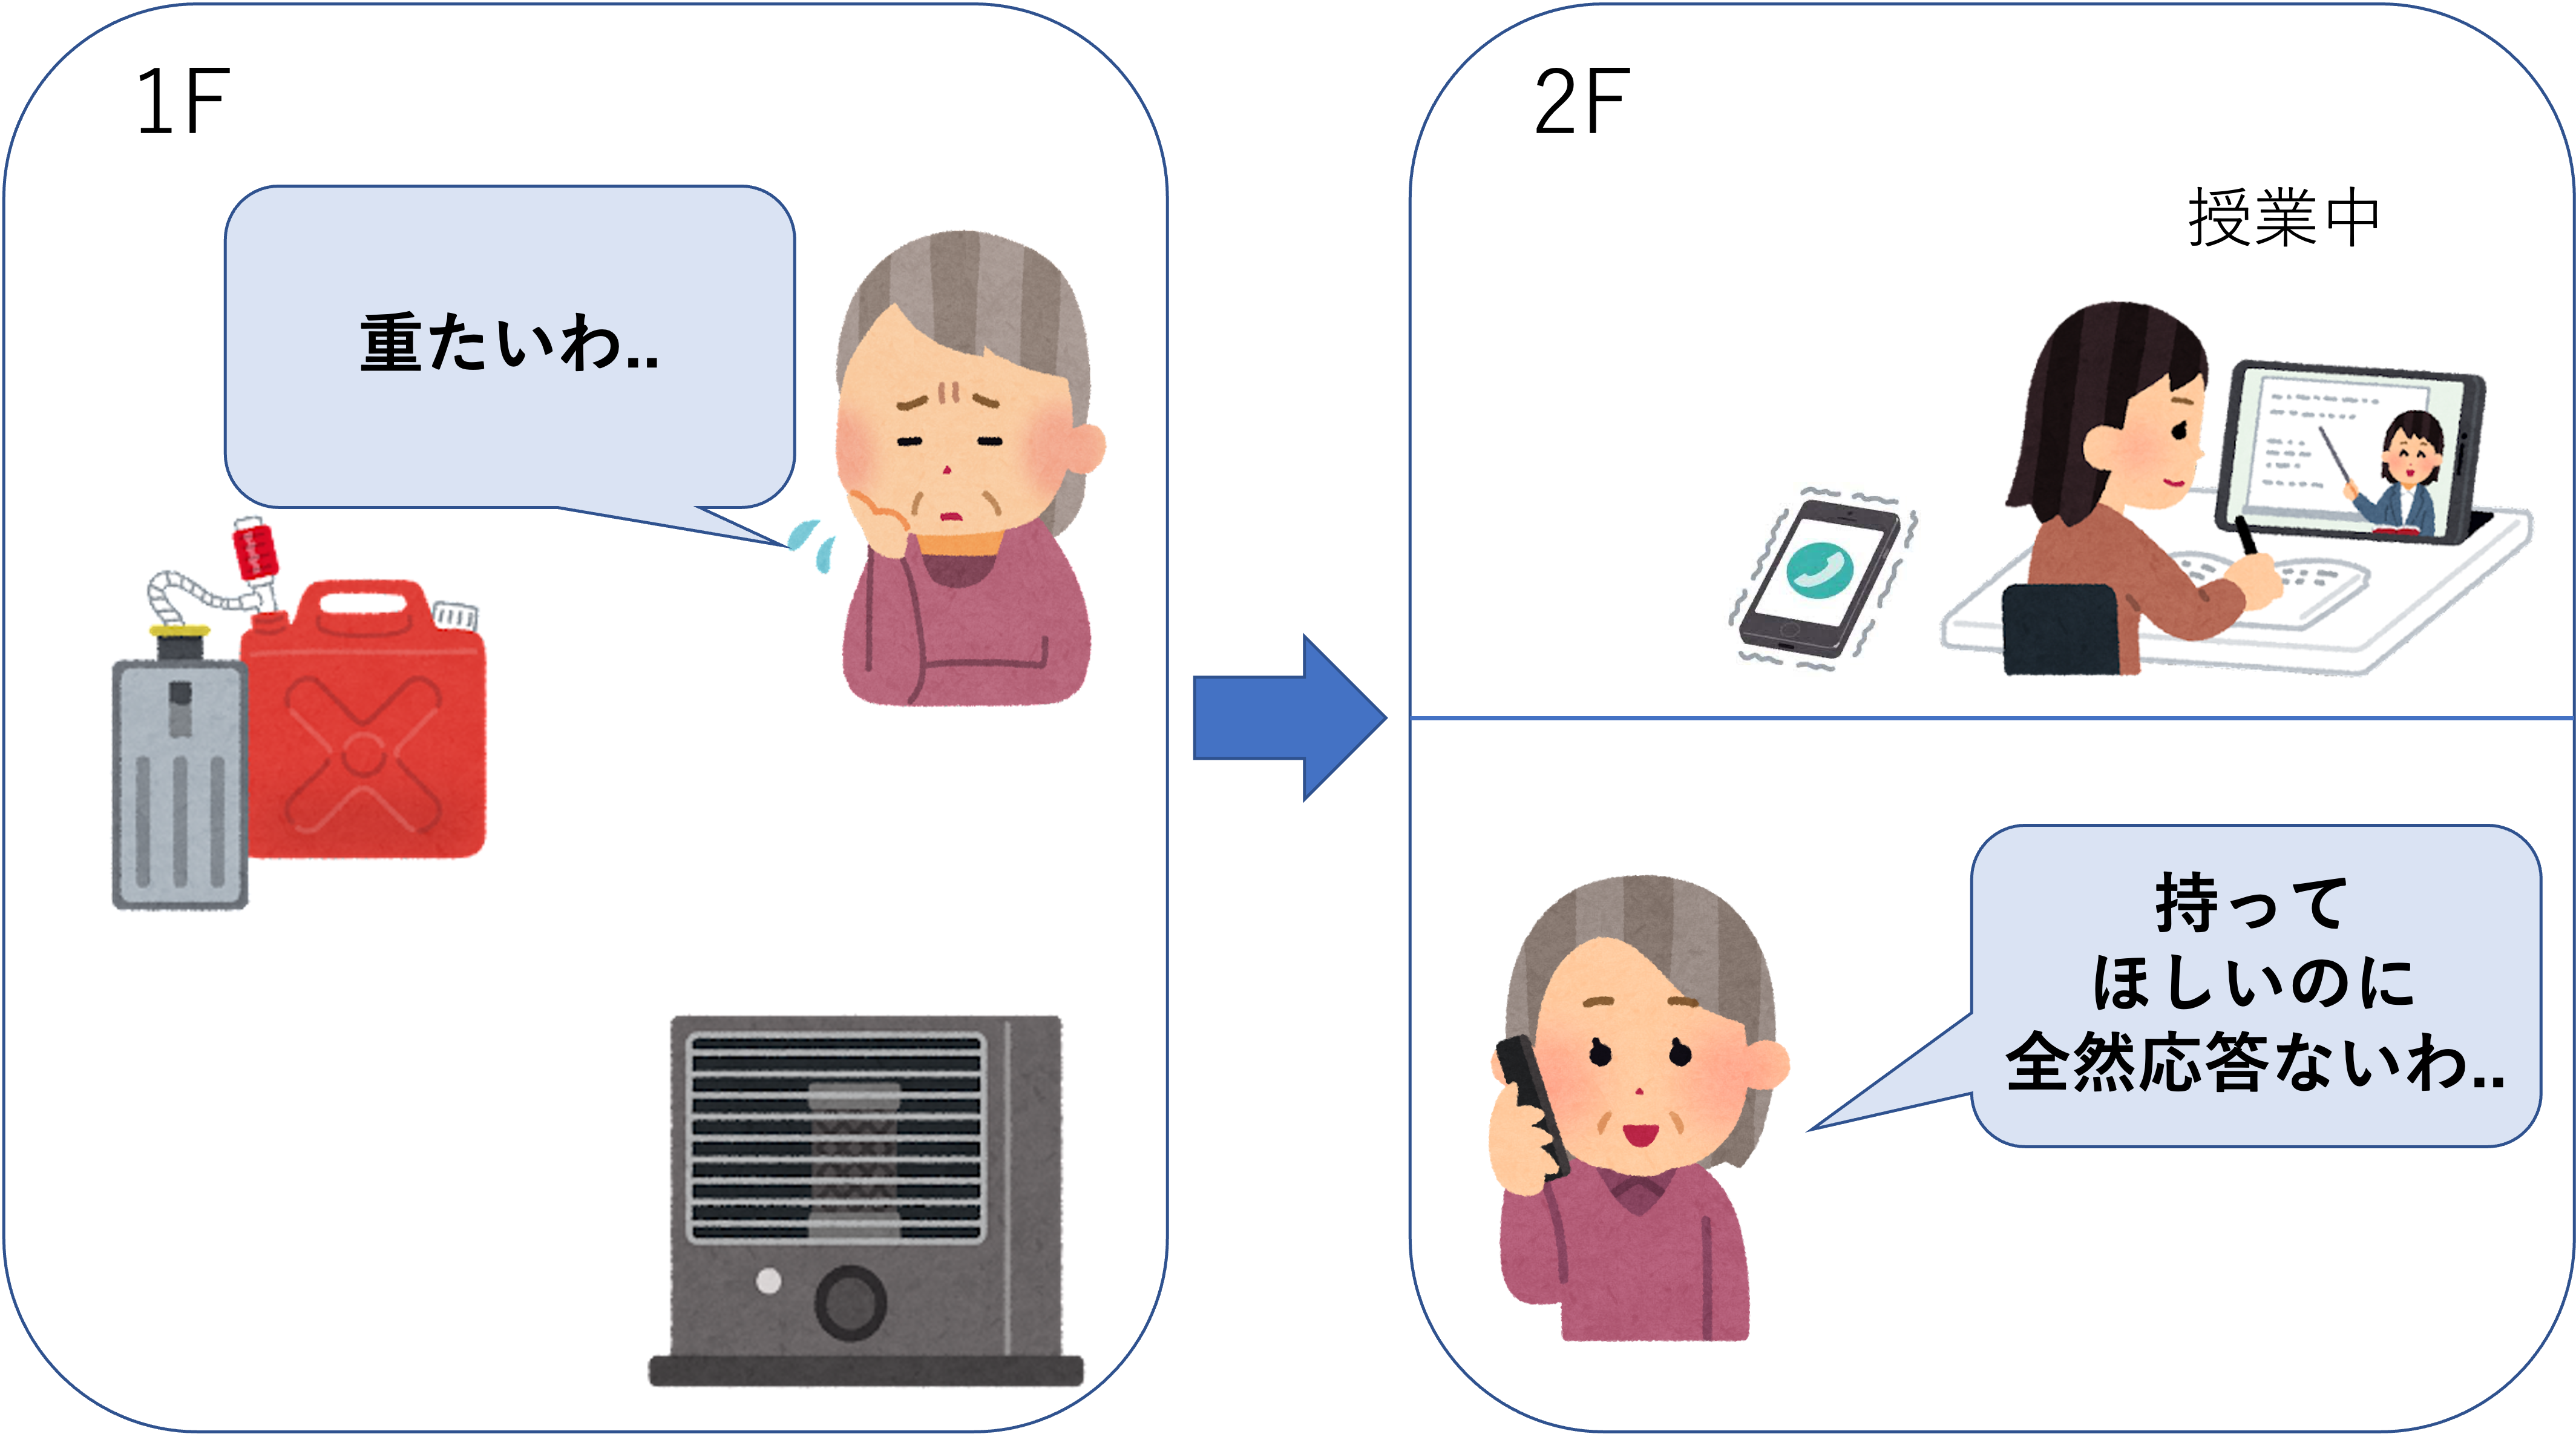
おばあちゃんのストーブの灯油を入れてほしい時に入れられない...
ストーブの灯油って重たいですよね、高齢者には到底持てません。
私の家庭では、いつもおばあちゃんの灯油が切れると、電話して運んで〜と連絡がきます。
しかし!私や家族にも手が離せない時が...
オンライン面接や、テレビのいいところなど...
外出中ならなお、気付けませんよね。

そこで、LINEをやっていないおばあちゃんでも、石油が切れたと通知できるようなシステムを作り、おばあちゃん助けるIoTシステムを作ってみよう!となったわけですね。
2. この記事をおすすめする人
- 簡単なIoTシステムを手軽に作ってみたい人
- OpenCVを使い始めた人
- おばあちゃんを助けたい人
3. システム構成
今回は簡単に場所を取らずにできるということで、ラズパイとUSBカメラを用いて実装しました。
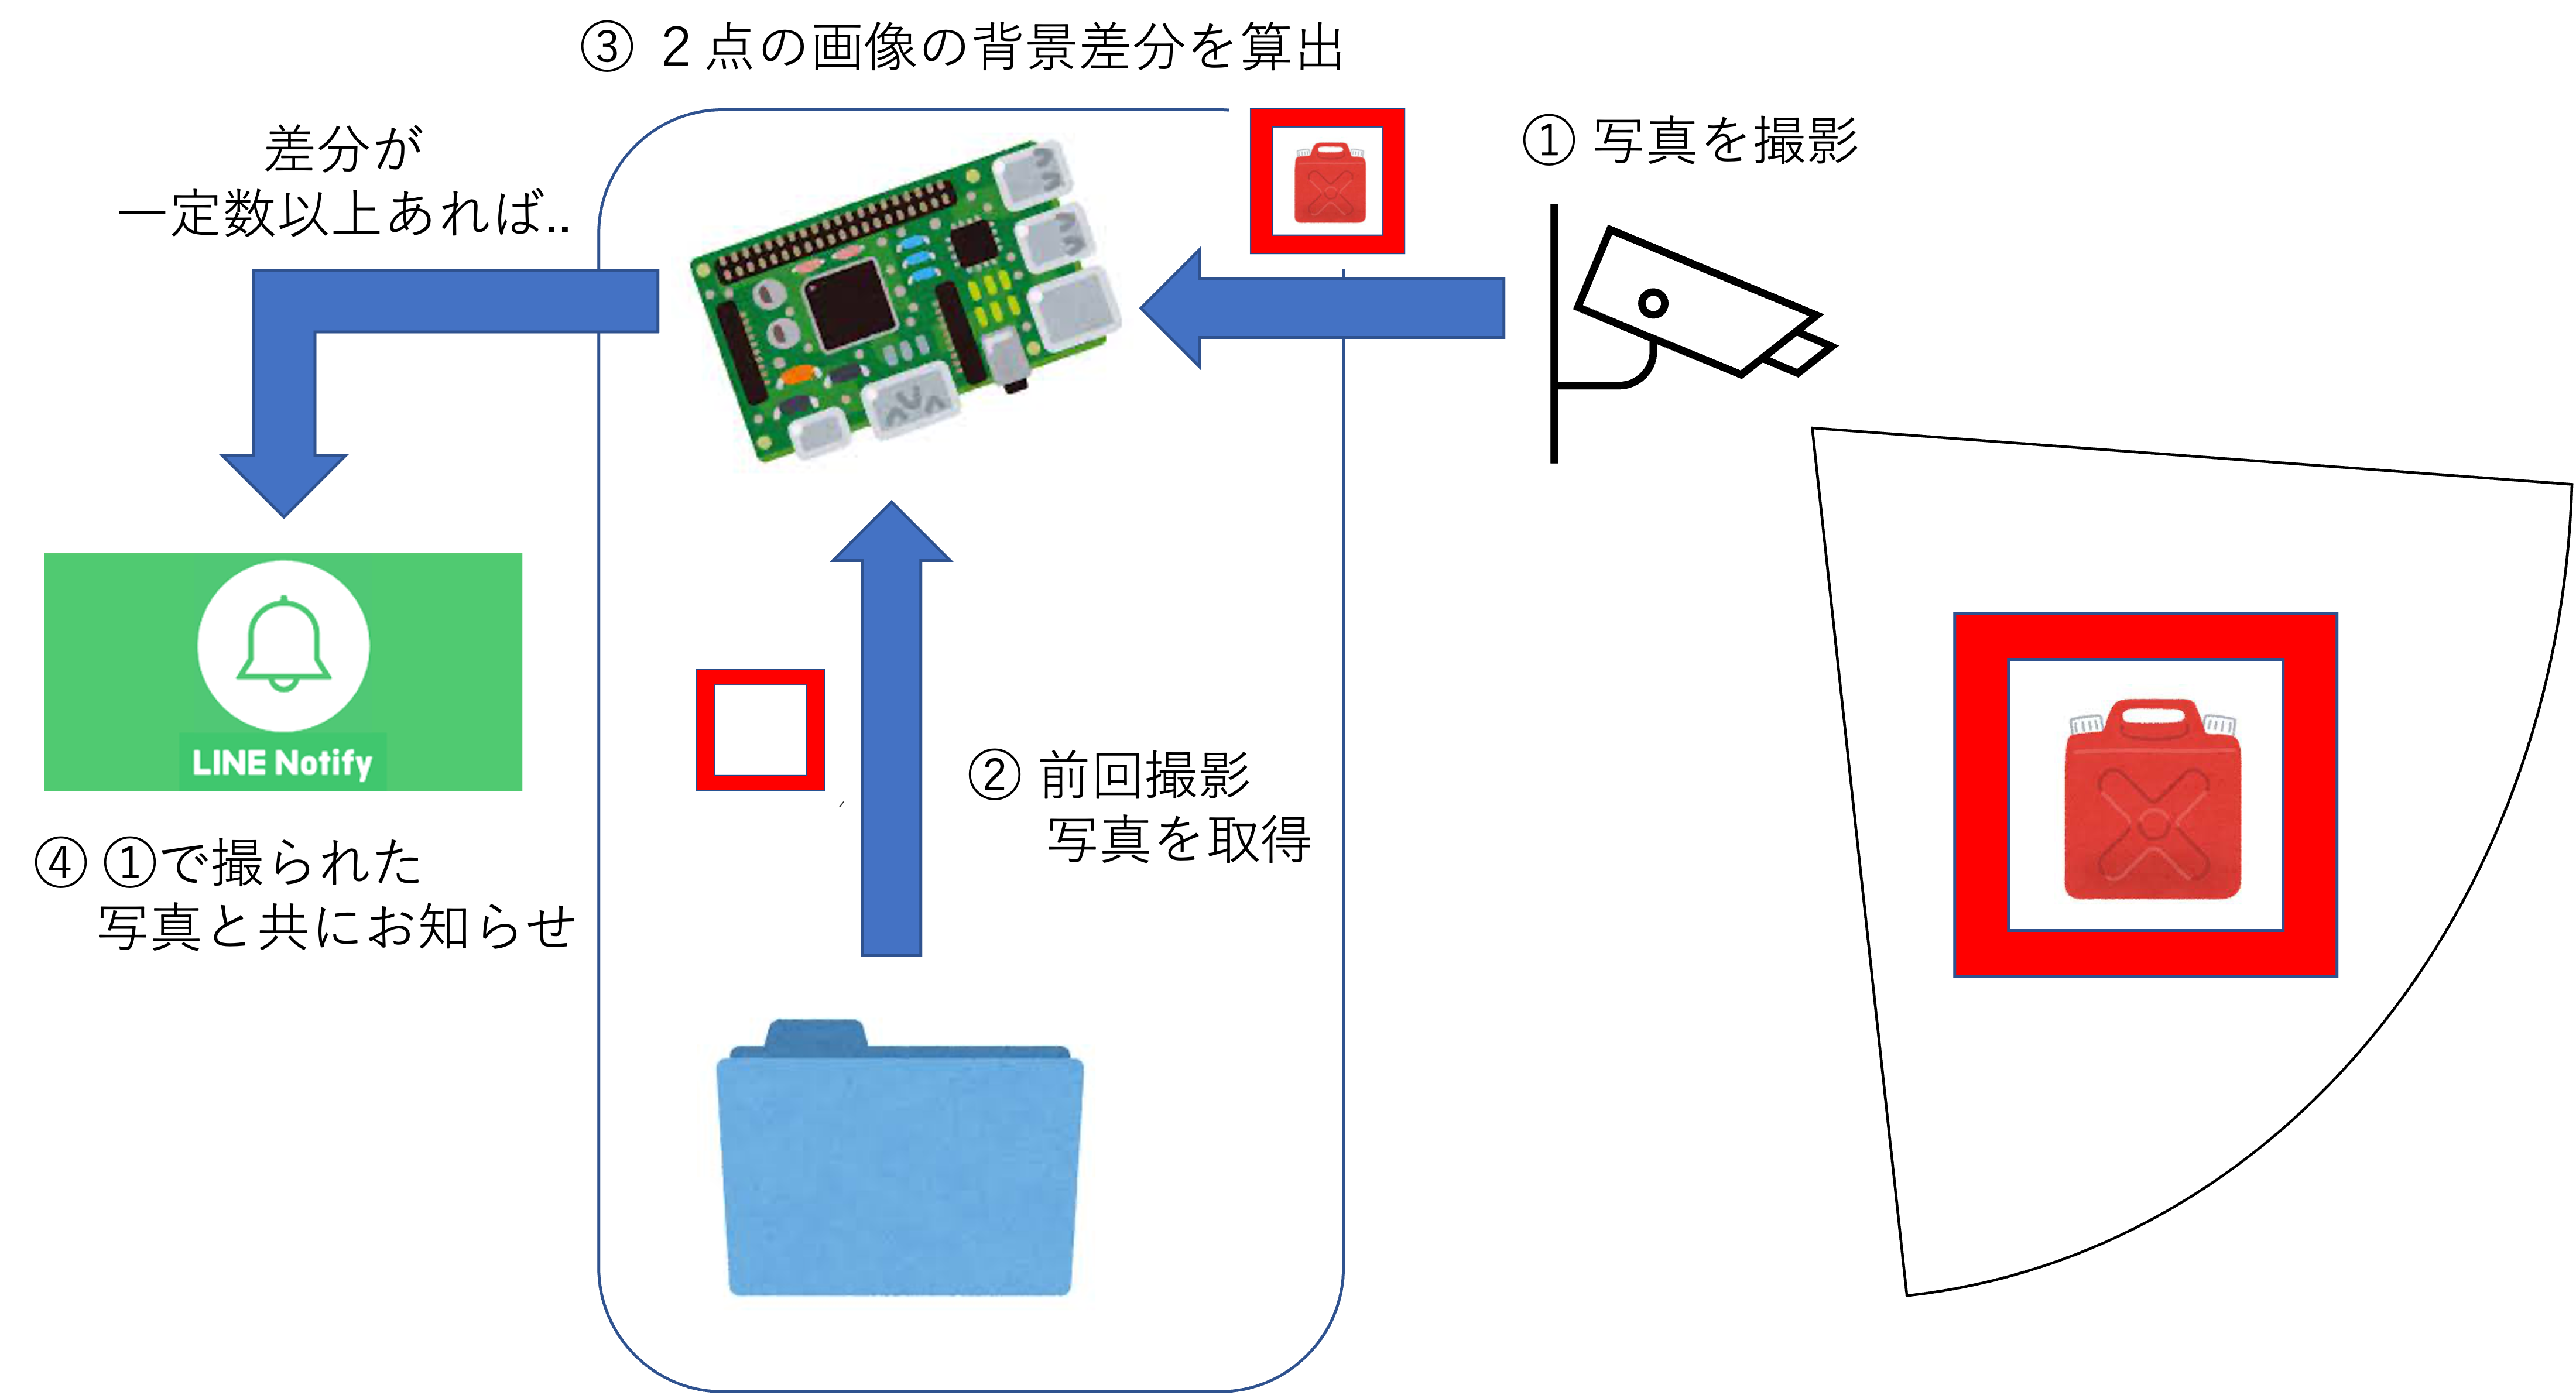
システム構成図を示します。

① 固定されているUSBカメラで写真を撮影します。
② 前回撮影した最新の写真をフォルダから取得します。
③ それら2点の背景差分を算出します。
④ 一定数以上の差分があれば、物体が検出された旨のメッセージと、撮影された写真を送信します。
(⑤ 撮影された写真をフォルダに保存します。)
これらの操作はcrontabで自動実行され、5分置きに実行されています。
4. 実装編
import cv2
import datetime
import os
import requests

camera_index = 0

# フォルダを作成
if not os.path.exists('camera_pic'):
    os.makedirs('camera_pic')

# 最新の画像ファイルを取得
def get_latest_image():
    pic_dir = os.path.join(os.getcwd(), 'camera_pic')
    pic_list = os.listdir(pic_dir)
    if pic_list:
        latest_pic = os.path.join(pic_dir, sorted(pic_list)[-1])
        return latest_pic
    else:
        return None

# 背景差分
def diff_img(img1, img2):
    bgsub = cv2.createBackgroundSubtractorMOG2()
    img1_gray = cv2.cvtColor(img1, cv2.COLOR_BGR2GRAY)
    img2_gray = cv2.cvtColor(img2, cv2.COLOR_BGR2GRAY)
    mean1 = cv2.mean(img1_gray)[0]
    mean2 = cv2.mean(img2_gray)[0]
    if mean1 > mean2:
        alpha = mean1 / mean2
        beta = 0
    else:
        alpha = 0
        beta = mean2 - alpha * mean1
    img2 = cv2.convertScaleAbs(img2, alpha=alpha, beta=beta)

    # 2つの画像の差分を計算
    diff = bgsub.apply(img1)
    diff = bgsub.apply(img2)

    # 二値化
    _, diff = cv2.threshold(diff, 50, 255, cv2.THRESH_BINARY)
    return diff

# LINEメッセージ送信部分
def send_message(notification_message):
    line_notify_token = ''
    line_notify_api = 'https://notify-api.line.me/api/notify'
    headers = {'Authorization': f'Bearer {line_notify_token}'}
    data = {'message': f'message: {notification_message}'}
    requests.post(line_notify_api, headers = headers, data = data)

# LINE画像送信部分
def send_image(image):
    line_notify_token = ''
    line_notify_api = 'https://notify-api.line.me/api/notify'
    payload = {'message': '撮影した写真を以下に示します。'}
    headers = {'Authorization': f'Bearer {line_notify_token}'}
    files = {'imageFile': open(image, "rb")}
    requests.post(line_notify_api, data=payload, headers = headers, files = files)

# カメラを起動
cap = cv2.VideoCapture(camera_index)
cap.set(cv2.CAP_PROP_AUTO_EXPOSURE, 0.25)

# 画像撮影
ret, frame = cap.read()

# 最新の画像ファイルを取得
latest_pic = get_latest_image()

# 撮影した画像を保存
now = datetime.datetime.now()
pic_name = now.strftime('%Y%m%d_%H%M%S') + '.jpg'
pic_path = os.path.join('camera_pic', pic_name)
cv2.imwrite(pic_path, frame)

# 背景差分を計算
if latest_pic is not None:
    latest_img = cv2.imread(latest_pic)
    if (frame == latest_img).all():
        diff_sum = 0
    else:
        diff = diff_img(latest_img, frame)
        diff_sum = cv2.countNonZero(diff)
    if diff_sum > 300000:
        print("差分あり!")
        send_message('物体を検知しました。物体を確認してください。')
        image = get_latest_image()
        send_image(image)
    else:
        print("物体検出されませんでした")

else:
    print("最新の画像がありません")

cap.release()
5. 実際に使ってみた
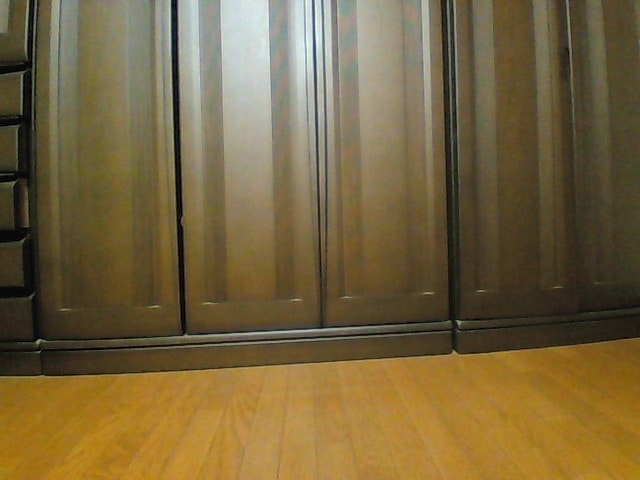
ベースはこちらの背景で、撮影されています。

こちらに何か物体が映り込めば、検出が開始されます。
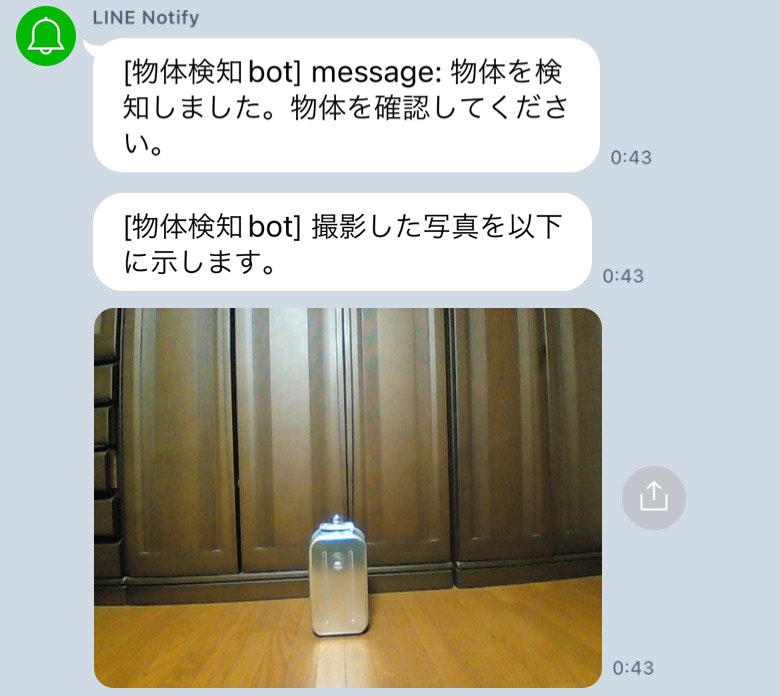
灯油缶が映り込んだ時のLINE通知は以下のようになります。

正しく検知し、LINEに送信できていることがわかりますね!
6. 最後に
今後もう少し精度を上げるとなれば、機械学習にて何が写っているのかの判定までしたいところですね〜!
読んでいただき、ありがとうございました!