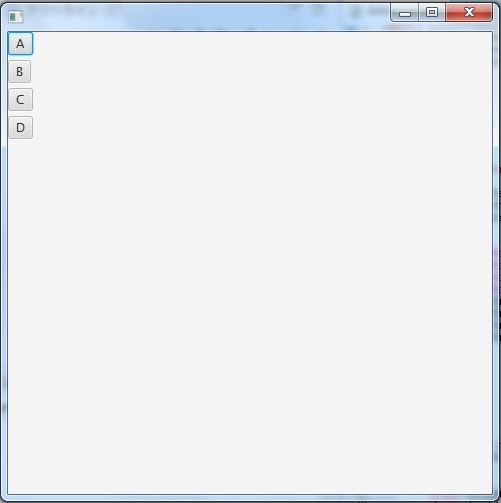
◎サンプルコード
import javafx.application.Application;
import javafx.scene.Scene;
import javafx.scene.control.Button;
import javafx.scene.layout.VBox;
import javafx.stage.Stage;

public class Sample extends Application {
    public void start(Stage stage){
            stage.setWidth(500);    //横幅を指定
            stage.setHeight(500);    //高さを指定

            Button button1 = new Button("A");    //button属性をつける
            Button button2 = new Button("B");
            Button button3 = new Button("C");
            Button button4 = new Button("D");
            button1.setOnAction(event -> System.out.println("OK!"));    //setOnActionでイベント処理を出力させる
            button2.setOnAction(event -> System.out.println("NICE!"));
            button3.setOnAction(event -> System.out.println("YES!"));
            button4.setOnAction(event -> System.out.println("Goodluck!"));


            VBox box = new VBox(5);
            box.getChildren().addAll(button1,button2,button3,button4);    //boxの中にbutton属性をいれて認識させる

            stage.setScene(new Scene(box));    //Sceneにboxを表示させる
            stage.show()    //画面を出力

        public static void main(String[] args) {
            launch();
More than 5 years have passed since last update.
【個人的備忘録】 Eclipseによる javafxのVBox・setOnActionの効果など
Last updated at Posted at 2018-10-09
Register as a new user and use Qiita more conveniently
- You get articles that match your needs
- You can efficiently read back useful information
- You can use dark theme

