概要
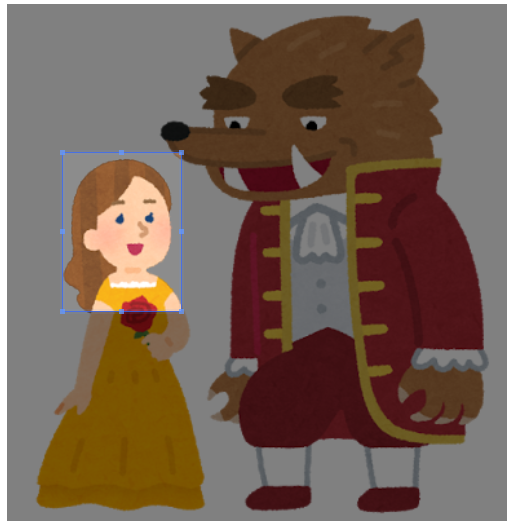
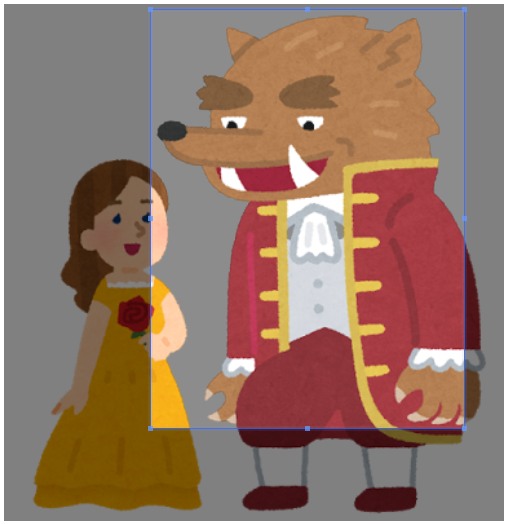
JavaScriptを使ってクライアント側でトリミングを行ったあと、サーバ側でPHPを使って実際にトリミングを反映させる。
動機
ユーザに自己プロフ画像をアップロードさせたかったけどトリミングしてからアップしてというと多分やってくれないだろうから、スマホで撮影した画像をアップするとついでにトリミングできる機能を作りたかった。
数年ぶりに自分でソースを読んで意味が分からなかったのでメモ用に記録しておく。
やりたいこと
やりかた
フロント側
jQuery用のトリミングツール Cropper を使う。今はjQuery不要の Cropper.js があるみたい。
使っているのはバージョン0.7.6だから現行バージョンでは一部修正が必要かもしれない。jQueryも .click() とか使ってるけど気にしない。
(色々省略、ニュアンスだけ伝わって欲しい感じ)
<img src="" name="image" />
<input type="file" name="file" />
<button class="btn hide" name="submit">Save</button>

<script type="text/javascript">
  // 選択された画像をブラウザ上に表示
  // http://micronwave.hatenablog.jp/entry/20130607/1370602131
  $('input[name=file]').change(function(){
    var file = this.files[0];

    // ここでファイル種別のチェックとかサイズチェックとかしておく

    // http://hakuhin.jp/js/file_reader.html#FILE_READER_04
    var reader = new FileReader();
    reader.addEventListener('load', function(e){
      $('img[name=image]').attr('src', reader.result);

      // サーバにUploadする前にfileを再選択した場合はCropperをdestroyする
      if ($('img[name=image].cropper-hidden').length != 0) {
         $('img[name=image]').cropper('destroy');
      }

      // Cropperを作成
      $('img[name=avatar-image]').cropper({
        aspectRatio: 3 / 4,  // アス比 3:4で固定
        dashed: false,
        zoomable: false,
        built: function() {
          // ここでloader出したりとか
        }
      });
    });

    reader.readAsDataURL(file);
    $('button[name=submit]').show();  // 隠していたSaveボタンを表示
  });

  // Saveボタン押下
  $('button[name=submit]').click(function(){
    var postdata = new Object();

    postdata.raw_image = $('img[name=avatar-image]').attr('src');  // 画像の生データ
    postdata.crop_param = $('img[name=avatar-image]').cropper('getData');  // トリミング情報

    $.ajax({
      type: 'POST',
      dataType: 'json',
      //(以下省略、postdataをサーバに送る)
      //(トリミングした画像がBASE64で帰ってくるのでimgのsrcに突っ込む)
    });
</script>
サーバ側
キモの部分だけ抜き出して記載。例外処理なんかは省略。
どうしてfloorしてるのかは忘れたが、これだと1px程度の精度でアス比がおかしくなるような…
// POSTされてきたraw_imageから$imageを作成
// http://qiita.com/pcpDev/items/0737bd526e5c2c305ea2
list($header, $encoded_img) = preg_split ("/,/", $postdata->raw_image);
$decoded_img = base64_decode($encoded_img);
$image = imagecreatefromstring($decoded_img);

// POSTされてきたcrop_paramからトリミングの位置を確定
$crop = new stdClass();
$crop->src_x = floor($postdata->crop_param->x);
$crop->src_y = floor($postdata->crop_param->y);
$crop->src_w = floor($postdata->crop_param->width);
$crop->src_h = floor($postdata->crop_param->height);

// トリミング・リサイズして300x400の画像として保存
$trimed_img = imagecreatetruecolor (300, 400);
ImageCopyResampled(
        $avatar_img, $image,
        0, 0, $crop->src_x, $crop->src_y,
        300, 400, $crop->src_w, $crop->src_h
    );

// JPEGに変換
$savedata = imagejpeg($trimed_img, null, 90);

// $savedataをDBやファイルに保存

// 表示用にデータを返す、これをimgのsrcに突っ込んでやれば画像が表示される
return 'data:image/jpeg;base64,' . base64_encode($savedata);
問題点
クライアント側でファイルを選択した際にそのままの画像を表示させているので、端末によってはかなりレスポンスが悪くなる。一度サーバに送って適当な大きさにリサイズしたものを使った方が良さそう。


