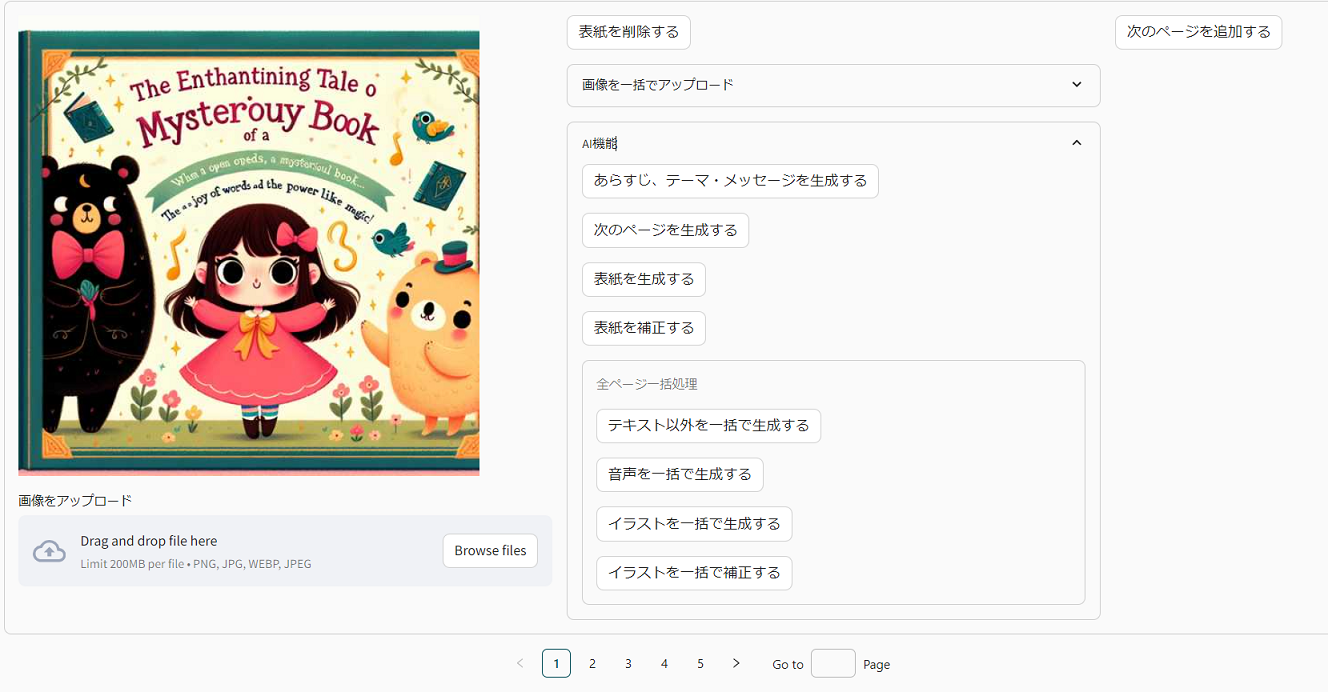
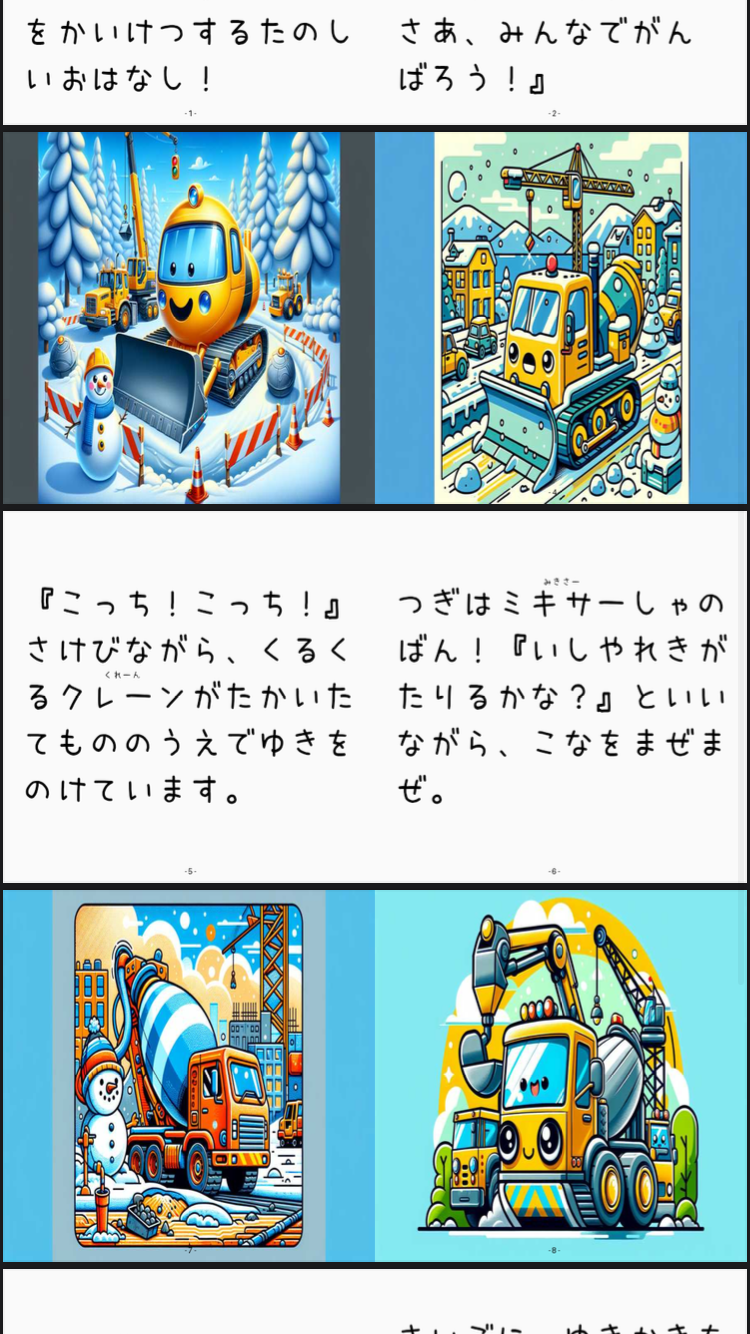
はじめに
うちの娘(4歳)は絵本が大好きです。
特に、登場人物を娘の名前にしたりパパ、ママを登場させると大喜びします。
そこで、AIを活用して手軽にオリジナル絵本を作れるサービス、「ふしぎえほん.ai」を作りました。
https://fushigiehon-ai.com/
※Googleアカウントをお持ちであればそのままログイン可能です。
こんなものがつくれます
サービスの特徴
簡単で柔軟
-
生成した絵本はページごとにテキストの編集、画像と音声の再作成、削除が可能です。(AIを使わずに1から作ることも可能)
-
ページを後ろに追加したり途中に差し込むことも可能です。(前後のつながりを意識した内容で生成されます)
自分だけの
- 手持ちの画像や写真をアップロードして、AIでイラスト化できます。
- 音声も自動生成と録音を選べます。
いつでもどこでも
-
様々なデータを簡単に保存して共有することができます。
- 動画(横長、縦長)
最初から全部
- 初回ログイン時にクレジットが付与されるので、すぐに全ての機能が使えます。
技術まわりの話
技術まわりの話
アプリケーション
相変わらずStreamlitです。
今回は普通っぽい見た目を目指していろいろ工夫してみました。
利用したサードパーティコンポーネント
streamlit-option-menu
https://github.com/victoryhb/streamlit-option-menu
pip install streamlit-option-menu
streamlit_antd_components
https://github.com/nicedouble/StreamlitAntdComponents
pip install streamlit_antd_components
streamlit_shadcn_ui
https://github.com/ObservedObserver/streamlit-shadcn-ui
pip install streamlit_shadcn_ui
モーダル表示付きのボタンに利用しています。(削除系の操作は確認を挟みたいため)
streamlit-audiorecorder
https://github.com/theevann/streamlit-audiorecorder
pip install streamlit-audiorecorder
音声を録音するために利用しています。
streamlit-supabase-auth
https://github.com/sweatybridge/streamlit-supabase-auth
pip install streamlit-supabase-auth
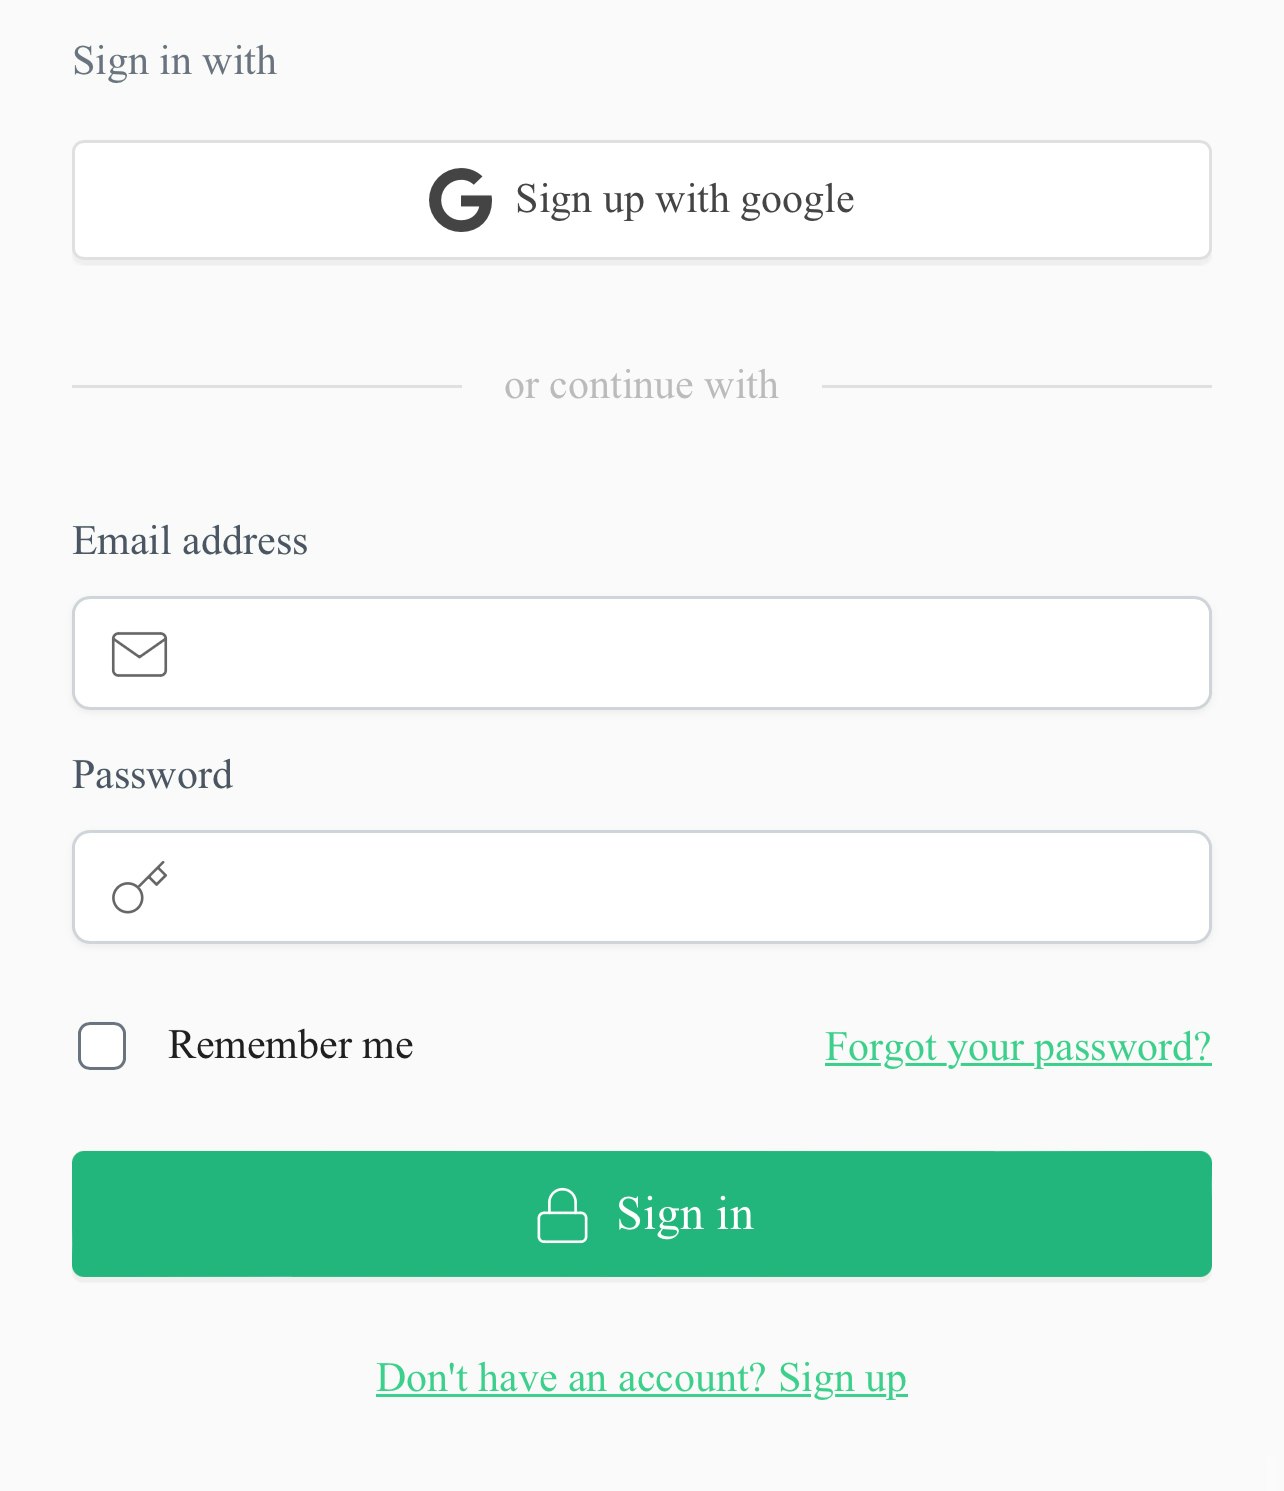
Supabaseと統合した認証フォームとして利用しています。
streamlit-card
https://arnaudmiribel.github.io/streamlit-extras/extras/card/
pip install streamlit-card
Streamlit-Image-Carousel
https://github.com/DenizD/Streamlit-Image-Carousel
PyPIからのインストールはできません。
ビルド後の各種ファイルをリポジトリに含めておくとStreamlit Cloud上でも使えます。
https://github.com/DenizD/Streamlit-Image-Carousel
文章、イラスト、音声生成
OpenAIが提供するAPIを利用しています。
文章:GPT-4 Turbo
イラスト:DALL·E 3
音声:Text-to-speech
※各APIの使い方などは↓にまとめています。
https://qiita.com/papasim824/items/5a3bee4cc3915d5ae177
手持ちの画像や写真をイラスト化する部分は↓の方法で行なっています。
https://qiita.com/papasim824/items/e6836463065fbafa74a7
※複数のイラストや音声を一括で生成するため、非同期でAPIを呼び出しています。
イラスト生成だと以下の感じで実装しています。
import asyncio
import base64
import io
import json

import const
import modules.database as db
import streamlit as st
from modules.utils import culc_use_credits
from openai import AsyncOpenAI
from PIL import Image

client = AsyncOpenAI(api_key=st.secrets["OPEN_AI_KEY"])


def get_event_loop():
    try:
        # 現在のスレッドに対するイベントループを取得または新規作成
        loop = asyncio.get_event_loop()
    except RuntimeError as ex:
        # 'There is no current event loop in thread' エラーの対応
        if "There is no current event loop in thread" in str(ex):
            # 新しいイベントループを作成し、それを現在のスレッドのイベントループとして設定
            loop = asyncio.new_event_loop()
            asyncio.set_event_loop(loop)
        else:
            raise

    return loop

async def post_image_api(prompt, user_id):
    event = "イラスト生成"
    b64_json = ""
    gen_size = "1024x1024"

    for _ in range(3):
        try:
            response = await client.images.generate(
                model=const.IMAGE_MODEL,
                prompt=prompt,
                size=gen_size,
                quality="standard",
                n=1,
                response_format="b64_json",
            )
            b64_json = response.data[0].b64_json
            break
        except Exception as e:
            print(e.args)
            return ""

    if b64_json:
        decoded_b64_json = base64.b64decode(b64_json)
        image = Image.open(io.BytesIO(decoded_b64_json))
        image = image.resize((512, 512))

        buffer = io.BytesIO()
        image.save(buffer, format="jpeg", quality=50)
        db.adding_credits(user_id=user_id, value=culc_use_credits([event]), event=event)
        return buffer.getvalue()
    else:
        return ""


async def create_images(tales: dict, user_id: str) -> dict:
    images = {"title": "", "content": []}

    content_image_tasks = [post_image_api(tales["title"], user_id)] + [
        post_image_api(page_prompt, user_id) for page_prompt in tales["content"]
    ]
    results = await asyncio.gather(*content_image_tasks)

    images["title"] = results[0]
    images["content"] = results[1:]

    return images
if st.button("イラストを一括で生成する"):
    loop = get_event_loop()
    st.session_state.images = loop.run_until_complete(
    create_images(st.session_state.tales,st.session_state.user_id))
認証、ユーザー管理
SupaBaseを利用しました。
最初はAWS Cogniteを使って実装を進めていたのですが、決済処理で利用するStripeとの相性が良さそうだったのと、どうせDBも使うということでSupabaseにまとめました。
↑にも書きましたが、Streamlit有志の方がsupabaseを利用した認証のコンポーネントを作ってくれているので、Google認証との組み合わせなども非常に簡単に実装できました。
決済処理
文章と音声の生成は大きなコストはかかりませんが、いかんせんイラスト生成はコストが大きいです。。破産しないためにもクレジット制とすることにし、Stripeを利用して決済処理を組み込みました。
AWS LambdaをWebhookにしてDBを更新し、Stripeの決算処理とクレジットの追加を連動させています。
※決済処理を組むこと自体はStripeのおかげで難しくなかったですが、特定商取引法に基づく表記など、法律面での対応が最初よくわからず、なかなか許可がおりず。。
その他
ローダー
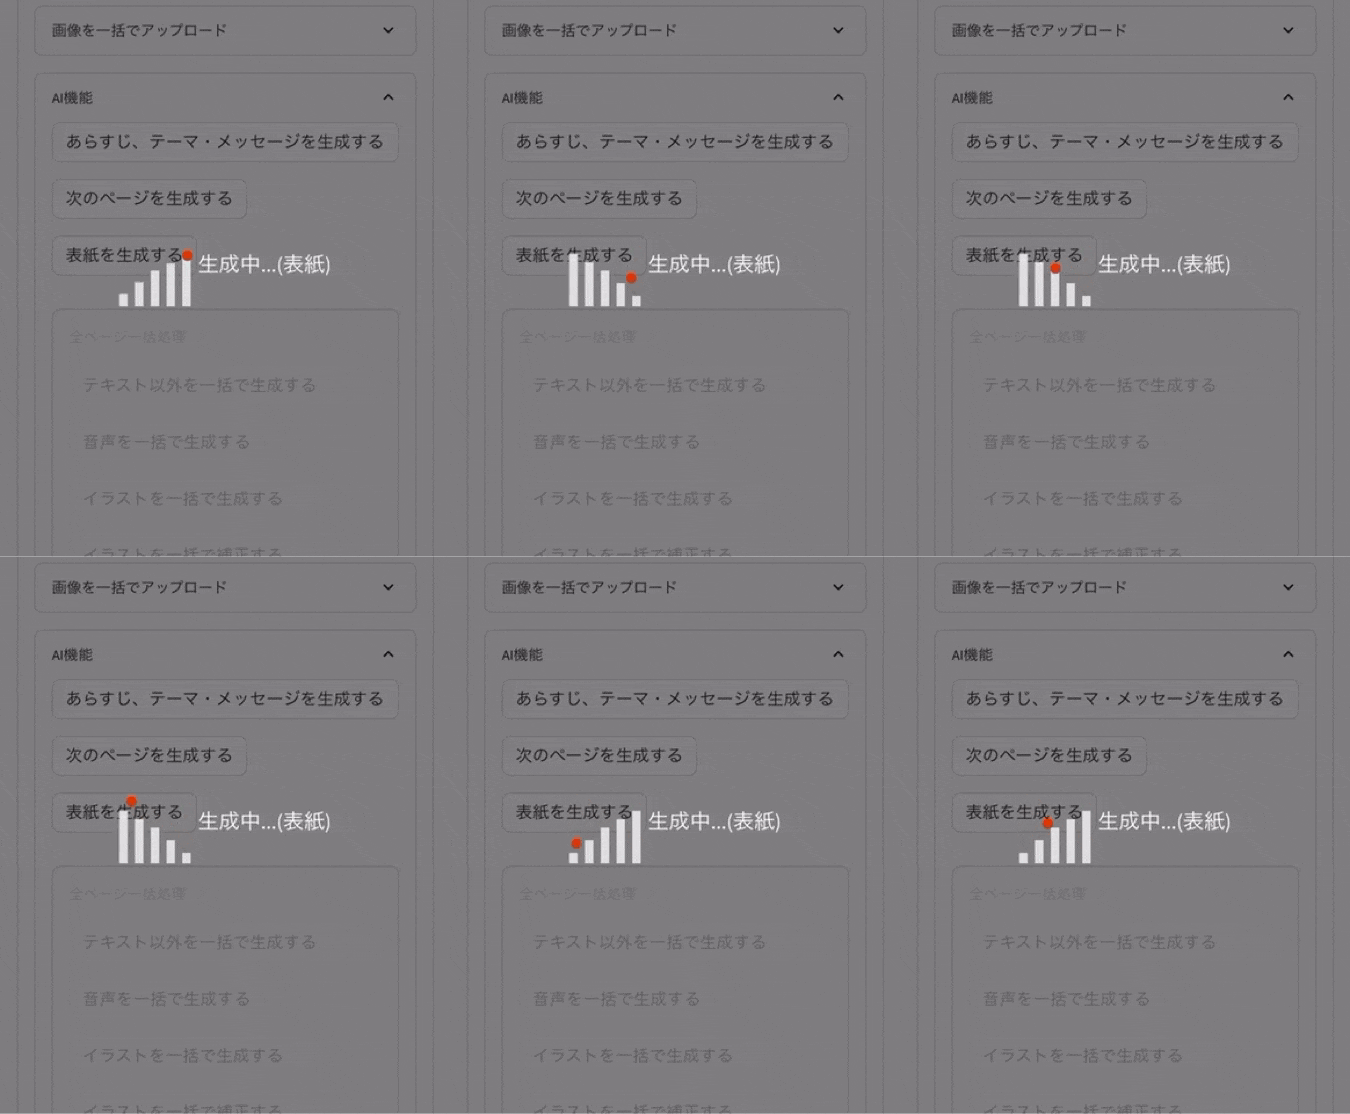
画面を暗くして中央にアニメーションと文字を表示、操作を不可に。
というのがStreamlitの標準コンポーネントではできません。
CSSとHTMLを以下のように利用して実装しています。
    st.markdown(
        """
<style>
               .loader-text {
                    color: white; /* テキストの色 */
                    margin-top: 20px; /* ローダーとの間隔 */
                    font-size: 20px; /* テキストサイズ */
                    text-align: center; /* 中央揃え */
                    }

                /* ローダー要素のスタイル定義 */
                .loader {
                    position: relative;
                    width: 75px;
                    height: 100px;
                    background-repeat: no-repeat;
                    background-image: linear-gradient(#DDD 50px, transparent 0),
                                    linear-gradient(#DDD 50px, transparent 0),
                                    linear-gradient(#DDD 50px, transparent 0),
                                    linear-gradient(#DDD 50px, transparent 0),
                                    linear-gradient(#DDD 50px, transparent 0);
                    background-size: 8px 100%;
                    background-position: 0px 90px, 15px 78px, 30px 66px, 45px 58px, 60px 50px;
                    animation: pillerPushUp 4s linear infinite;
                }
                .loader:after {
                    content: '';
                    position: absolute;
                    bottom: 10px;
                    left: 0;
                    width: 10px;
                    height: 10px;
                    background: #de3500;
                    border-radius: 50%;
                    animation: ballStepUp 4s linear infinite;
                }

                @keyframes pillerPushUp {
                0% , 40% , 100%{background-position: 0px 90px, 15px 78px, 30px 66px, 45px 58px, 60px 50px}
                50% ,  90% {background-position: 0px 50px, 15px 58px, 30px 66px, 45px 78px, 60px 90px}
                }

                @keyframes ballStepUp {
                0% {transform: translate(0, 0)}
                5% {transform: translate(8px, -14px)}
                10% {transform: translate(15px, -10px)}
                17% {transform: translate(23px, -24px)}
                20% {transform: translate(30px, -20px)}
                27% {transform: translate(38px, -34px)}
                30% {transform: translate(45px, -30px)}
                37% {transform: translate(53px, -44px)}
                40% {transform: translate(60px, -40px)}
                50% {transform: translate(60px, 0)}
                57% {transform: translate(53px, -14px)}
                60% {transform: translate(45px, -10px)}
                67% {transform: translate(37px, -24px)}
                70% {transform: translate(30px, -20px)}
                77% {transform: translate(22px, -34px)}
                80% {transform: translate(15px, -30px)}
                87% {transform: translate(7px, -44px)}
                90% {transform: translate(0, -40px)}
                100% {transform: translate(0, 0);}
                }
                .overlay {
                        position: fixed;
                        width: 100%;
                        height: 100%;
                        top: 0;
                        left: 0;
                        background-color: rgba(0,0,0,0.5);
                        z-index: 99;
                        cursor: not-allowed;
                        display: flex;
                        justify-content: center;
                        align-items: center;
                        }

</style>
""",
    unsafe_allow_html=True,
# オーバーレイを表示
def show_overlay(text=""):
    st.markdown(
        f"""
        <div class="overlay">
            <div class="loader"></div>
            <div class="loader-text">{text}</div>
        </div>
        """,
        unsafe_allow_html=True,
    )


# オーバーレイを非表示
def hide_overlay():
    st.markdown(
        """
    <style>
    .loader, .overlay {
        display: none !important;
    }
    </style>
    """,
    unsafe_allow_html=True,
おわりに
絵本好きのお子さんをお持ちの皆様、ぜひ使ってみてください!


