記事作成のきっかけ
新たに作成したiOSアプリにFirebaseによるGoogleサインインの実装をするにあたり、以前作成していたiOSのアプリで実装していた内容をそのまま移行しようとしたがうまくいかず、あらためてFirebaseのドキュメントに基づいて実装をすることにしました。
ドキュメントを見てもよくわからないという方が対象です。正しく実装するにはドキュメントを参照いただくのが最も正しいやり方となります。エラーハンドリングはかなり割愛しています。ご注意ください😇
以前参照した記事の通りに実装しているつもりが、エラーメッセージが出力される状態でした。
Firebaseのドキュメント通りに実装している記事が見当たらなかったためこちらに投稿することにしました。
どなたかのお役に立てれば幸いです。
環境
・M1 Mac
・Xcode 13.1
・Swift 5
・実装日 2021/11/20
実装手順
1.Firebaseにプロジェクトを作成する。
2.Xcodeで新たなプロジェクトを作成する。
3.Googleサインインするための設定を行う。
4.XcodeにFirebaseからダウンロードしたファイルをセットする。
5.サインインの実装を行う。
やっていきましょう
1.Firebaseにプロジェクトを作成します。
Firebaseのアカウント作成はこちらから。
Firebaseのコンソールに移動したら、以下のプロジェクトを追加ボタンからプロジェクトを作成します。
プロジェクト名を決めます。
GoogleSignInにしてみました。
Googleアナリティクスはオフで。
プロジェクトを作成ボタンをクリックします。

2.Xcodeで新たなプロジェクトを作成する。
ここではSignInとでもしておきます。
(GoogleSignInでは、モジュールの名前とプロジェクトの名前がかぶってしまいNG)
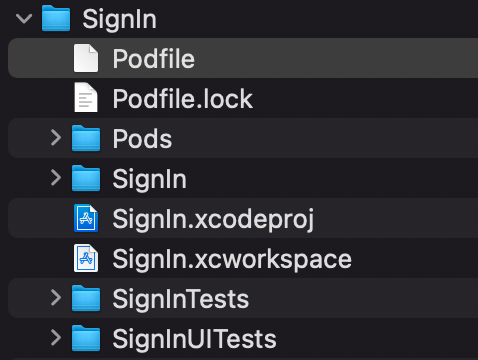
pod ファイルを作成します。
CocoaPodsの導入が必要となりますので、こちらの記事を参照していただくのがいいでしょう。
ターミナルを利用して、SignInのディレクトリで以下のコマンドを実行していきます。
$ pod init
以下のように編集しましょう。
pod 'Firebase/Auth'
pod 'GoogleSignIn'
を追加するだけですね。
# Uncomment the next line to define a global platform for your project
# platform :ios, '9.0'

target 'SignIn' do
  # Comment the next line if you don't want to use dynamic frameworks
  use_frameworks!

  # Pods for SignIn
	pod 'Firebase/Auth'
	pod 'GoogleSignIn'

  target 'SignInTests' do
    inherit! :search_paths
    # Pods for testing
  end

  target 'SignInUITests' do
    # Pods for testing
  end

end
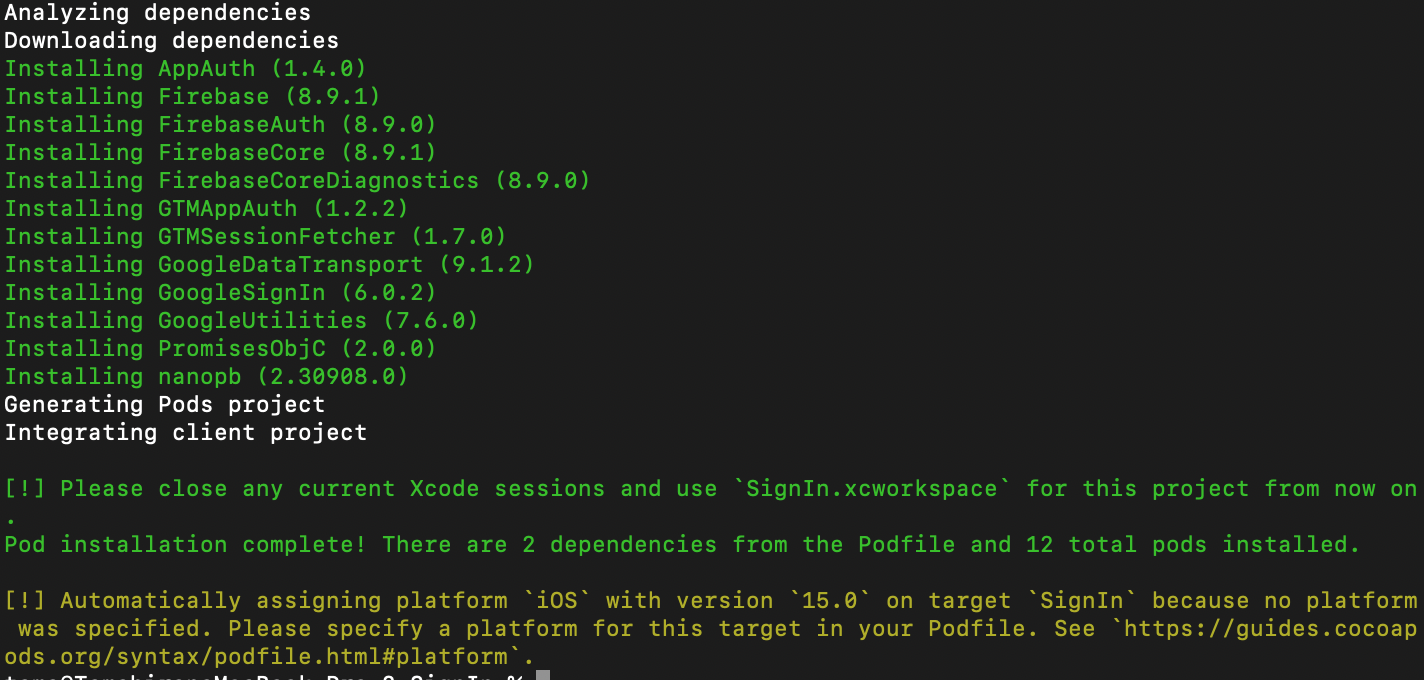
インストールします。
$ pod install
続いて、SignIn.scworkspaceファイルをダブルクリックして、プロジェクトを開きます。
プロジェクトファイルからBundle Identifireをコピーしておきます。
この画像では「com.hogehoge.SignIn」となっていますが、各自の環境のものをコピーしてください。
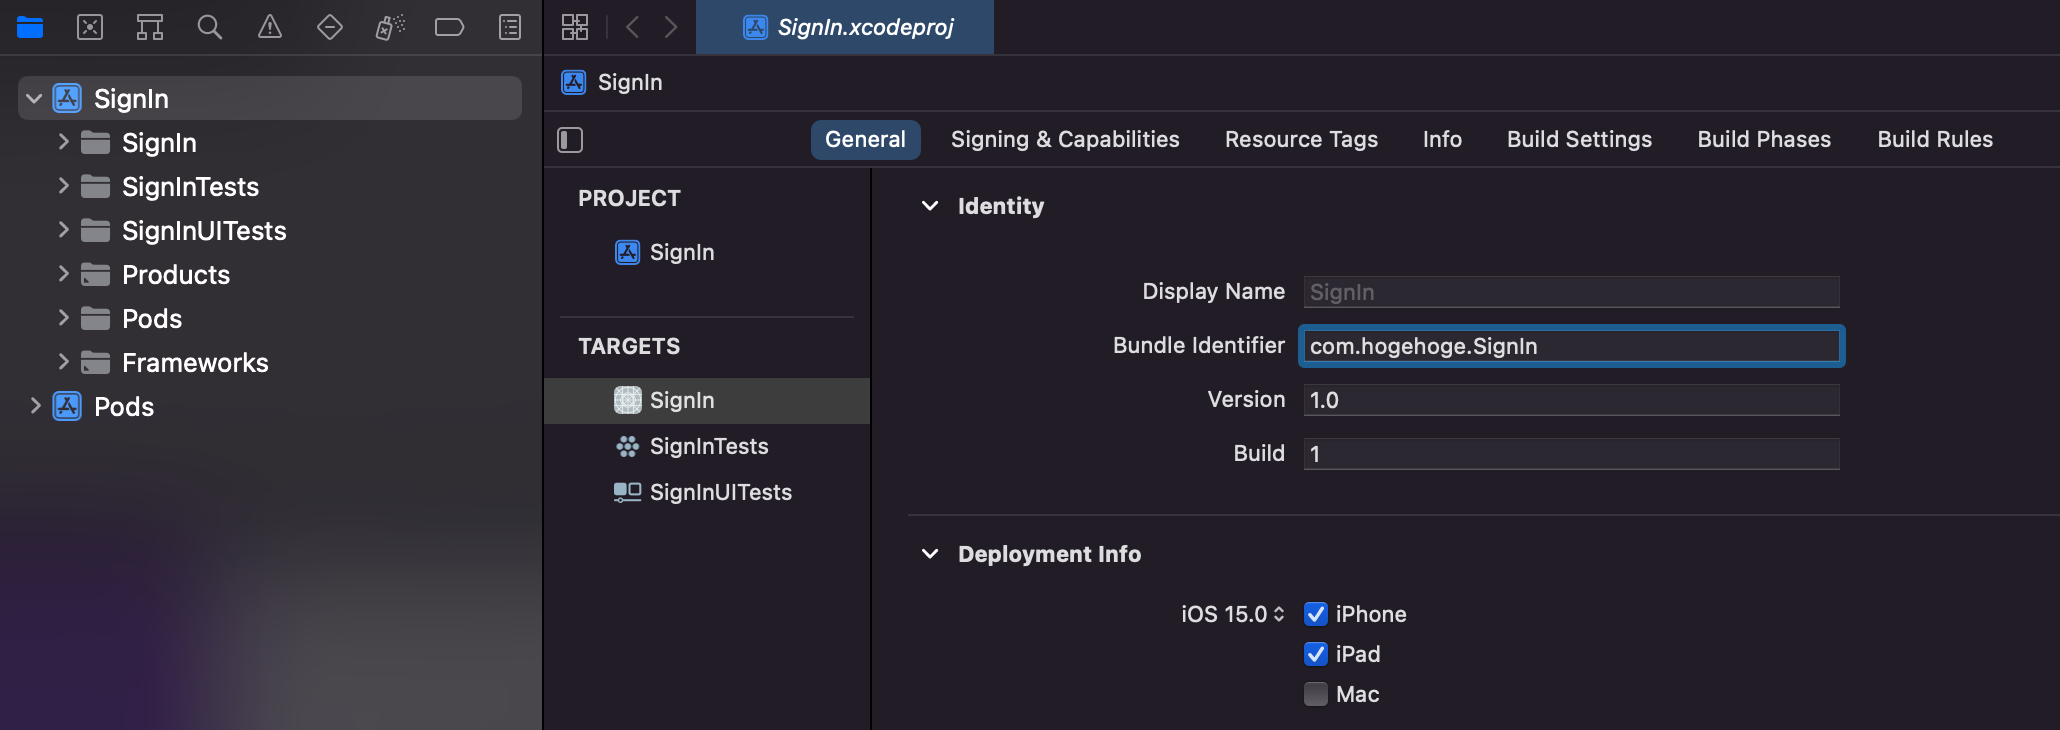
プロジェクトの作成はここまでです。
では、Firebaseのコンソールに戻りましょう。
3.Googleサインインするための設定を行う。
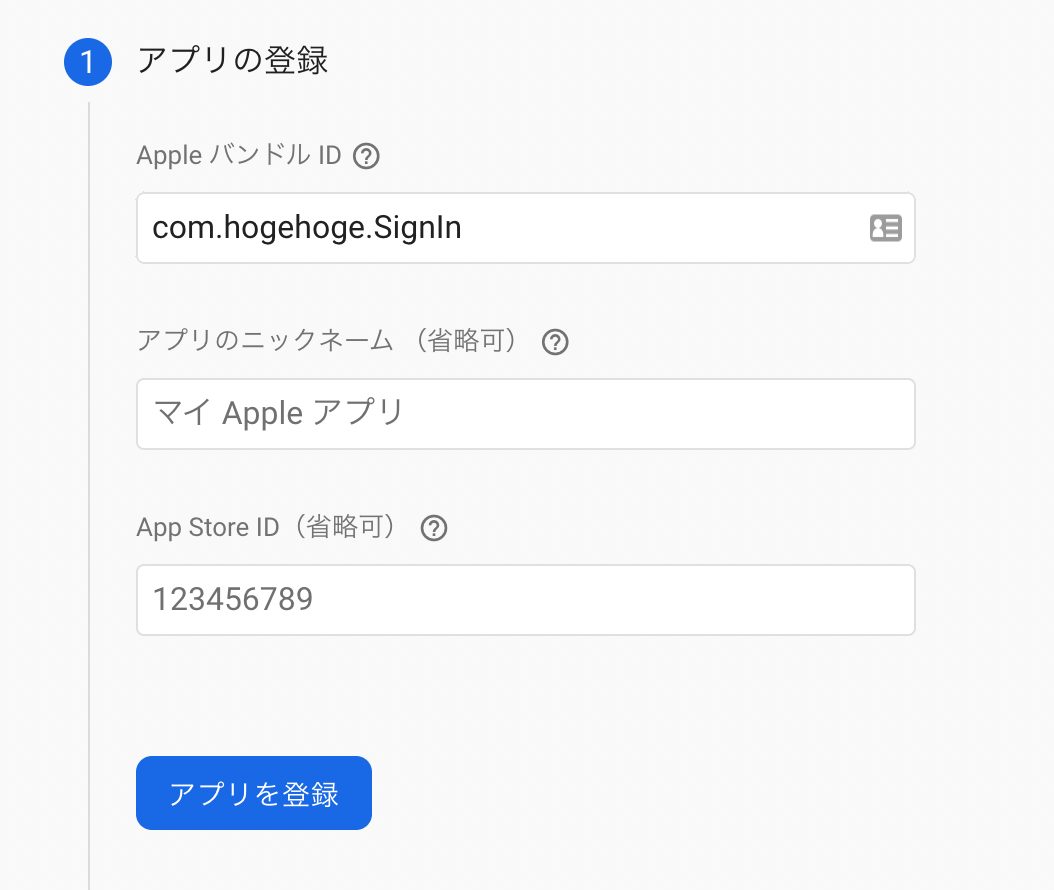
さきほどコピーしたBundle Identifireを貼り付けて、FirebaseとXcodeのプログラムを紐づけます。
アプリを登録ボタンをクリックします。
GoogleService-Info.plistをダウンロードボタンでファイルをダウンロードします。
一旦どこか適当なフォルダに保存しておきましょう。

3のFirabase SDKの追加は何もせず次へ。
4.初期化コードの追加を後でしますので、ここでは次へで大丈夫です。
5.でコンソールに進むをクリックしましょう。
コンソールのトップページに着いたら、左のメニューのAuthenticationをクリックします。

始めるボタンをクリックしましょう。
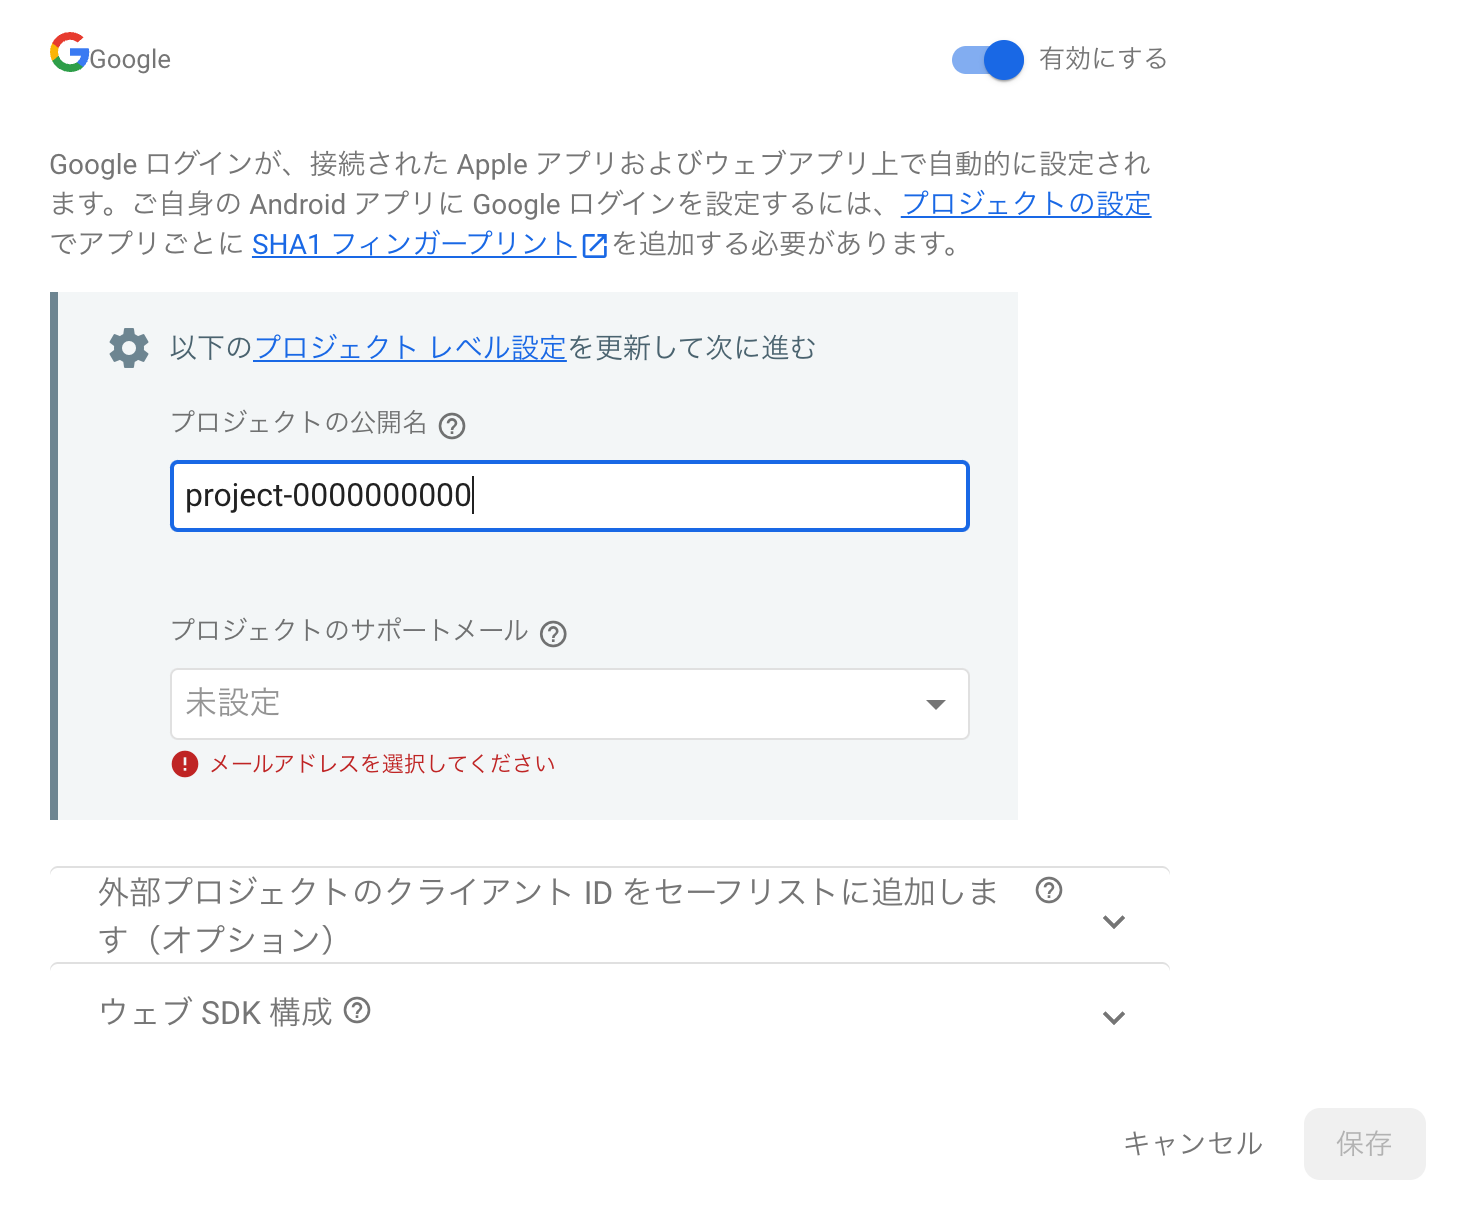
右上の有効にするをクリックします。
プロジェクトの公開名はデフォルト値がセットされているので、変更の必要はありません。
メールアドレスを設定しましょう。
Googleアカウントのメールアドレスが選択できると思います。
保存します。
では、Xcodeに戻りましょう。
4.XcodeにFirebaseからダウンロードしたファイルをセットする。
GoogleService-Info.plistをドラッグして、SignIn/SignInのフォルダにドロップします。
すると、以下の画面となりますので、同様のチェック状態にしてFinishボタンをクリックしてください。
GoogleService-Info.plistを選択して、REVERSED_CLIENT_IDのValueをコピーします。
左のファイルリストからSignInを選択して、Infoのタブを選択します。
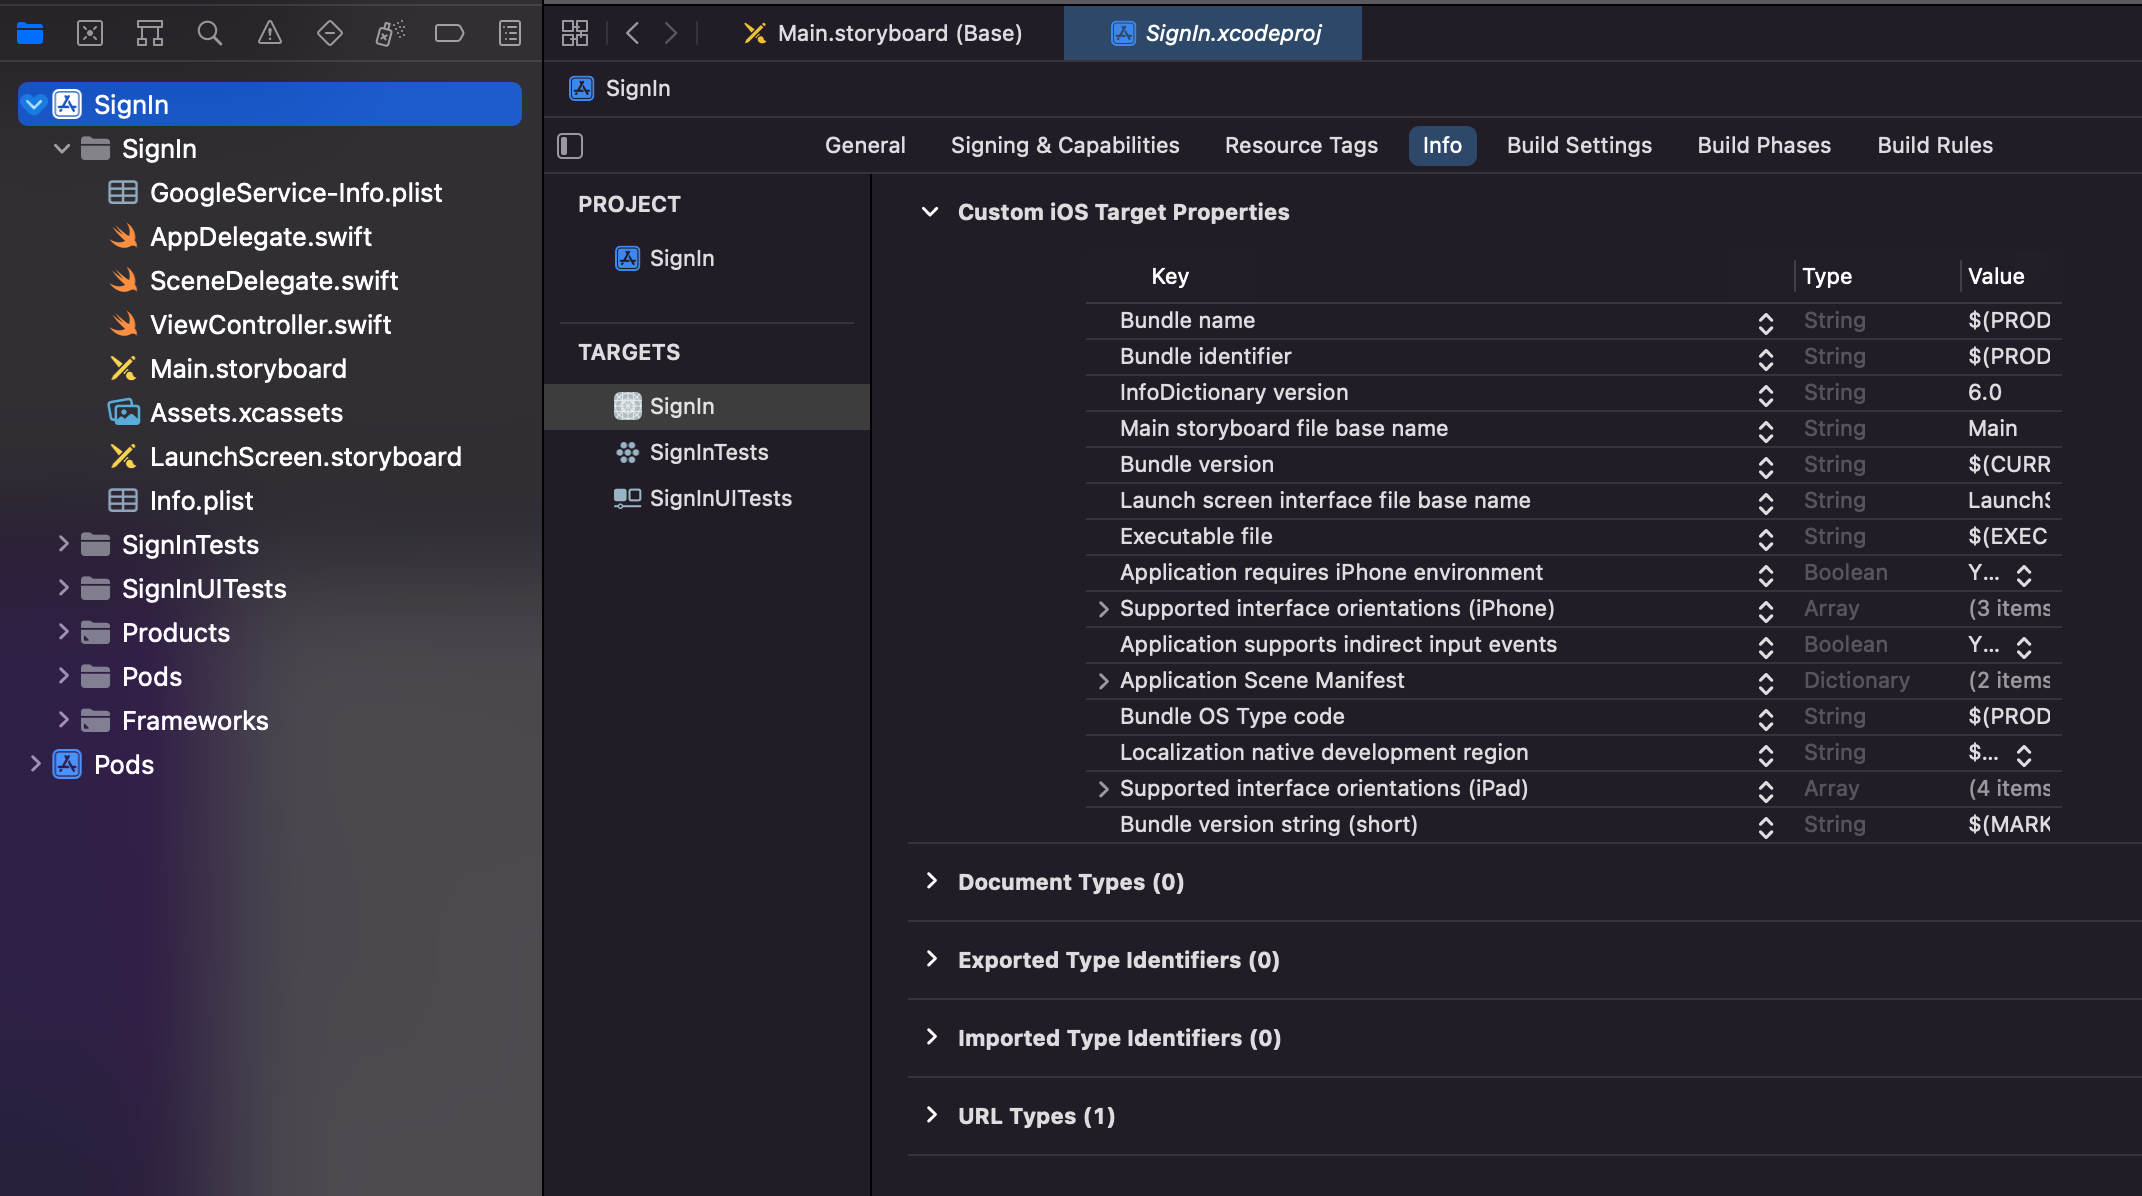
URL Types(0)をクリックしましょう。画像は(1)となっていますが。。
+ボタンで追加です。
URL SchemesにREVERSED_CLIENT_IDのValueを貼り付けます。

5.サインインの実装を行う。
AppDelegate.swiftを以下のように編集します。
Firebaseをインポートして、初期化コードを記述します。
(FirebaseApp.configure())です。
先ほどコンソールの設定で後で説明するとした部分です。
import UIKit
import Firebase

@main
class AppDelegate: UIResponder, UIApplicationDelegate {


    func application(_ application: UIApplication, didFinishLaunchingWithOptions launchOptions: [UIApplication.LaunchOptionsKey: Any]?) -> Bool {
        // Override point for customization after application launch.
        FirebaseApp.configure()
        return true
    }

    // MARK: UISceneSession Lifecycle

    func application(_ application: UIApplication, configurationForConnecting connectingSceneSession: UISceneSession, options: UIScene.ConnectionOptions) -> UISceneConfiguration {
        // Called when a new scene session is being created.
        // Use this method to select a configuration to create the new scene with.
        return UISceneConfiguration(name: "Default Configuration", sessionRole: connectingSceneSession.role)
    }

    func application(_ application: UIApplication, didDiscardSceneSessions sceneSessions: Set<UISceneSession>) {
        // Called when the user discards a scene session.
        // If any sessions were discarded while the application was not running, this will be called shortly after application:didFinishLaunchingWithOptions.
        // Use this method to release any resources that were specific to the discarded scenes, as they will not return.
    }


}
では、画面にボタンを設置しましょう。
Main.storyboardの右上の+ボタンでボタンを選択して、ドラッグアンドドロップですね。

storyboardとViewController.swiftを並べて表示し、Ctrlを押しながらドラッグアンドドロップでViewController.swiftにButtonを関連づけます。
ボタンの名前はGoogleSignInButtonとしました。
デザインはここでは触れませんが、お好みに調整してみてください。
以下のようにViewControllerを編集します。
import UIKit
import Firebase
import FirebaseAuth
import GoogleSignIn

class ViewController: UIViewController {

    // 設置したボタンを関連づけ
    @IBOutlet weak var GoogleSignInButton: UIButton!
    override func viewDidLoad() {
        super.viewDidLoad()
        // ボタンをタップした時のアクションを指定。SignInファンクションを呼び出すよ。
        GoogleSignInButton.addTarget(self, action: #selector(SignIn), for: .touchUpInside)
    }

    // サインインを行います。
    @objc func SignIn() {
        print("サインインします。")
        guard let clientID = FirebaseApp.app()?.options.clientID else { return }

        // Create Google Sign In configuration object.
        let config = GIDConfiguration(clientID: clientID)

        // Start the sign in flow!
        GIDSignIn.sharedInstance.signIn(with: config, presenting: self) { [unowned self] user, error in
            if let error = error {
                print(error)
                return
            }
            guard
                let authentication = user?.authentication,
                let idToken = authentication.idToken
            else {
                return
            }
            let credential = GoogleAuthProvider.credential(withIDToken: idToken,
                                                           accessToken: authentication.accessToken)
            Auth.auth().signIn(with: credential) { authResult, error in
                if let error = error {
                    let authError = error as NSError
                    print(authError)
                    return
                }
                print("Googoleアカウントでサインしました。")
            }
        }
    }
}
Buttonの部分をクリックします。
Continueで実際のGoogleアカウントでログインしてみてください。
ログインができれば、Xcodeの下部に表示されるログにサインインが成功した表示が出ます。

また、FirebaseのコンソールのAuthenticationにもサインインしたアカウント情報が表示されます。
これで、完成です。
お疲れ様でした。
