m5stackをさわる機会があったので、ディスプレイあるけど、よくあるLチカをやってみました。
ArduinoIDEのセットアップや開発できるようにするのは別の方の記事をご参考にしてください。
使ったLEDはこれ
http://akizukidenshi.com/catalog/g/gI-01322/
ここで抵抗を計算して、80Ωを用意。
http://akizukidenshi.com/download/led-r-calc.pdf
で、さっそくやってみます。
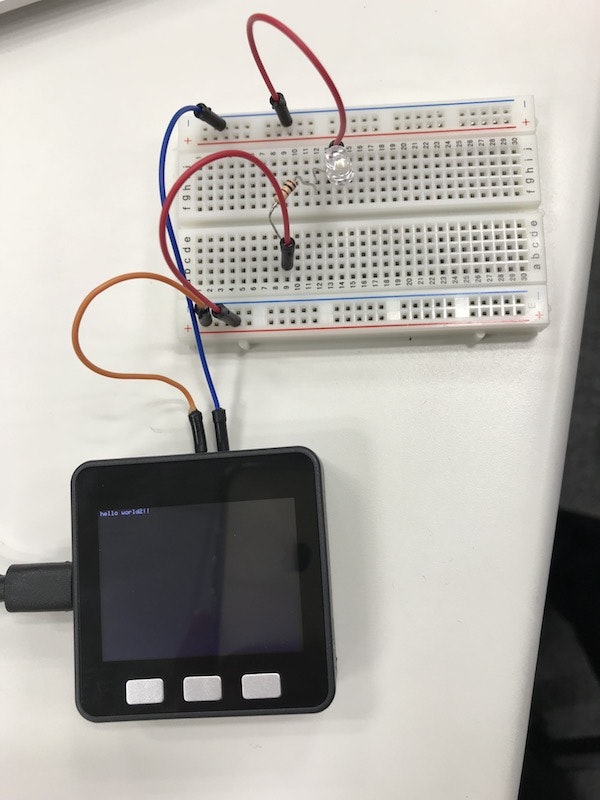
で、ブレッドボードにつなげます。
つなげ方は「Arduino Lチカ」とか検索すると丁寧に解説してるサイトがあるのでそちらをご参照ください。
あとは、ソース書くだけです。
# include <M5Stack.h>

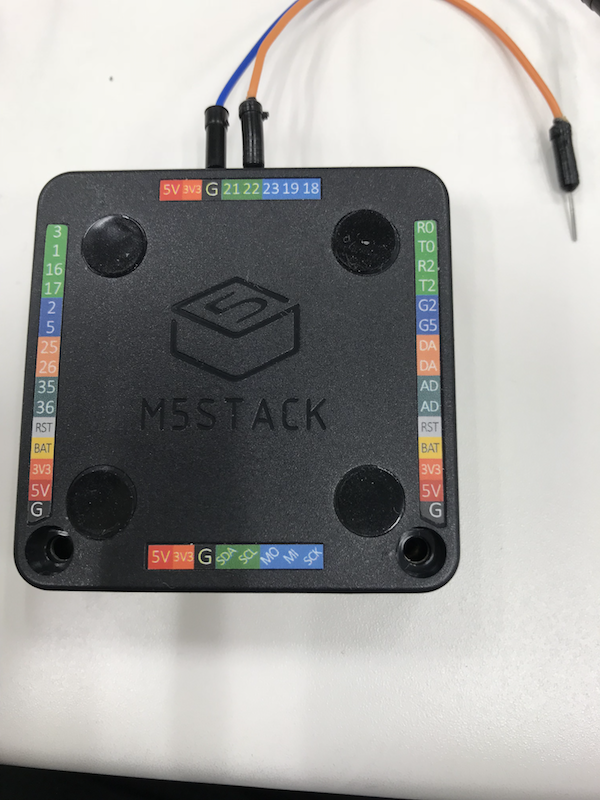
int ledPin = 22;     // 今回は22のpinに挿したので。
int ledState = LOW;

// the setup routine runs once when M5Stack starts up
void setup(){

  // Initialize the M5Stack object
  M5.begin();

  // 一応、hello worldも。
  M5.Lcd.printf("hello world");

  pinMode(ledPin, OUTPUT);
}

// the loop routine runs over and over again forever
void loop() {

  // BtnAを押したらLEDをオン
  if (M5.BtnA.wasPressed()) {
    ledState = HIGH;
    digitalWrite(ledPin, ledState);
  }

  // BtnBを押したらLEDをオフ
  if (M5.BtnB.wasPressed()) {
    ledState = LOW;
    digitalWrite(ledPin, ledState);
  }

  m5.update();
}
このソースを書き込めば、
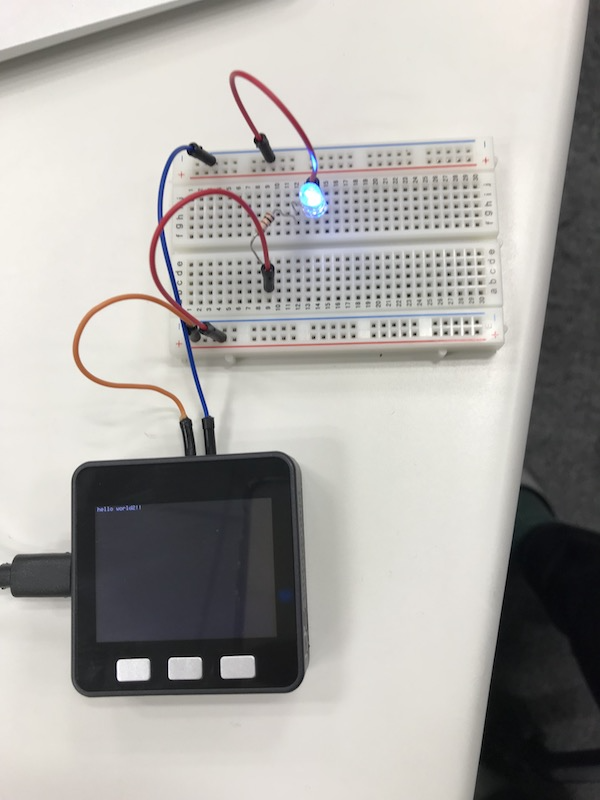
画面にはhello worldが表示されて、A、BボタンでLEDのオンオフができます。


