TextBoxをViewModelと紐づけ、さらにTextBlockに表示させる
概要
WPF in C# with MVVM using Caliburn Microの22分目あたりからを参考に、Caliburn.Microを用いてWPFアプリケーションを作成する(1) で作った空ウィンドウにテキストを表示させてみる。
完成形
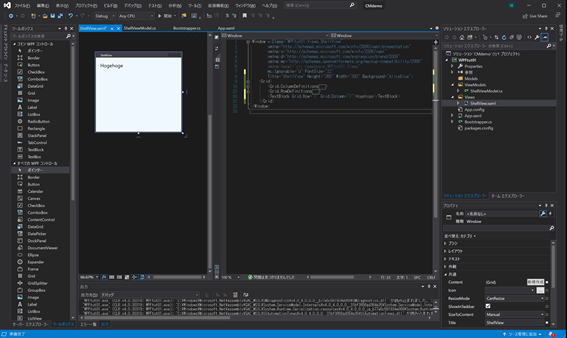
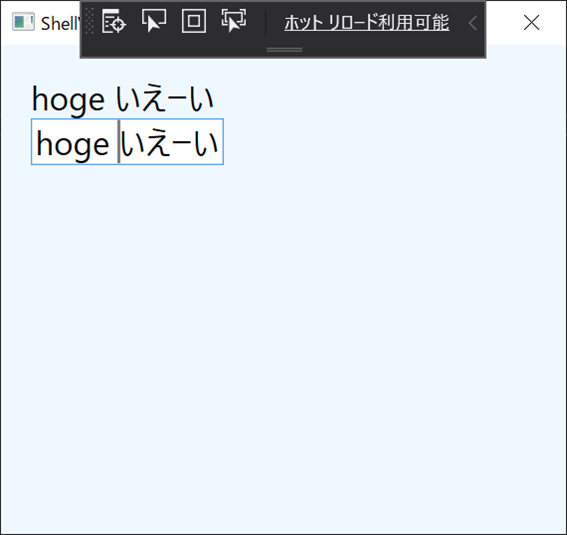
テキストボックスと連動した文字列表示ができる次のようなウィンドウを作る。
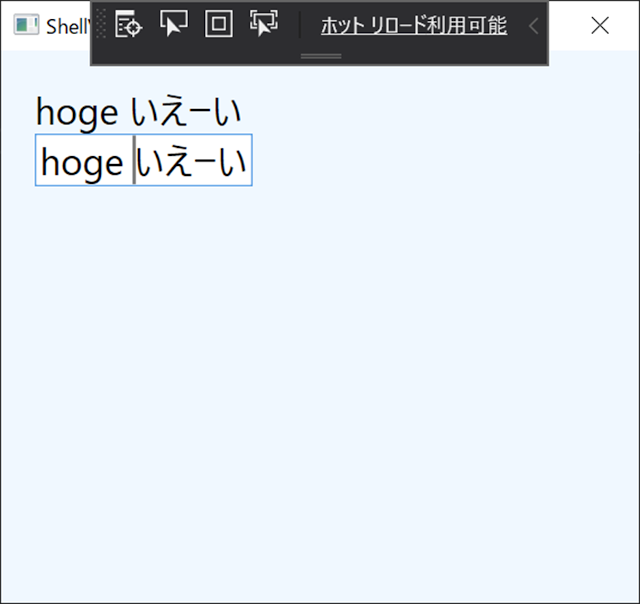
まずは簡単な文字列表示
空ウィンドウを準備し、View編集
前回 の続き。
WPFプロジェクトで空ウィンドウが出るまでを作成。
ViewModelにプロパティをセット
ShellViewModel.csを開き、'propfull'とタイプ後、タブキーを2回押しSnippet展開(↓のようになる)。
		private int myVar;

		public int MyProperty
		{
			get { return myVar; }
			set { myVar = value; }
		}
動画にあわせて、snippetを編集。FirstNameプロパティを作成する。
Viewにテキストを追加
つづいてShellView.xamlを編集する。
動画のとおり、VisualStudioの編集画面を横並びにしてみる。
TextBlockタグを置き、文字列表示
動画のとおりに Gridタグ内に、Grid.ColumnDefinitions, Grid.RowDifinitionsを記述。
1,1のセル(?)部分に、TextBlockを配置。要素内に何らかの値を入れてみる。
ウィンドウのプレビューを確認。
ViewModelへの接続
続いて、TextBlock内に入れた文字列を消し、x:Nameを設定する。
<TextBlock x:Name="FirstName" Grid.Row="1" Grid.Column="1"></TextBlock>
テスト実行 (何も変わらない)
ここで実行しても、ウィンドウは空白のままで、TextBlockの内容は表示されない。
なぜなら先ほど設定したShellViewModelのプロパティに何も値がはいっていないため。
ShellViewModelに初期値を設定する
_firstName宣言部に、初期値を入れる。
private string _firstName = "hoge hoge";
ここで実行すると、ViewModelの内容がバインドされて表示される。
テキストボックスの作成
TextBoxの作成
つづいてTextBoxをTextBlockの下に作成してみる。
x:Nameで同じものが作れないことを味わってみる。
元Windowのプロパティ WindowStartupLocationを Manual→CenterScreenに変更してみる(このあたりは動画のとおりに触ってみる)
次のようにShellView.xamlを編集する。
        <TextBlock Text="{Binding Path=FirstName, Mode=OneWay}" Grid.Row="1" Grid.Column="1"></TextBlock>
        <TextBox MinWidth="100" Grid.Row="2" Grid.Column="1" x:Name="FirstName"></TextBox>
この状態で実行しても、プロパティ初期値は表示されるが、TextBoxの内容とはひもづいてないので、入力しても変化はない。
プロパティの変化をViewに伝える
ShellViewModel.csのsetに 'NotifyOfPropertyChange' を追加する。
using Caliburn.Micro;
using System;
using System.Collections.Generic;
using System.Linq;
using System.Text;
using System.Threading.Tasks;

namespace WPFtut01.ViewModels
{
	public class ShellViewModel : Screen
	{
		private string _firstName = "hoge hoge";

		public string FirstName
		{
			get
			{
				return _firstName;
			}
			set
			{
				_firstName = value;
				NotifyOfPropertyChange(() => FirstName);
			}
		}
	}
}
テスト実行(TextBox連携確認)
この状態で実行すると、変更が通知され、TextBoxの内容がTextBlockと連携される。
LastNameを追加する
ShellViewModel内に、FirstNameと同様にLastNameを追加する。
FirstNameとLastNameを表示するFullNameを追加する
さらにFullNameを追加する。
FullNameは、FirstNameあるいはLastNameのいずれかが変化したときに追従しないといけないので、Notify部分は両方適用されるように編集する。
		public string FirstName
		{
			get
			{
				return _firstName;
			}
			set
			{
				_firstName = value;
				NotifyOfPropertyChange(() => FirstName);
				NotifyOfPropertyChange(() => FullName);
			}
		}

		public string LastName
		{
			get {
				return _lastName;
			}
			set {
				_lastName = value;
				NotifyOfPropertyChange(() => LastName);
				NotifyOfPropertyChange(() => FullName);
 			}
		}

		public string FullName
		{
			get { return $"{ FirstName } { LastName }"; }
		}
Viewの表示を変更する
TextBlockにFullNameを表示、TextBoxでFirstName, LastNameを編集できるようにする。
        <TextBlock Text="{Binding Path=FullName, Mode=OneWay}" Grid.Row="1" Grid.Column="1"></TextBlock>
        <TextBox MinWidth="100" Grid.Row="2" Grid.Column="1" x:Name="FirstName"></TextBox>
        <TextBox MinWidth="100" Grid.Row="2" Grid.Column="2" x:Name="LastName"></TextBox>
FullNameが表示されるかテスト実行
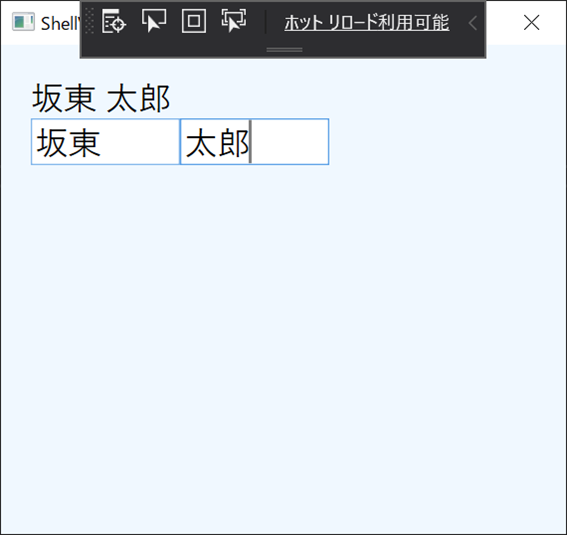
FirstNameとLastNameが合体したFullNameが表示されることを確認する。
Gridのレイアウト修正を行う
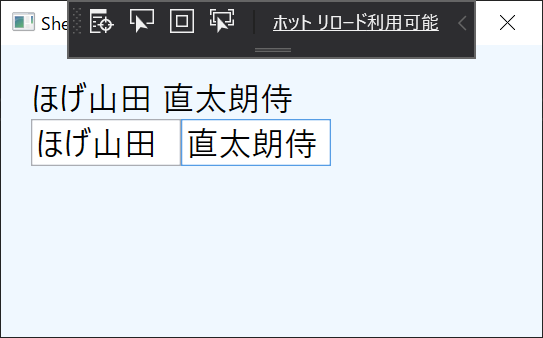
1列目にFullName表示すると、はみ出す場合があるので、Grid.ColumnSpanを設定し、2セル分つかうようにしてみる。
まとめ
- ViewModelで設定したプロパティは、Xaml上にText="Binding Path=~"やx:Name=""の形で呼び出せる
- 変更は NotifyOfPropertyChange(()=>プロパティ); で通知する
