はじめに
題名の通り。
KeyPathを指定すると、型に応じて適切な編集画面を出してくれるSwifUIのViewを作りたかった。
こんな感じの構造体があった時に
struct Item {
    var title: String
    var count: Int
    var color: UIColor
    var date: Date?
}

var item = Item(
    title: "こんにちは",
    count: 0,
    color: .red,
    date: Date()
)
こんな感じで、itemとkeyPathを指定すると、適切な編集UIに振り分けてくれる感じ
EditValueView(item, keyPath: \.title)
EditValueView(item, keyPath: \.count)
EditValueView(item, keyPath: \.color)
EditValueView(item, keyPath: \.date)
今回、自分が考えた、型とその対応する編集画面のUIを列挙していく。
本文
型と編集画面
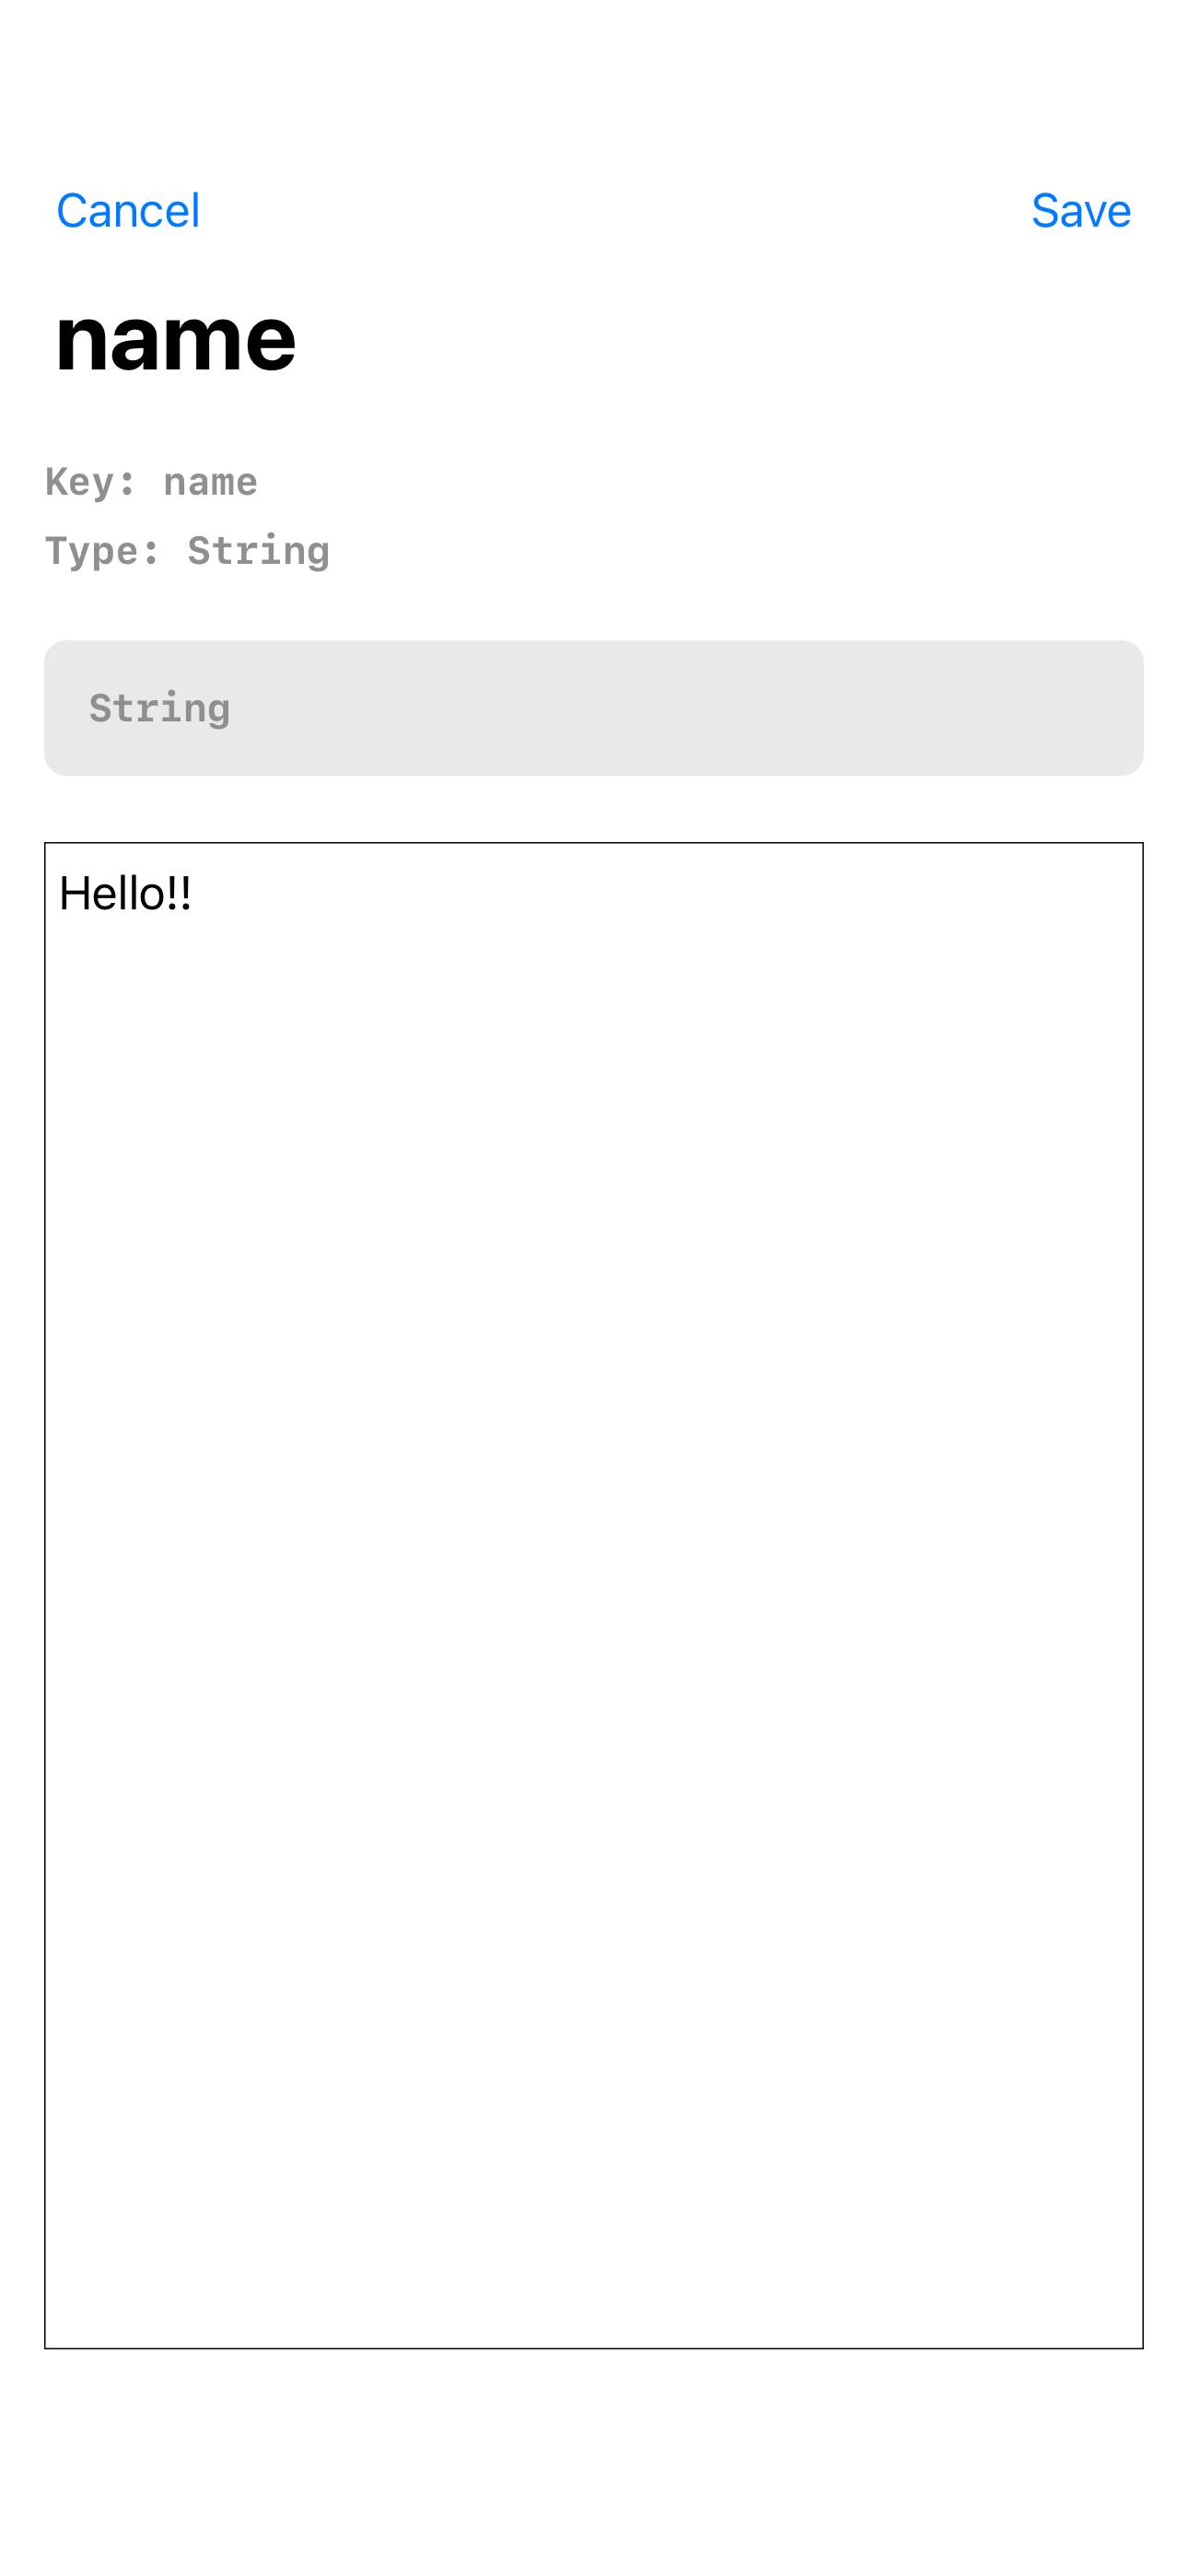
String
TextEditor(UITextView)をそのまま利用した
Bool
Toggle(UISwitch)をそのまま利用した

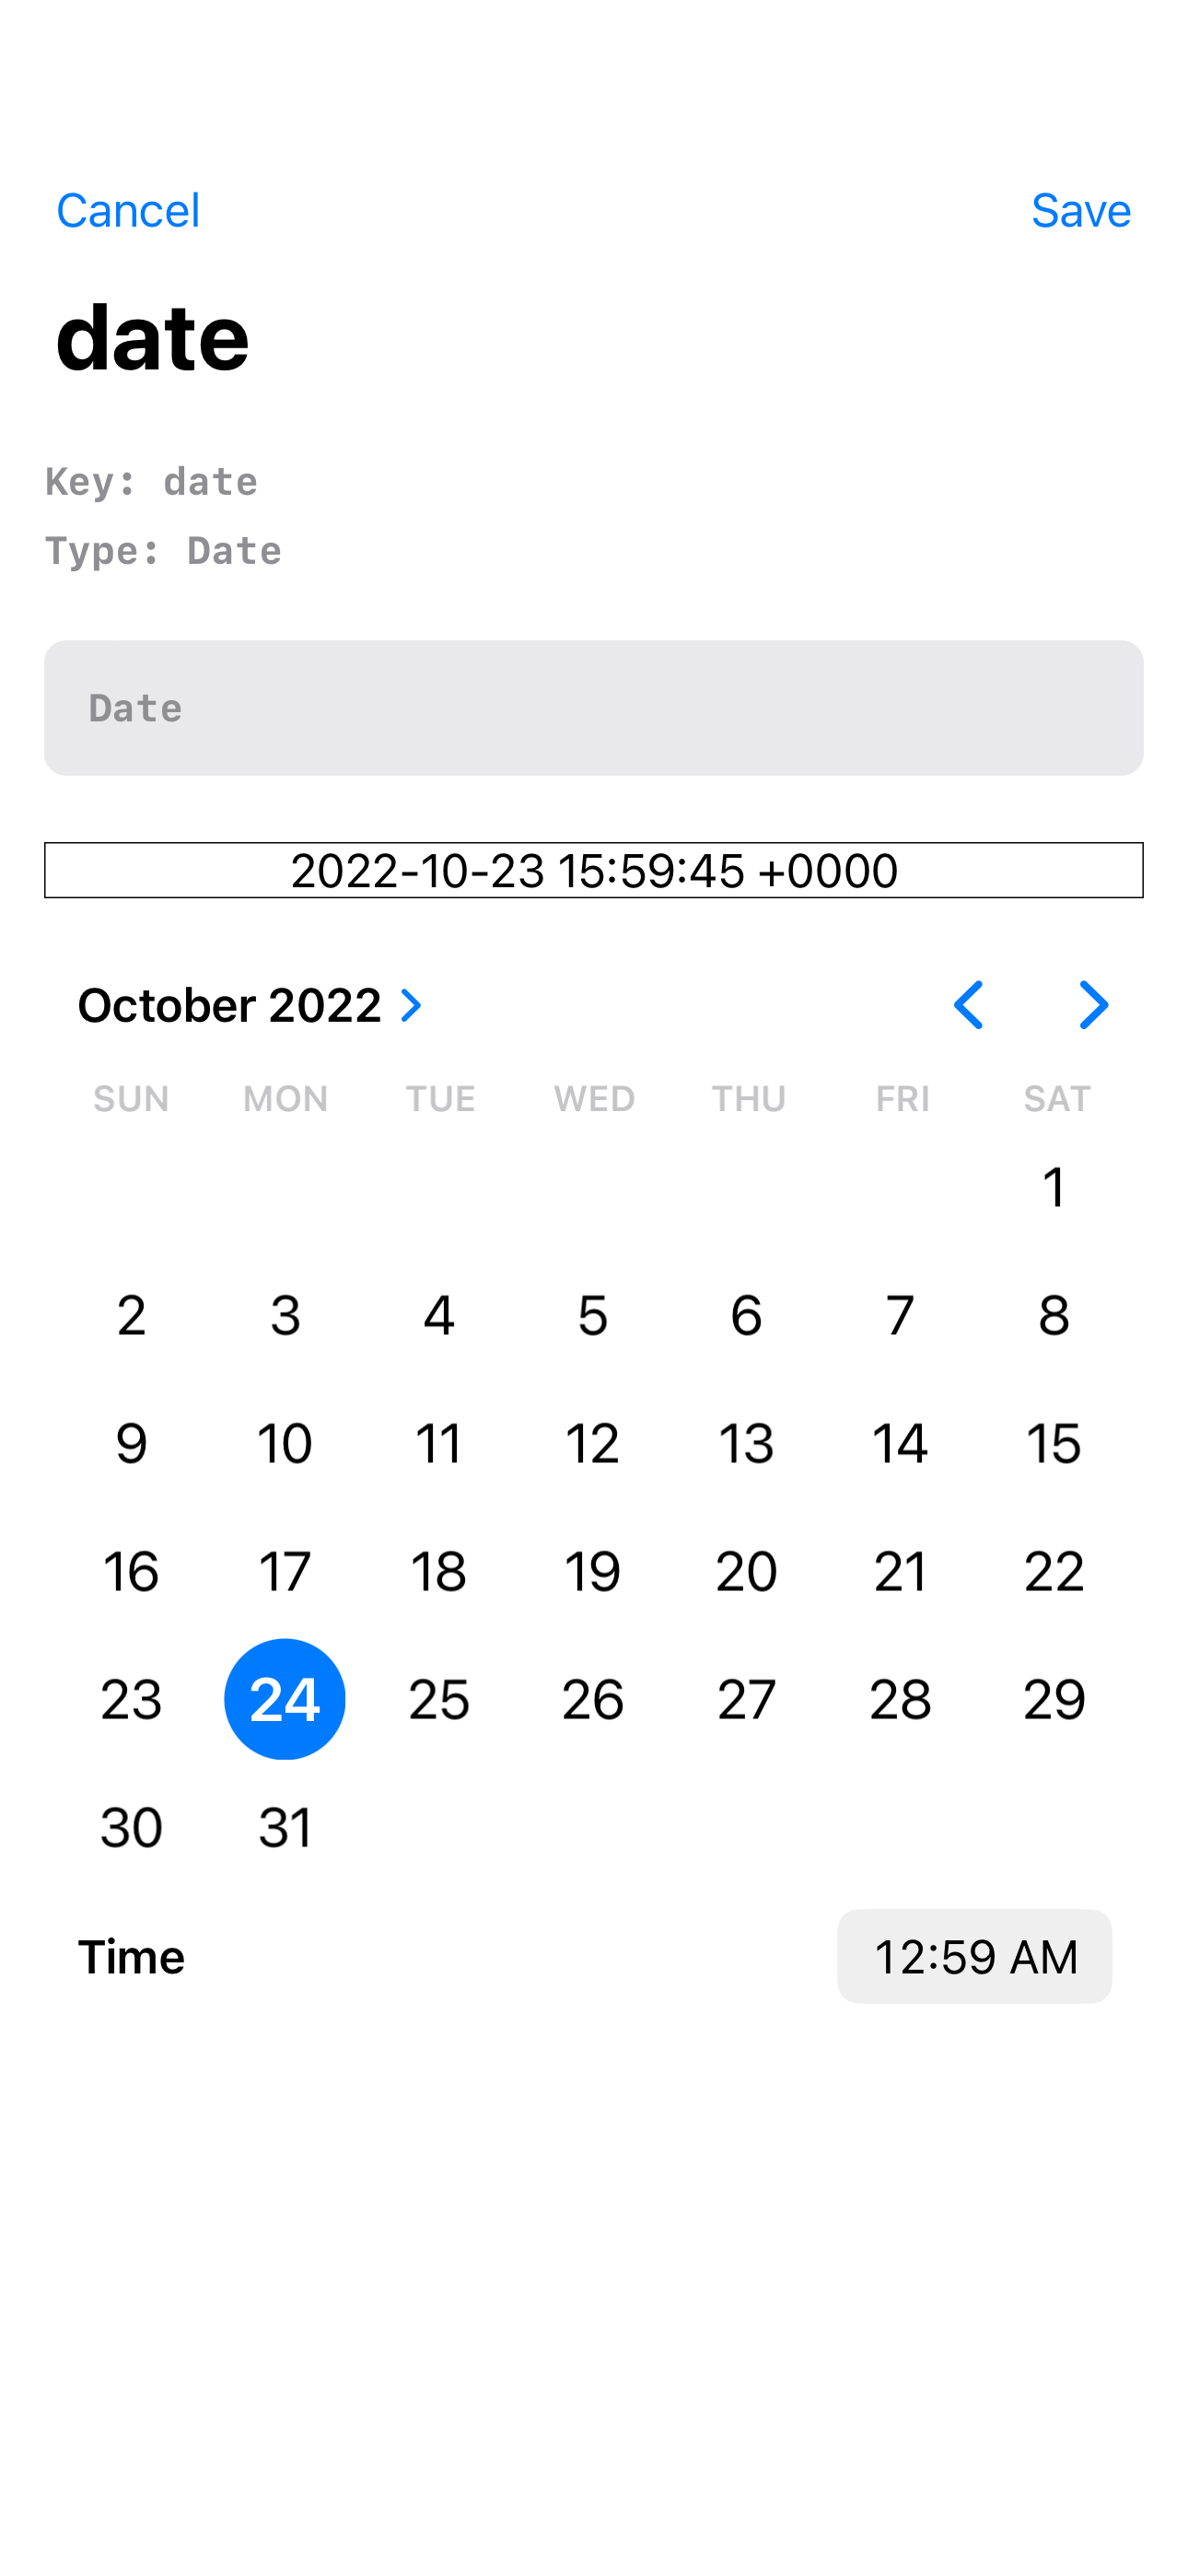
Date
DatePickerをgraphicalスタイルで利用した
Color, UIColor, NSColor, CGColor, CIColor
ColorPickerを利用した。
ColorPickerはSwiftUIのColorとCGColorにしか対応していないので、その他の型は一度CGColorに変換して表示している。

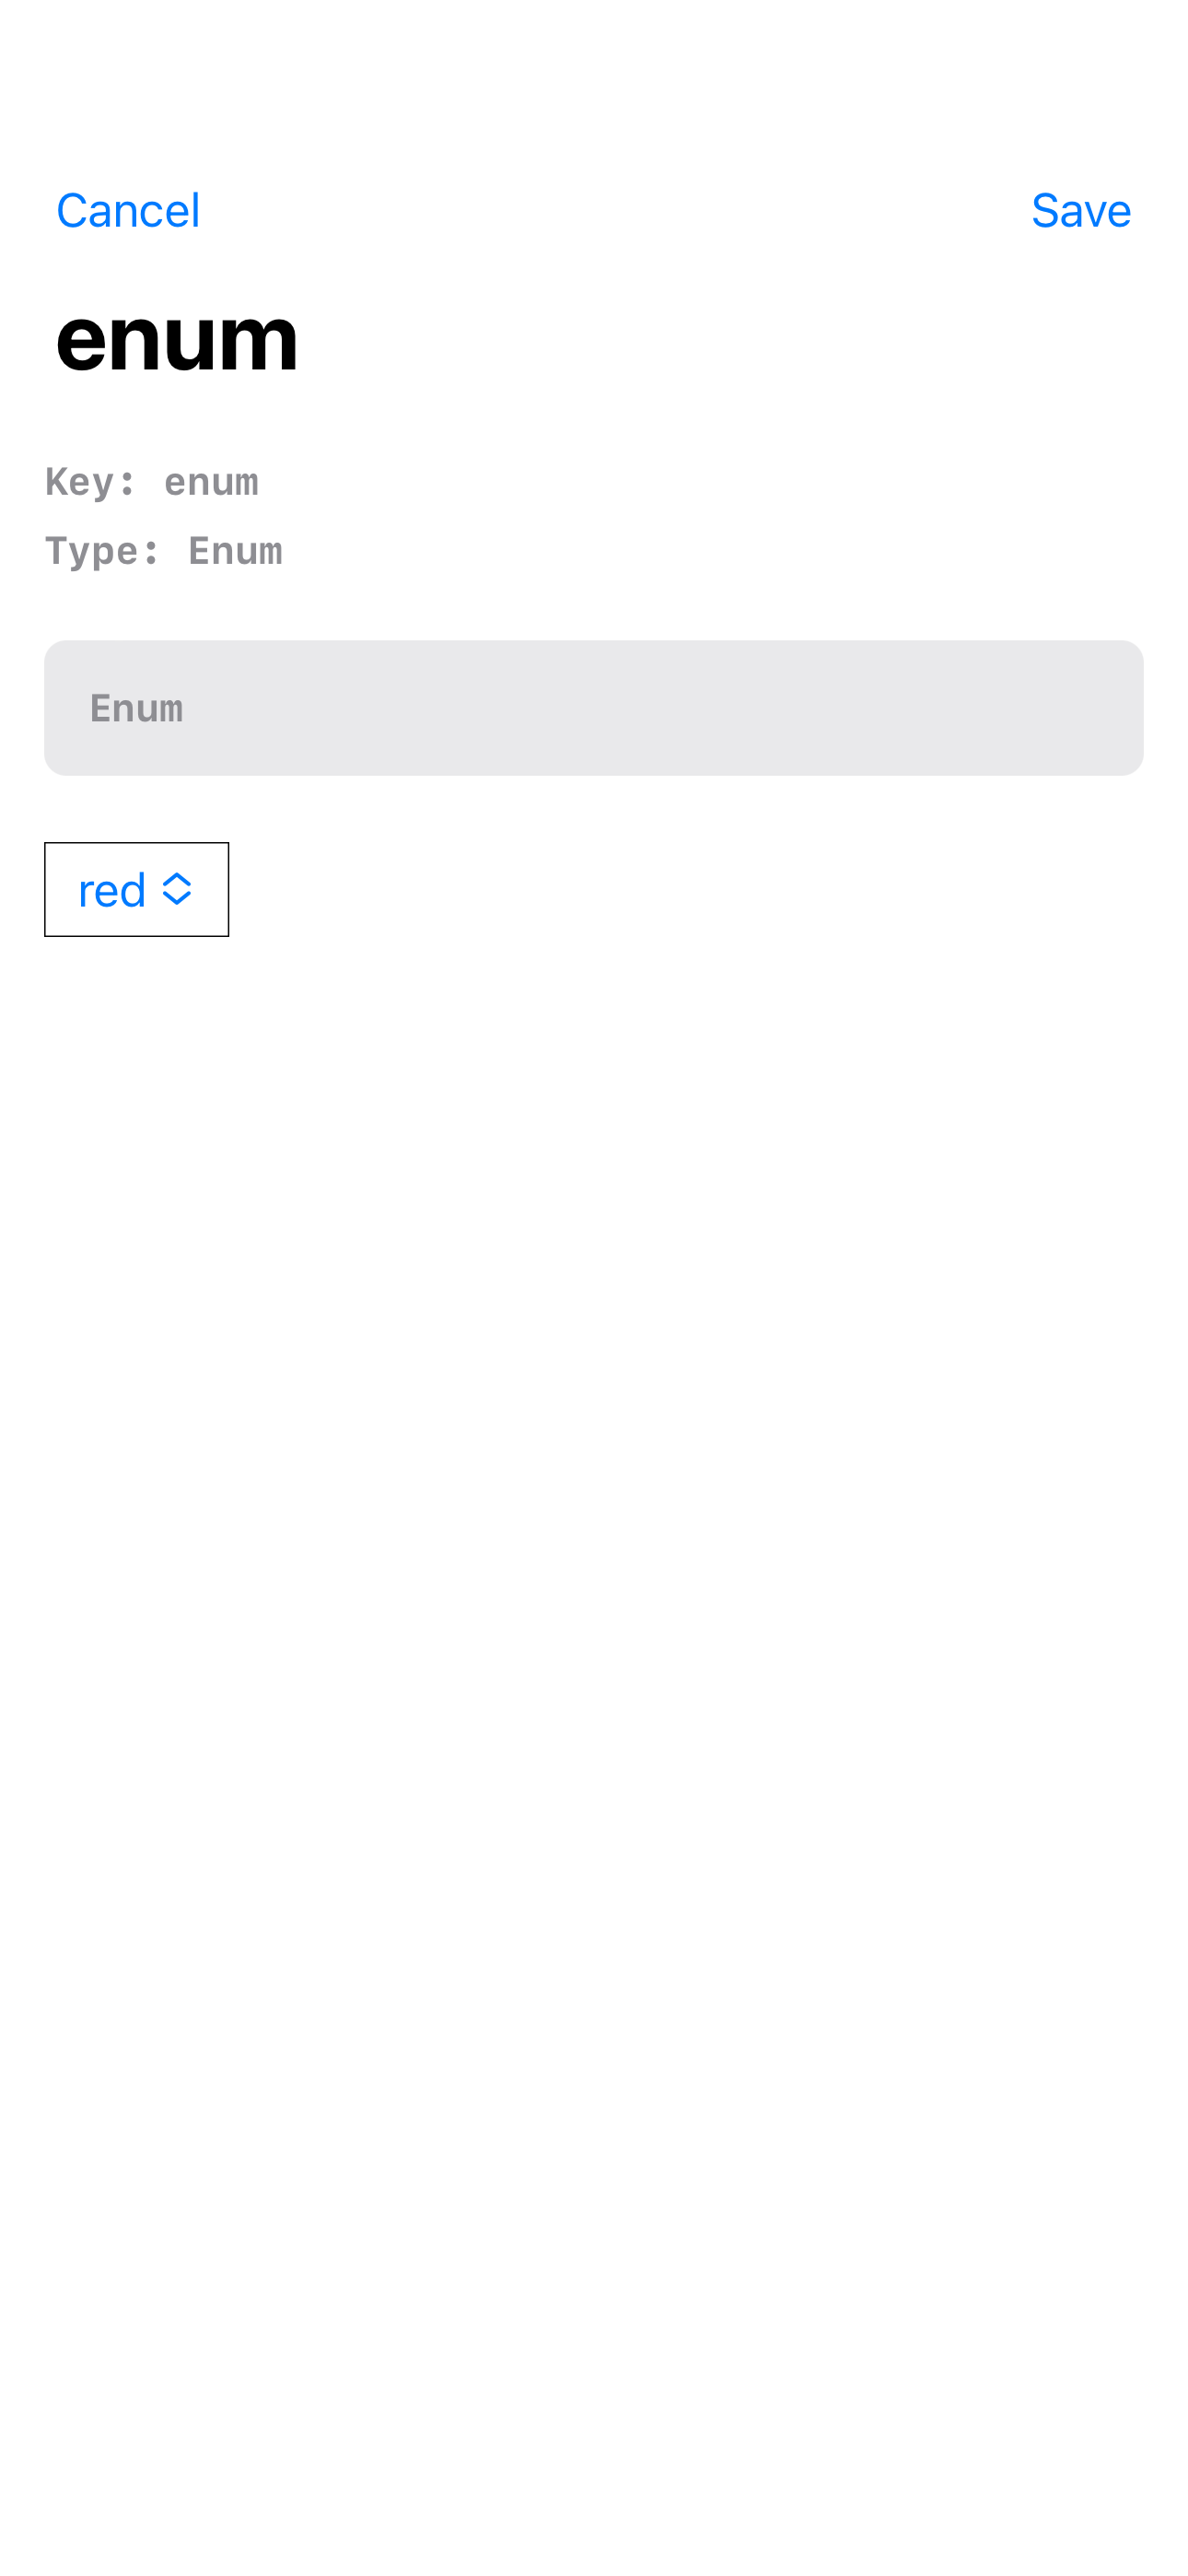
Enum(CaseIterable)
せっかく選択肢を全て取得できるので、Pickerを採用した。
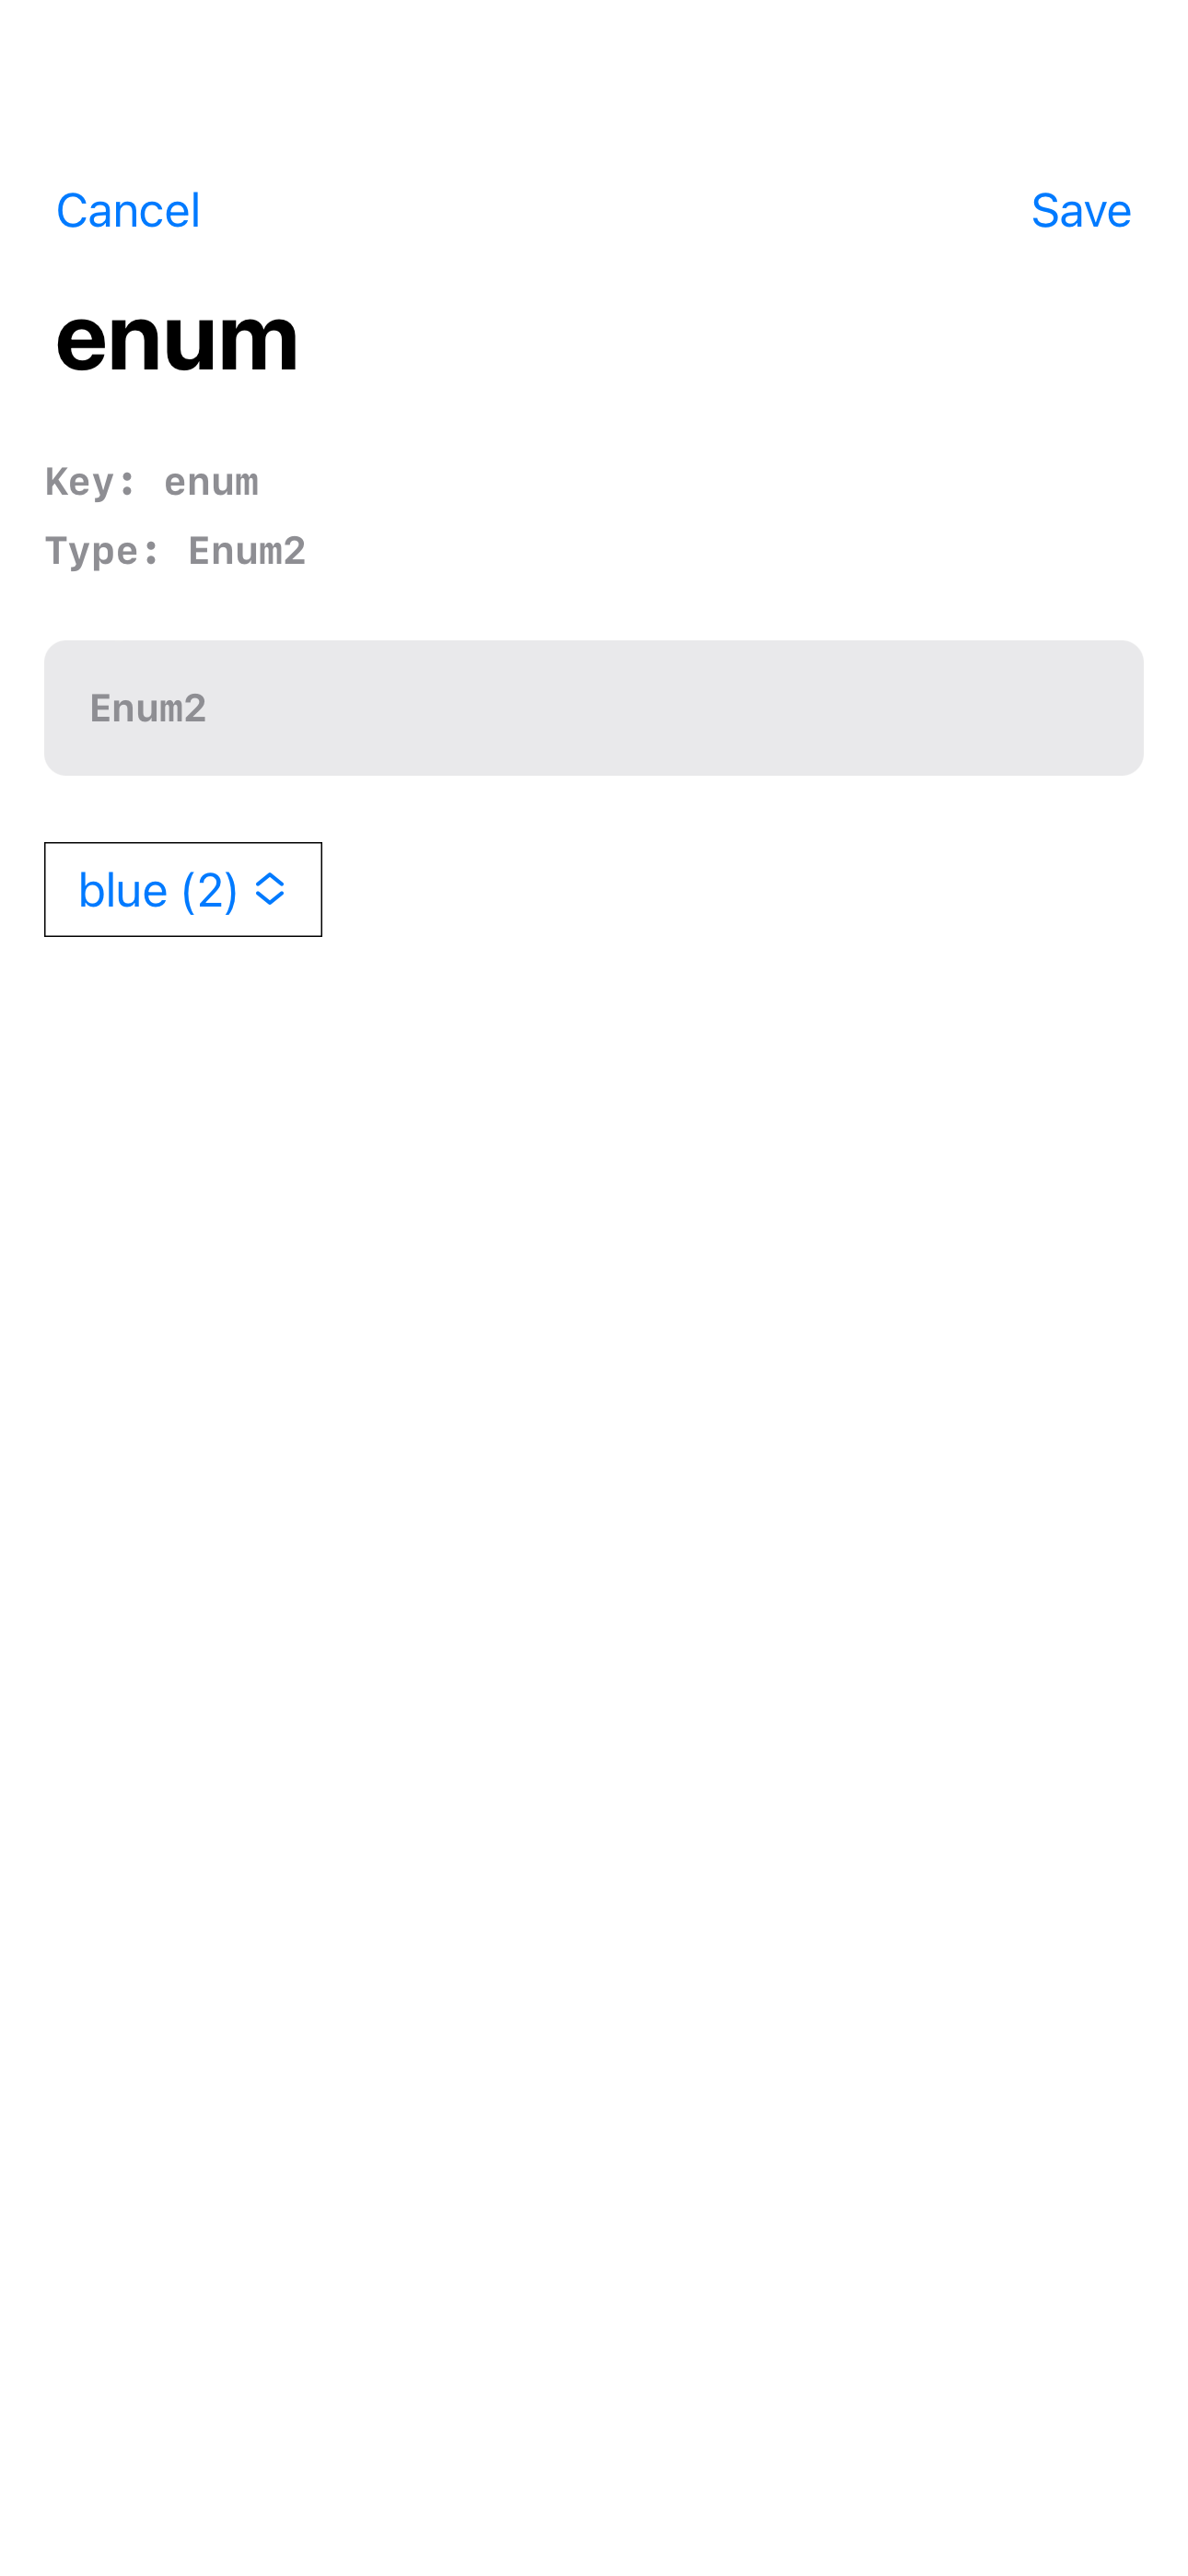
Enum(CaseIterable & RawRepresentable)
せっかくrawValueも取得できるならと、一緒に表示することにした。
Codable
jsonとの相互変換が可能なので、これを利用してString形式で編集できるようにした。
ただ、型のプロパティを知らないと、どんなKeyが存在してどんな形式でJSONを入力すれば良いかわからないので、ヒントとしてプロパティの情報をMirrorにより取得して表示するようにしている
(正確にはCodingKeyの実装によっては間違っている場合もある。)

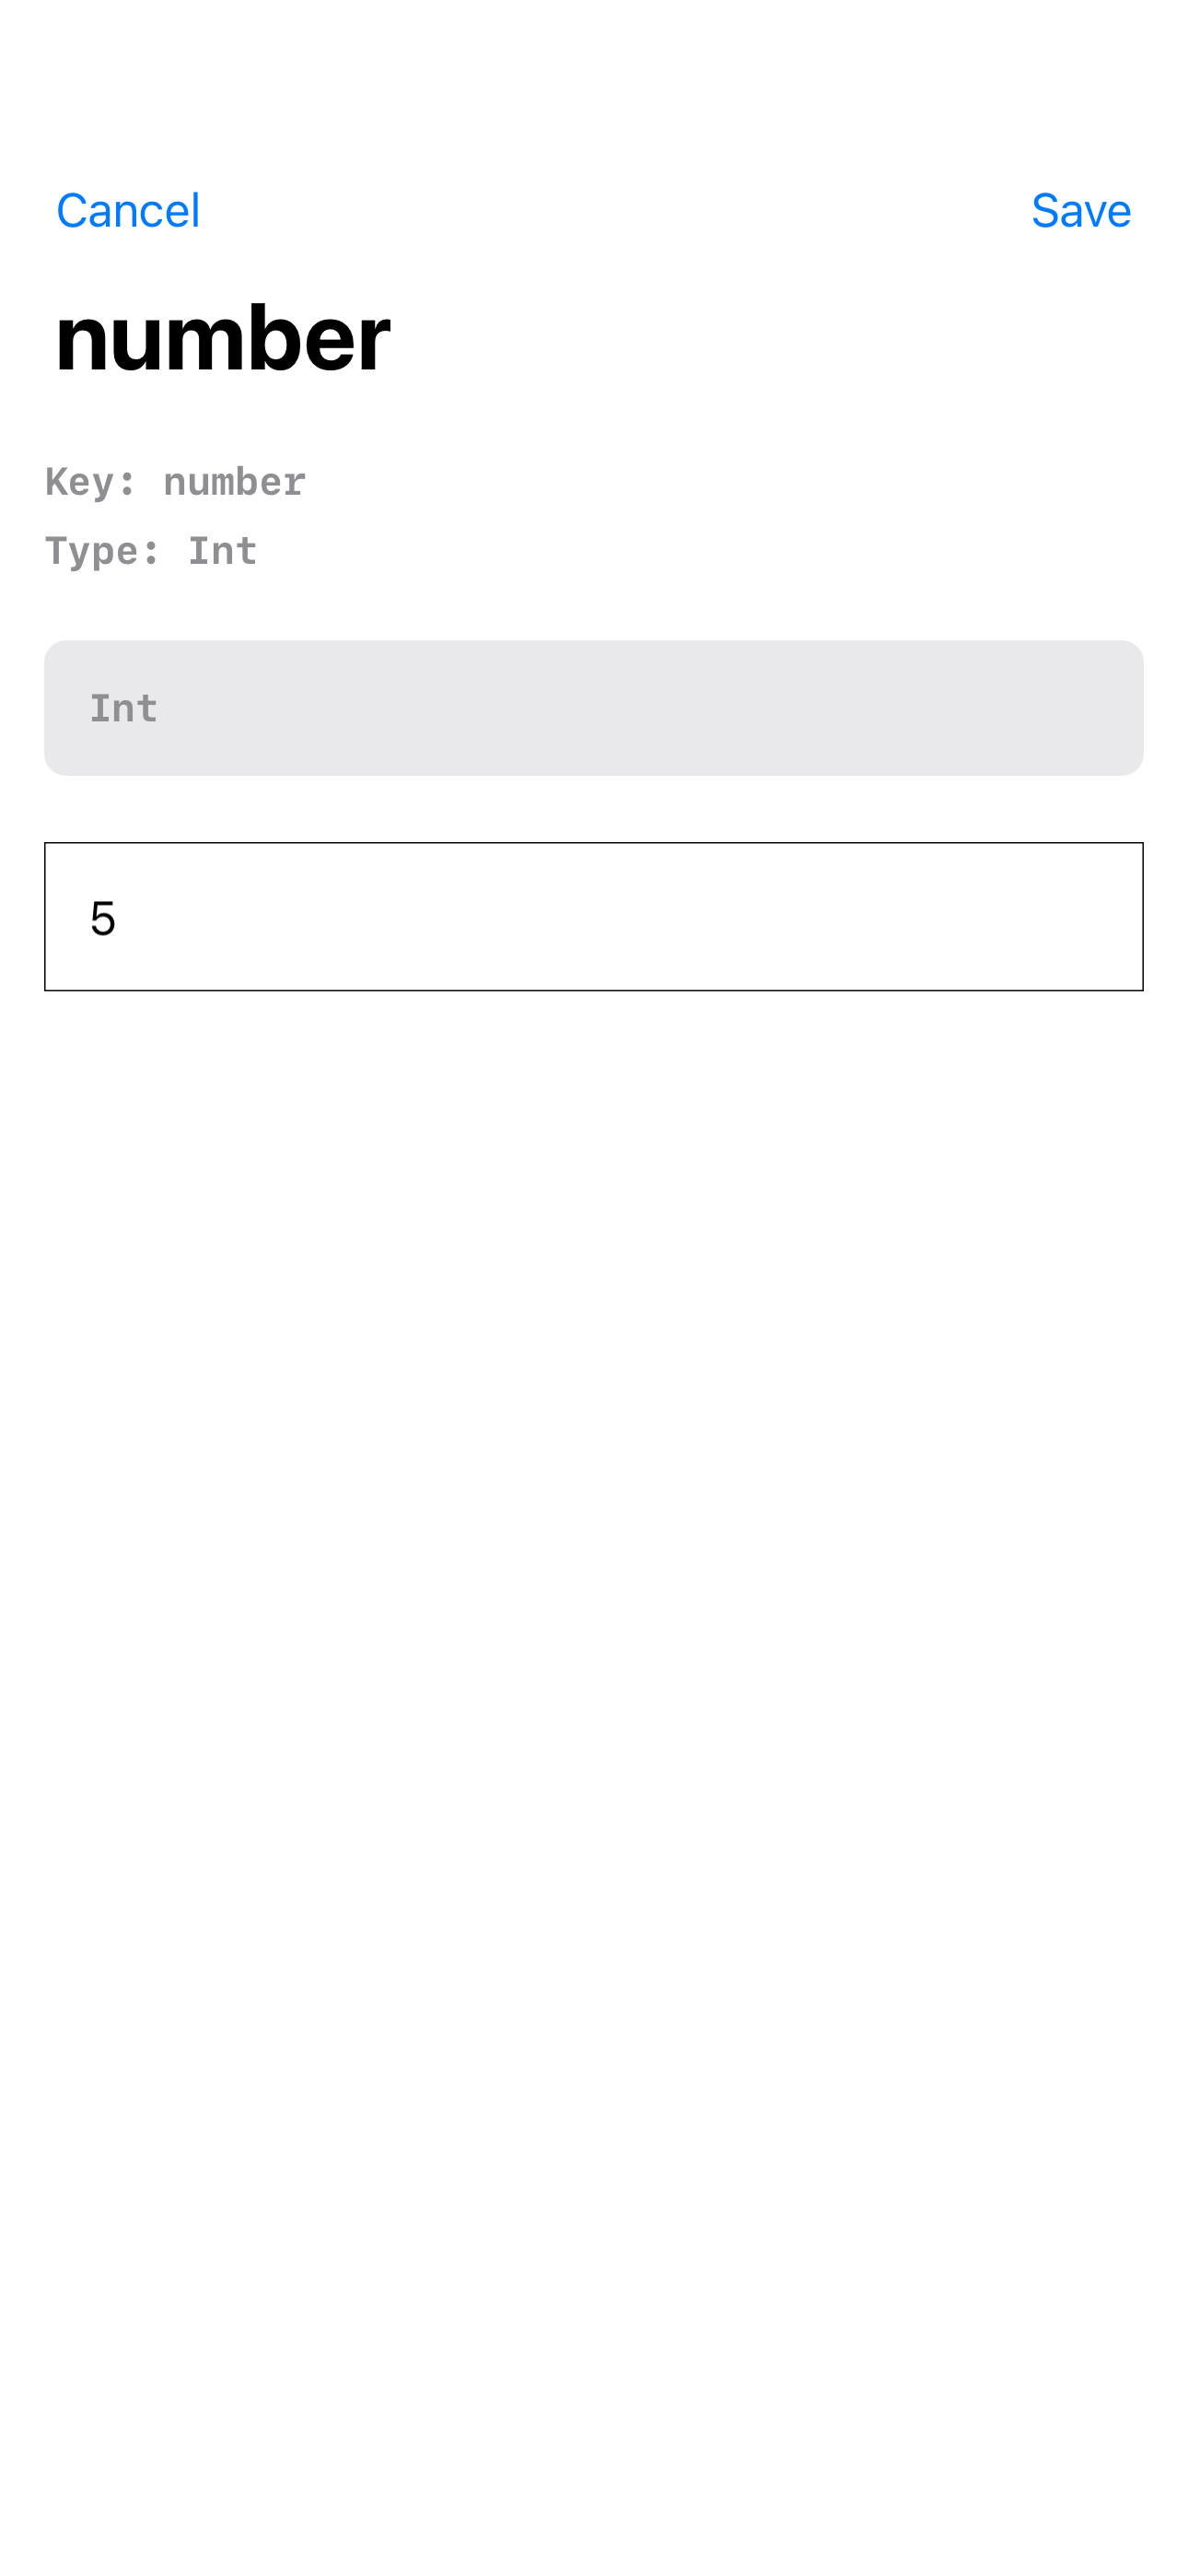
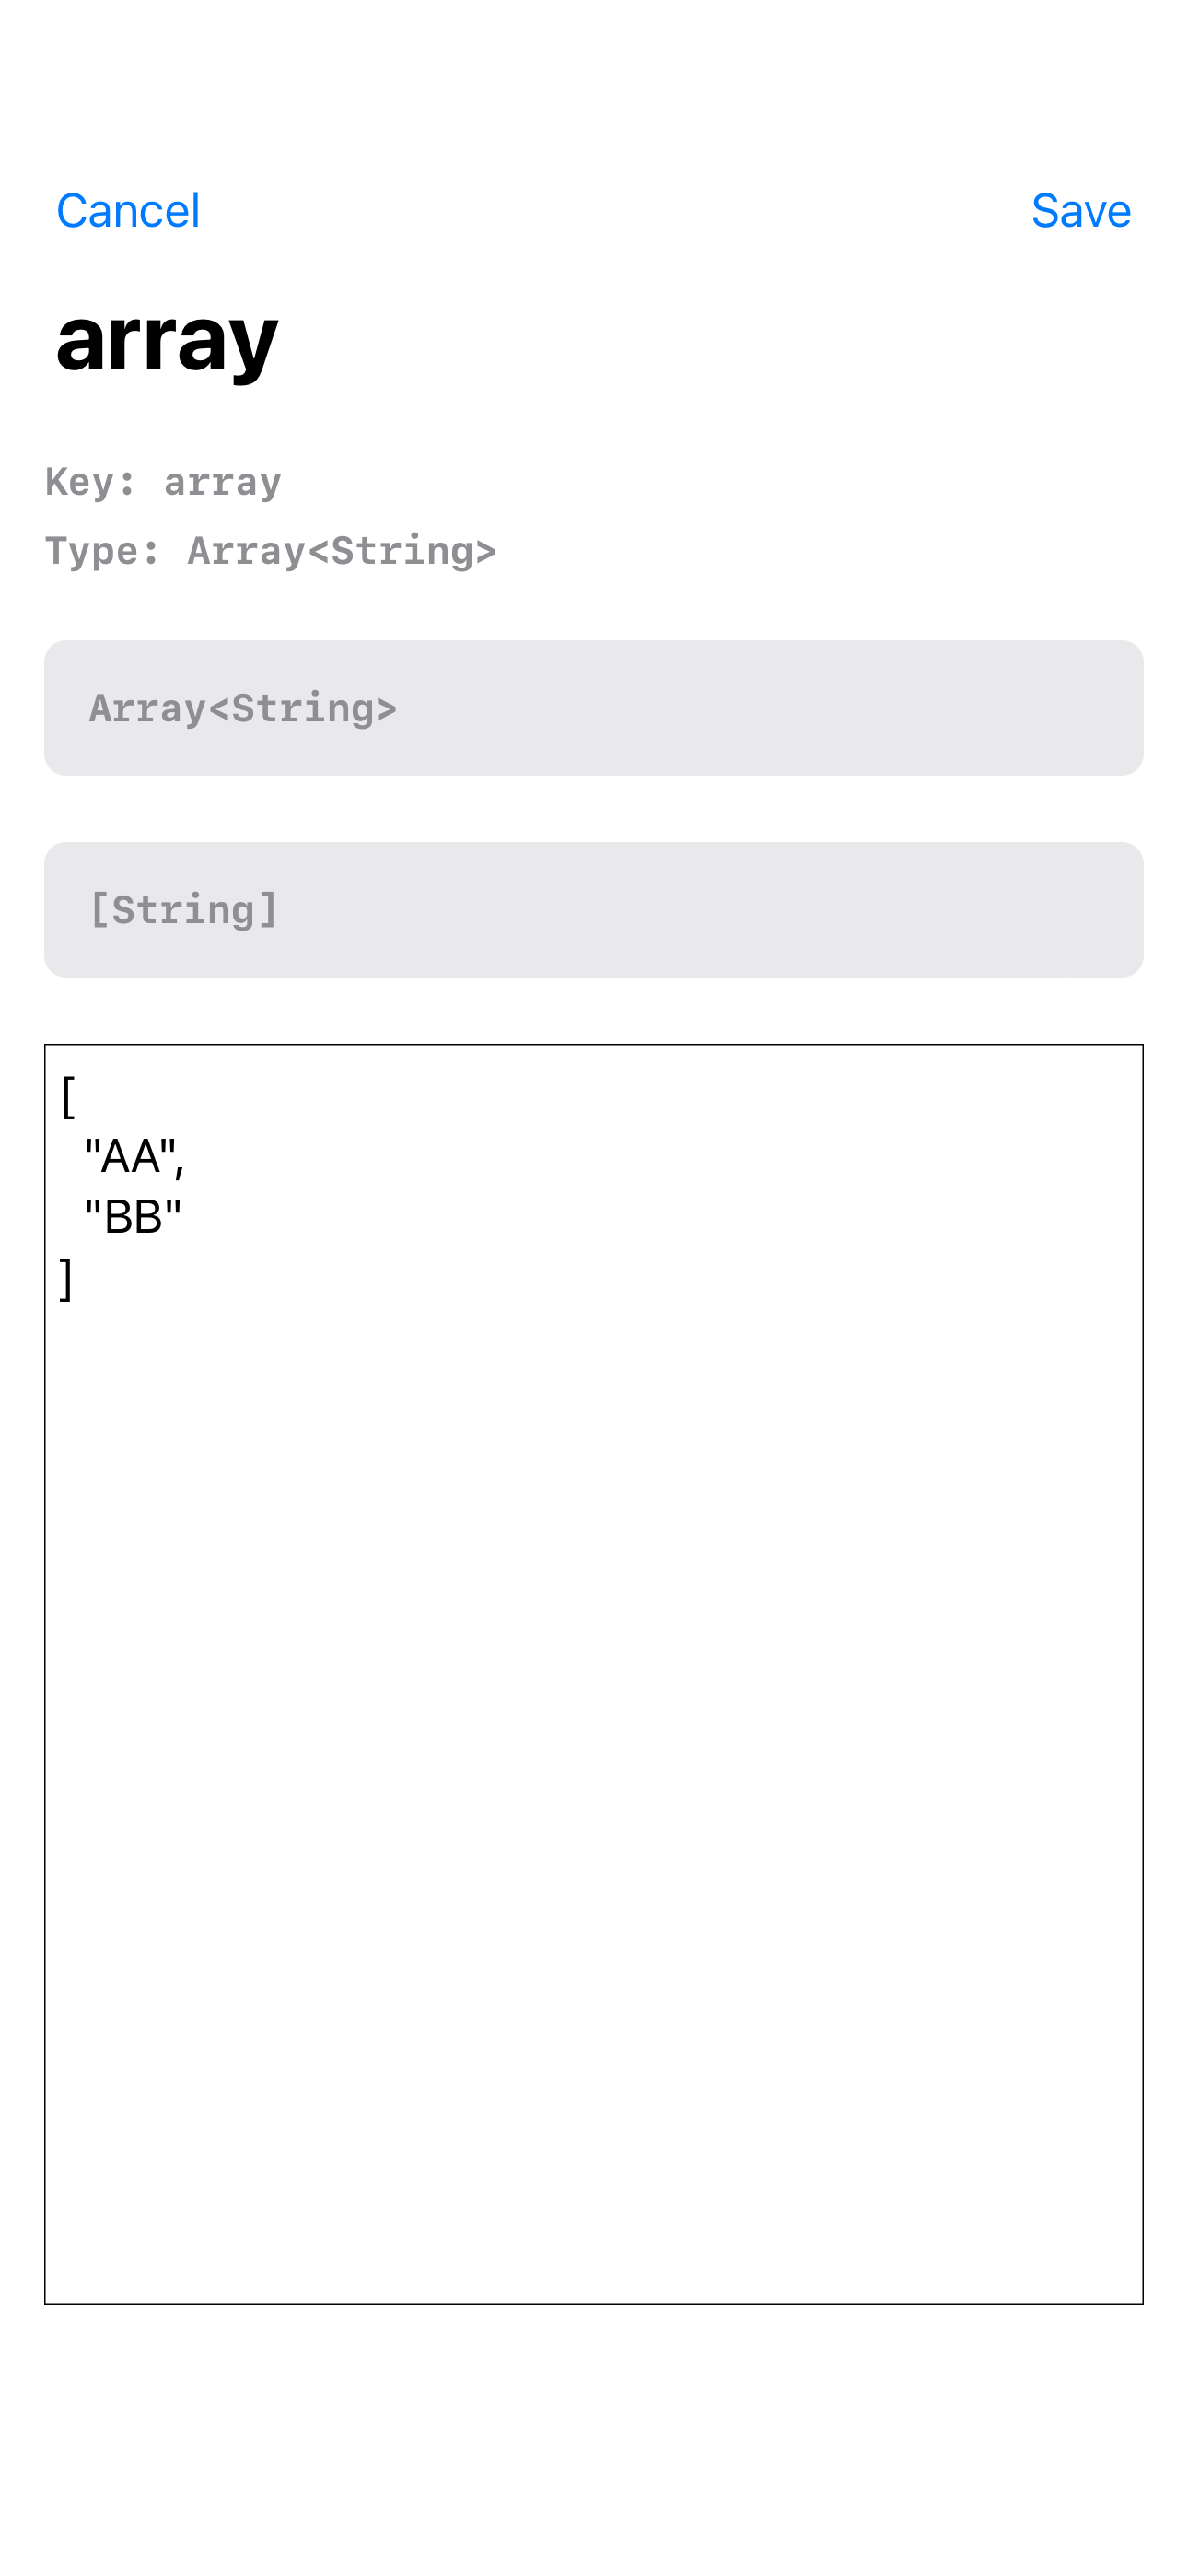
Int, Double, Array, Dictionary...
Codableに対応したことによって、自動的にこれらにも対応できた。
| Int | Double | Array | Dictionary |
|---|---|---|---|
 |
 |
 |
 |
実装
こんな感じでGenericsを用いて定義し、Valueの型に応じて適切な編集画面を出し分ける。
public struct EditValueView<Root, Value>: View {

    var body: some View {}

}
また、Optionalの扱いについて、今回は以下のように出来るだけinitializerで吸収して無視するように実装した。
@_disfavoredOverload
public init(_ target: Root, key: String, keyPath: WritableKeyPath<Root, Value>) {
    // 省略
}

public init(_ target: Root, key: String, keyPath: WritableKeyPath<Root, Optional<Value>>) where Value: DefaultRepresentable {
    // 省略
}

public init(_ target: Root, key: String, keyPath: WritableKeyPath<Root, Optional<Value>>, defaultValue: Value) {
    // 省略
}
DefaultRepresentableプロトコルはデフォルト値をもつ型であるということを示すために作成した
public protocol DefaultRepresentable {
    static var defaultValue: Self { get }
}
型判定
こんな感じのゴリ押し実装で分岐している
    @ViewBuilder
    var editor: some View {
        switch $value {
        case let v as Binding<String>:
            TextEditor(text: v)
                .border(.black, width: 0.5)

        case let v as Binding<Bool>:
            Toggle(key, isOn: v)
                .padding()
                .border(.black, width: 0.5)

        case _ where (value as? NSNumber) != nil:
            CodableEditorView($value, key: key, isValidType: $isValidType, textStyle: .single)

        case let v as Binding<Date>:
            DateEditorView(v, key: key)

        case let v as Binding<Color>:
            ColorEditorView(v, key: key)

        case let v as Binding<CGColor>:
            ColorEditorView(v, key: key)

        case let v as Binding<NSUIColor>:
            ColorEditorView(v, key: key)

        case let v as Binding<CIColor>:
            ColorEditorView(v, key: key)

        case _ where Value.self is any CaseIterable.Type:
            CaseIterableEditor($value, key: key)
                .border(.black, width: 0.5)

        case _ where Value.self is any Codable.Type:
            CodableEditorView($value, key: key, isValidType: $isValidType)

        default:
            Text("this type is currently not supported.")
        }
    }
さいごに
今回作成したViewはライブラリとしてここに供養してあります。
p-x9/EditValueView
今回記事に載せたコード以外でも各所で色々な工夫してあるので是非リポジトリ覗いてみてください。
そして改善案とかプルリクください。
実際にこのリポジトリとかで利用しています。
ありがとうございました。