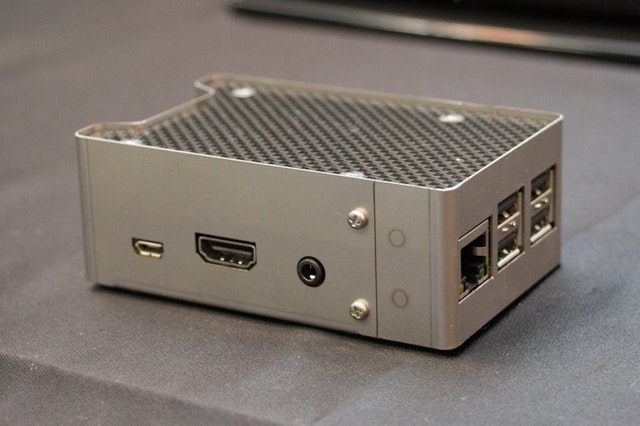
スマホから AirPlay をするために Raspberry Pi 3 を AirPlay 端末化していく。
オーディオサーバにするためにOSイメージから用意しなくても、ネットワーク上のスピーカとして使えるようにしたい。

「ラズパイ Airplay」とググるとよく出てくる方法なのが Shairport
Raspberry Pi 2 に Shairport を入れて AirPlay 端末にする。
しかし、現在 Shairport は開発が止まっているらしく、その派生バージョンの shairport-sync が評判なので、 今回は shairport-sync を使うことに。
環境(Raspbianインストール後)
OSや無線LAN等の初期設定は割愛いたします。
作業は全てSSHで他のマシンからでも可能。
Macのターミナルなどから接続。( Windows からは Teraterm 等から接続
ssh pi@192.168.*.*
piはRaspbianのユーザー名、@以下はそのローカルIPアドレスです。
ShairportSyncのインストール
まずはじめに必要なライブラリ(と git )をインストールする。
GitHubを参考に、ソースコードをダウンロードしてmakeしインストールします。つまりアプリケーションのようなパッケージではありません。ちょっと分かりにくいですが、部品をダウンロードして部品を組み上げてから完成させるという形です。
ひとつずつ実行しても良いですが、ここはまとめて指定。
$ sudo apt-get install git autoconf libdaemon-dev libpopt-dev libconfig-dev libasound2-dev libpulse-dev libavahi-client-dev libssl-dev libsoxr-dev
続いて shairport-syn を clone してビルドしてインストールする。
$ git clone https://github.com/mikebrady/shairport-sync.git
$ cd shairport-sync
$ autoreconf -i -f
$ ./configure --sysconfdir=/etc --with-alsa --with-pa --with-avahi --with-ssl=openssl --with-metadata --with-soxr --with-systemd
$ make && sudo make install
インストール後の shairport-sync フォルダは、後々になってアップデート作業をするかもしれないので残しておく。
設定ファイルの編集
$ sudo nano /etc/shairport-sync.conf
すると、長い(ほとんどコメントアウトされている)設定ファイルが表示される。
設定ファイルは次のように編集した。
general =
{
 name = "AirPi";    //AirPlayサーバの名前(任意)
 interpolation = "soxr";
}
デフォのbasicに比べて、soxr は設定すると音は良くなるけど CPU を結構食うっていう話を聞いてたけど、 top コマンドで見てたら高いときで 15% くらいだったので、 15% くらいで音が良くなるなら音が良くなる方がいいなと思い、今回はsoxrを選択。
USBから音声を出力する
デフォルトだと3.5mmのジャックから音声が出力されるけど音はあまりよくないのでUSBに繋いだDACから音を出すことにする。 DACを繋いでから
$ aplay -l
**** List of PLAYBACK Hardware Devices ****
card 0: ALSA [bcm2835 ALSA], device 0: bcm2835 ALSA [bcm2835 ALSA]
 Subdevices: 8/8
 Subdevice #0: subdevice #0
 Subdevice #1: subdevice #1
 Subdevice #2: subdevice #2
 Subdevice #3: subdevice #3
 Subdevice #4: subdevice #4
 Subdevice #5: subdevice #5
 Subdevice #6: subdevice #6
 Subdevice #7: subdevice #7
card 0: ALSA [bcm2835 ALSA], device 1: bcm2835 ALSA [bcm2835 IEC958/HDMI]
 Subdevices: 1/1
 Subdevice #0: subdevice #0
card 1: CODEC [USB Audio CODEC], device 0: USB Audio [USB Audio]
 Subdevices: 1/1
 Subdevice #0: subdevice #0
無事認識されてればcard 0以外のデバイスが表示される。
上の例だとcard 1のSubdevice #0がUSBDAC。
このcard と Subdeviceの番号をメモしておく。
alsa = {
 output_device = "default";
とあるのでdefaultをhw:1,0に変更。数字は上で出てきたもの。
$ sudo systemctl start shairport-sync
でShairport起動。
下記コマンドで OS 起動時に起動するよう設定する。
$ sudo systemctl enable shairport-sync
AirPlay出力先の設定
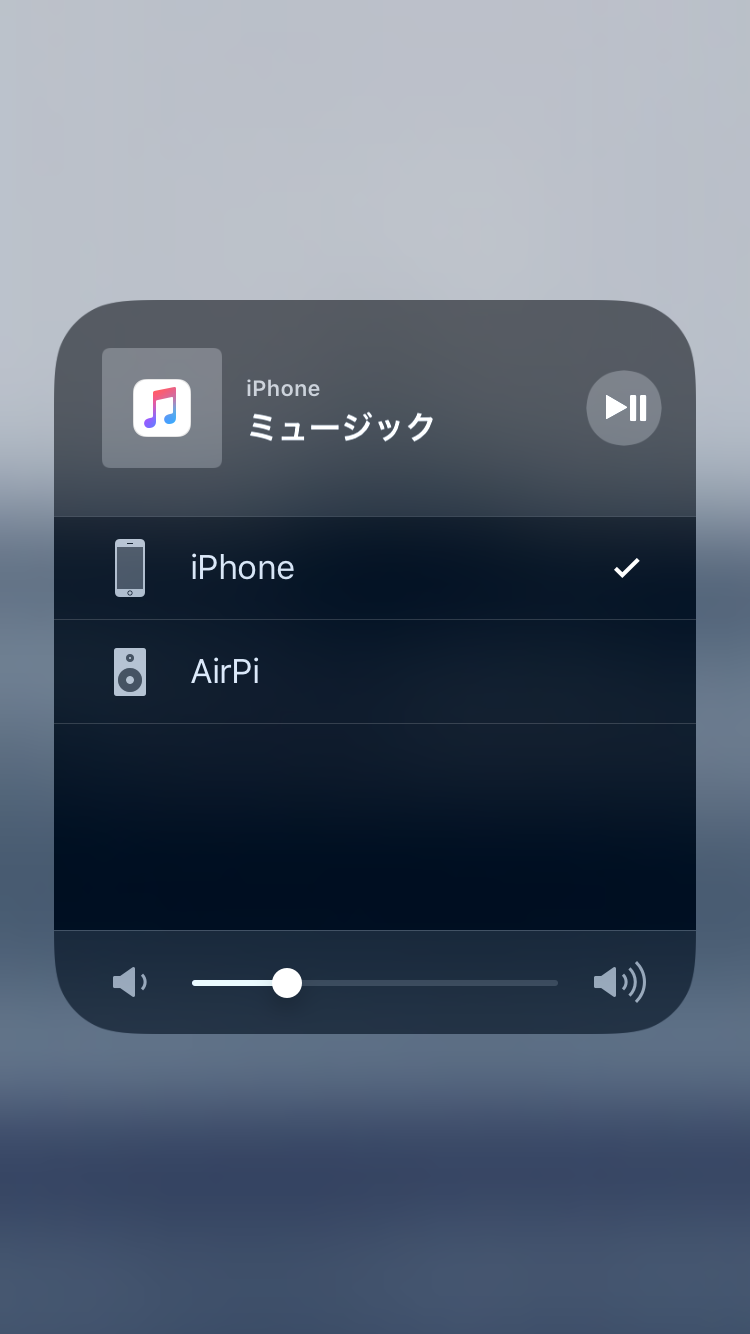
LAN内にAirPlayサーバーがある状態でコントロールセンター(名前合ってたっけ?)を開く

設定がうまくいってればタップして出力先にAirPlayサーバーを選択できるはず。 後はテキトーに音楽を流してスピーカーから音が出れば終了です。お疲れ様でした。
ちなみにShairport "Sync"というだけあって映像と音楽の同期を取ってくれるのでYoutubeなど動画サイトを見てもちゃんと音ズレせずに再生される。すごい
参考資料
Raspberry Pi を AirPlay 端末にするまでの手順のメモ( shairport-sync 編)
Raspberry PiをAirPlayサーバにする
AirPlayを設定する(Raspberry Pi で作るミュージックシステム)