やりたいこと
ログインを有効にしたアプリに誰がアクセスしているのかをトラッキングしたい。
ただしGoogle Analyticsは使わないものとし、Azureの管理画面でログを表示する。
手順
Webアプリの開発
ログイン認証を有効にするには Azure Portal にて対象のアプリを選択し [Settings] - [Authentication / Authorization] から設定します。
適切な認証方法を設定することで、Webアプリ利用者に必ずログインさせるような設定が可能になります。
以下の画面ではAzure ADを条件にしています。具体的な設定方法はヘルプなどを参照してください。
Web App に Application Insights を設定
次にWeb Appからログを取得するための設定として Application Insights のサービスを作成してWeb Appに割り当てます。
Web Appの画面にて [Application Insights]を選択するとダイアログ形式で設定できます。
Azure PortalではWeb Appと Application Insightsが並びで表示されます。つまり Web AppとApplication Insightsは兄弟関係のように見えるということです。
Application Insights の設定
次に、Application Insightsの設定を行います。
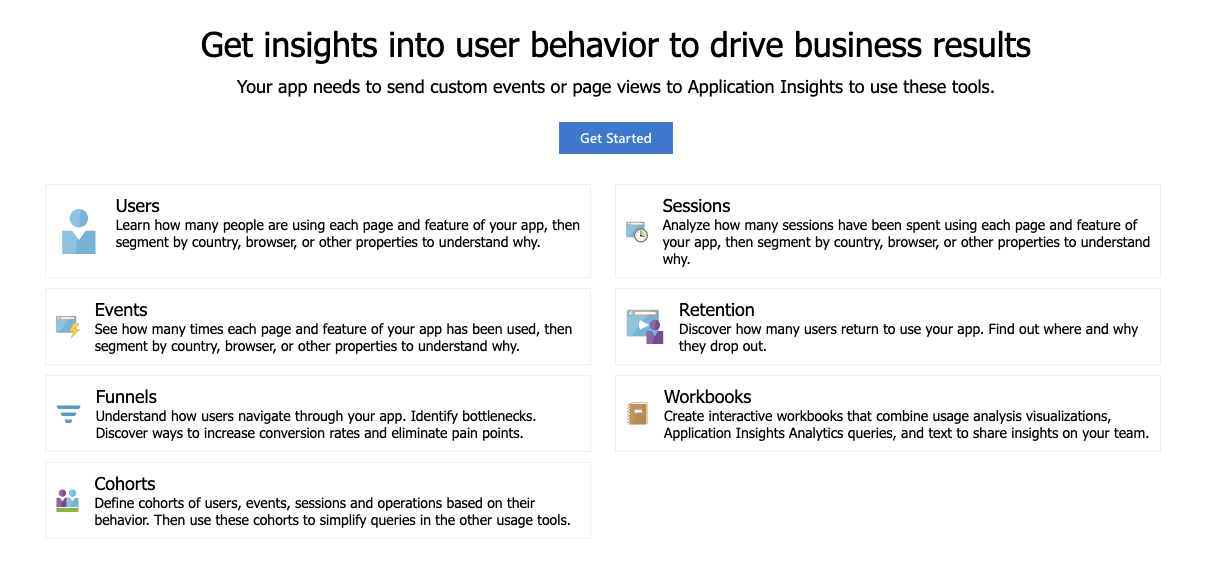
[Usage] - [Users] を選択すると、最初のうちは「Get Started」として導入方法のヘルプが表示されます。(2020年1月現在、単独のWebページとして存在するのかどうか不明です。。)
[Get Started] を開くと、Webページ埋め込み用のJavaScriptが生成されます。
以下のような感じのコードが出てきて、それを埋め込めとガイドされます。
「{YOUR_KEY_HERE}」の部分は、Azure Portalでは自動で置換されて表示されます。
Application Insights の画面でKEYを確認することができます。
自動生成されるコードが1行になっていますが、以下ではフォーマットしたものを引用します。
<!-- To collect end-user usage analytics about your application,
 insert the following script into each page you want to track.
 Place this code immediately before the closing </head> tag,
 and before any other scripts.
 Your first data will appear automatically in just a few seconds. -->
<script type="text/javascript">
	var appInsights = window.appInsights
			|| function(a) {
				function b(a) {
					c[a] = function() {
						var b = arguments;
						c.queue.push(function() {
							c[a].apply(c, b)
						})
					}
				}
				var c = {
					config : a
				}, d = document, e = window;
				setTimeout(function() {
					var b = d.createElement("script");
							b.src = a.url
									|| "https://az416426.vo.msecnd.net/scripts/a/ai.0.js",
							d.getElementsByTagName("script")[0].parentNode
									.appendChild(b)
				});
				try {
					c.cookie = d.cookie
				} catch (a) {
				}
				c.queue = [];
				for (var f = [ "Event", "Exception", "Metric", "PageView",
						"Trace", "Dependency" ]; f.length;)
					b("track" + f.pop());
				if (b("setAuthenticatedUserContext"),
						b("clearAuthenticatedUserContext"),
						b("startTrackEvent"), b("stopTrackEvent"),
						b("startTrackPage"), b("stopTrackPage"), b("flush"),
						!a.disableExceptionTracking) {
					f = "onerror", b("_" + f);
					var g = e[f];
					e[f] = function(a, b, d, e, h) {
						var i = g && g(a, b, d, e, h);
						return !0 !== i && c["_" + f](a, b, d, e, h), i
					}
				}
				return c
			}({
				instrumentationKey : "{YOUR_KEY_HERE}"
			});
	window.appInsights = appInsights, appInsights.queue
			&& 0 === appInsights.queue.length && appInsights.trackPageView();
</script>
HTMLの変更
以上までの設定で一般的なトラッキングは可能になりますが、それだけだとユーザーIDまでは表示されないようです。(ここでしばらくハマりました...)
ユーザーIDを設定する専用のJavaScript関数が別途用意されており、そこに値を設定することが可能になるようです。
Azureでユーザー認証をやってくれているのだから自動でやってくれてもよさそうな気はしましたが、JavaScriptで手動で設定するようです。
公式ドキュメントとしては以下GitHubのページに「setAuthenticatedUserContext」を呼べ、と書いてあります。「No spaces, comma, semicolon, equals or vertical bar.」と書いてあり制限が意外と多いなと感じましたが英語をよく読むと「半角空白」「,」「;」「=」「|」なので一般的なメールアドレスなどには含まれないと思います。
呼び方そのものは単純で、以下のようにするとOKでした。
Webアプリケーションで取得できるIDをJavaScriptの変数に書き出して関数を呼びます。
appInsights.setAuthenticatedUserContext("xxx@userid.com");
ちなみに、Azure App側(サーバー側)ではリクエストパラメータに「x-ms-client-principal-name」としてAzureの認証結果が埋め込まれているので、それを利用します。
x-ms-client-principal-name
ログの確認
すると Application Insights の [Usage] - [User] - [PROPERTIES] の歯車アイコンを押したときに「Custom Properties」として「userid」がしれっと表示されます。
そこで「userid」にチェックを入れると、どのIDのユーザーがアクセスしてきたのかが表示されるようになります。
参照
Usage analysis with Azure Application Insights - Azure Monitor | Microsoft Docs
https://docs.microsoft.com/en-us/azure/azure-monitor/app/usage-overview
Java web app analytics with Azure Application Insights - Azure Monitor | Microsoft Docs
https://docs.microsoft.com/en-us/azure/azure-monitor/app/java-get-started
所感
一般的によく使われているのはGoogle Analyticsだと思いますが、Azureにも同様の機能が用意されております。
これを使えばAzure Portalにて一元的にユーザー行動の分析ができるようになります。便利ですね。


