数年前から少しずつ修行を続けてきたWPFがやっとものになってきたので現時点でよく使うパターンの知識を書き留めておく。作るアプリはWPFの記述パターン説明のための無目的なものです。Livet以外の内容を縮小。
更新履歴
- DirectInteractionMessage回りで間違った記述を修正・・・
- ReactiveCommandは今回のサンプルだと活躍の場がないので中止。タイトル変更など
- いろいろ修正
プロジェクトを開始してViewModelをDataContextにセットするところまで
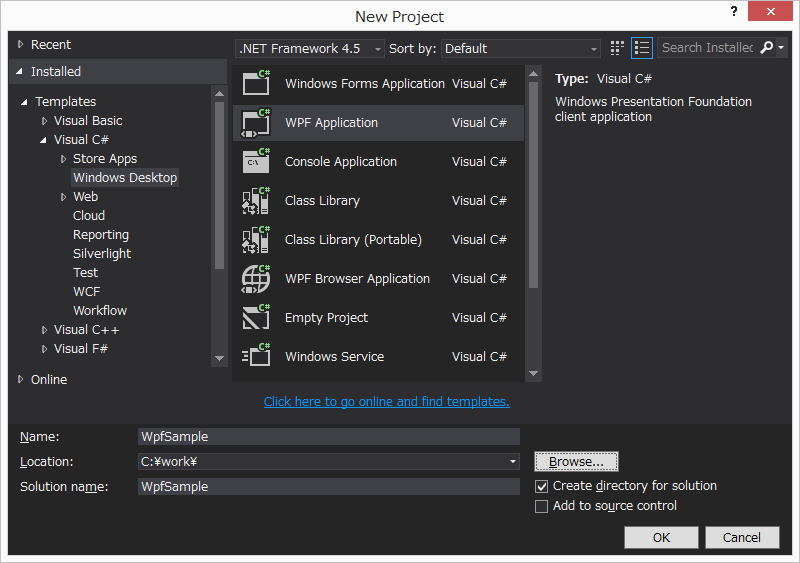
VS2013でWpfアプリケーションプロジェクトを開始。
ViewModelクラスを作成。
class MainWindowViewModel
{
// とりあえず
public String Text { get; private set; }
public MainWindowViewModel()
{
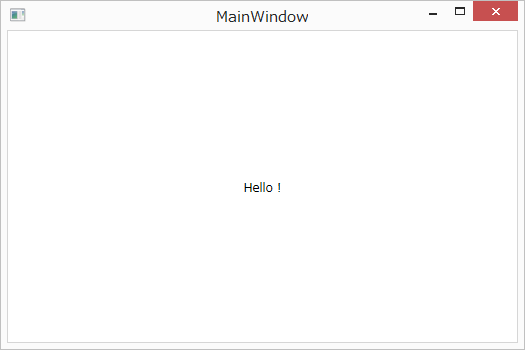
Text = "Hello !";
}
}
XamlでMainWindowのDataContextにセットするまで。
<Window x:Class="WpfSample.MainWindow"
        xmlns="http://schemas.microsoft.com/winfx/2006/xaml/presentation"
        xmlns:x="http://schemas.microsoft.com/winfx/2006/xaml"
        xmlns:local="clr-namespace:WpfSample"
        Title="MainWindow" Height="350" Width="525">
    <Window.DataContext>
        <local:MainWindowViewModel />
    </Window.DataContext>
    <Grid>
        <TextBlock VerticalAlignment="Center" HorizontalAlignment="Center"
            Text="{Binding Text}" />
    </Grid>
</Window>
コードビハインド(xamlに対応するパーシャルクラス)には一切コードを追加しないMVVM原理主義でいく所存。
とはいえModelの出てこないこれはMVVMなのか・・・
    public partial class MainWindow : Window
    {
        public MainWindow()
        {
            InitializeComponent();
        }
    }
とりあえず初期コミットした。
*.suo
bin
obj
ここまでは内容にかかわらずお決まりのテンプレートであります。
Behaviorを活用してファイルをドロップできるようにする
つい最近Behaviorを覚えたので使ってみる。
MVVM原理主義を守りながらイベントハンドラーを記述できるすぐれものだ。
View始動でCommandで記述できない|しづらいものは全部Behaviorでいいんでないか(乱暴)。
複数のイベントが絡むものやEventArgsを受け取りたいものがそんな感じに思える。
Blend4SDK
Behaviorを使うにはBlend4SDKが必要なのでnugetでLivetをインストールする。
Solution ExplorerのReferenceを右クリックすると出てくる[Nuget Package Manager...]から実行。
この機能のためだけにも新しめのVisualStudio(2013以降?)にした方がいい。
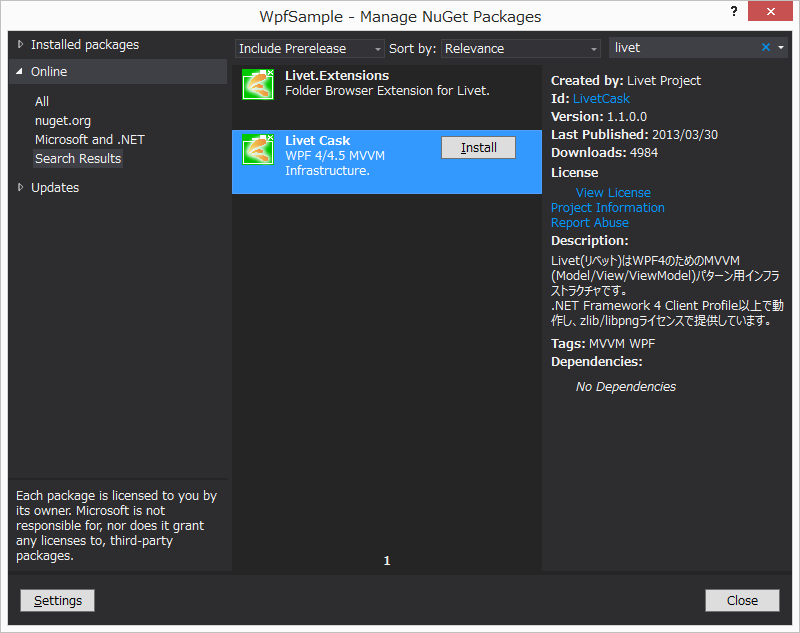
Livetに巻き込まれて以下のライブラリがReferenceに追加される。
- System.Windows.Interactivity
- Microsoft.Expression.Interactions
単体でこれらをnugetしようとするといろんなバージョンが出てきてよくわからないのでいつもLivetの依存で入れている。
xamlにネームスペースを追加する。
xmlns:i="http://schemas.microsoft.com/expression/2010/interactivity"
xmlns:ei="http://schemas.microsoft.com/expression/2010/interactions"
xmlns:l="http://schemas.livet-mvvm.net/2011/wpf"
Behavior
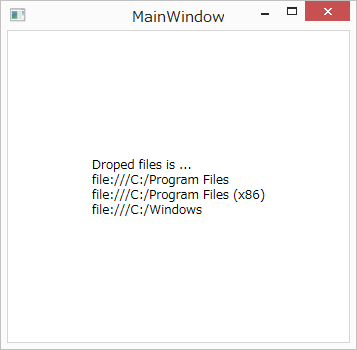
Behaviorを記述。DropされたファイルをIEnumerableでCommand.Executeに渡す仕様にしてみた。
エクスプローラからのドロップ(複数ファイル可)とブラウザからのURLを受け入れている。
FileDropBehavior。
Livet.Commands.ListenerCommand
FileDropBehavirにバインドするコマンドを実装する。ICommandの実装は、当初ReactiveCommandにしていましたがListenerCommandに変更した(あまりRxが活躍する余地の無いサンプルのため)。ListenerCommandは、ICommand.Execute(Object parameter)の引数の型が分かっている時にキャスト無しで処理をかけるのでこれはこれで使い後心地がいい。引数が無いときはViewCommandで。
        // 実装
        ListenerCommand<IEnumerable<Uri>> m_addItemsCommand;
        // ICommandを公開する
        public ICommand AddItemsCommand
        {
            get
            {
                if (m_addItemsCommand == null)
                {
                    m_addItemsCommand = new ListenerCommand<IEnumerable<Uri>>(AddItems);
                }
                return m_addItemsCommand;
            }
        }
        //void AddItems(Object arg) こっちでもコンパイル通るのね
        void AddItems(IEnumerable<Uri> urilist)
        {
            //var urilist = (IEnumerable<Uri>)arg;
            foreach (var uri in urilist)
            {
                Items.Add(uri);
            }
            IsDirty = true;
        }
使う方。
AllowDrop=trueはFileDropBehavior内に移動した。
<Window x:Class="WpfSample.MainWindow"
        xmlns="http://schemas.microsoft.com/winfx/2006/xaml/presentation"
        xmlns:x="http://schemas.microsoft.com/winfx/2006/xaml"
xmlns:i="http://schemas.microsoft.com/expression/2010/interactivity"
xmlns:ei="http://schemas.microsoft.com/expression/2010/interactions"
        xmlns:local="clr-namespace:WpfSample"
        Title="MainWindow" Height="350" Width="525"
        >
    <Window.Resources>
        <local:MainWindowViewModel x:Key="ViewModel" />
    </Window.Resources>
    <Window.DataContext>
        <StaticResourceExtension ResourceKey="ViewModel" />
    </Window.DataContext>

    <i:Interaction.Behaviors>
        <local:FileDropBehavior Command="{Binding AddItemsCommand}" />
    </i:Interaction.Behaviors>
    <Grid>
        <TextBlock VerticalAlignment="Center" HorizontalAlignment="Center"
            Text="{Binding Text}" />
    </Grid>
</Window>
packages
2度目のコミット。
Livetでダイアログ
Livetを導入した目的であるViewModel内で直接GUIを呼ばずに、Viewにメッセージを投げることでダイアログを表示する機能を使う。
ダイアログの呼び出しのきっかけにはViewModelのMessenger始動とView始動の2種類がある。やってみよう。
VM(Messenger)始動
Messenger.Raise(new InformationMessage(Text, "Dropped", System.Windows.MessageBoxImage.Information, "Info"));
Messengerでメッセージを飛ばして・・・
xmlns:l="http://schemas.livet-mvvm.net/2011/wpf"

    <i:Interaction.Triggers>
        <l:InteractionMessageTrigger MessageKey="Info" Messenger="{Binding Messenger}" >
            <l:InformationDialogInteractionMessageAction />
        </l:InteractionMessageTrigger>
    </i:Interaction.Triggers>
InteractionMessageTriggerで受け止める。
Livet.ViewModelのMessengerからRaiseしたメッセージの流れは結構長い。文章で説明しても知らない状態では意味不明になること請け合いなので下の矢印参照。
Messenger.Raise → InteractionMessage(InformationMessageなど...)
                      ↓
=================== ここからxaml ====================================
                      +------+
Button等からトリガーする       |
i:Interaction.Triggers       |
  i:EventTrigger             |
    ↓                        ↓
    +---------------→   l:InteractionMessageTrigger → ダイアログアクション
                                                   l:InformationDialogInteractionMessageAction
                                                   l:ConfirmationDialogInteractionMessageAction
                                                   l:OpenFileDialogInteractionMessageAction
                                                   l:SaveFileDialogInteractionMessageAction
                                                     ↓
                                              ダイアログの結果を受け取る場合
                                                     ↓
                                                   DirectInteractionMessage
                               コールバックの引数ConfirmationMessage
                               コールバックの引数OpeningFileSelectionMessage
                               コールバックの引数SavingFileSelectionMessage
                                                     ↓
=================== ここからcode ====================================
                                                     ↓
                                                  CallbackCommandにBindした
                                            ListenerCommand<ConfirmationMessage>
                                            ListenerCommand<OpeningFileSelectionMessage>
                                            ListenerCommand<SavingFileSelectionMessage>

むしろCallbackTarget + CallbackMethodNameを使うべき。ListenerCommandを使うよりも直接メソッドを呼ぶべし。
V始動(ListenerCommand)
ButtonのClickイベントから開始のパターン。
        <Button Content="開く" IsEnabled="{Binding OpenCommand.CanExecute}">
            <i:Interaction.Triggers>
                <i:EventTrigger EventName="Click">
                    <l:OpenFileDialogInteractionMessageAction>
                        <l:DirectInteractionMessage CallbackCommand="{Binding OpenCommand}">
                            <l:OpeningFileSelectionMessage Filter="すべてのファイル(*.*)|*.*" Title="ファイルを開く" MultiSelect="True"/>
                        </l:DirectInteractionMessage>
                    </l:OpenFileDialogInteractionMessageAction>
                </i:EventTrigger>
            </i:Interaction.Triggers>
        </Button>
OpenFileSelectionMessageを受け付けるOpenCommandは次のようになった。
        ListenerCommand<OpeningFileSelectionMessage> m_openCommand;
        public ListenerCommand<OpeningFileSelectionMessage> OpenCommand
        {
            get
            {
                if (m_openCommand == null)
                {
                    m_openCommand = new ListenerCommand<OpeningFileSelectionMessage>(Open, () => true);
                }
                return m_openCommand;
            }
        }
        void Open(OpeningFileSelectionMessage m)
        {
            if (m.Response == null)
            {
                Messenger.Raise(new InformationMessage("Cancel", "Error", MessageBoxImage.Error, "Info"));
                return;
            }

            AddItems(m.Response.Select(f => new Uri(f)));
        }
V始動(ListenerCommand無用)
こっちの方がいい。
        public void Open(OpeningFileSelectionMessage m)
        {
            if (m.Response == null)
            {
                Messenger.Raise(new InformationMessage("Cancel", "Error", MessageBoxImage.Error, "Info"));
                return;
            }

            AddItems(m.Response.Select(f => new Uri(f)));
        }
                    <i:Interaction.Triggers>
                        <i:EventTrigger EventName="Click">
                            <l:OpenFileDialogInteractionMessageAction>
                                <l:DirectInteractionMessage CallbackMethodTarget="{Binding}" CallbackMethodName="Open">
                                    <l:OpeningFileSelectionMessage Filter="すべてのファイル(*.*)|*.*" Title="ファイルを開く" MultiSelect="True"/>
                                </l:DirectInteractionMessage>
                            </l:OpenFileDialogInteractionMessageAction>
                        </i:EventTrigger>
                    </i:Interaction.Triggers>
CallbackMethodTarget + CallbackMethodName
DirectInteractionMessage無し
コールバックを使わない場合はDirectInteractionMessage無しでよかった。
    /// <summary>
    /// Livetのダイアログ4種類のヘルパー関数
    /// </summary>
    class MessagingViewModel : Livet.ViewModel
    {
        #region InformationMessage
        protected void InfoDialog(String message)
        {
            Messenger.Raise(new InformationMessage(message, "Info", MessageBoxImage.Information, "Info"));
        }

        protected void ErrorDialog(Exception ex)
        {
            Messenger.Raise(new InformationMessage(ex.Message, "Error", MessageBoxImage.Error, "Info"));
        }
        #endregion

        #region ConfirmationMessage
        protected bool ConfirmDialog(String text, String title)
        {
            var message=new ConfirmationMessage(text, title
                        , MessageBoxImage.Question, MessageBoxButton.YesNo, "Confirm");
            Messenger.Raise(message);
            return message.Response.HasValue && message.Response.Value;
        }
        #endregion

        #region OpeningFileSelectionMessage
        protected String[] OpenDialog(String title, bool multiSelect = false)
        {
            return OpenDialog(title, "すべてのファイル(*.*)|*.*", multiSelect);
        }
        protected String[] OpenDialog(String title, String filter, bool multiSelect)
        {
            var message = new OpeningFileSelectionMessage("Open")
            {
                Title = title,
                Filter = filter,
                MultiSelect = multiSelect,
            };
            Messenger.Raise(message);
            return message.Response;
        }
        #endregion

        #region SavingFileSelectionMessage
        protected String SaveDialog(String title, string filename)
        {
            var message = new SavingFileSelectionMessage("Save")
            {
                Title = title,
                FileName = String.IsNullOrEmpty(filename) ? "list.txt" : filename,
            };
            Messenger.Raise(message);
            return message.Response != null ? message.Response[0] : null;
        }
        #endregion
    }
    <i:Interaction.Triggers>
        <l:InteractionMessageTrigger MessageKey="Info" Messenger="{Binding Messenger}" >
            <l:InformationDialogInteractionMessageAction />
        </l:InteractionMessageTrigger>

        <l:InteractionMessageTrigger MessageKey="Confirm" Messenger="{Binding Messenger}" >
            <l:ConfirmationDialogInteractionMessageAction/>
        </l:InteractionMessageTrigger>

        <l:InteractionMessageTrigger MessageKey="Open" Messenger="{Binding Messenger}" >
            <l:OpenFileDialogInteractionMessageAction/>
        </l:InteractionMessageTrigger>

        <l:InteractionMessageTrigger MessageKey="Save" Messenger="{Binding Messenger}" >
            <l:SaveFileDialogInteractionMessageAction/>
        </l:InteractionMessageTrigger>
    </i:Interaction.Triggers>
処理が行ったり来たりするのがやりにくかったがメッセージを投げ捨てないで握っておけば呼び出し側で
結果を得ることができる。
var message= new SavingFileSelectionMessage("Save")
{
Title="タイトル",
Filename="初期ファイル名.txt",
};

// 同期的に実行
Messenger.Raise(message);

if(message.Response==null)return;

// 処理
var path=messagee.Response[0];
これをラップして
var path=SaveDialog("タイトル", "初期ファイル名.txt");
if(path==null)return;
という使い勝手にした。
ICommandのコーディングスタイル
public ReactiveCommand SomeCommand{ get; private set; }

// コンストラクタとかで
SomeCommand=new ReactiveCommand;
としていたのを
// ViewCommand, ListneerCommandとかいろいろ
ReactiveCommand m_someCommand;

// 公開するのはICommand
public ICommand SomeCommand
{
   get{
      if(m_someCommand==null){
         m_someCommand=new ReactiveCommand();
      }
      return m_someCommand;
   }
}
とした。こっちの方がコードの局所性があがるなど。
Livet.ViewModel
Livet.ViewModelは、よく使う機能が入っているの問答無用で継承すればよいのではないか。
具体的には、
- INotifyPropertyChangedの実装とRaisePropertyChanged
- IDisposableの実装とCompositeDisposable
- Messenger
である。
CompositeDisposableの利用
終了時の後始末。
    class MainWindowViewModel: Livet.ViewModel
    {

        public MainWindowViewModel()
        {
            CompositeDisposable.Add(() =>
            {
                if (IsDirty)
                {
                    Messenger.Raise(SaveConfirmDialog);
                }
            });
        }
    <i:Interaction.Triggers>
        <i:EventTrigger EventName="Closed">
            <l:DataContextDisposeAction />
        </i:EventTrigger>
Livetはまだ使いこなせていないので使い方を発見したら追記するかもしれぬ。
AvalonDockを使ってみるに続く。