GitLab CIを用いてApp Engineプロジェクトを自動デプロイする手順をまとめます。
前提
- すでにApp Engineプロジェクトを作っている
-
gcloud app deployコマンドを用いた手動のデプロイはすでにやっている
要するに「サービスアカウント」と「プロジェクトID」がある
秘密鍵の作成
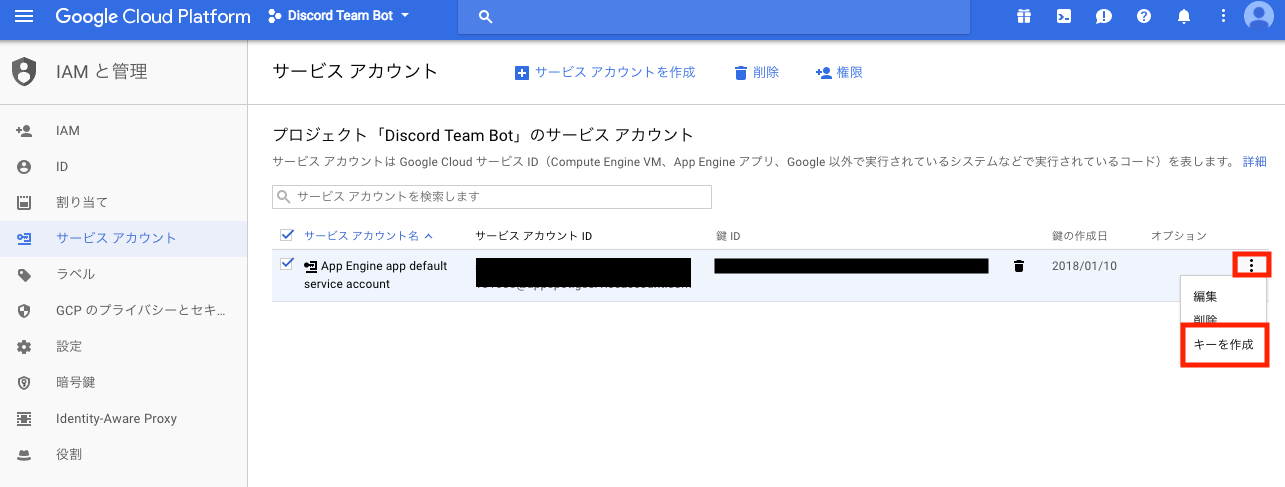
Google Cloud Platformのメニュー「IAMと管理」 → 「サービスアカウント」
今回対象となるサービスアカウントの設定から「キーを作成」を選択します。
JSON形式で作成します。
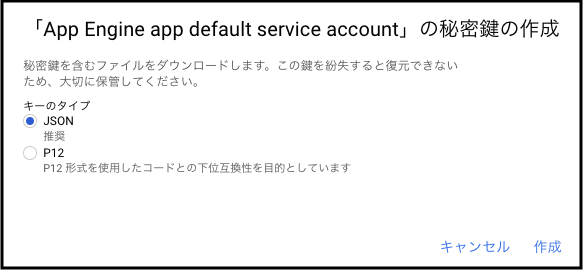
「作成」をクリックすると、JSONファイルのダウンロードが始まります。
このファイルをGitLabの設定で使用します。
設定後、このJSONファイルは完全に削除してしてください
GitLabの設定
CI/CD Secret Variablesの設定
App Engineプロジェクトの「プロジェクトID」と先ほど取得した「秘密鍵」を変数として定義します。
GitLabの「Settings」 → 「CI/CD」 → 「Secret variables」の「Expand」
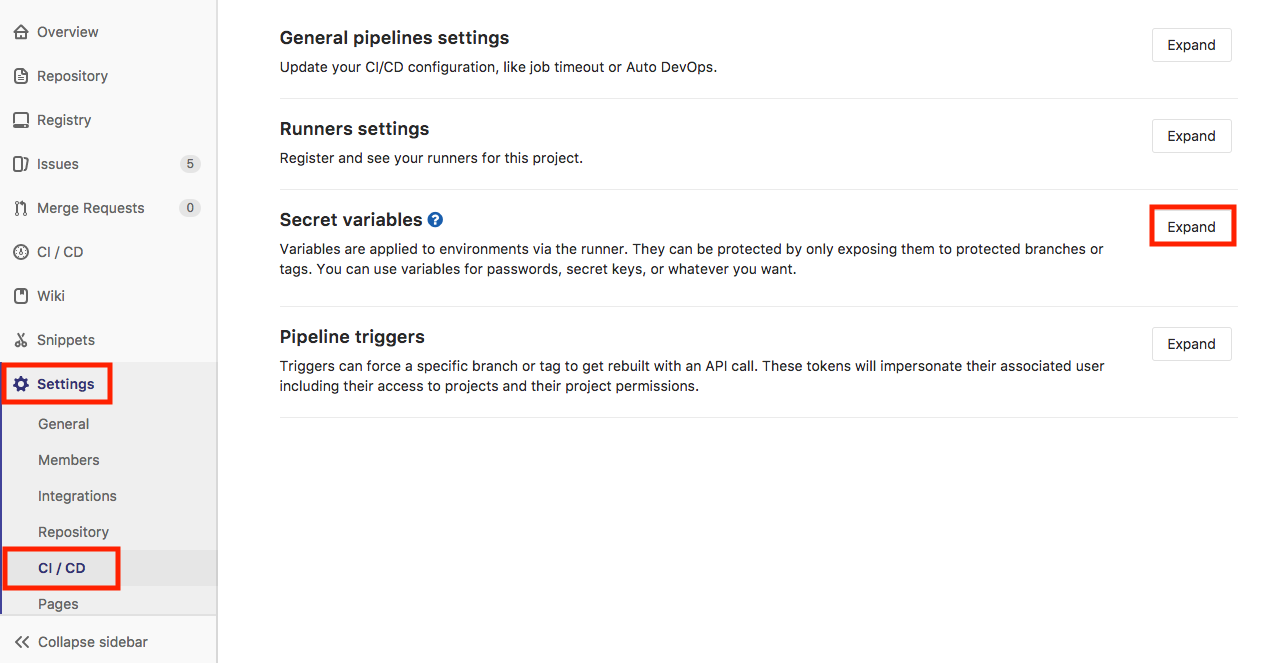
以下の内容の変数を定義します。
| Key | Value |
|---|---|
| PROJECT_ID_PRODUCTION | プロジェクトID |
| DEPLOY_KEY_FILE_PRODUCTION | 秘密鍵 |
秘密鍵 = 先ほど取得したJSONファイルの内容すべて
GitLab Runnerの構築
公式ドキュメントに書いてあるとおりに実行していきます。
-
バイナリのダウンロード
$ sudo curl --output /usr/local/bin/gitlab-runner https://gitlab-runner-downloads.s3.amazonaws.com/latest/binaries/gitlab-runner-darwin-amd64 -
実行権限の付与
$ sudo chmod +x /usr/local/bin/gitlab-runner -
Runnerの登録
ここも公式ドキュメントを参考に進めます。
-
以下のコマンドを実行
$ gitlab-runner register -
GitLabインスタンスのURLを入力
Please enter the gitlab-ci coordinator URL (e.g. https://gitlab.com ) https://gitlab.com -
トークンを入力
Please enter the gitlab-ci token for this runner
xxx
xxxには実際のトークンを入力します。GitLabのSetting->CI/CDから確認できます。(画像の黒塗り部分)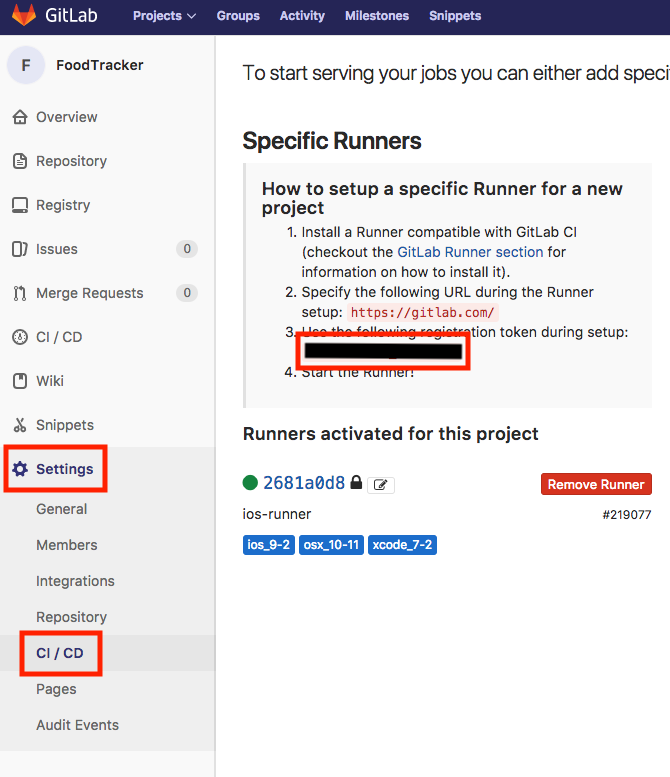-
Runnerのホスト名を入力
Please enter the gitlab-ci description for this runner
[hostame] my-runner
なんでもいいですが、ここでは
my-runnerと入力します。 -
Runnerに関連付けるタグを入力
Please enter the gitlab-ci tags for this runner (comma separated):ここではタグ付けしません。何も入力せずにEnter。
-
Runnerを現在のプロジェクトにロックするか選択
Whether to lock Runner to current project [true/false]:
[true]: true
とりあえず
true。 -
Runner executorの入力
Please enter the executor: ssh, docker+machine, docker-ssh+machine, kubernetes, docker, parallels, virtualbox, docker-ssh, shell: shellshellを選択します。
-
-
Runnerをインストールして実行
$ cd ~
$ gitlab-runner install
$ gitlab-runner start
ここで一応Runnerが動いていることを確認してみましょう。
$ gitlab-runner status
gitlab-runner: Service is running!
問題なければ
gitlab-runner: Service is running!と出力されるはずです。
.gitlab-ci.ymlの作成
以下のとおり.gitlab-ci.ymlを作成します。
stages:
  - deploy

before_script:
  - bundle install

deploy:
  stage: deploy
  script:
    - echo "deb http://packages.cloud.google.com/apt cloud-sdk-jessie main" | tee /etc/apt/sources.list.d/google-cloud-sdk.list
    - curl https://packages.cloud.google.com/apt/doc/apt-key.gpg | apt-key add -
    - apt-get update && apt-get install google-cloud-sdk --yes
    - echo $DEPLOY_KEY_FILE_PRODUCTION > /tmp/$CI_PIPELINE_ID.json
    - gcloud auth activate-service-account --key-file /tmp/$CI_PIPELINE_ID.json
    - gcloud --quiet --project $PROJECT_ID_PRODUCTION app deploy
    - rm /tmp/$CI_PIPELINE_ID.json
  only:
    - master
これでmasterに変更が反映されるたびにApp Engineに自動でデプロイされます。
参考
An easy guide to automatically deploy your Google App Engine project with Gitlab CI