GitHub Actions と docker-selenium を使って定期的にスクレイピングを実行する方法を紹介します。
サンプルリポジトリ ― 日電のお客様ページから電力使用量をスクレイピングしています。
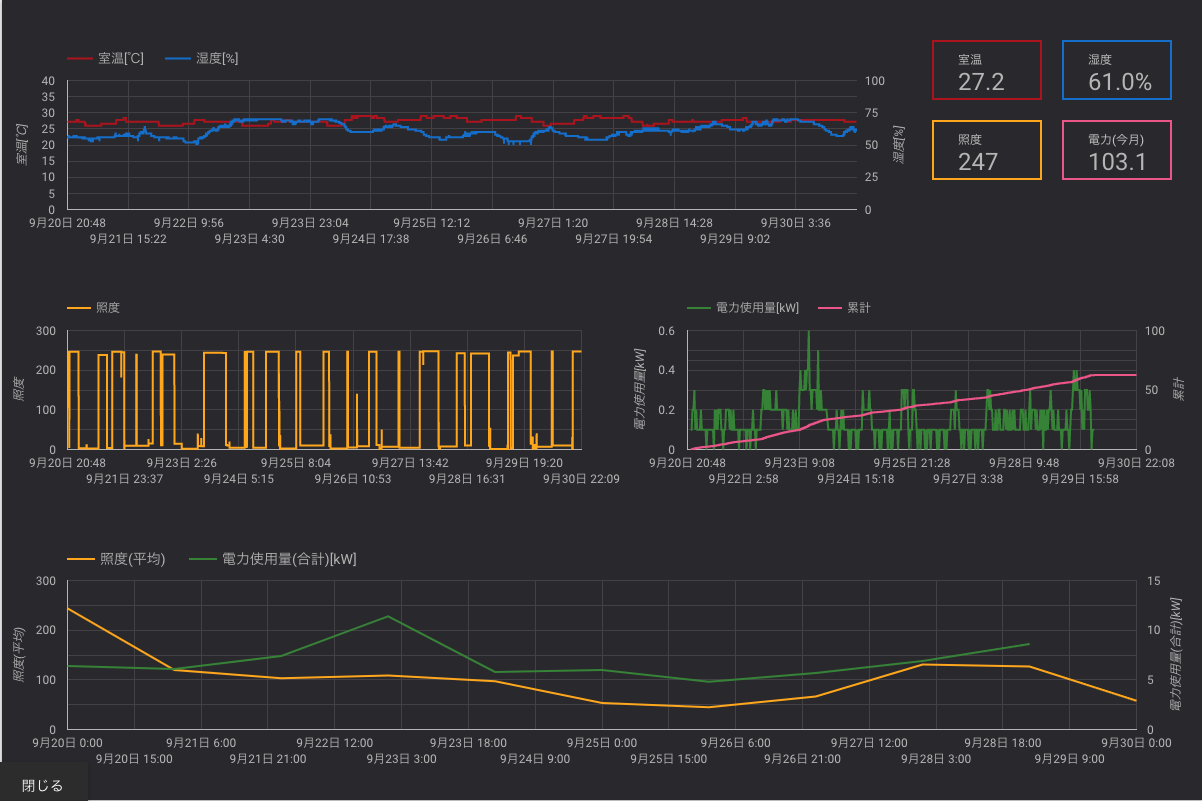
ここでは詳しく触れませんが、
- GAS で Nature Remo API を叩いて室温/湿度/照度を取得
- 電力使用量をスクレイピング
- Google Spread Sheet にそれぞれ記録
- Google Data Portal で可視化
して遊んでみました。
GitHub Actions
具体的には以下のような YAML ファイルを用意します。
on:
  schedule:
  - cron: 0 0 * * *
jobs:
  scraping:
    runs-on: ubuntu-latest
    services:
      selenium:
        image: selenium/standalone-chrome:3.141.59-vanadium
        ports:
          - 4444:4444
        volumes:
          - /dev/shm:/dev/shm
    steps:
    - uses: actions/checkout@v1
    - name: execute
      run: ...
説明
- on:
  schedule:
  - cron: 0 0 * * *
on でワークフローを起動するイベントを指定します。定期実行させたいので、 schedule として cron 形式で起動時刻を指定します。タイムゾーンは UTC のようですので注意が必要です。
runs-on: ubuntu-latest
runs-on でジョブを実行する仮想マシンの種類を指定します。 Docker コンテナを使用する場合は Linux でなければならないようです。
services:
  selenium:
   image: selenium/standalone-chrome:3.141.59-vanadium
   ports:
     - 4444:4444
   volumes:
     - /dev/shm:/dev/shm
services でサービスをホストするコンテナを定義できます。ここでは、Selenium を実行するために selenium/standalone-chrome をサービスとして定義しています。
ポートとボリュームの設定は、selenium/standalone-chrome の デフォルトの起動方法 をそのまま使用しています。
steps:
  - uses: actions/checkout@v1
  - name: execute
    run: ...
steps に実際に実行したいスクリプトたちを定義していきます。 uses: actions/checkout@v1 はパブリックなアクションで、ソースコードをワークフローにコピーしてきてくれます。
run: ... でスクレイピングするプログラムを起動します。 具体的には run: ruby main.rb など。
このファイルを用意しておいてあげるだけであとは勝手に定期実行してくれるのですが、テストで実行する方法が見当たりませんでした。。仕方なく cron で直近の時刻を指定して動作確認しました。
Badges
README に貼るバッジもあります。
[](https://github.com/{owner}/{repo}/actions)
workflow_name はファイル名ではなく、ワークフローにつけた名前です。(上の説明では省略していますが、サンプルリポジトリにあるファイルでいうと 1 行目の name: scraping electric power consumption です。スペースは %20 にする必要あり。)
スクレイピングするプログラム
サービスとして立ち上げた selenium/standalone-chrome 上で Selenium を動かすので、 driver の生成方法がローカルで動かす場合と異なります。
具体的には( Ruby の場合) 以下のように Selenium::WebDriver.for の引数に :remote と desired_capabilities: :chrome を与える必要があります。
driver = Selenium::WebDriver.for :remote, desired_capabilities: :chrome
おわりに
自分で手を動かして触ってみたことで、「ぎっとはぶあくしょんず完全に理解した」状態になれました。
普段は GitLab CI を触っているので、明示的に checkout しなきゃいけないところとかはちょっと面倒くさく感じてしまいました。
GitHub Actions の今後に期待。