Prisma.ioとは?

- SQLサーバにGraphQLを生やします。
- 今の所、MySQL、PostgreSQL、MongoDBに対応。
- PrismaサーバはDockerコンテナとして起動。
- GraphQLなので、クライアントはHTTPが使えればPrismaサーバを操作できる。
- Prismaサーバの操作をしやすくするPrismaクライアント(GO, TypeScript, JavaScript)を自動生成できる。
- Prisma Adminでブラウザからデータベースの照会、更新などができる。
雑なまとめなので、公式サイトを見てもらったほうがいいと思います。
また、以下の記事がすごく参考になりました。ありがとうございます。
prisma - 最速 GraphQL Server実装 - Qiita
Prisma.ioでGraphQL APIサーバーを楽して作る - Qiita
構成
PrismaサーバはSQLサーバのCRUD全てが出来てしまうので、そのまま公開するのは危険。
なので、アプリケーション/APIサーバの層を追加します。
この層はPrismaクライアントを使って自前で作るので、APIはGraphQLでなくてもOK。
(REST,gRPCとか)

-
Database
MySQL。Dockerで構築。prisma initで自動的に作ってくれる。 -
Data Access Layer(Prisma)
Dockerで構築。prisma initで自動的に作ってくれる。 -
Application / API Service
今回はGoで作成。 GraphQLサーバのフレームワークはgqlgenを使用。
最初はホストで直接起動。後からDocker化。 -
Client(ブラウザ)
gqlgenでGraphQL Playgroundを追加できるので、そこから操作。
自分はGraphiQLも使ってます。
基本的に公式のチュートリアルに沿って進めますが、所々アレンジ入れてます。
完成後のソースはこちらです。
環境一覧
試した時の環境です。
環境やバージョンが違っても動くとは思います。
-
macOS Mojave
-
Docker version 18.09.2, build 6247962
-
docker-compose version 1.21.2, build a133471
-
Node.js v8.15.1 ※prismaインストールのため
公式ではbrewも書いてありますが、途中で以下のエラーに遭遇したので、
npmで入れ直しました。
brew tap prisma/prisma
brew install prisma

Error: Cannot find module 'generate'
Step1 Set up Prisma
Prisma インストール
$ npm install -g prisma
$ prisma -v
prisma/1.30.0 (darwin-x64) node-v8.15.1
Prisma init
構築はGOHOMEのディレクトリ下で構築します。(例: ~/go/src/prisma-hello-world)
まず、prismaコマンドで土台を作ります。
途中質問がくるので、以下を選択。
- Create new database
- MySQL
- Go
$ cd ~/go/src
$ prisma init prisma-hello-world

? Set up a new Prisma server or deploy to an existing server? Create new database
? What kind of database do you want to deploy to? MySQL
? Select the programming language for the generated Prisma client Prisma Go Client

Created 3 new files:

  prisma.yml           Prisma service definition
  datamodel.prisma    GraphQL SDL-based datamodel (foundation for database)
  docker-compose.yml   Docker configuration file

Next steps:

  1. Open folder: cd prisma-hello-world
  2. Start your Prisma server: docker-compose up -d
  3. Deploy your Prisma service: prisma deploy
  4. Read more about Prisma server:
     http://bit.ly/prisma-server-overview
実行が終わるとファイルがいくつか作成されています。
まず、DBサーバとPrismaサーバを起動するdocker-composeファイル。
version: '3'
services:
  prisma:
    image: prismagraphql/prisma:1.30
    restart: always
    ports:
    - "4466:4466"
    environment:
      PRISMA_CONFIG: |
        port: 4466
        # uncomment the next line and provide the env var PRISMA_MANAGEMENT_API_SECRET=my-secret to activate cluster security
        # managementApiSecret: my-secret
        databases:
          default:
            connector: mysql
            host: mysql
            user: root
            password: prisma
            rawAccess: true
            port: 3306
            migrations: true
  mysql:
    image: mysql:5.7
    restart: always
    environment:
      MYSQL_ROOT_PASSWORD: prisma
    volumes:
      - mysql:/var/lib/mysql
volumes:
  mysql:
データモデル定義のパスや、Prismaクライアントの出力先とかの設定ファイル。
endpoint: http://localhost:4466
datamodel: datamodel.prisma

generate:
  - generator: go-client
    output: ./generated/prisma-client/
データモデル定義。
type User {
  id: ID! @unique
  name: String!
}
起動・デプロイ
まずは初期状態で起動してみます。
$ docker-compose up -d
$ prisma deploy
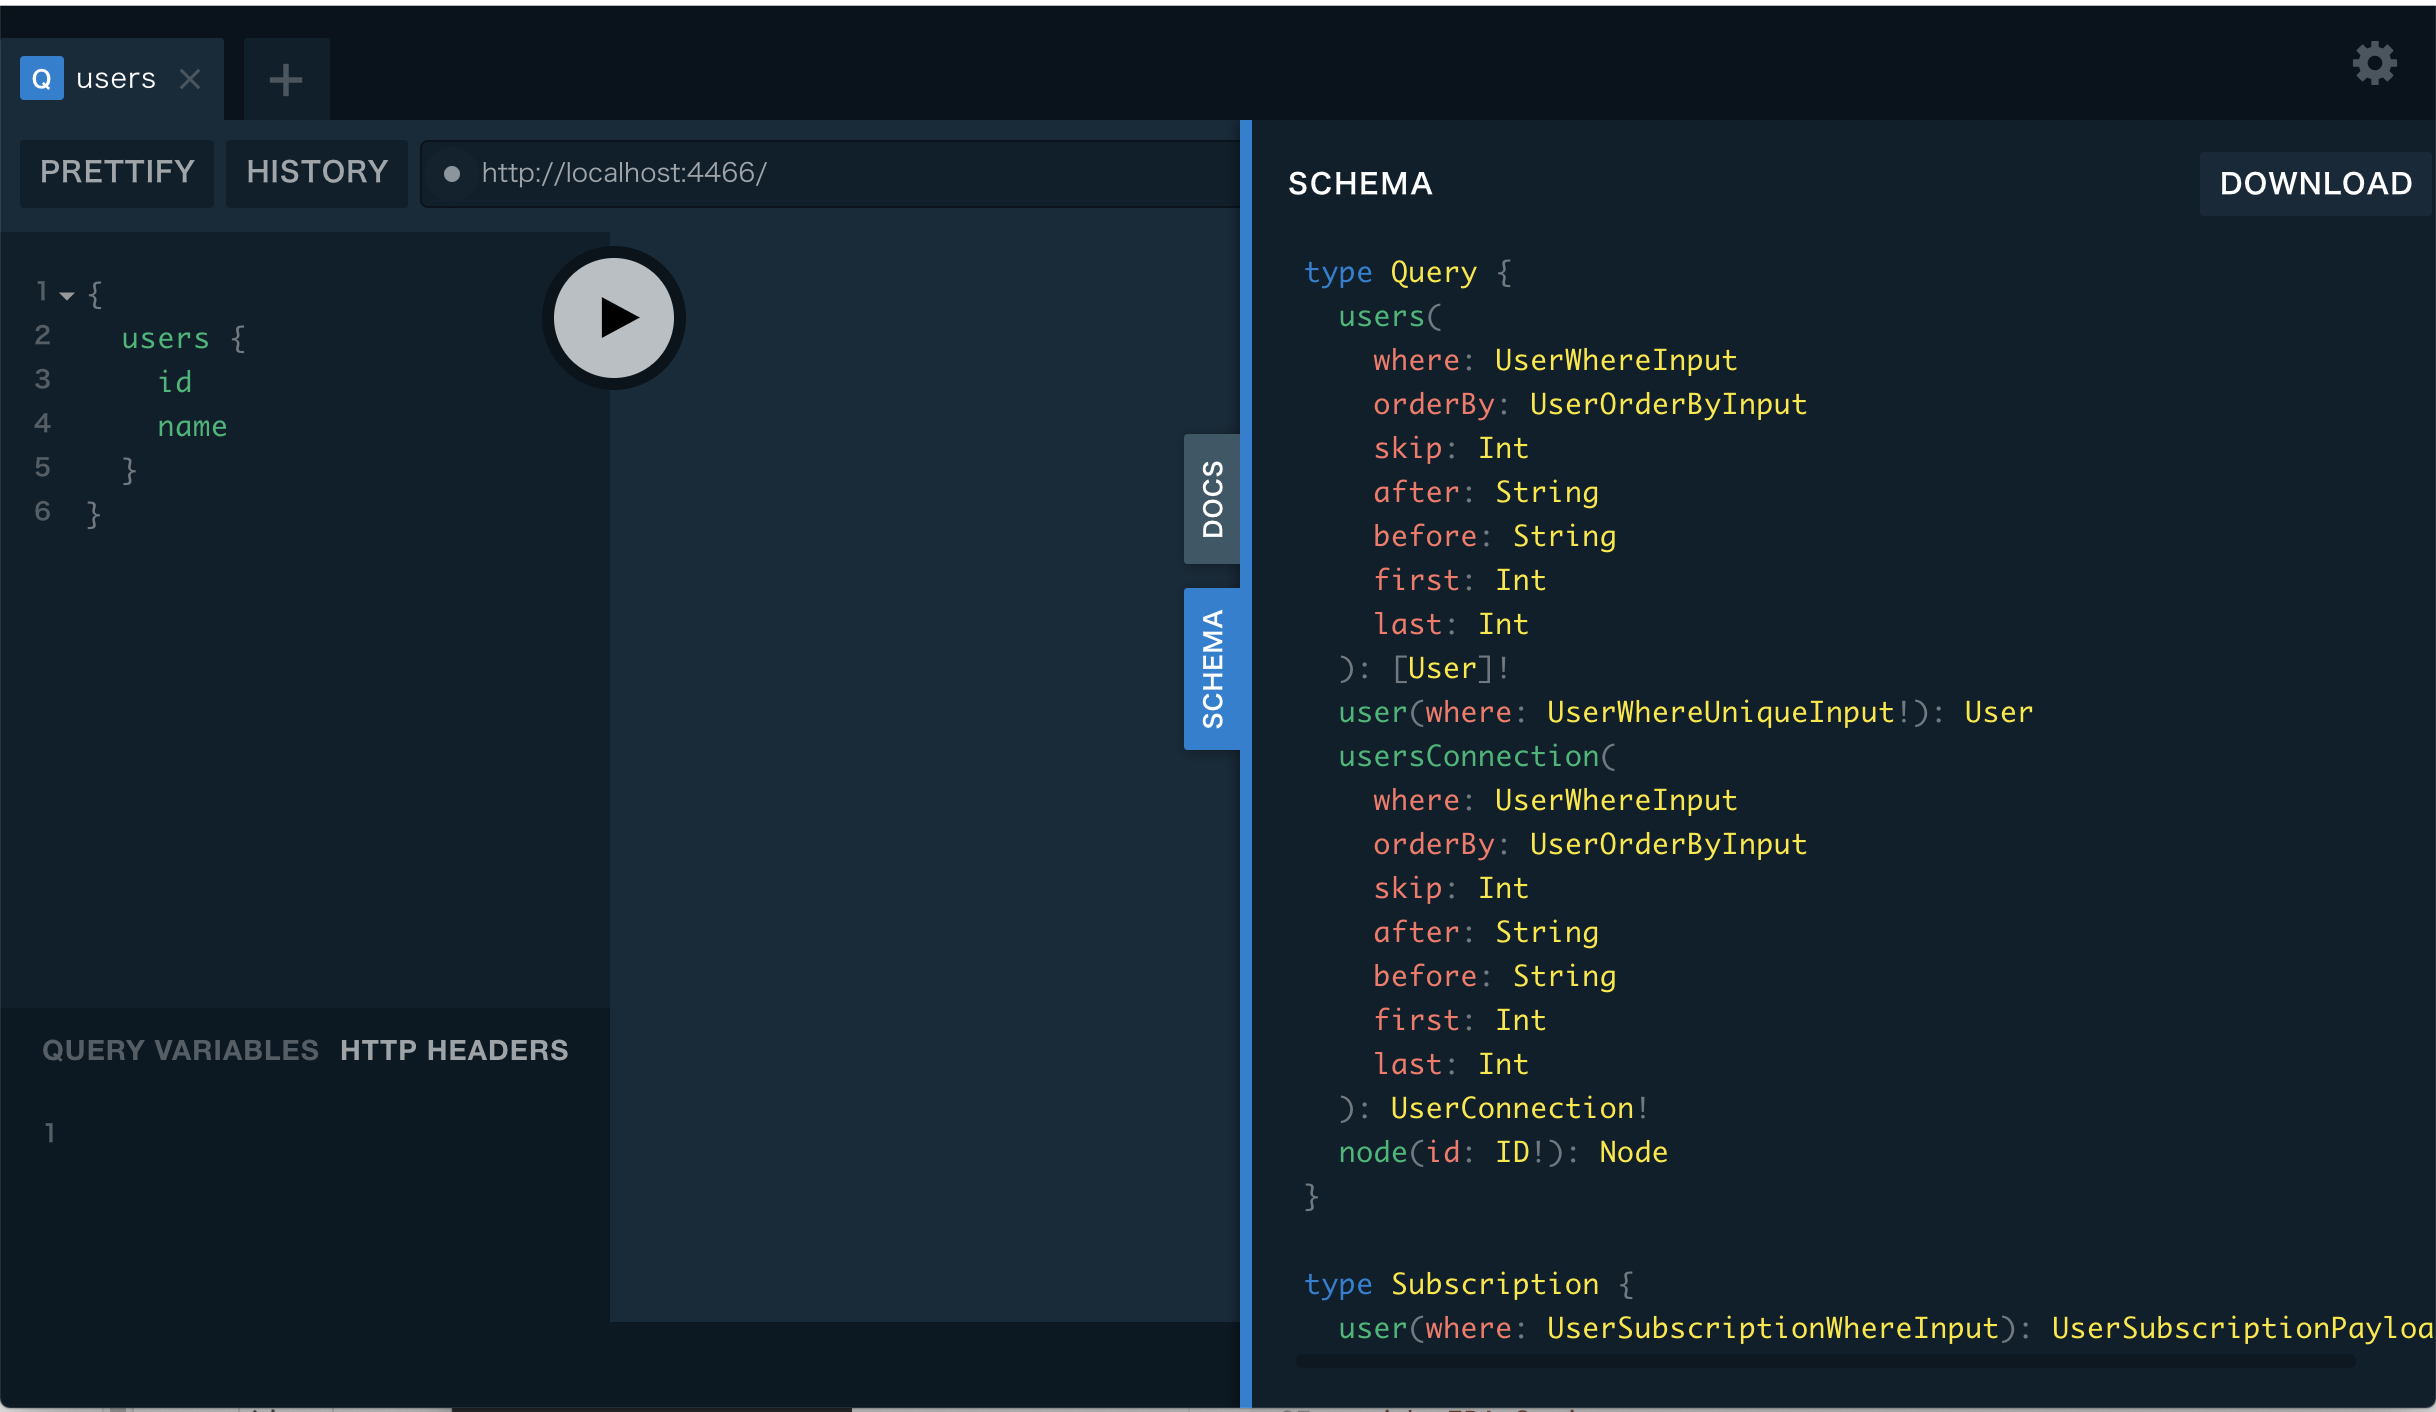
以下にアクセスすると、PrismaサーバのGraphQL Playgroundが開きます。
http://localhost:4466
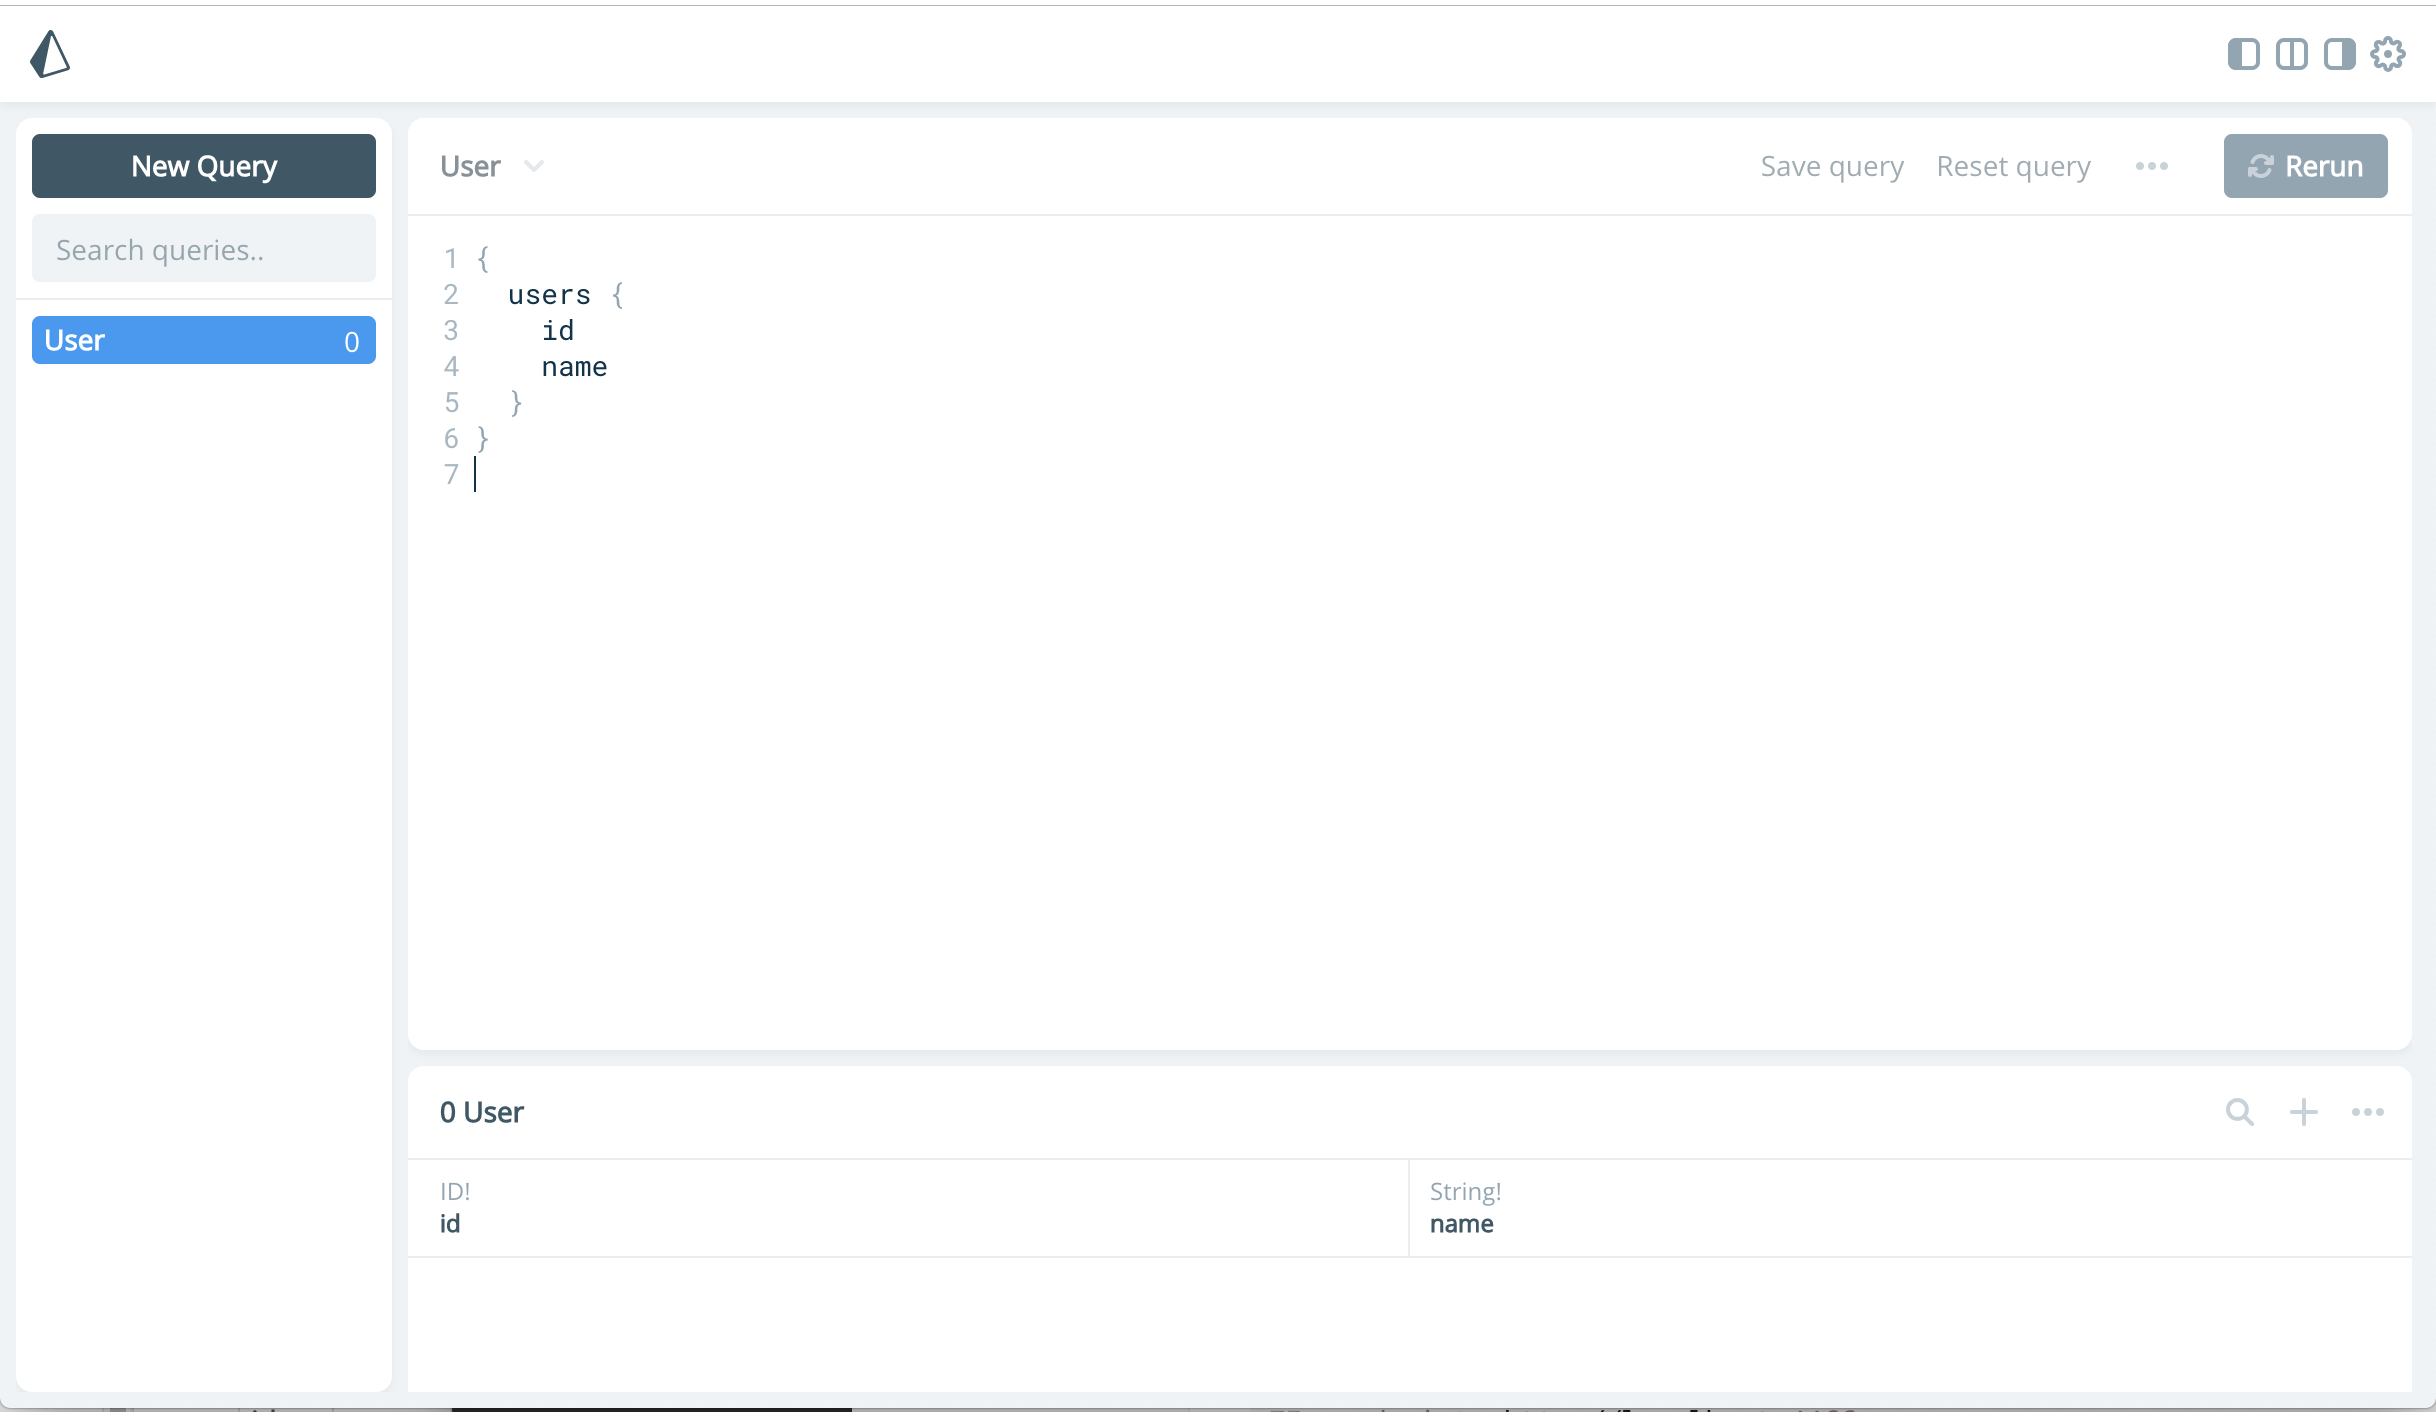
以下のアドレスにアクセスすると、データ管理が出来るPrisma Adminが開きます。
http://localhost:4466/_admin
Goクライアントを作成
データが空っぽなので、Goクライアントを実装してデータを追加してみます。
まず、GO MODULESを初期化します。
$ export GO111MODLUE=on
$ go init
Prismaクライアントを使ってデータを登録するソースを作成します。
package main

import (
	"context"
	"fmt"
	prisma "prisma-hello-world/generated/prisma-client"
)

func main() {
	client := prisma.New(nil)
	ctx := context.TODO()

	// Create a new user
	name := "Alice"
	newUser, err := client.CreateUser(prisma.UserCreateInput{
		Name: name,
	}).Exec(ctx)
	if err != nil {
		panic(err)
	}
	fmt.Printf("Created new user: %+v\n", newUser)

	users, err := client.Users(nil).Exec(ctx)
	if err != nil {
		panic(err)
	}
	fmt.Printf("%+v\n", users)
}
実行すると、1件データが登録されます。
IDはcuidに基づいて自動的に振られます。
$ go run index.go
Created new user: &{ID:cjuc0tk8f001l07165y3waxtt Name:Alice}
[{ID:cjuc0tk8f001l07165y3waxtt Name:Alice}]
Step2 データモデルの変更
データモデルに項目を追加します。
type User {
  id: ID! @unique
  email: String @unique
  name: String!
  posts: [Post!]!
}

type Post {
  id: ID! @unique
  title: String!
  published: Boolean! @default(value: "false")
  author: User
}
デプロイとPrismaクライアントの更新をします。
$ prisma deploy
$ prisma generate
generated/prisma-client/prisma.goに新しいAPIが追加されましたので、これを使ってデータを登録するソースを作成します。
package main

import (
	"context"
	"fmt"
	prisma "prisma-hello-world/generated/prisma-client"
)

func main() {
	client := prisma.New(nil)
	ctx := context.TODO()

	// Create a new user with two posts
	name := "Bob"
	email := "bob@prisma.io"
	title1 := "Join us for GraphQL Conf in 2019"
	title2 := "Subscribe to GraphQL Weekly for GraphQL news"
	newUser, err := client.CreateUser(prisma.UserCreateInput{
		Name:  name,
		Email: &email,
		Posts: &prisma.PostCreateManyWithoutAuthorInput{
			Create: []prisma.PostCreateWithoutAuthorInput{
				prisma.PostCreateWithoutAuthorInput{
					Title: title1,
				},
				prisma.PostCreateWithoutAuthorInput{
					Title: title2,
				},
			},
		},
	}).Exec(ctx)
	if err != nil {
		panic(err)
	}
	fmt.Printf("Created new user: %+v\n", newUser)

	allUsers, err := client.Users(nil).Exec(ctx)
	if err != nil {
		panic(err)
	}
	fmt.Printf("%+v\n", allUsers)

	allPosts, err := client.Posts(nil).Exec(ctx)
	if err != nil {
		panic(err)
	}
	fmt.Printf("%+v\n", allPosts)
}
実行すると、新しいユーザBobと記事が2件追加されます。
$ go run index.go
Created new user: &{ID:cjuc1dwo1002207164z8feea9 Email:0xc000093520 Name:Bob}
[{ID:cjuc0tk8f001l07165y3waxtt Email:<nil> Name:Alice} {ID:cjuc1dwo1002207164z8feea9 Email:0xc000146320 Name:Bob}]
[{ID:cjuc1dwp4002307162oty6fva Title:Join us for GraphQL Conf in 2019 Published:false} {ID:cjuc1dwpv00250716kvvo5xab Title:Subscribe to GraphQL Weekly for GraphQL news Published:false}]
次に、登録した記事をemailを指定して検索してみます。
package main

import (
	"context"
	"fmt"
	prisma "prisma-hello-world/generated/prisma-client"
)

func main() {
	client := prisma.New(nil)
	ctx := context.TODO()

	email := "bob@prisma.io"
	postsByUser, err := client.User(prisma.UserWhereUniqueInput{
		Email: &email,
	}).Posts(nil).Exec(ctx)

	if err != nil {
		panic(err)
	}
	fmt.Printf("%+v\n", postsByUser)
}
$ go run index.go
[{ID:cjuc1dwp4002307162oty6fva Title:Join us for GraphQL Conf in 2019 Published:false} {ID:cjuc1dwpv00250716kvvo5xab Title:Subscribe to GraphQL Weekly for GraphQL news Published:false}]
Step3 Build an App
次に、公開用のGraphQLサーバを作っていきます。
まず、gqlgenのパッケージを登録し、初期構築コマンドを入力します。
$ go get github.com/99designs/gqlgen
$ go run github.com/99designs/gqlgen init
実行すると以下のファイルが出来ます。
-
gqlgen.yml
gqlgenの設定。自動生成コードの出力先とかを設定。 -
schema.graphql
公開するGraphQLのスキーマ。この定義からコードが自動生成される。 -
generated.go
gqlgenで自動生成されるコード。
自動生成するので、一旦削除。 -
models_gen.go
prisma-clientで作成された構造体を使うので不要。削除。 -
resolver.go
GraphQLのリゾルバ。自分で作る必要があるが、必要な関数などのテンプレートは自動生成してくれる。
自動生成するので、一旦削除。 -
server/server.go
GraphQLサーバ起動のコード
ごちゃごちゃして来たので、フォルダを作って整理します。
- gqlgen/
- gqlgen.yml
- schema.graphql
- server/server.go
次に、gqlgenの設定をPrismaに合わせて書き換えます。
schema: schema.graphql
exec:
  filename: generated.go
models:
  Post:
    model: prisma-hello-world/generated/prisma-client.Post
  User:
    model: prisma-hello-world/generated/prisma-client.User
resolver:
  filename: resolver.go
  type: Resolver
公開するGraphQLのスキーマを作成します。
type Query {
  publishedPosts: [Post!]!
  post(postId: ID!): Post
  postsByUser(userId: ID!): [Post!]!
}

type Mutation {
  createUser(name: String!): User
  createDraft(title: String!, userId: ID!): Post
  publish(postId: ID!): Post
}

type User {
  id: ID!
  email: String
  name: String!
  posts: [Post!]!
}

type Post {
  id: ID!
  title: String!
  published: Boolean!
  author: User
}
ファイルが出来たら、gqlgenを実行してソースを自動生成します。
$ cd gqlgen
$ go run github.com/99designs/gqlgen
以下のファイルが出来ました。
- gqlgen/
- generated.go
- resolver.go
自動生成されたGraphQLのリゾルバは枠しかないので、Prismaクライアントを使って実装していきます。
//go:generate go run github.com/99designs/gqlgen
package gqlgen

import (
	"context"
	"prisma-hello-world/generated/prisma-client"
)

type Resolver struct {
	Prisma *prisma.Client
}

func (r *Resolver) Mutation() MutationResolver {
	return &mutationResolver{r}
}
func (r *Resolver) Post() PostResolver {
	return &postResolver{r}
}
func (r *Resolver) Query() QueryResolver {
	return &queryResolver{r}
}
func (r *Resolver) User() UserResolver {
	return &userResolver{r}
}

type mutationResolver struct{ *Resolver }

func (r *mutationResolver) CreateUser(ctx context.Context, name string) (*prisma.User, error) {
	return r.Prisma.CreateUser(prisma.UserCreateInput{
		Name: name,
	}).Exec(ctx)
}
func (r *mutationResolver) CreateDraft(ctx context.Context, title string, userId string) (*prisma.Post, error) {
	return r.Prisma.CreatePost(prisma.PostCreateInput{
		Title: title,
		Author: &prisma.UserCreateOneWithoutPostsInput{
			Connect: &prisma.UserWhereUniqueInput{ID: &userId},
		},
	}).Exec(ctx)
}
func (r *mutationResolver) Publish(ctx context.Context, postId string) (*prisma.Post, error) {
	published := true
	return r.Prisma.UpdatePost(prisma.PostUpdateParams{
		Where: prisma.PostWhereUniqueInput{ID: &postId},
		Data:  prisma.PostUpdateInput{Published: &published},
	}).Exec(ctx)
}

type postResolver struct{ *Resolver }

func (r *postResolver) Author(ctx context.Context, obj *prisma.Post) (*prisma.User, error) {
	return r.Prisma.Post(prisma.PostWhereUniqueInput{ID: &obj.ID}).Author().Exec(ctx)
}

type queryResolver struct{ *Resolver }

func (r *queryResolver) PublishedPosts(ctx context.Context) ([]prisma.Post, error) {
	published := true
	return r.Prisma.Posts(&prisma.PostsParams{
		Where: &prisma.PostWhereInput{Published: &published},
	}).Exec(ctx)
}
func (r *queryResolver) Post(ctx context.Context, postId string) (*prisma.Post, error) {
	return r.Prisma.Post(prisma.PostWhereUniqueInput{ID: &postId}).Exec(ctx)
}
func (r *queryResolver) PostsByUser(ctx context.Context, userId string) ([]prisma.Post, error) {
	return r.Prisma.Posts(&prisma.PostsParams{
		Where: &prisma.PostWhereInput{
			Author: &prisma.UserWhereInput{
				ID: &userId,
			}},
	}).Exec(ctx)
}

type userResolver struct{ *Resolver }

func (r *userResolver) Posts(ctx context.Context, obj *prisma.User) ([]prisma.Post, error) {
	return r.Prisma.User(prisma.UserWhereUniqueInput{ID: &obj.ID}).Posts(nil).Exec(ctx)
}
先頭の//go:generate go run github.com/99designs/gqlgenは、go generateコマンドでgqlgenを実行するためのコメントです。
スキーマを修正したら、以下のコマンドでコードを更新できます。
$ go generate gqlgen/resolver.go
次に、アプリ起動部分を作成します。
package main

import (
	"log"
	"net/http"
	"os"
	prisma "prisma-hello-world/generated/prisma-client"
	"prisma-hello-world/gqlgen"

	"github.com/99designs/gqlgen/handler"
)

const defaultPort = "4000"

func main() {
	port := os.Getenv("PORT")
	if len(port) == 0 {
		port = defaultPort
	}

	client := prisma.New(nil)
	resolver := gqlgen.Resolver{
		Prisma: client,
	}

	http.Handle("/", handler.Playground("GraphQL Playground", "/query"))
	http.Handle("/query", handler.GraphQL(gqlgen.NewExecutableSchema(
		gqlgen.Config{Resolvers: &resolver})))

	log.Printf("Server is running on http://localhost:%s", port)
	err := http.ListenAndServe(":"+port, nil)
	if err != nil {
		log.Fatal(err)
	}
}
できたら、起動してみます。
$ go run server/server.go
以下にアクセスすると、GraphQL Playgroundが開きます。
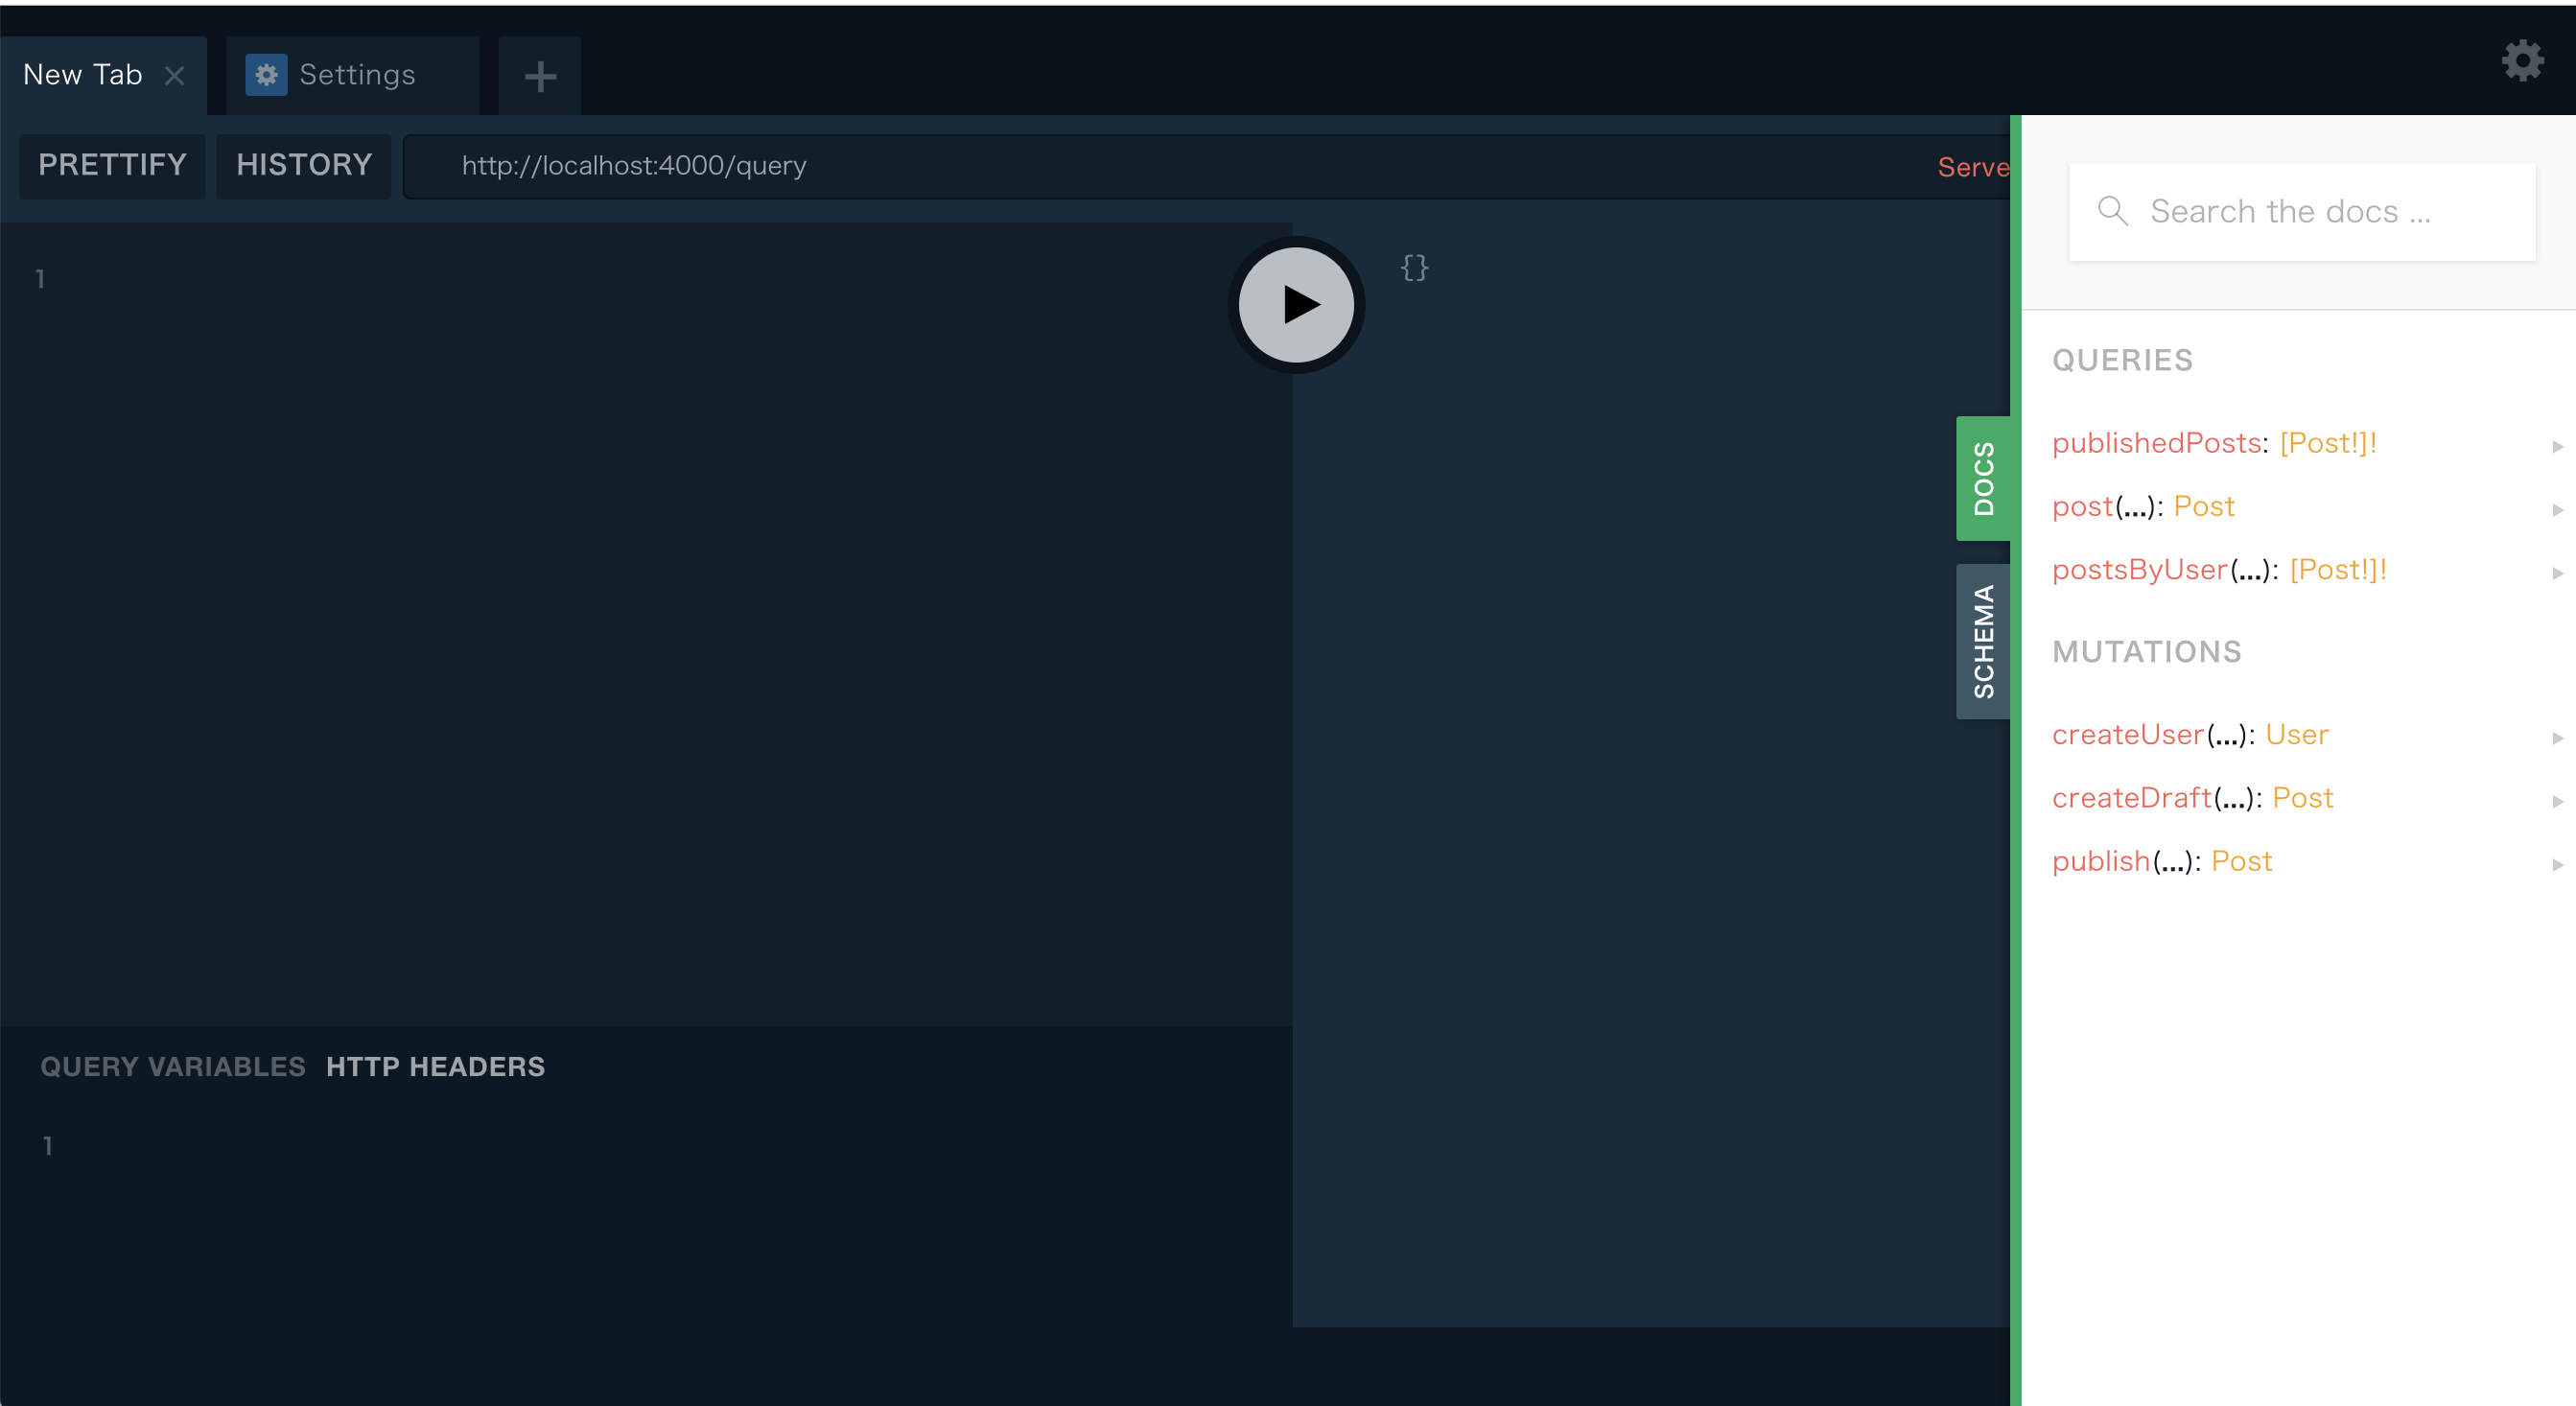
ためしに、ユーザや記事を追加してみます。
mutation {
	createUser(name: "otanu") {
    id
    name
  }
}
{
  "data": {
    "createUser": {
      "id": "cjuc3vysh000d0744f8n94vw4",
      "name": "otanu"
    }
  }
}
mutation {
	createDraft(title: "テスト", userId: "cjuc3vysh000d0744f8n94vw4") {
    id
    title
    published
    author {
      id
      name
    }
  }
}
{
  "data": {
    "createDraft": {
      "id": "cjuc42km0000j07441ucjddnd",
      "title": "テスト",
      "published": false,
      "author": {
        "id": "cjuc3vysh000d0744f8n94vw4",
        "name": "otanu"
      }
    }
  }
}
mutation {
	publish(postId: "cjuc42km0000j07441ucjddnd") {
    id
    title
    published
    author {
      name
    }
  }
}
{
  "data": {
    "publish": {
      "id": "cjuc42km0000j07441ucjddnd",
      "title": "テスト",
      "published": true,
      "author": {
        "name": "otanu"
      }
    }
  }
}
query {
  publishedPosts {
    id
    title
  }
}
{
  "data": {
    "publishedPosts": [
      {
        "id": "cjuc42km0000j07441ucjddnd",
        "title": "テスト"
      }
    ]
  }
}
アプリのDocker化
アプリもDockerComposeでまとめて起動できるように、Docker化していきます。
アプリをDocker化すると、prismaサーバへの接続がlocalhostでは繋がらななくなるので、環境変数ENDPOINTを追加して、エンドポイントを変更できるようにします。
package main

import (
	"log"
	"net/http"
	"os"
	prisma "prisma-hello-world/generated/prisma-client"
	"prisma-hello-world/gqlgen"

	"github.com/99designs/gqlgen/handler"
)

const defaultPort = "4000"

func main() {
	port := os.Getenv("PORT")
	if len(port) == 0 {
		port = defaultPort
	}

  // 追加
	var opt *prisma.Options
	endpoint := os.Getenv("ENDPOINT")
	if len(endpoint) != 0 {
		opt = &prisma.Options{
			Endpoint: endpoint,
		}
	}

	client := prisma.New(opt)
	resolver := gqlgen.Resolver{
		Prisma: client,
	}

	http.Handle("/", handler.Playground("GraphQL Playground", "/query"))
	http.Handle("/query", handler.GraphQL(gqlgen.NewExecutableSchema(
		gqlgen.Config{Resolvers: &resolver})))

	log.Printf("Server is running on http://localhost:%s", port)
	err := http.ListenAndServe(":"+port, nil)
	if err != nil {
		log.Fatal(err)
	}
}
次にDockerfileを準備します。
ついでにfreshでホットリロードも追加。
FROM golang:1.11-alpine AS build_base
RUN apk add bash ca-certificates git gcc g++ libc-dev

WORKDIR /app
COPY go.mod .
COPY go.sum .
RUN go mod download
RUN go get github.com/pilu/fresh

COPY . .
EXPOSE 4000
CMD cd server; fresh server.go
DockerComposeにアプリの設定を追加。
これで、まとめて起動できるようになりました。
version: '3'
services:
  prisma:
    image: prismagraphql/prisma:1.30
    restart: always
    ports:
    - "4466:4466"
    environment:
      PRISMA_CONFIG: |
        port: 4466
        # uncomment the next line and provide the env var PRISMA_MANAGEMENT_API_SECRET=my-secret to activate cluster security
        # managementApiSecret: my-secret
        databases:
          default:
            connector: mysql
            host: mysql
            user: root
            password: prisma
            rawAccess: true
            port: 3306
            migrations: true
  mysql:
    image: mysql:5.7
    restart: always
    ports:
      - "3306:3306"
    environment:
      MYSQL_ROOT_PASSWORD: prisma
    volumes:
      - mysql:/var/lib/mysql
  app:
    build:
      context: .
      dockerfile: ./Dockerfile
    ports:
      - "4000:4000"
    volumes:
      - .:/app
    depends_on:
      - prisma
    environment:
      ENDPOINT: http://prisma:4466
volumes:
  mysql: