2019年、2月からiOSインターンとしてJX通信社にお世話になっています。インターンとして入ったばっかなのでそこで行った実習としてUITableViewCellのxibを用いたカスタムセルの実装方法をここにまとめたいと思います。
この記事はPARTが2つに分かれています。これはPART1です。PART2では2通りの方法でAPIを利用してTableViewを作成しています。よかったら下から確認してきてください。
PART2: https://qiita.com/ostk0069/items/385acd1875c0d3e3277f
今回実装にあたって作成したものをGitHubに作成しておいたのでコードだけ見たい人はこちらからどうぞ。
とりあえずswift内のデータを表示させたもの*
https://github.com/takumaosada/customCellTutorial
*終了後、Alamofire, SwiftyJSONを用いてAPI通信を行い表示させたもの
https://github.com/takumaosada/customCellTutorial/tree/feature/swifty_json
*終了後、Alamofire, Decodable(codable)を利用してAPI通信を行い表示させたもの
https://github.com/takumaosada/customCellTutorial/tree/feature/decodable
はじめに
xcodeを立ち上げ、projectを作成し、プロジェクト名を設定しましょう。
ここでは特に不都合がなければCreate a New Xcode Projectを選択しましょう。
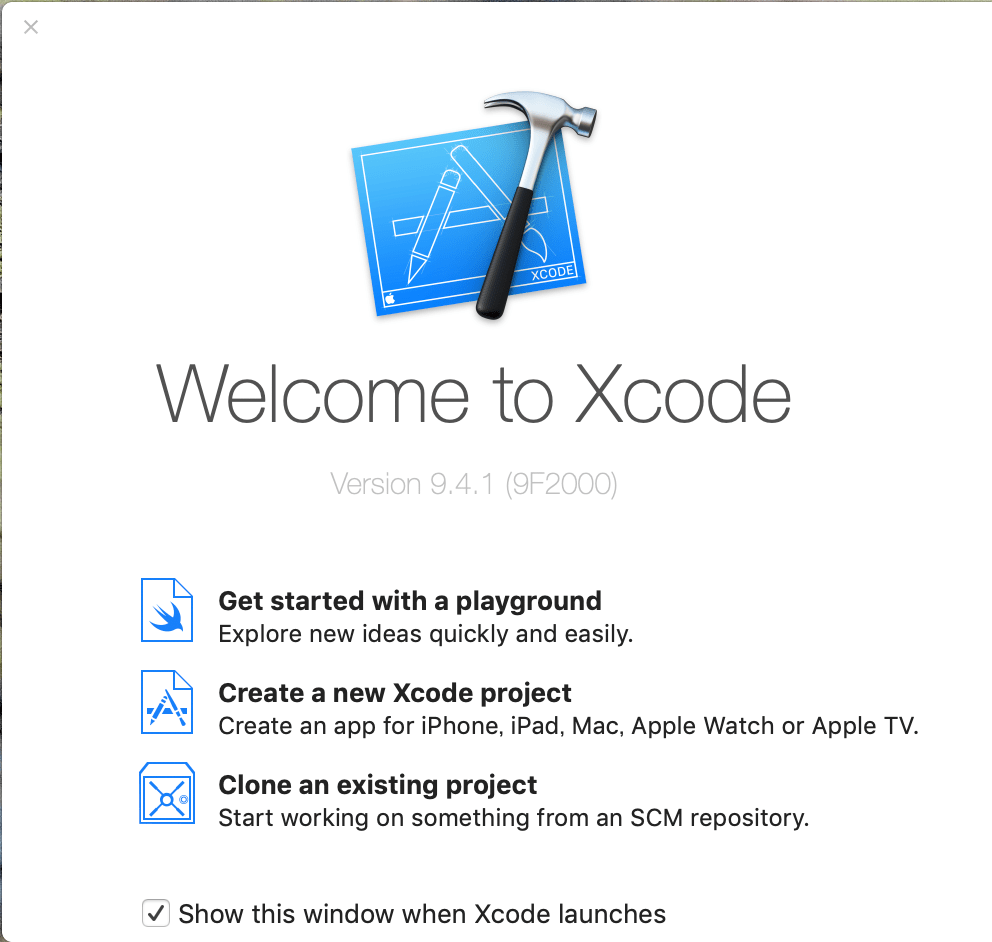
その後はSingle View Appを選択し、そのままproject名をつけましょう。
(名前はなんでも大丈夫です。)

そうするとこのような画面が出てくると思います。

.xibを使用する・使用しないの選択にあたって
それでは、codingを始めていきたいのですが、UITableViewを利用してCellを作成する場合、
- 直接UIViewControllerに記述する
- .xibを使用する
の2択が存在します。それぞれのメリット・デメリットは
-
直接UIViewControllerに記述する
- メリット: .xibを使用するよりもstoryBoardに直接UITableViewCellを乗っけることができるのでファイルの数が少なくて済む。
- デメリット: UIViewControllorへ記述する量が増えてしまう
-
.xibを使用する
- メリット: UITableViewと UITableViewCellを分離して記述することができる。
- デメリット: Cellへのあたいの継承とか少しだけめんどい
他にもあるかもしれませんが、どちらが絶対に正しいというものはないので適切な方を選択しましょう。今回はタイトル通り、.xibファイルを用いて作成します。
.xibファイルの作成
写真通りにproject名のファイルにカーソルを合わせながら右クリックし、New File...を選択します。
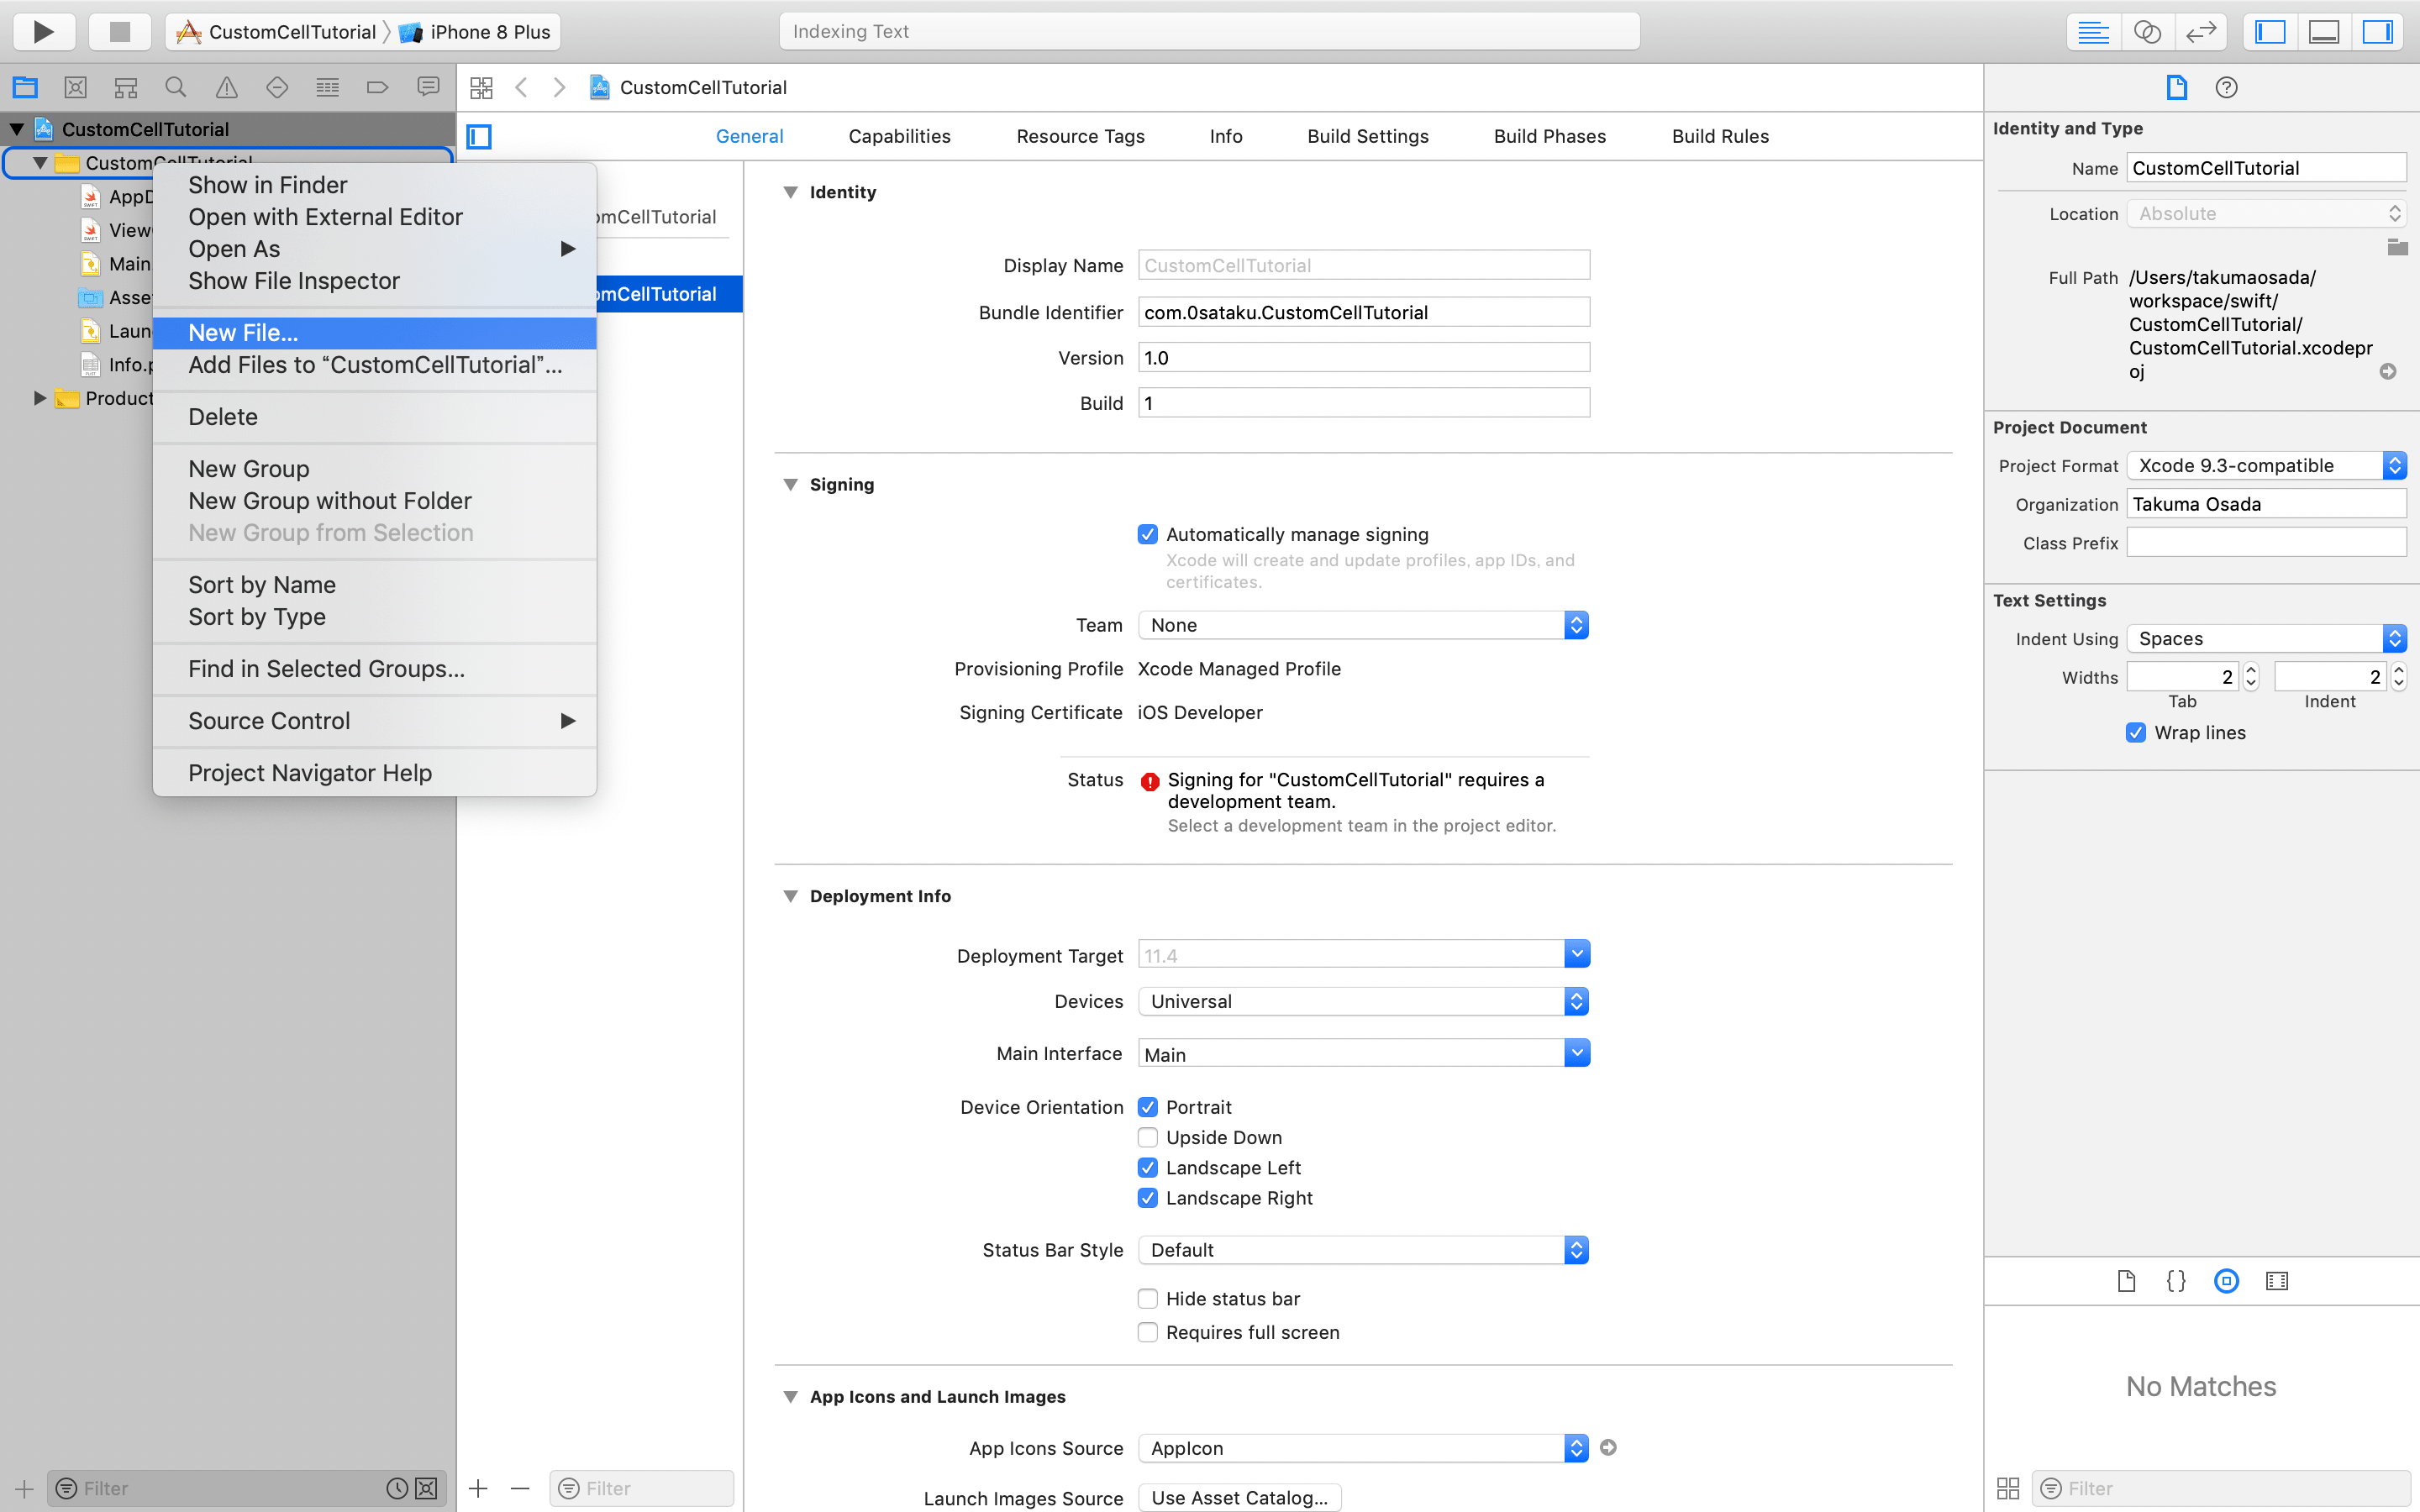
Cocoa Touch Classを選択
名前は適当に関連した言葉を添えて命名しましょう
ここで大事なのは、Also create XIB fileにチェックすることです。

そしたら最後に2つのファイルが同時に作成されたことを確認することができます。

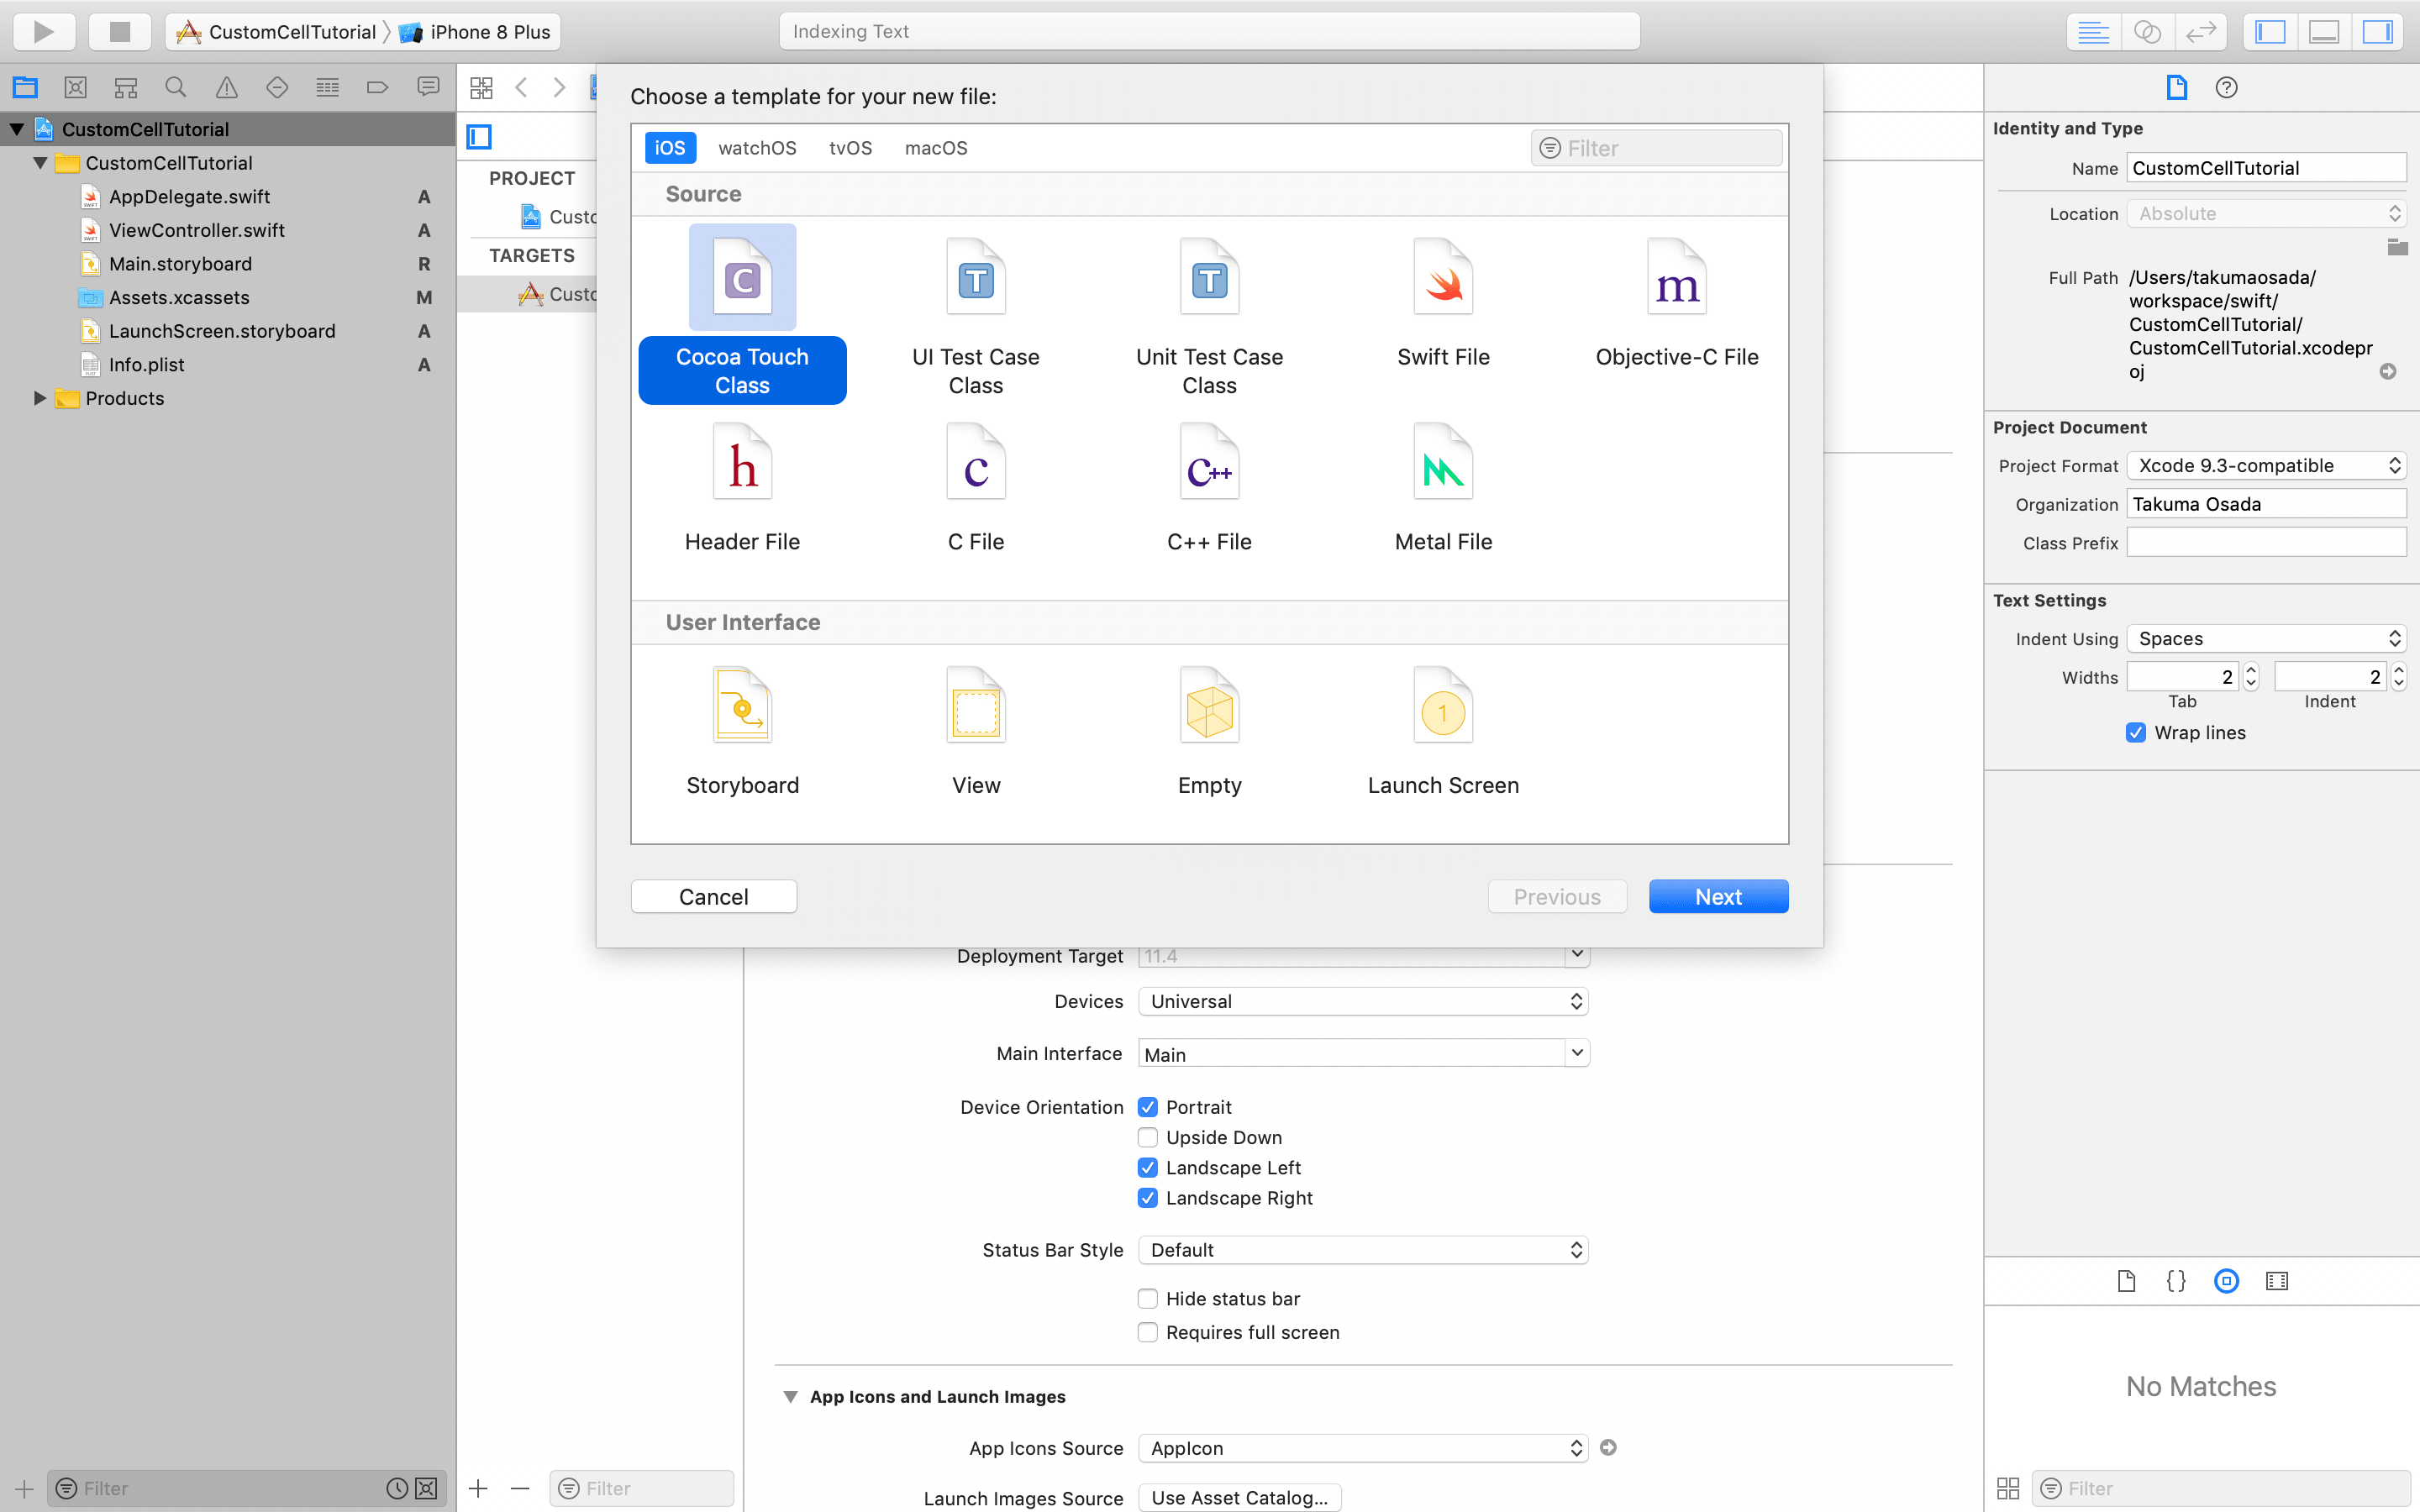
UITableViewの作成
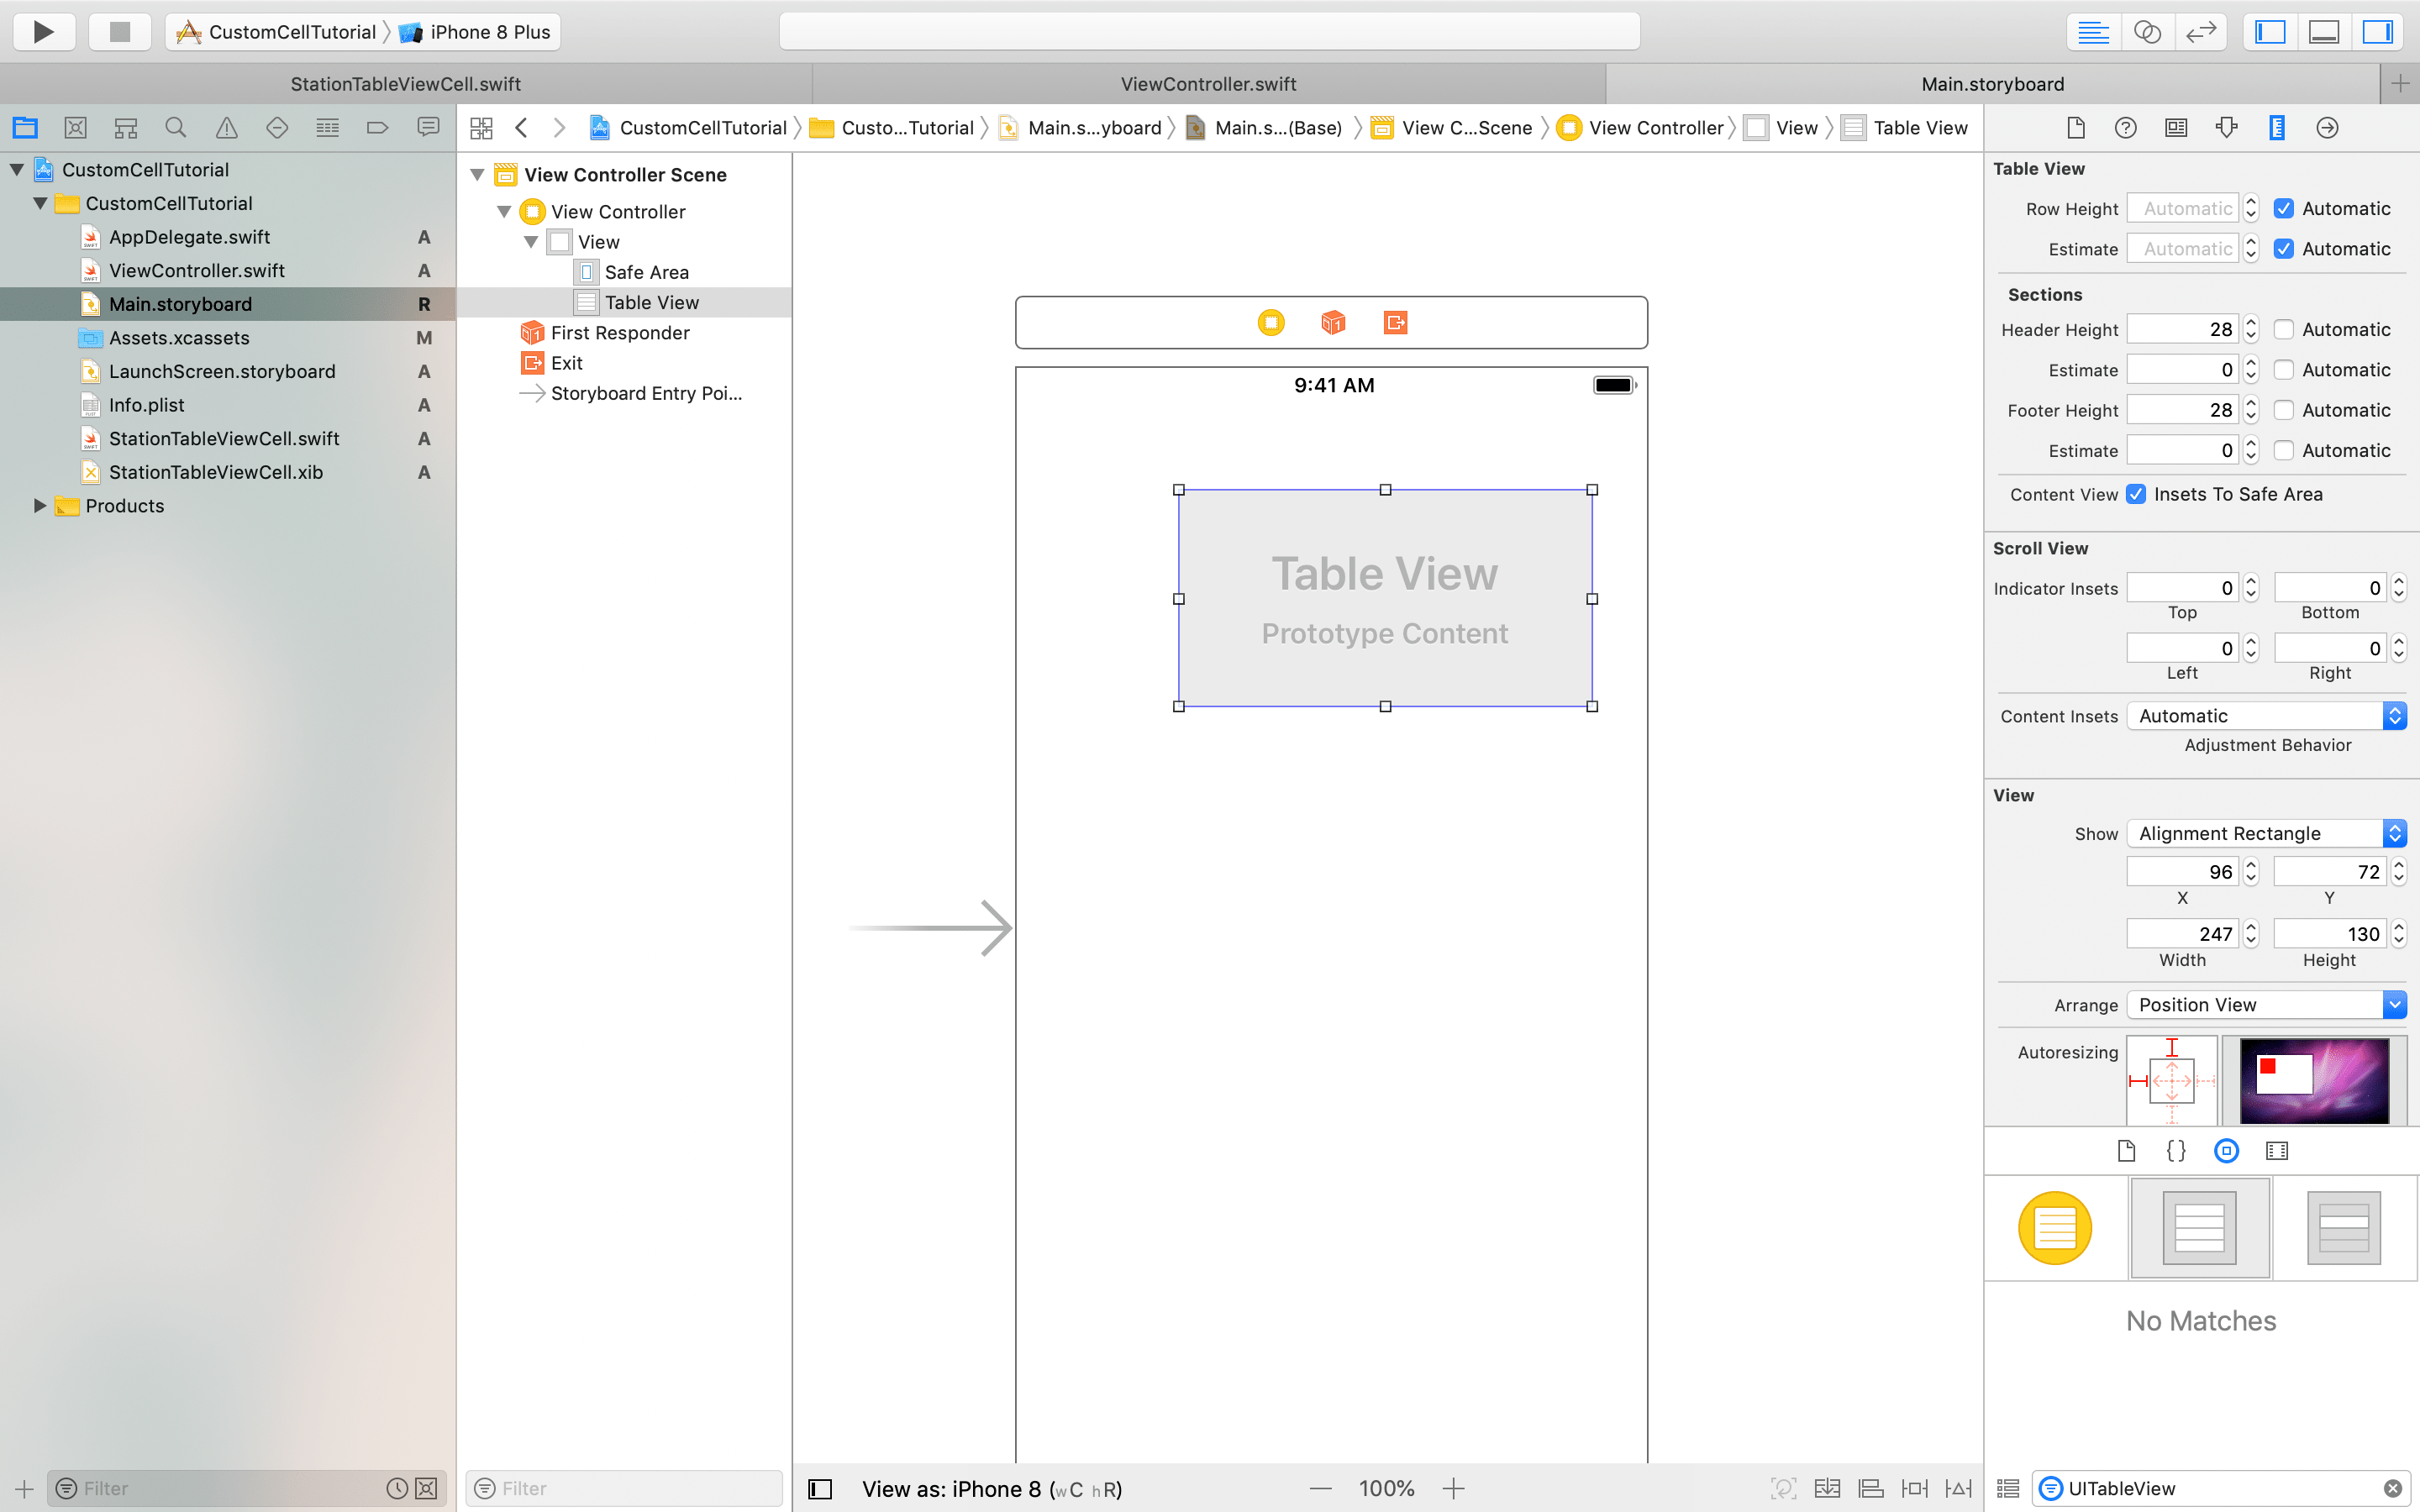
Main.storyboardを開き、右下のメニューからUITableViewを選択してクリックします。
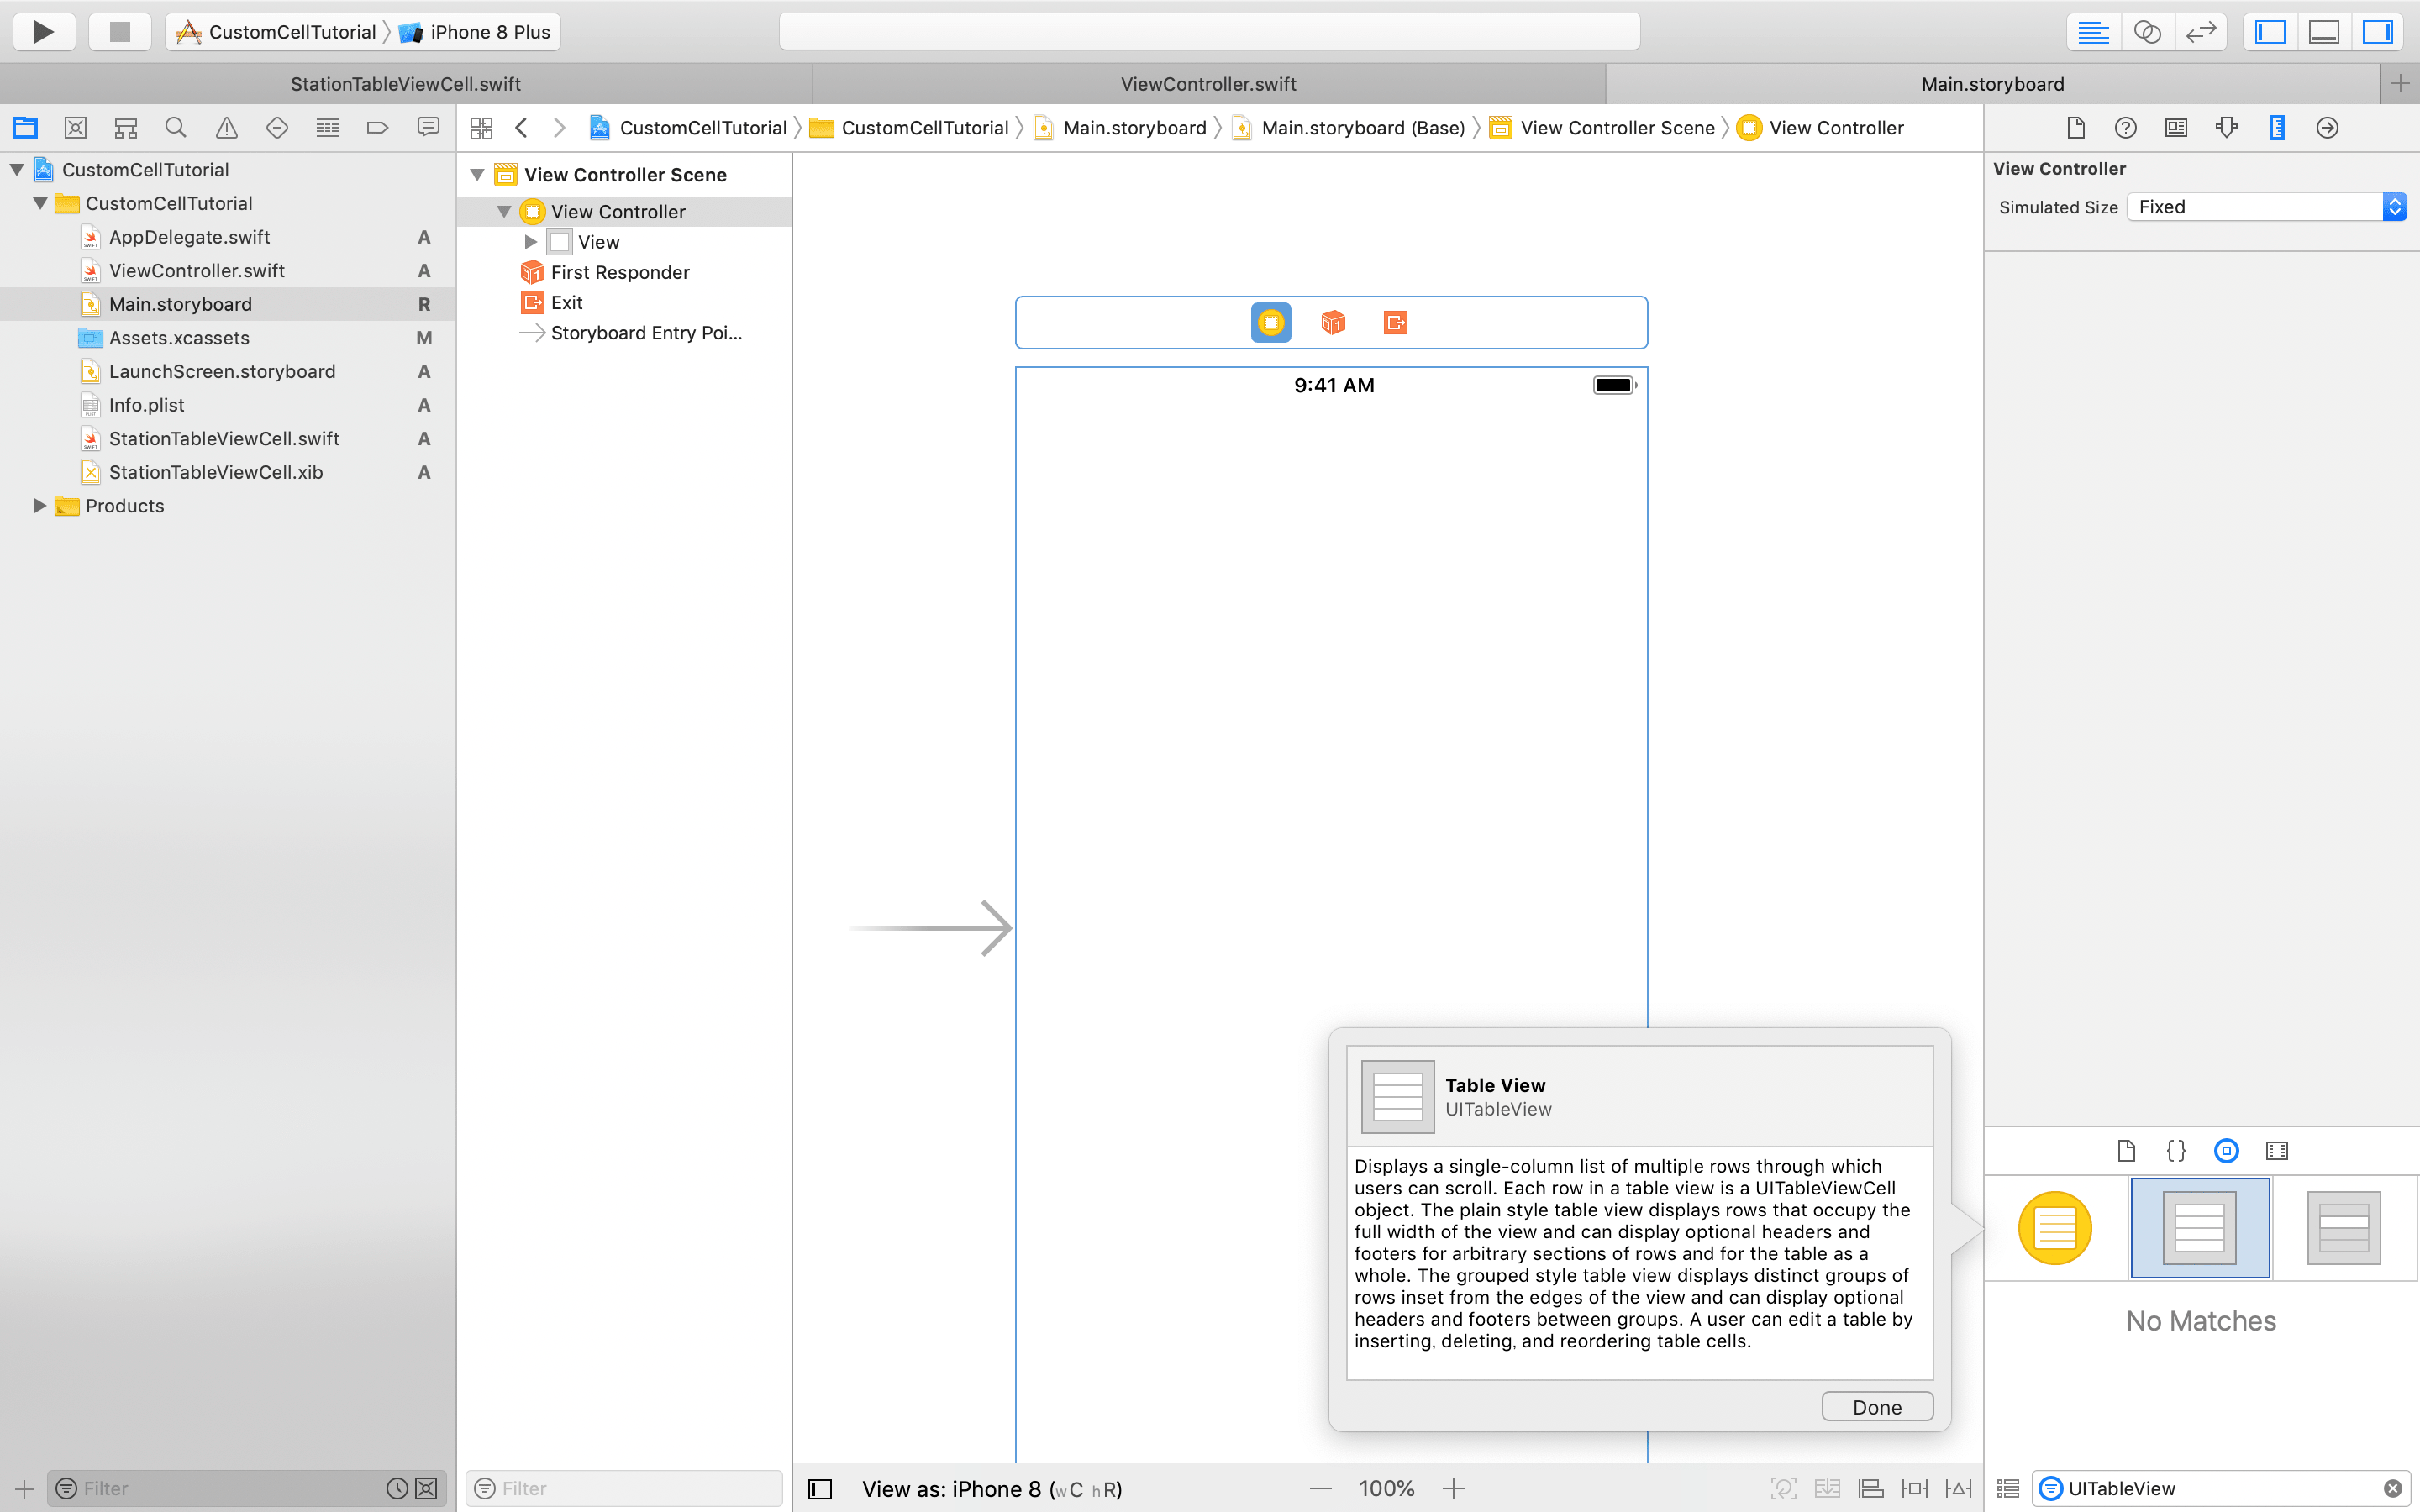
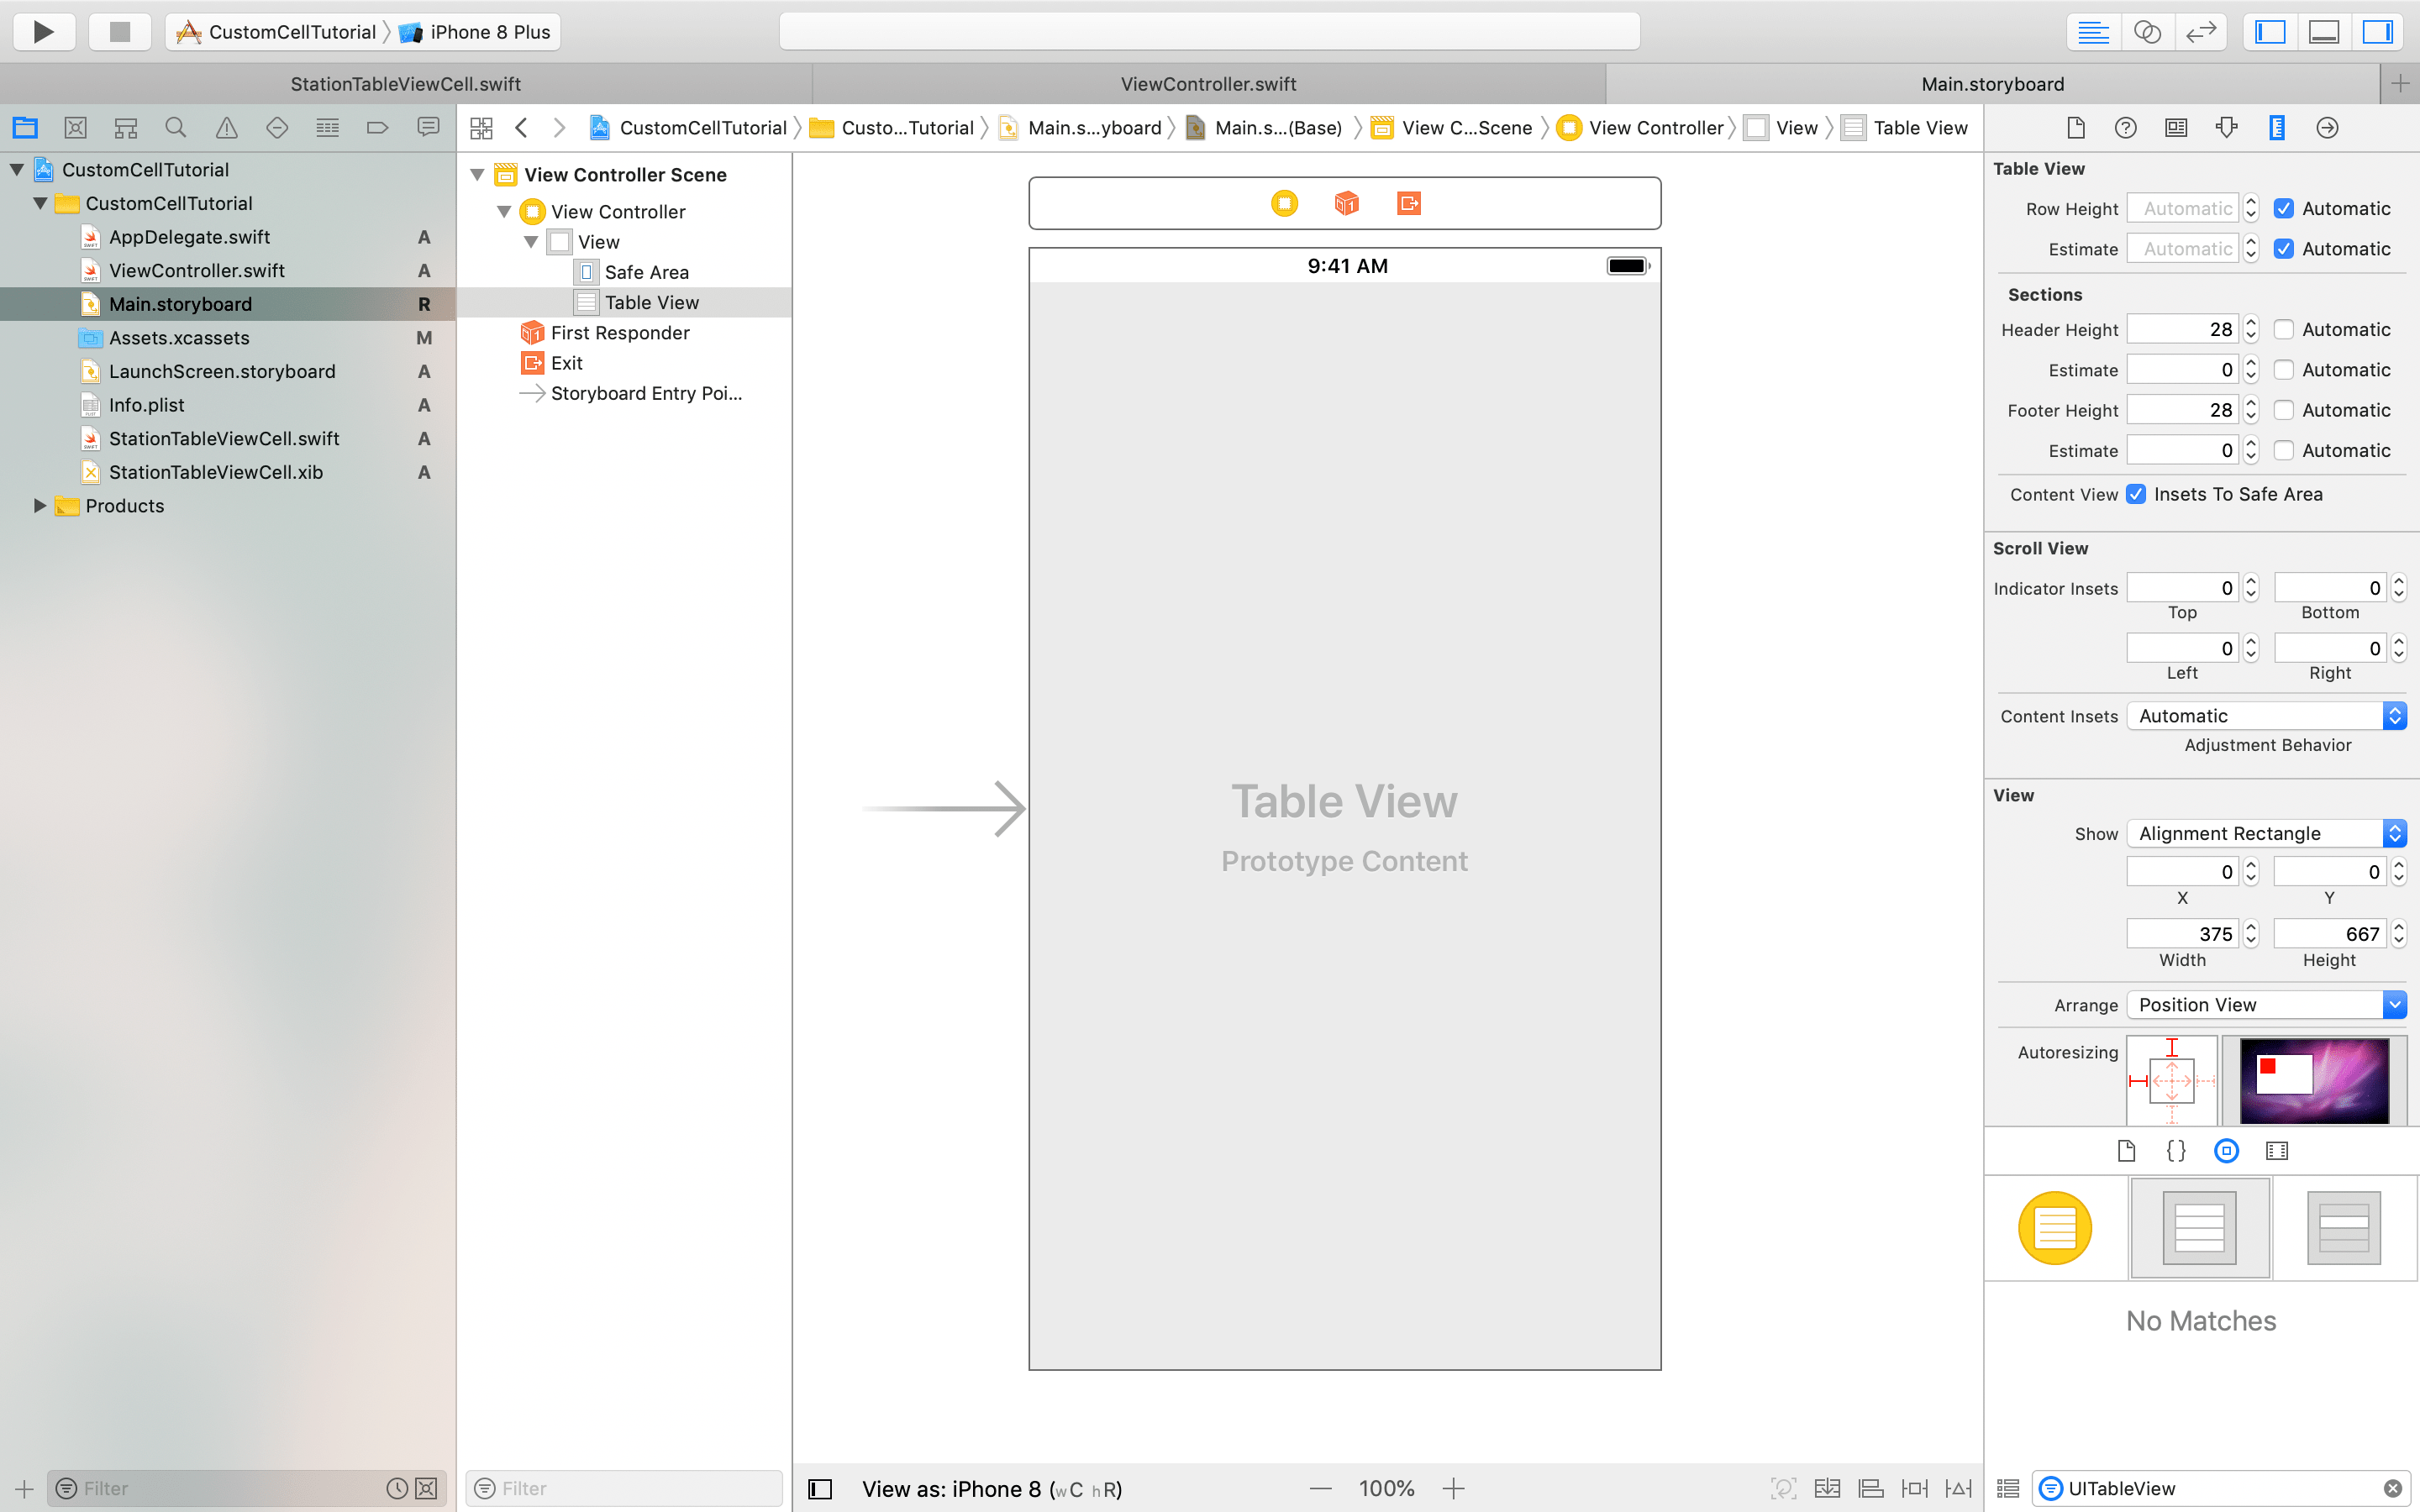
UITableViewをクリックした結果が下なのですが、これだと一覧表示したいTableが小さすぎるので画面いっぱいに拡大します。
拡大した結果がこれです。
次にUITableViewとUIViewControllerの紐付けをしましょう。

下の写真のように
@IBOutlet weak var stationList: UITableView!
の横の部分に◉が存在するか確認してください。

データを入れるmodelを作成する
実際、UITableViewに簡単な情報を表示するだけではmodelの作成は必須ではないですが、のちにAPIを叩いて駅の情報を取得する必要があります。なので今回は作ることにします。
import Foundation

class Station : NSObject {
  var name: String
  var prefecture: String

  init(name: String, prefecture: String){
    self.name = name as String
    self.prefecture = prefecture as String
  }
}
TableViewCellに記述する
完成したものは
import UIKit

class StationTableViewCell: UITableViewCell {

   @IBOutlet var name: UILabel!
   @IBOutlet var prefecture: UILabel!

    override func awakeFromNib() {
        super.awakeFromNib()
        // Initialization code
    }

  func setCell(station: Station) {
    self.name.text = station.name as String
    self.prefecture.text = station.prefecture as String
  }

    override func setSelected(_ selected: Bool, animated: Bool) {
        super.setSelected(selected, animated: animated)

        // Configure the view for the selected state
    }

}
setCellというfunctionを定義しました。これによって上で定義したUILabelにUITableViewから受け取った値を入れることができます。
StationTableViewCell.xibとStationTableViewCell.swiftを両方開いた状態で、先ほどのUITableViewを右下から持ってきたように次はUILabelを2つ選択します。これもまた同様の方法ですが、connectした際には◉が表示されていることを確認の上、次に進んでください。

StationTableViewCell.xibに一旦UILabelをおいたものの、これではスタイルが崩れてしまいます。
ここは各自自由に変えていただだいてかまいません。サンプルとしてのっけておきます。

これは作成したUILabelを選択したのち、表示されているmodalの矢印の先のアイコンをクリックすることでモダルが表示されます。とりあえず、4方に全て16pxの感覚を開けておきました。(これをもう一つのUILabelでも行いました)
ViewControllerにUITableViewの記述を行う
今回の完成形はこちらです。
import UIKit

class ViewController: UIViewController, UITableViewDelegate, UITableViewDataSource {

  @IBOutlet weak var stationList: UITableView!
  var stations:[Station] = [Station]()

  override func viewDidLoad() {
    super.viewDidLoad()
    StationList.dataSource = self
    StationList.delegate = self
    StationList.register(UINib(nibName: "StationTableViewCell", bundle: nil), forCellReuseIdentifier: "StationTableViewCell")
    self.setupStations()
  }

  override func didReceiveMemoryWarning() {
    super.didReceiveMemoryWarning()
    // Dispose of any resources that can be recreated.
  }

  func setupStations() {
    stations = [Station(name: "飯田橋", prefecture: "東京都新宿区"), Station(name: "九段下", prefecture: "東京都千代田区"), Station(name: "御茶ノ水", prefecture: "東京都文京区") ];
  }

  func numberOfSectionsInTableView(tableView: UITableView) -> Int {
    return 1
  }

  func tableView(_ tableView: UITableView, numberOfRowsInSection section: Int) -> Int {
    return stations.count
  }

  func tableView(_ tableView: UITableView, cellForRowAt indexPath: IndexPath) -> UITableViewCell {
    let cell = tableView.dequeueReusableCell(withIdentifier: "StationTableViewCell", for: indexPath ) as! StationTableViewCell

    cell.setCell(station: stations[indexPath.row])

    return cell
  }
}
書いたコードのついて解説していきます。UITableViewを今回使うので最初に
class ViewController: UIViewController, UITableViewDelegate, UITableViewDataSource
を書きましょう。
StationList.register(UINib(nibName: "StationTableViewCell", bundle: nil), forCellReuseIdentifier: "StationTableViewCell")
上の一文は.xibを利用するときに出てくる違いです。xibを使わないとUITableViewもUITableViewCellも同じstoryBoard内にいるのでいちいちこのcell使うことを知らせる一文が必要ありません。しかし、今回はUITableViewがどのCellを使っていいのかわからなくなるので定義する必要があります。
最後の方にある3つのtableViewを名前に含む関数はUItableViewを使用する上では基本的になくてはならないものです。上から順に
- セクションの数を明示する
- セクションごとに何個のcellを表示するのか
- cellに何を表示するのか
に関係することを記述する場所となっています。
Buildしてみましょう
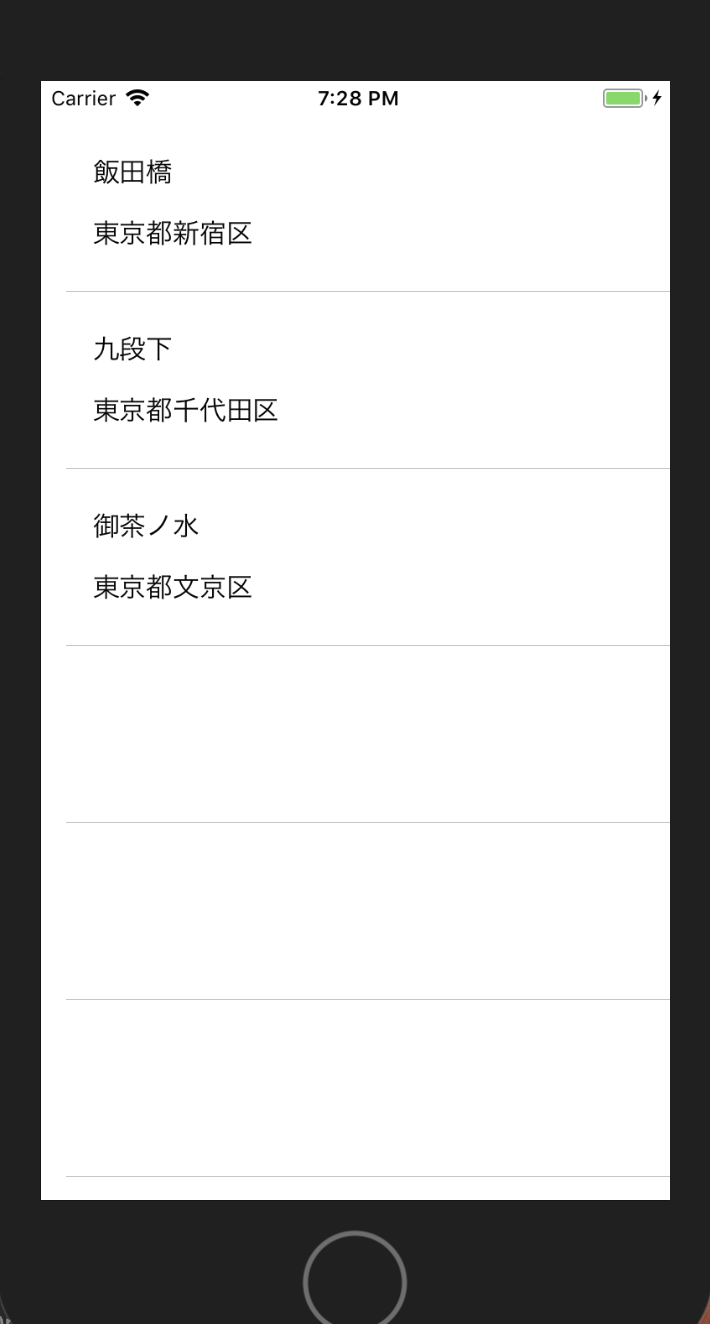 このように表示されました。見た目は味気ないので修正したい人は修正して遊んでみてください。とりあえず
`.xibを用いたUITableViewCell`の作成は行うことができました。
このように表示されました。見た目は味気ないので修正したい人は修正して遊んでみてください。とりあえず
`.xibを用いたUITableViewCell`の作成は行うことができました。
何か詰まった箇所があれば下のGitHubから確認してみてください。
https://github.com/takumaosada/customCellTutorial
このコードの続きでAPIを利用して一覧表示しているものも記事として投稿しています。よかったら確認してください。https://qiita.com/ostk0069/items/385acd1875c0d3e3277f