はじめに
UITabBarControllerをコードベースで作成したかったのですが、既存の記事だとクラッシュしまくってしまったので、
コードベースで作成する方法を書きます。
実装方法
まずは、TabBarに表示するに画面を作成します。
切り替えをわかりやすくするためのものなので、適当で大丈夫です。
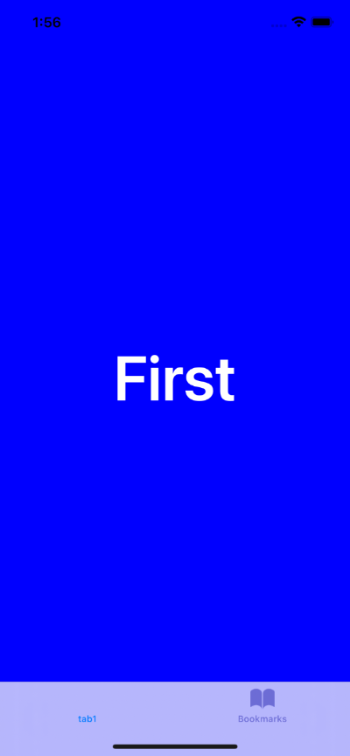
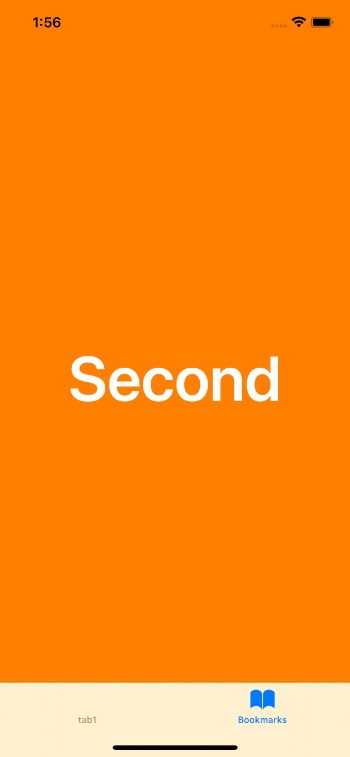
ここではFirstViewControllerとSecondViewControllerとしておきます。
import UIKit

final class FirstViewController: UIViewController {

    let centerLabel: UILabel = {
        let label = UILabel()
        label.text = "First"
        label.font = UIFont.boldSystemFont(ofSize: 70.0)
        label.textColor = UIColor.white
        return label
    }()

    override func loadView() {
        view = UIView()
        view.backgroundColor = .blue

        centerLabel.translatesAutoresizingMaskIntoConstraints = false
        view.addSubview(centerLabel)
        NSLayoutConstraint.activate([
            centerLabel.centerYAnchor.constraint(equalTo: view.centerYAnchor),
            centerLabel.centerXAnchor.constraint(equalTo: view.centerXAnchor)
        ])
    }

}
import UIKit

final class SecondViewController: UIViewController {

    let centerLabel: UILabel = {
        let label = UILabel()
        label.text = "Second"
        label.font = UIFont.boldSystemFont(ofSize: 70.0)
        label.textColor = UIColor.white
        return label
    }()

    override func loadView() {
        view = UIView()
        view.backgroundColor = .orange

        centerLabel.translatesAutoresizingMaskIntoConstraints = false
        view.addSubview(centerLabel)
        NSLayoutConstraint.activate([
            centerLabel.centerYAnchor.constraint(equalTo: view.centerYAnchor),
            centerLabel.centerXAnchor.constraint(equalTo: view.centerXAnchor)
        ])
    }

}
次にUITabBarControllerを継承したMainTabBarControllerを作成します。
import UIKit

final class MainTabBarController: UITabBarController {

    override func viewDidLoad() {
        super.viewDidLoad()

        setupTab()
    }

    func setupTab() {
        let firstViewController = FirstViewController()
        firstViewController.tabBarItem = UITabBarItem(title: "tab1", image: .none, tag: 0)

        let secondViewController = SecondViewController()
        secondViewController.tabBarItem = UITabBarItem(tabBarSystemItem: .bookmarks, tag: 0)

        viewControllers = [firstViewController, secondViewController]
    }

}
以下のようにTabの見た目を変更することができます。
firstViewController.tabBarItem = UITabBarItem(title: "tab1", image: .none, tag: 0)
secondViewController.tabBarItem = UITabBarItem(tabBarSystemItem: .bookmarks, tag: 0)
最後にviewControllersの配列の中に作成したTabをそれぞれ追加します。
viewControllers = [firstViewController, secondViewController]
これでTabBarControllerと、表示させるViewControllerができました。
最後に作成したTabBarControllerを最初に表示させるためにSceneDelegateを書き換えます。
SceneDelegateとはなんぞやという方は以下のいい感じの記事をご覧ください
iOS13のSceneDelegate周りのアプリの起動シーケンス
iOS13から導入されるSceneDelegateとは
func scene(_ scene: UIScene, willConnectTo session: UISceneSession, options
    connectionOptions: UIScene.ConnectionOptions) {
    // Use this method to optionally configure and attach the UIWindow `window` to the provided UIWindowScene `scene`.
    // If using a storyboard, the `window` property will automatically be initialized and attached to the scene.
    // This delegate does not imply the connecting scene or session are new (see `application:configurationForConnectingSceneSession` instead).
    guard let _ = (scene as? UIWindowScene) else { return }
}
guard letのしたに以下のコードを追加し、MainTabBarControllerが最初に表示されるように書き換えます。
guard let _ = (scene as? UIWindowScene) else { return }
let window = UIWindow(windowScene: scene as! UIWindowScene)
self.window = window

let vc = MainTabBarController()
window.rootViewController = vc

