はじめに
エバーセンスの西山と申します。仕事では「妊婦さん向けアプリninaru(ニナル)」のアプリ開発を担当しております。
先日@susieyyさんが投稿された「MVVMをベースに複雑な振る舞いをしっかり把握できるアプリ開発」を読み非常に感銘を受けました。
これまでも開発していく中で自分なりのMVVM風(あくまでも'フウ'です)な実装になっていったわけですが、上手く整理しきれない状態だったので、iOSアプリのアーキテクチャとしてとても参考になると感じました。
ただ、Bondを中心にその実装がなされており、Bondを知らない私には記法や構造をパッとみて理解することが出来ず・・・。そこでまずはBondについて理解を深めようとした次第です。
そしてさらにBondはSwift2.0にあわせてv4になり、あまりまだ多くの情報がなかったので、これからBondを始める方の助けになれば幸いです。
※上記で引用した投稿ではSwift1.2(Bond v3?)のバージョンですが、本投稿では現時点で最新のBond v4, Swift v2について記載していきます。
サンプルソース
- Xcode 7.1.1
- Swift 2.1
- Bond 4.2
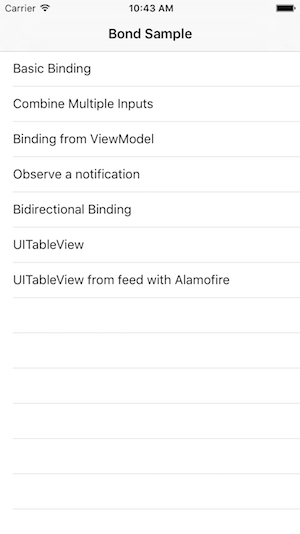
サンプルソースと対応させて、以下の説明をしていきます。
Bondとは?
データやステートの動的な変化とViewをBinding(結合)するライブラリです。最近流行りの「リアクティブプログラミング」という概念もこれに相当すると思います。
サンプルで挙動を確認しながら理解を深めていきましょう。
サンプル集
シンプルな例 (Basic Binding)
.observe : 変更を監視する
README.mdにも書かれている、UITextFieldにユーザーが何か書き込む事を検知して、print(text)される例です。
textField.bnd_text
    .observe { text in
        print(text)
}
このようにtextFieldが持つテキストの値が更新されることを監視(observe)して、何か実行することが出来ます。
(bnd_から始まる見慣れないプロパティがありますが、Bondではほとんどのオブジェクトにこのような拡張がされていて機能しています。)
.bindTo : 片方向のバインディング
次はtextFieldが更新される度に、labelもあわせて更新されていきます。
textField.bnd_text
    .bindTo(label.bnd_text)
※初回実行しない方法
上記の例では、値の変化の前に1度実行されますが、それを回避する方法があります。
textField.bnd_text
    .observeNew { text in
        print(text)
}

textField.bnd_text
    .skip(1)
    .bindTo(label.bnd_text)
.observeは.observeNewに
.bindToは手前に.skip(1)とすることで、回避できます。
.map : 値になんらかの変更を加える
上記の例に加えて、値に何らかの変更を加える時にmapをはさみます。
textField.bnd_text
    .map { "Hi " + $0! }
    .bindTo(label.bnd_text)
"Hi "というのを加えてから、labelに渡しています。
ちなみにこの.map { "Hi " + $0! }は省略された形で、実際にあえて詳しく記述すると、以下のようになります。
.map({ (text) -> String? in
    return "Hi " + text!
})
無名関数の場合、第一引数から順に$0,$1...と参照できるのと、return自体も省略(最終行を戻り値とみなす)出来るので、このように1行にまとめることが出来ています。
.filter : 条件にあった場合のみ実行する
今度はUIButtonの例です。
button.bnd_controlEvent
    .filter { $0 == UIControlEvents.TouchUpInside }
    .observe { e in
       print("Button tapped.(bnd_controlEvent with filter)")
}
UIButtonにはいくつものイベントがありますが、filterを使って条件をつけ、.TouchUpInsideのみ以降のAction(ここでいうobserve)を実行することが出来ます。
上記と同じ動きは以下のようにも書けます。
button.bnd_tap
    .observe {
        print("Button tapped.(bnd_tap)")
}
タップされた検知であれば、こちらの方がシンプルですね。
2つの入力をあわせて評価する例(Combine Multiple Inputs)
combineLatest
EmailとPasswordの両方が入力されたらボタンを有効にする例です。
combineLatest(emailField.bnd_text, passField.bnd_text)
    .map { email, pass in
        return email!.utf16.count > 0 && pass!.utf16.count > 0
    }
    .bindTo(button.bnd_enabled)
(本家では、email.lengthとか書かれてますが、通常のString型にはlengthはないので、上記のようにしてあります。)
ViewModelのObservable型にbindする例(Binding from ViewModel)
ViewModelにある値が変化すると同時に、bind先に反映される例です。
BondではObservable型に値を入れることで、bind可能なオブジェクトにすることが出来ます。
import Foundation
import Bond

class TimeViewModel : NSObject {

    let timestamp = Observable<NSDate>(NSDate())

    override init() {
        super.init()
        NSTimer.scheduledTimerWithTimeInterval(1.0, target: self, selector: Selector("onUpdate:"), userInfo: nil, repeats: true)

    }

    func onUpdate(timer : NSTimer){
        timestamp.value = NSDate()
    }

}
※timestampの値の変化に対しletになっているのは、Observableオブジェクト自体の変更ではなく、プロパティの値が変化しているだけなので、varではなくletで宣言できます。
サンプルでは、1秒毎にNSDateが現在時刻に更新され、その値がlabelに反映されます。
timeViewModel.timestamp
    .map {
        let date_formatter = NSDateFormatter()
        date_formatter.dateFormat = "yyyy/MM/dd HH:mm:ss"
        return date_formatter.stringFromDate($0)
    }
    .bindTo(label.bnd_text)
Notificationを監視する (Observe a notification)
NSNotificationCenter.defaultCenter().addObserver()を使うことで監視自体は出来ますが、Bondにも拡張があり、以下のように書く事ができます。
NSNotificationCenter.defaultCenter().bnd_notification(myNotificationName, object: nil)
    .observe { notification in
        print("Got \(notification)")

        let alert = UIAlertController(title: "Got Notification!", message: nil, preferredStyle: .Alert)
        alert.addAction(UIAlertAction(title: "OK", style: .Default, handler: nil))
        self.presentViewController(alert, animated: true, completion: nil)
    }
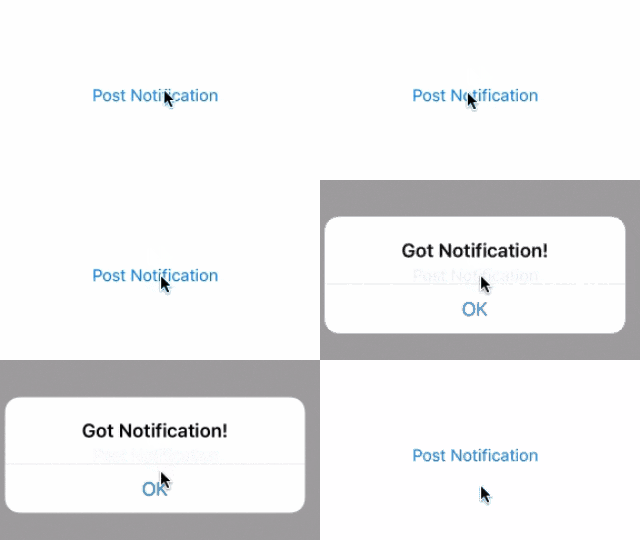
これはnotificationを受け取った時に、アラートを出すサンプルです。
双方向バインディング
A.bindTo(B)はAの値の変化に対し、Bが変化する片方向のバインディングでしたが、AB双方向にバインディングする方法は以下です。
textField1.bnd_text
    .bidirectionalBindTo(textFeild2.bnd_text)
UITableView
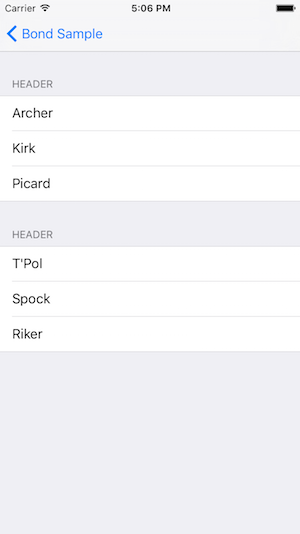
UITableViewをbindさせるには、ObservableArrayを使います。ただし2層配列になったObservableArray<ObservableArray<ElementType>>にする必要があります。これは通常のTableViewでもそうですが、sectionとrowの2層配列を扱うためです。
以下のサンプルでは、文字列を表示するだけのシンプルな例です。
class MyTableViewController: UIViewController {

    @IBOutlet weak var tableView: UITableView!
    let captains = ObservableArray(["Archer", "Kirk", "Picard"])
    let firstOfficers = ObservableArray(["T'Pol", "Spock", "Riker"])
    let dataSource = ObservableArray<ObservableArray<String>>()

    override func viewDidLoad() {
        super.viewDidLoad()
        dataSource.extend([captains, firstOfficers])
        dataSource.bindTo(tableView, proxyDataSource: self) { indexPath, dataSource, tableView in
            let cell = tableView.dequeueReusableCellWithIdentifier("Cell", forIndexPath: indexPath)
            let name = dataSource[indexPath.section][indexPath.row]
            cell.textLabel!.text = name
            return cell
        }

        tableView.delegate = self
    }

    override func didReceiveMemoryWarning() {
        super.didReceiveMemoryWarning()
    }

}
もしセクションヘッダーをつけたい場合にはBNDTableViewProxyDataSourceのプロトコルを使って、以下のようにヘッダー名をつけます。
extension MyTableViewController: BNDTableViewProxyDataSource {
    func tableView(tableView: UITableView, titleForHeaderInSection section: Int) -> String? {
        return "Header"
    }
}
(extensionでプロトコルやデリゲートを整理出来るのを最近知りました。)
セルのタップを検知するには、通常のUITableViewDelegateを使います。
extension MyTableViewController: UITableViewDelegate {
    func tableView(tableView: UITableView, didSelectRowAtIndexPath indexPath: NSIndexPath) {
        let name = dataSource[indexPath.section][indexPath.row]
        print(name + " selected!")
    }
}
(viewDidLoad()でtableView.delegate = selfもお忘れなく。)
Alamofire&SwiftyJsonを使ってフィードを取得し、UITableViewに表示する例(UITableView + feed with Alamofire)
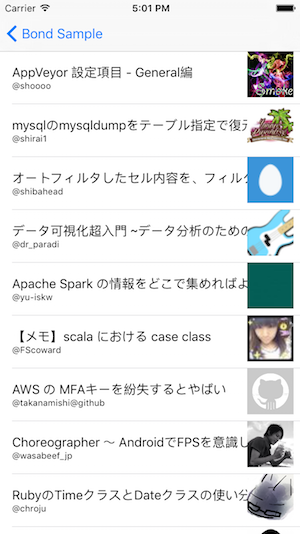
APIからフィードを取得する例です。Swiftプロジェクトでは定番のAlamofireとSwiftyJsonを使ってフィードを取得し、TableViewに反映させます。
オブジェクトの登場人物は、
- Feed:フィードのプロパティをObservable型で持つオブジェクト
- FeedTableViewModel:
items: ObservableArray<Feed>を保持して、Alamofireでフィードを取得してitemsを更新するViewModel
ViewControllerはこんな感じです。
class FeedTableViewController: UIViewController {

    @IBOutlet weak var tableView: UITableView!
    let feedViewModel = FeedTableViewModel()
    var dataSource = ObservableArray<ObservableArray<Feed>>()

    override func viewDidLoad() {
        super.viewDidLoad()
        dataSource = ObservableArray([feedViewModel.items])

        dataSource.bindTo(tableView) { indexPath, dataSource, tableView in
            let cell = tableView.dequeueReusableCellWithIdentifier("FeedCell", forIndexPath: indexPath) as! FeedTableCell
            let feed:Feed = dataSource[indexPath.section][indexPath.row]
            feed.title
                .bindTo(cell.title.bnd_text)
                .disposeIn(cell.bnd_bag)
            feed.username
                .map{ "@" + $0! }
                .bindTo(cell.username.bnd_text)
                .disposeIn(cell.bnd_bag)
            feed.userImage
                .bindTo(cell.userImageView.bnd_image)
                .disposeIn(cell.bnd_bag)

            feed.fetchImageIfNeeded()
            return cell
        }

        tableView.delegate = self
    }

    override func didReceiveMemoryWarning() {
        super.didReceiveMemoryWarning()
    }

    override func viewWillAppear(animated: Bool) {
        super.viewWillAppear(animated)
        self.feedViewModel.request()
    }

}
disposeInはセルの再利用される際にbindを解除しているのかと思います。
feed.fetchImageIfNeeded()を呼び出すことで、feed.userImageの画像が非同期でダウンロードされるようにしています。
その他ソースはサンプルコードをご確認ください。
総括
これまで通知やKVOを使って、状態変化の監視をしてきたiOSアプリ開発において、Bondを使って監視を最小限にし、リアクティブなプログラミングが出来るのは開発効率向上に大きく役立つだろうと感じます。
本投稿が皆さまのiOS開発に少しでも寄与できたら幸いです。


