はじめに
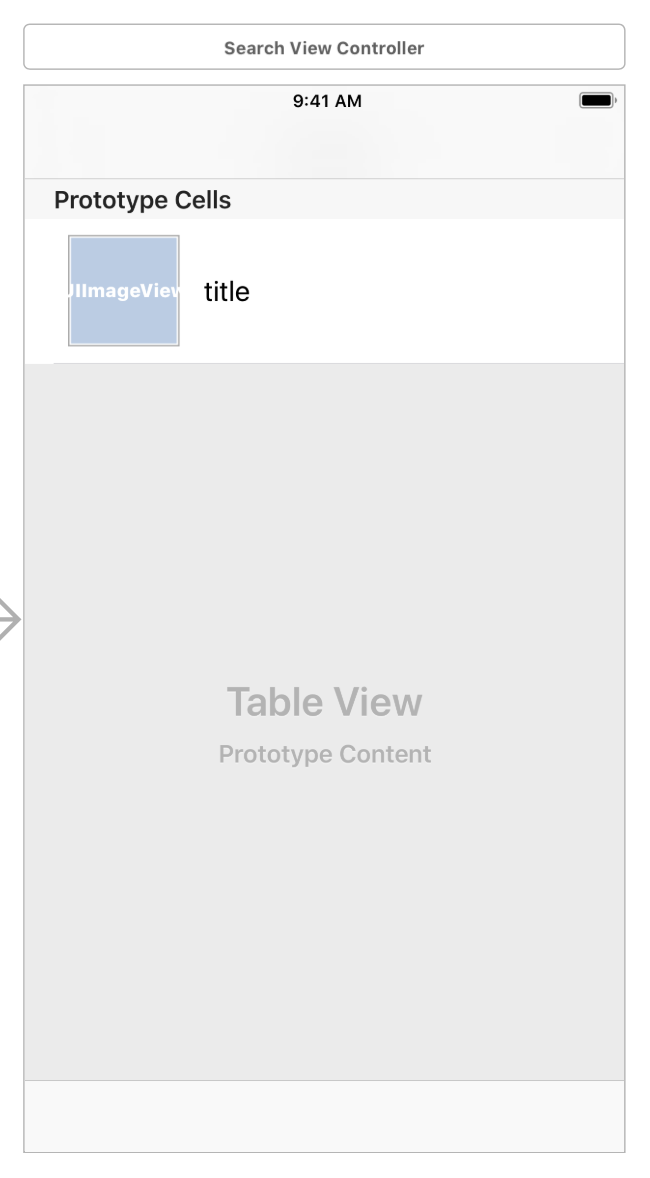
APIから複数の画像データをとってきて、CustomCellのUIImageViewに表示させたかったのですが、
何度も同じ画像が表示されてしまい困ったので、原因とその時の対処法を載せておきます。
原因と対策
調べたところ、セルが画像をキャッシュしてしまうことが原因のようでした。
そこで、CustomCellのファイルに画像を初期化するコードを追加します。
prepareForReuseは、非表示となって必要なくなったセルが再利用されるときに呼び出されるので、初期化処理を記述するのに適しています。
class CustomTableViewCell: UITableViewCell {

    @IBOutlet weak var hogeImage: UIImageView!

    override func awakeFromNib() {
        super.awakeFromNib()

        // Initialization code
    }

    override func setSelected(_ selected: Bool, animated: Bool) {
        super.setSelected(selected, animated: animated)

        // Configure the view for the selected state
    }

    // 追加
    override func prepareForReuse() {
        super.prepareForReuse()

        //画像を初期化
        hogeImage.image = nil
    }

}
これで無事に正しい画像を表示することができました。
追記(2018/07/26)
コメントでご指摘頂いた通り、prepareForReuseのAppleのドキュメントには
For performance reasons, you should only reset attributes of the cell that are not related to content, for example, alpha, editing, and selection state. The table view's delegate in
tableView(_:cellForRowAt:)should always reset all content when reusing a cell.
との記述があり、今回の画像を初期化する処理も、パフォーマンス的な理由からtableView(_:cellForRowAt:)の中に書くのが適切なようでした![]()
func tableView(_ tableView: UITableView, cellForRowAt indexPath: IndexPath) -> UITableViewCell {
        let cell = tableView.dequeueReusableCell(withIdentifier: "tableViewCell", for: indexPath) as! CustomTableViewCell
        //画像を初期化
        cell.hogeImage.image = nil
        return cell
}
直接内容に関係ない属性(例えばアルファ値、エディティングやセレクション状態など)であれば、prepareForReuse内でリセットしても良いとのことです。