EntityFramework CoreのMigrationを使ってデータベースを作成する方法について、Visual Studio Codeを使った場合の方法があまり見つからなかったので、まとめてみました。
※主に以下のMicrosoft Docsのページを参考にしました。
Getting Started with EF Core on ASP.NET Core with a New database
環境
OS : macOS Mojave
エディタ : Visual Studio Code
.NET Core : version2.2
データベース : SQLServer on docker
プロジェクト作成
任意のフォルダを作成し、そこにMVCのプロジェクトを作成します。
フォルダに移動した状態で、以下のコマンドを実行します。(今回は、"EFSample"というフォルダで作成してます)
dotnet new mvc
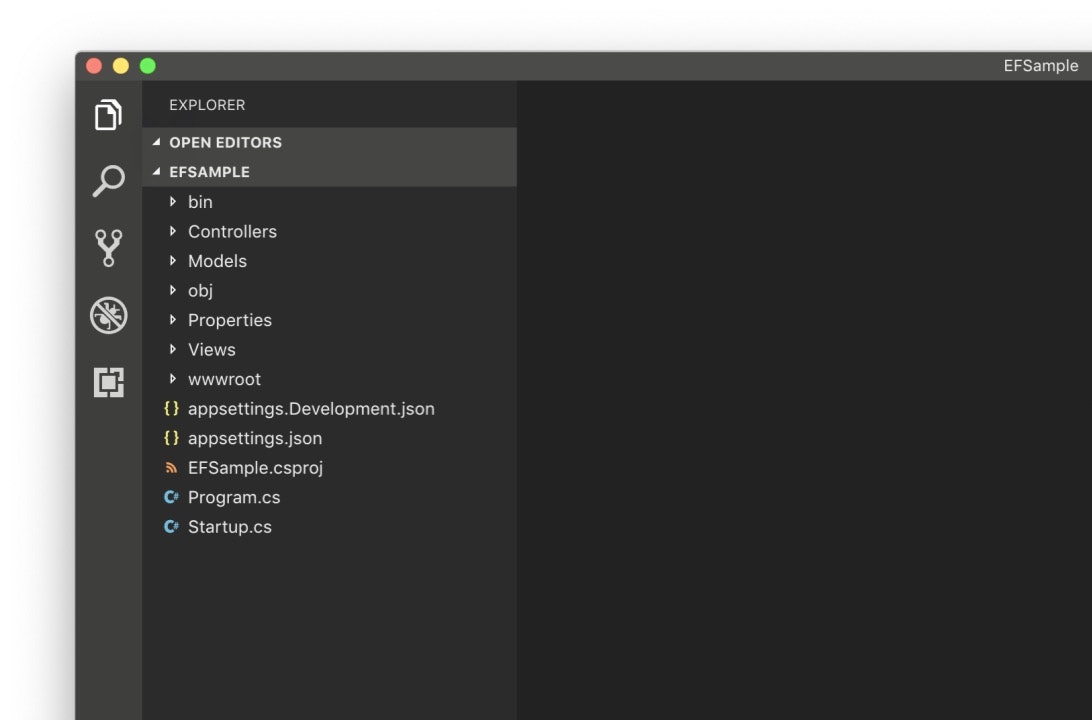
そしてVS Codeで開くと、以下の画像のようにプロジェクトが作成されています。
Entity Framework Core インストール
Entity Framework Coreをインストールします。今回は、SQLServerをインストールするため、以下のコマンドを実行します。
dotnet add package Microsoft.EntityFrameworkCore.SqlServer
Modelクラスの作成
まず、データベースのテーブルとマッピングさせるための、Modelクラスを作成します。
今回は、**"Book"**という本のタイトルと、著者名だけを持つ単純なテーブルを作成します。
プロジェクトの、"Models"フォルダ配下に、Book.csというファイルを作成し、以下のコードを書きます。
namespace EFSample.Models
{
    public class Book
    {
        public int id {get;set;}
        public string Title {get;set;}
        public string Author {get;set;}
    }
}
次に、コンテキストクラスを作成します。これにより、データベースと先ほどのModelを関連づけます。
同様に、"Models"フォルダ配下に、SampleContext.csというファイルを作成し、以下のコードを書きます。
using Microsoft.EntityFrameworkCore;
using System.Collections.Generic;

namespace EFSample.Models
{
    public class SampleContext : DbContext
    {
        public SampleContext(DbContextOptions<SampleContext> options)
            : base(options){ }

        public DbSet<Book> Book { get; set; }
    }
}
接続文字列の設定
データベースへの接続文字列をappsettings.jsonに追記します。
※各値は、実際の環境に合わせて変更して下さい。
Server : サーバ名 or IPアドレス
Database : データベース名
Trusted_Connection : Falseの場合は、SQLServer認証
User ID,password : SQLServer認証のID,PASS
  "ConnectionStrings": {
    "SampleContext": "Server=localhost;Database=Sample;Trusted_Connection=False;User Id=(userid);password=(password);"
  }
Startup.csの登録
コンテキストクラスに接続文字列を設定するために、using句とStartup.csのConfigureServicesメソッドに以下の部分を追加します。
using EFSample.Models;
using Microsoft.EntityFrameworkCore;
        public void ConfigureServices(IServiceCollection services)
        {
            services.Configure<CookiePolicyOptions>(options =>
            {
                // This lambda determines whether user consent for non-essential cookies is needed for a given request.
                options.CheckConsentNeeded = context => true;
                options.MinimumSameSitePolicy = SameSiteMode.None;
            });

            services.AddMvc().SetCompatibilityVersion(CompatibilityVersion.Version_2_1);
            //以下の行を追加
            services.AddDbContext<SampleContext>(options => options.UseSqlServer(Configuration.GetConnectionString("SampleContext")));

        }
データベースの作成
Migrationを実行して、データベースを作成します。
まず、このコマンドを実行するとデータベース作成の元となるファイルが、Migrationsフォルダに作成されます。
dotnet ef migrations add InitialCreate
最後に、次のコマンドを実行すると実際にデータベースが作成されます。
dotnet ef database update
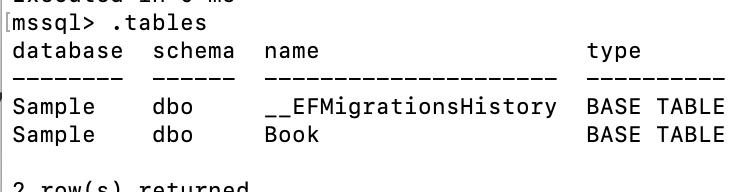
結果
SQLServerに接続して、Bookテーブルが作成されていることを確認できました。
おわりに
Windowsであれば、VisualStudioのGUIや、PowerShellで行うところを、.NET Core CLIを使って実行することができました。せっかくのクロスプラットフォームなので、Windows以外で行う方法を色々試してみたいと思います。