はじめに
IOPaint (旧 Lama Cleaner)は、「消しゴムマジック」の様にAIモデルを用いてインペインティングなどを行うことのできる画像編集のWebアプリです。
セットアップ
インストール
pipでインストールすることもでき、そっちの方が簡単だと思いますが、あえてDockerを使います。リポジトリにあるDockerfileは更新されていないので、それを参考に以下の様に書き直します。
FROM nvidia/cuda:11.8.0-cudnn8-devel-ubuntu22.04

RUN apt update && apt install -y --no-install-recommends \
      software-properties-common \
      libsm6 libxext6 ffmpeg libfontconfig1 libxrender1 libgl1-mesa-glx \
      curl python3-pip && \
    apt autoremove -y && \
    apt clean && \
    rm -rf /var/lib/apt/lists/* && \
    rm -rf /usr/local/src/*

RUN pip install -U pip && \
    pip install --no-cache-dir torch==2.1.2 torchvision==0.16.2 --index-url https://download.pytorch.org/whl/cu118 && \
    pip install --no-cache-dir iopaint gfpgan realesrgan rembg && \
    iopaint install-plugins-packages && \
    rm -r /root/.cache/pip

EXPOSE 8080
ENTRYPOINT ["iopaint"]
CMD ["start", "--config", "config.json"]
IOPaintは主にWebアプリとして動作させるので、docker-compose.ymlも作成します。
services:
  iopaint:
    build:
      context: .
      dockerfile: Dockerfile
    container_name: iopaint
    ports:
      - 8080:8080
    volumes:
      - $HOME/.cache:/root/.cache
      - ./config.json:/config.json
    deploy:
      resources:
        reservations:
          devices:
            - driver: nvidia
              count: all
              capabilities: [gpu]
各種設定は、config.jsonに記述します(コメントは削除して保存してください)。それぞれの詳細は公式サイトを参照してください。
{
  "host": "0.0.0.0",                       // 外部からアクセスできる様に
  "model": "lama",                         // Inpaintingに用いるモデル
  "device": "cuda",                        // CPUで動かす場合は"cpu"、以下同様
  "enable_interactive_seg": true,          // SAMによるマスクを生成を有効化
  "interactive_seg_device": "cuda",
  "interactive_seg_model": "vit_h",        // SAMのモデル
  "enable_remove_bg": true,                // 背景除去を有効化
  "remove_bg_device": "cuda",
  "remove_bg_model": "briaai/RMBG-2.0",    // 背景除去のモデル
  "enable_anime_seg": true,                // アニメキャラ抽出を有効化
  "enable_realesrgan": true,               // 超解像を有効化
  "realesrgan_device": "cuda",
  "realesrgan_model": "RealESRGAN_x4plus", // 超解像のモデル
  "enable_gfpgan": true,                   // 顔復元モデルその1を有効化
  "gfpgan_device": "cuda",
  "enable_restoreformer": true,            // 顔復元モデルその2を有効化
  "restoreformer_device": "cuda"
}
これら3つのファイルを同じフォルダに置いて、起動します。
docker compose up
しばらく待つと、以下の様に表示されるので(初回はimageのbuildとモデルのダウンロードが行われるため時間がかかります)、http://localhost:8080/にアクセスします。
iopaint  | INFO:     Started server process [1]
iopaint  | INFO:     Waiting for application startup.
iopaint  | INFO:     Application startup complete.
iopaint  | INFO:     Uvicorn running on http://0.0.0.0:8080 (Press CTRL+C to quit)
なお、Windows であれば 1-Click Installer もありますが、有料($5)です。本ソフトが気に入った場合に、お礼として購入するのも良いでしょう。
設定
http://localhost:8080/にアクセスすると、以下の様な画面が表示されます。
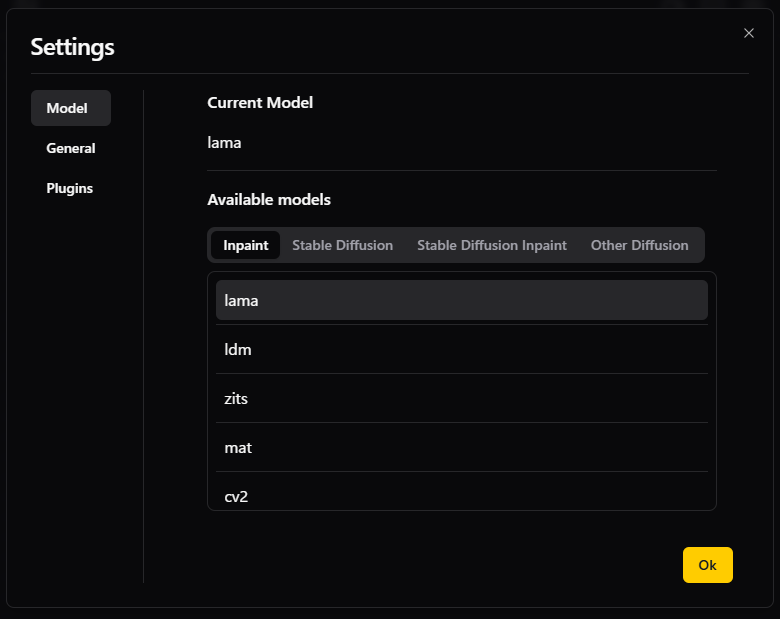
右上の歯車から設定変更ができます。
InpaintやDiffusionのモデルは先にダウンロードしておかないと表示されないかもしれません。その場合は、config.jsonのmodelを別のものに変えて再起動すると、起動時にそのモデルがダウンロードされて、選択できる様になります。
一方、プラグインのモデルは設定を更新すると自動でモデルがダウンロードされるので、config.jsonのinteractive_seg_modelなどを書き換える必要はありません。
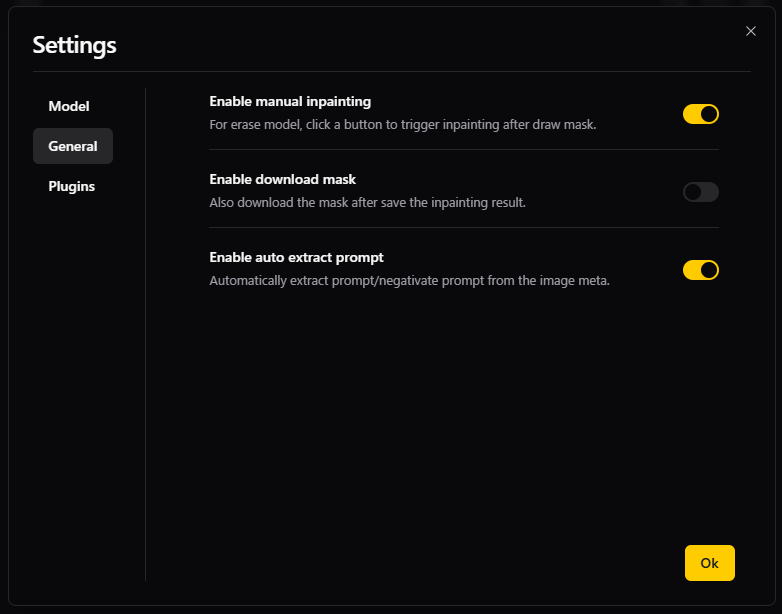
また、マスク指定中に何度もインペインティングが実行されるのが気になる方は、Enable manual inpaintingをonにしてください。
画像編集
それでは、画像編集をしてみます。
Interactive Segmentationを有効にしていると、マスク指定が簡単にできるようになります。左上の四角アイコンから選択すると、マスク自動生成モードになります。
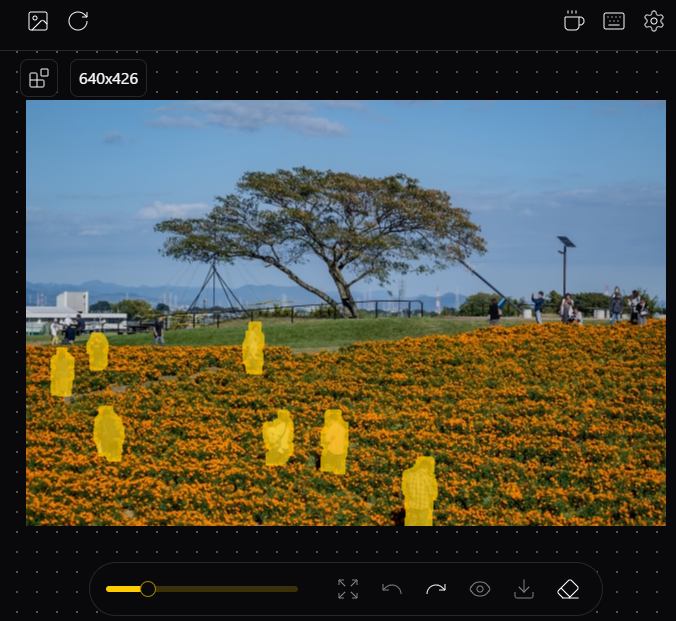
消去したい物体の点を左クリックすると、マスクが生成されるので、良ければAcceptを押します。マスク形状がイマイチの場合、追加で物体の点を左クリックしたり、マスクに含めたくない点を右クリックしたりすると、マスクが修正されます。
他にも消去したい物体があれば上記操作を繰り返し、マスクが完成したら下の消しゴムボタンを押します(前述のEnable manual inpaintingがoffならこのボタンは表示されず、自動的に処理されます)。
もちろん、Interactive Segmentationを用いずに手動でマスクを塗っても構いません。
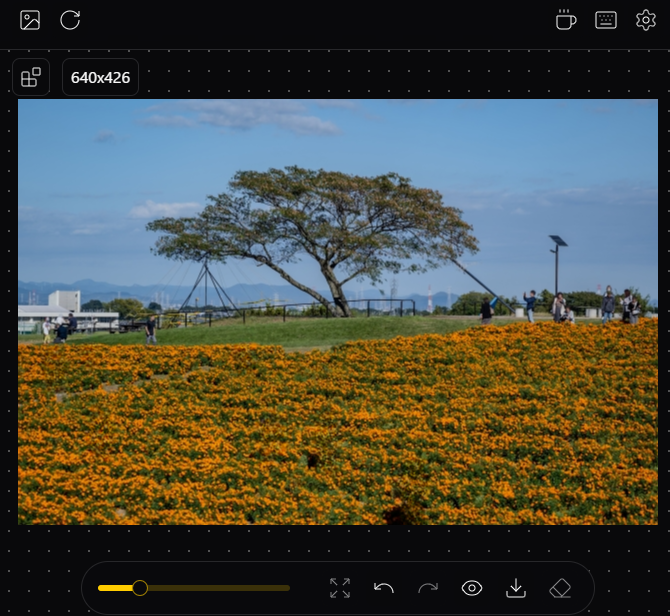
綺麗に人物が消えてくれました。
この様に物体を消去するだけでなく、画像生成AIを用いた物体の差し替え・アウトペインティング・テキスト挿入・画風変換などもできます。また、プラグインを有効にすると、超解像・背景除去・顔の修正などもできます。
まとめ
IOPaintを用いると、手軽に画像の修正ができました。画像生成AIをフル活用するならば、ComfyUIなどを使った方が良いと思いますが、こちらはインペインティングに特化していて、その分簡単で使いやすいのが良いです。


