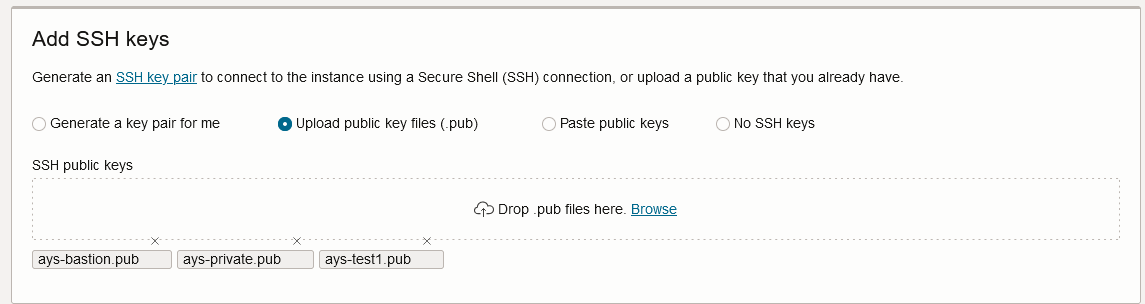
小技です。OCI Compute を作成する時には下記のように複数の公開鍵ファイルを設定することが可能です。
OCI Resource Manager(Terraform) で同様の実装をしてみますやで。
彡(゚)(゚)
下記は OCI Resource Manager の Stack に格納した Compute の Terraform定義ファイルです。format関数で複数の公開鍵ファイルを連結しています。
main.tf
provider "oci" {}

resource "oci_core_instance" "generated_oci_core_instance" {
	agent_config {
		is_management_disabled = "false"
		is_monitoring_disabled = "false"
		plugins_config {
			desired_state = "DISABLED"
			name = "Vulnerability Scanning"
		}
		plugins_config {
			desired_state = "DISABLED"
			name = "Oracle Java Management Service"
		}
		plugins_config {
			desired_state = "ENABLED"
			name = "OS Management Service Agent"
		}
		plugins_config {
			desired_state = "DISABLED"
			name = "Management Agent"
		}
		plugins_config {
			desired_state = "ENABLED"
			name = "Custom Logs Monitoring"
		}
		plugins_config {
			desired_state = "DISABLED"
			name = "Compute RDMA GPU Monitoring"
		}
		plugins_config {
			desired_state = "ENABLED"
			name = "Compute Instance Run Command"
		}
		plugins_config {
			desired_state = "ENABLED"
			name = "Compute Instance Monitoring"
		}
		plugins_config {
			desired_state = "DISABLED"
			name = "Compute HPC RDMA Auto-Configuration"
		}
		plugins_config {
			desired_state = "DISABLED"
			name = "Compute HPC RDMA Authentication"
		}
		plugins_config {
			desired_state = "DISABLED"
			name = "Block Volume Management"
		}
		plugins_config {
			desired_state = "DISABLED"
			name = "Bastion"
		}
	}
	availability_config {
		recovery_action = "RESTORE_INSTANCE"
	}
	availability_domain = "xxxx:AP-OSAKA-1-AD-1"
	compartment_id = "ocid1.compartment.oc1..aaaaaaaaxxxxxxxxxxxxxxxxxxxxxxxxxxxxxxxxxxxxxxxxxxxxxxx"
	create_vnic_details {
		assign_ipv6ip = "false"
		assign_private_dns_record = "true"
		assign_public_ip = "false"
		subnet_id = "ocid1.subnet.oc1.ap-osaka-1.aaaaaaaaxxxxxxxxxxxxxxxxxxxxxxxxxxxxxxxxxxxxxxxxxxxxxxxxxxxxxx"
	}
	display_name = "AYS-COMP-PRV02"
	instance_options {
		are_legacy_imds_endpoints_disabled = "false"
	}
	is_pv_encryption_in_transit_enabled = "true"
	metadata = {
		"ssh_authorized_keys" = format("%s%s%s",file("./ays-bastion.pub"), file("./ays-private.pub"), file("./ays-test1.pub"))
	}
	shape = "VM.Standard.E4.Flex"
	shape_config {
		memory_in_gbs = "16"
		ocpus = "1"
	}
	source_details {
		source_id = "ocid1.image.oc1.ap-osaka-1.aaaaaaaageueevnqs7xp47siea4ymq37p5pdeholdmgfbv6feco5j7a5ylrq"
		source_type = "image"
	}
}
ここ↓が肝です。
	metadata = {
		"ssh_authorized_keys" = format("%s%s%s",file("./ays-bastion.pub"), file("./ays-private.pub"), file("./ays-test1.pub"))
	}
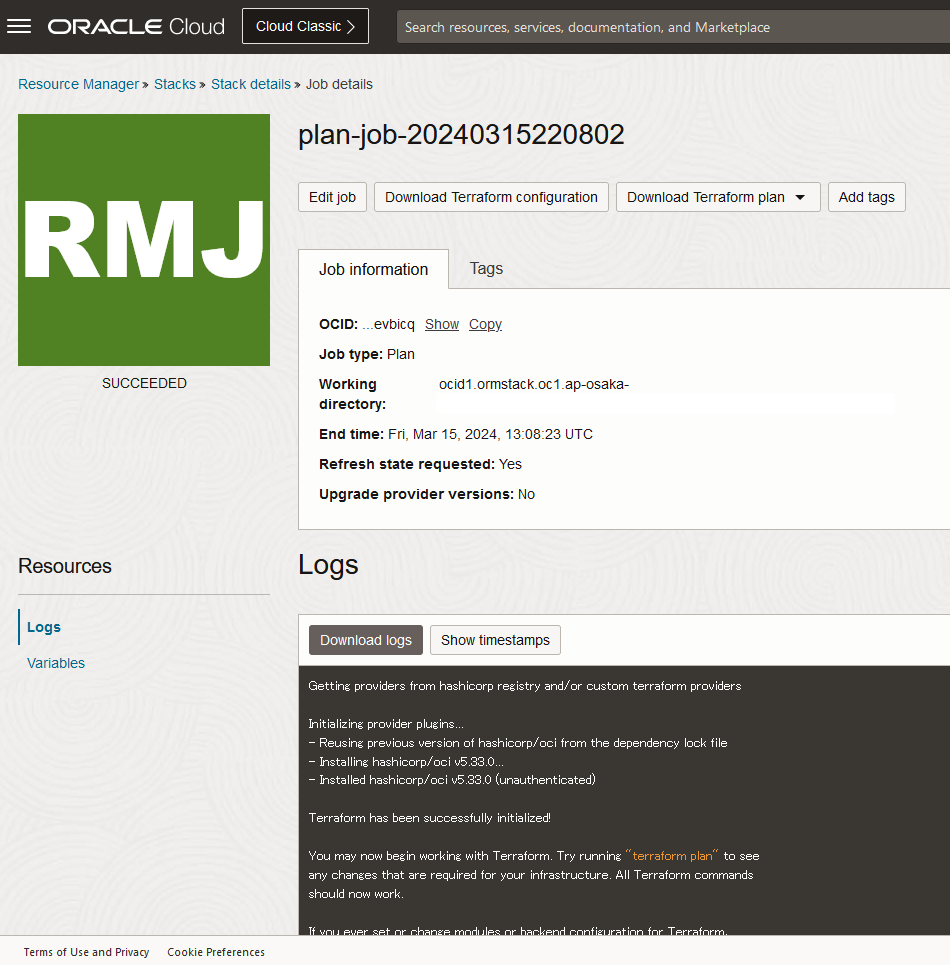
Stack の Plan Job を実行します。(成功)
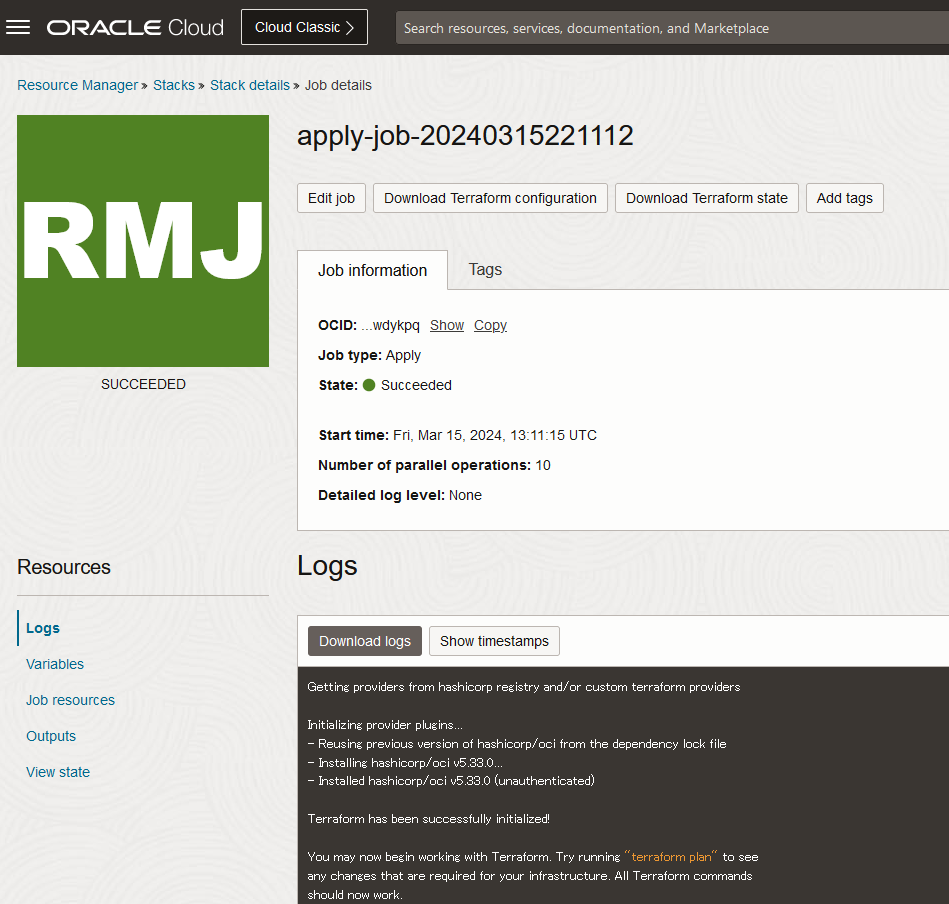
Stack の Apply Job を実行します。(成功)
SSH接続して authoraized_key を確認します。
[opc@ays-bastion1 ~]$ ssh 10.0.1.66
:
[opc@ays-comp-prv02 ~]$ ls -la
total 12
drwx------. 3 opc  opc   74 Mar 15 13:12 .
drwxr-xr-x. 3 root root  17 Mar 15 13:12 ..
-rw-r--r--. 1 opc  opc   18 Aug  2  2022 .bash_logout
-rw-r--r--. 1 opc  opc  141 Aug  2  2022 .bash_profile
-rw-r--r--. 1 opc  opc  376 Aug  2  2022 .bashrc
drwx------. 2 opc  opc   29 Mar 15 13:12 .ssh
[opc@ays-comp-prv02 ~]$ cd .ssh
[opc@ays-comp-prv02 .ssh]$ ls -la
total 4
drwx------. 2 opc opc   29 Mar 15 13:12 .
drwx------. 3 opc opc   74 Mar 15 13:12 ..
-rw-------. 1 opc opc 1702 Mar 15 13:12 authorized_keys
[opc@ays-comp-prv02 .ssh]$ cat authorized_keys
ssh-rsa AAAA...
ssh-rsa AAAA...
ssh-rsa AAAA...
[opc@ays-comp-prv02 .ssh]$
authoraized_keys に複数公開鍵が設定されていることを確認できましたやで。
彡(^)(^)
参考:
format Function
https://developer.hashicorp.com/terraform/language/functions/format