以前に下記記事で X Window転送 を取り扱っているのですが、
遠い Region で X窓転送すると激遅で使い物にならないケースが多々有ります。
OCI(Oracle Cloud Infrastructure)のComputeインスタンスで
端末(PC等)へのX Window ssh転送が出来るように設定する。
https://qiita.com/ora_gonsuke777/items/765189e9e301415e7ba5
そのようなケースでは VNC を使用すると、だいぶマシな性能を得られる事が多いです。
という訳で、本記事では踏み台経由の VNC Server/Client接続 を取り扱ってみますやで彡(゚)(゚)
1. ネットワーク構成
ネットワーク構成は下記の通りです。Compute は現時点の Oracle Linux で最新の 7.9 を使います。

下記記事と同様の構成となります。
検証によく使う Oracle Cloud Infrastructure(OCI)環境を Terraform で作成してみる。
https://qiita.com/ora_gonsuke777/items/8651c4075ec6bf436c4f
2. VNC Server をインストール
Private Compute で VNC Server をインストールします。
sudo su -
yum groupinstall graphical-server-environment
yum install tigervnc-server mesa-libEGL
下記はインストールログの抜粋、ちょっと時間が掛かるかも?
:
Dependency Updated:
  firewalld.noarch 0:0.6.3-12.0.1.el7               firewalld-filesystem.noarch 0:0.6.3-12.0.1.el7         kpartx.x86_64 0:0.4.9-134.0.1.el7_9
  python-firewall.noarch 0:0.6.3-12.0.1.el7

Complete!

:
Running transaction
  Installing : tigervnc-server-1.8.0-22.el7.x86_64                                                                                                1/1
  Verifying  : tigervnc-server-1.8.0-22.el7.x86_64                                                                                                1/1

Installed:
  tigervnc-server.x86_64 0:1.8.0-22.el7

Complete!
3. VNC Server を起動
VNC Server を opcユーザー で起動します。初回のみパスワード設定を聞かれるので入力します。
# opcユーザーで実行
vncserver -geometry 1280x1024

You will require a password to access your desktops.

Password:
Verify:
Would you like to enter a view-only password (y/n)? n
A view-only password is not used
xauth:  file /home/opc/.Xauthority does not exist

New 'ays-compute1:1 (opc)' desktop is ays-compute1:1

Creating default startup script /home/opc/.vnc/xstartup
Creating default config /home/opc/.vnc/config
Starting applications specified in /home/opc/.vnc/xstartup
Log file is /home/opc/.vnc/ays-compute1:1.log
psコマンド で vncserverプロセス の起動を確認してみます。※見易くするために改行入れてます
[opc@ays-compute1 ~]$ ps -ef | grep -i vnc
opc      17807     1  0 06:41 pts/0    00:00:00
/usr/bin/Xvnc :1
-auth /home/opc/.Xauthority
-desktop ays-compute1:1 (opc)
-fp catalogue:/etc/X11/fontpath.d
-geometry 1280x1024
-pn
-rfbauth /home/opc/.vnc/passwd
-rfbport 5901
-rfbwait 30000
opc      17816     1  0 06:41 pts/0    00:00:00 /bin/sh /home/opc/.vnc/xstartup
opc      19384 21859  0 06:43 pts/0    00:00:00 grep --color=auto -i vnc
プロセスが起動してますやね彡(^)(^) リッスンポート:5901 で起動している様子が確認できます。
4. ターミナルソフトのポートフォワード設定
ターミナルソフトのポートフォワードを設定します。ターミナルソフトは何でもエエんですが、今回は Teraterm を使用します。

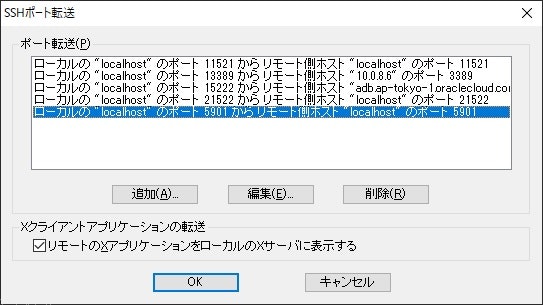
5. 踏み台(Bastion Compute)でポートフォワードしつつ SSH接続
Teraterm で踏み台(Bastion Compute)に SSH接続 して、さらに下記コマンドでポートフォワードしつつ Private Compute に SSH接続 します。
ssh -L <Teraterm で設定したリモートホストのポート番号>:<Private Compute のホスト名 or IP>:<VNC のポート番号> -4 <Private Compute のホスト名 or IP>
下記はサンプルのコマンドになります。
ssh -L 5901:ays-compute1.prvsubnexxxxxx.vcnxxxxxx.oraclevcn.com:5901 -4 opc@ays-compute1.prvsubnexxxxxx.vcnxxxxxx.oraclevcn.com
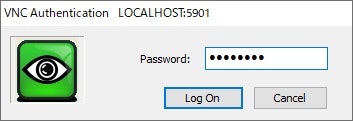
6. VNC Client から Private Compute の VNC Server に接続
VNC Client から VNC Server に接続します。VNC Client は何でもエエんですが、今回は UltraVNC Viewer を使用。
上記 5. で SSHポートフォワードした localhost:5901 に目掛けて接続します。

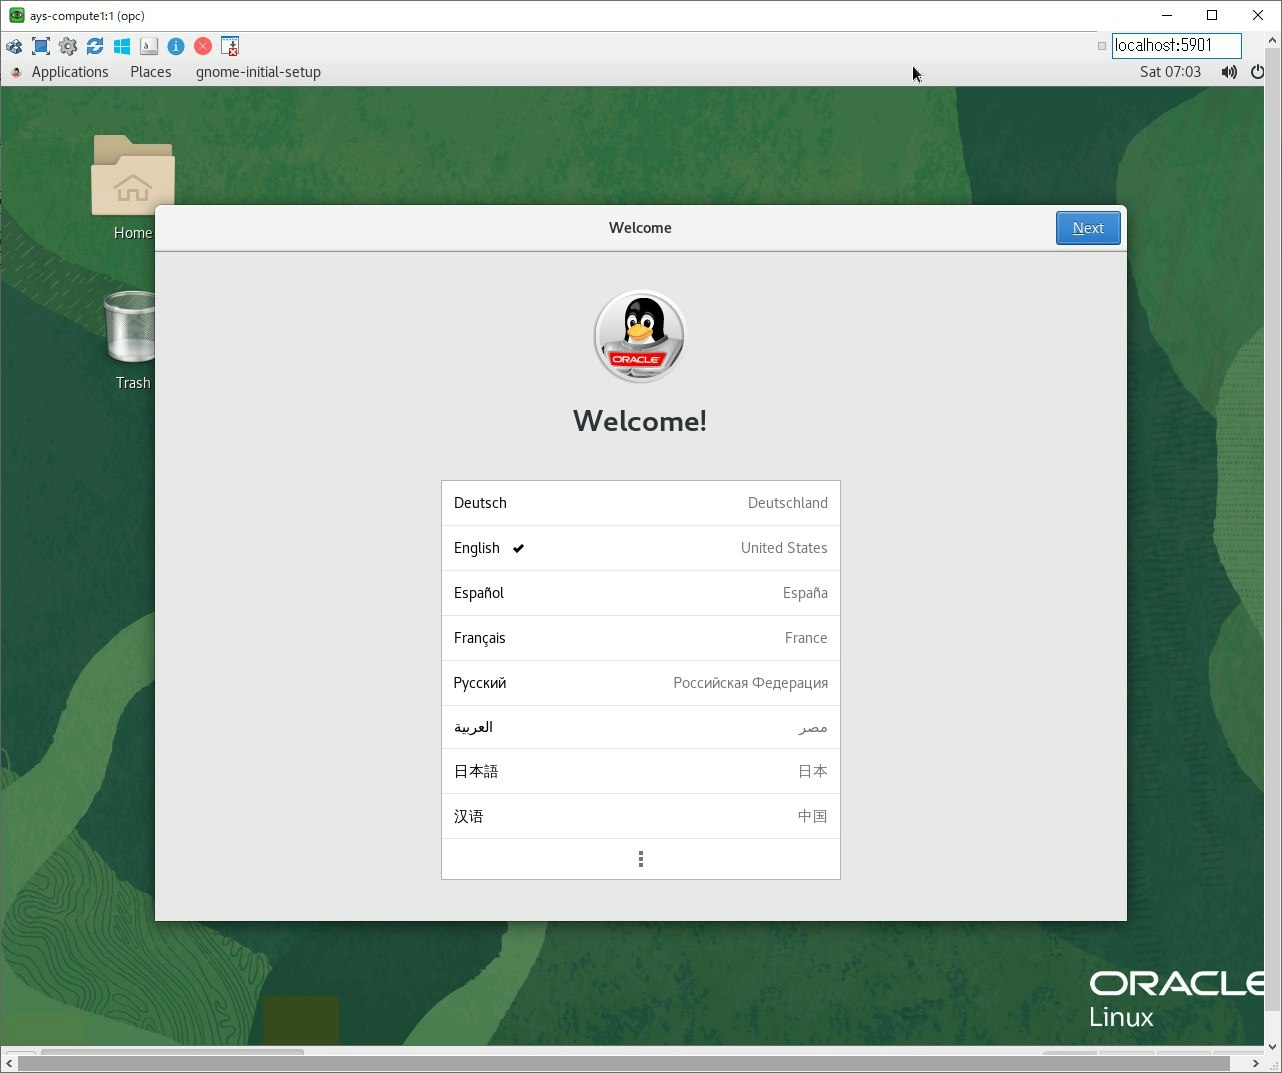
Private Compute の VNC Server に上手く接続できたで!彡(^)(^)
7. まとめ
Terminal の コマンドライン が Linux/UNIX の醍醐味ですが、GUI を要求されるケースも
しばしば有るので、本記事を参考にして GUI もご活用下さいね彡(^)(^)
参考記事
@yamada-hakase さんの下記記事を参考にしました。
いつもお世話になっています!彡(^)(^)
クラウドでVNCサーバ&クライアントを構成する Part 1
https://qiita.com/yamada-hakase/items/66c25e9439a0a4b6a909