はじめに
Google Homeのアプリ?を作りたくなって、下記サイトを参考にためしてみた。
非公式なNode.jsのライブラリ?でなんとかしようってプログラムもやってみたけど、本家で試したくなった。
進めてくとDialogflowの開発環境に、API V2が公式にローンチされたから移行しろってInfoがでてくるので、V2使うことにした(下記サイトはV1)。V2にすると、いろいろ躓いたので、投稿することにした。
Google HomeとFlask(Python)サーバでスマートスピーカーアプリを作成してみた - カタカタブログ
ちなみに、こんなInfoがでる。
Dialogflow API V2 has officially launched. It is now the default API for all new Dialogflow agents and all new features will only be released on V2. Learn how to migrate your V1 agents here.
すること
Google Homeに話したら、そのまま真似してくるオウムみたいなアプリ?を作る。
処理は、PythonとFlaskで作ったWebサーバーで行う。
Herokuで作る。
Dialogflow(開発環境的なもの)はAPI V2使えって出て来るので、そっちに変更。
Heroku
はじめ、GCEで良いかと思ってたけど、Dialogflowからアクセスできるのは、httpsサーバーだけっぽかった。httpsの証明書?を発行したり、めんどくさいし、せっかくなのでHeroku使うことにした。
Herokuを使うにあたって、軽く下記サイトに目を通した。初めの方だけ、実行してみた。
Python3.6必要って書かれてて、ラズパイに入ってたのは3.5で、GCEはAnacondaで入れてて3.6だったので、GCEで試した。
- インストール
- ログイン
- チュートリアルのファイルを
git clone - Herokuに`git push
って流れやった。
Getting Started on Heroku with Python | Heroku Dev Center
Webサーバー
コードは全部で4つ。
- app.py
- Procfile
- requirements.txt
- runtime.txt
これらをgit pushすると公開してくれる。
git add .
git commit -m ''
git push heroku master
以下、コード。
from flask import Flask, request
import json

app = Flask(__name__)

@app.route('/echo', methods=['POST'])
def echo():
    message = request.json.get("queryResult").get("parameters").get("message")
    response = {
        "payload": {
            "google": {
                "expectUserResponse": True,
                "richResponse": {
                    "items": [
                        {
                            "simpleResponse": {
                                "textToSpeech": message
                            }
                        }
                    ]
                }
            }
        }
    }

    return json.dumps(response)
変更したポイントは、以下の3つ。
-
messageのところを公式ドキュメントを参考にqueryResultにしてる -
responseのところを公式ドキュメントを参考に長々書いてtextToSpeechにしてる - Pythonの
Trueをjson.dumps()でJavaScriptのtrueに変換してる
参考にしたとこ。
Dialogflow Webhook Format V1 | Actions on Google | Google Developers
Dialogflow Webhook Format V2 | Actions on Google | Google Developers
Converting "true" (JSON) to Python equivalent "True" - Stack Overflow
他のファイルはこんな感じ。
web: gunicorn app:app --log-file -
python-3.6.6
Flask==0.12.2
# Flask-Cors==3.0.3
# Flask-SQLAlchemy==2.3.2
gunicorn==19.9.0
curlで確認
pi@raspberrypi:~ $ curl -XPOST -H 'Content-Type:application/json' -d '{"queryResult":{"parameters":{"message":"hello"}}}' https://xxx.herokuapp.com/echo

{"payload": {"google": {"expectUserResponse": true, "richResponse": {"items": [{"simpleResponse": {"textToSpeech": "hello"}}]}}}}
いい感じ。
DialogFlow
基本、ポチポチやってくだけ。
迷ったところだけ、投稿する。
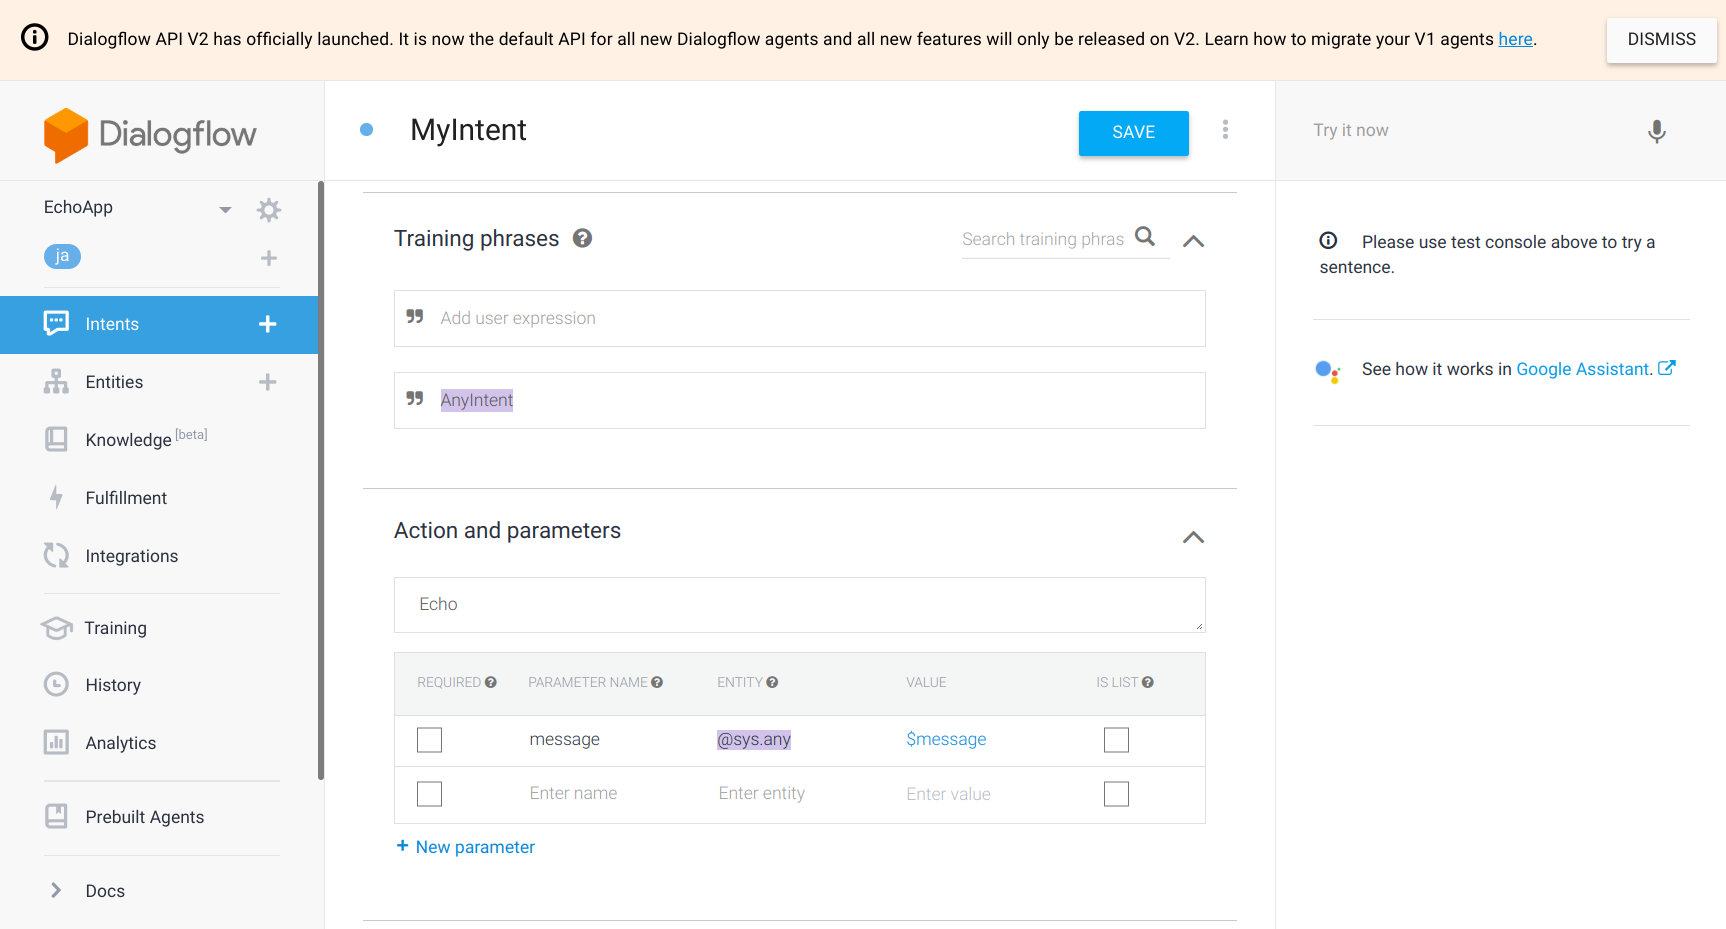
Intents
いまいちよくわからなかったけど、
Contexts, Eventsを空欄にしてTraining phrasesに入れた。
これに気づくのに時間がかかった。
入力された文字列をmessageに入れて送信するっぽい。
Entities
空欄。
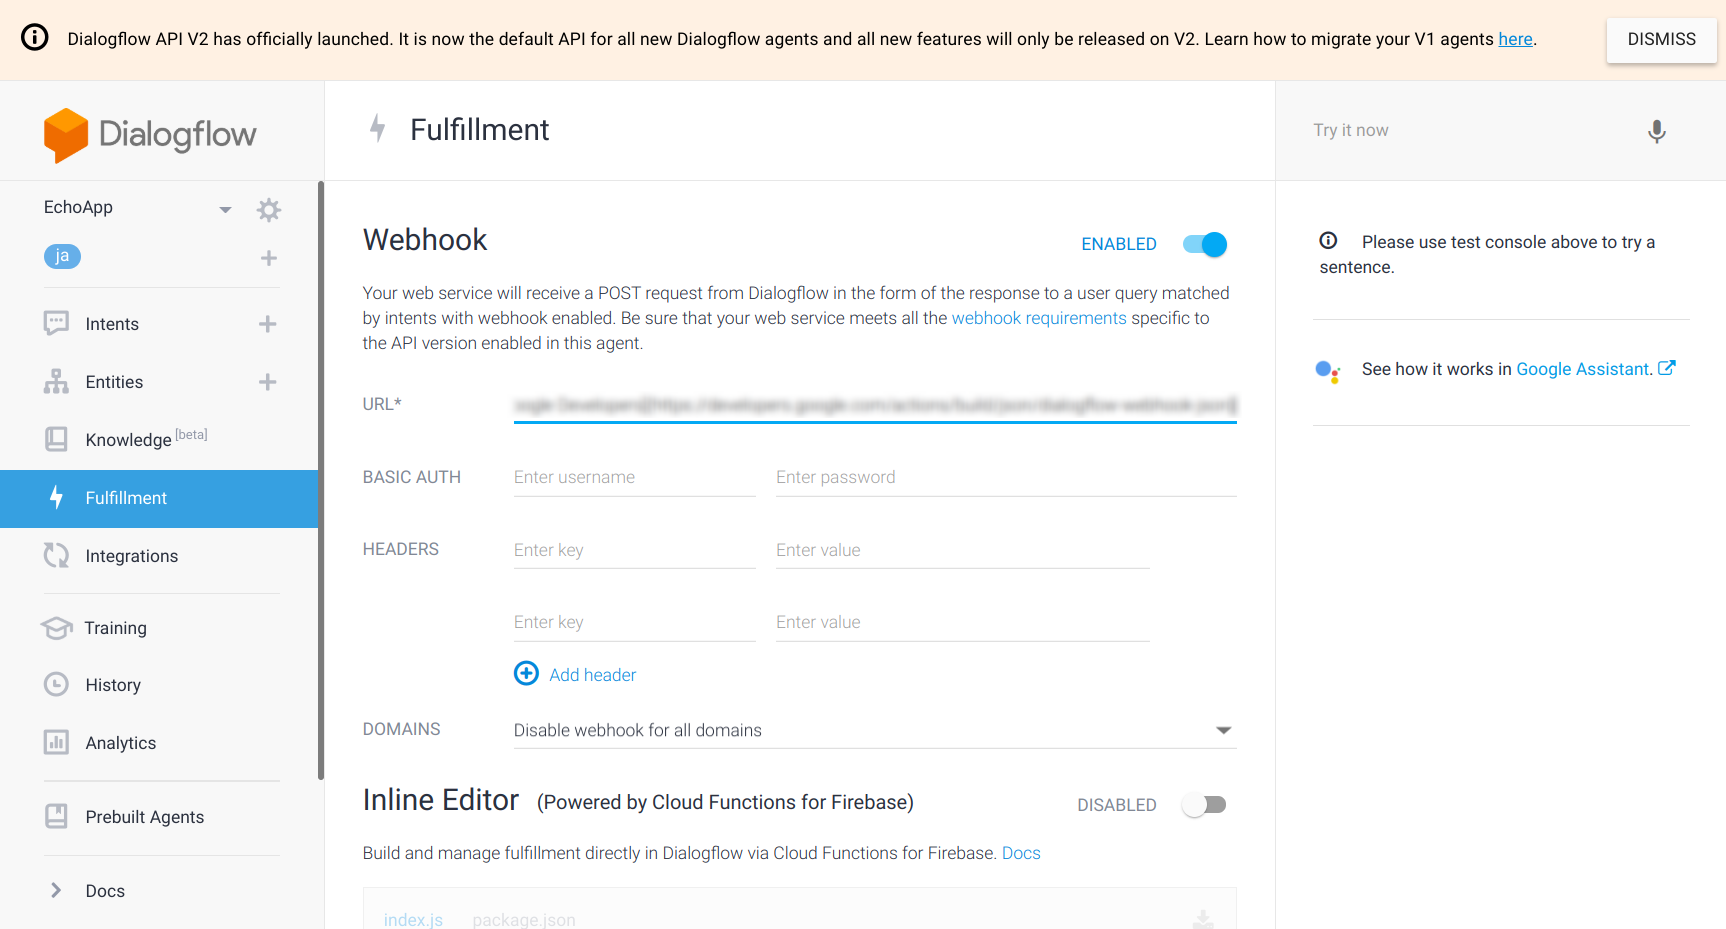
Fulfillment
Webhookに、アドレスを入れた。
DOMAINS、よくわからんけど、Disableでいけた。

その他
適当にポチポチしてたら行けた。
下記サイトみながらやって、なんとかなった。
Google HomeとFlask(Python)サーバでスマートスピーカーアプリを作成してみた - カタカタブログ
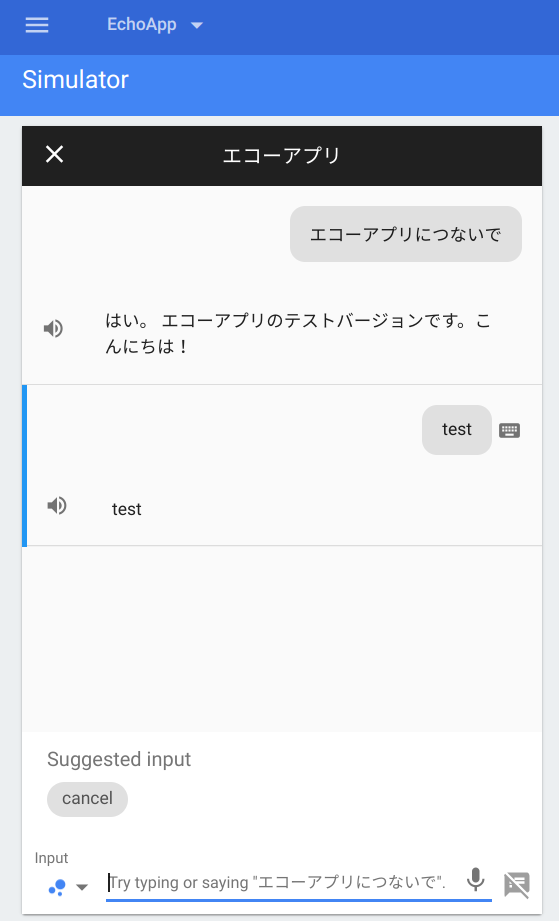
Simulatorでの動作確認
Integrationsを設定して、ここで、動作確認した。
Actions on Google
自分のGoogle Homeでも確認した。いい感じ。
おわりに
やりたいことはだいたいできた。
いまいち、動きがわかってないので、要勉強。
もうちょい、高度なことも試してみたい。
公開する方法もわかってないので、要調査。

