ダウンロードからインストール
上記URLにアクセスしてダウンロードをクリック
画面下部の"MySQL Community (GPL) Downloads »"をクリック

"MySQL Community Server"をクリック

"Windows (x86, 64-bit), MSI Installer"の右側のダウンロードをクリック

"No thanks, just start my download."をクリック

ダウロードできたら完了
インストール
ダウンロードしてきたインストーラを起動して"Next"をクリック

規約への同意を求められるのでチェックを入れて"Next"をクリック

セットアップの種類を聞かれるので自分に適した種類を選択。今回はtypicialを選択して"Next"をクリック

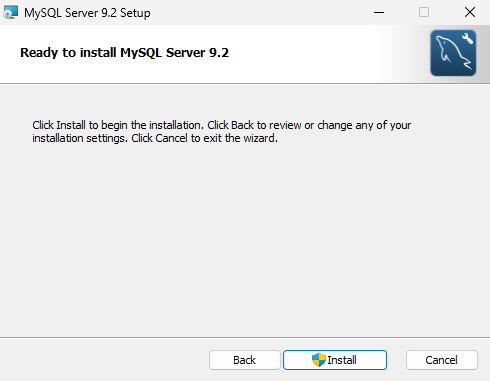
"install"をクリックするとインストールが始まる。途中で変更の許可が必要になるので変更を許可する。

finishをクリックでインストールが完了。下のチェックボックスはインストール後にアプリを開くか確認するものなのでどちらでもよい
設定
インストール完了後スタートメニューから"MySQL 9.2 Configurator"を起動する

"Next"をクリック

任意の保存箇所を設定して"Next"をクリック

デフォルトの設定のまま"Next"をクリック。但しport番号等は後で使用する可能性があるためスクリーンショットを保存しておくことを推奨

任意のパスワードを設定して"Next"をクリック。ここで設定したパスワードがrootユーザのパスワードになる。

デフォルトの設定のまま"Next"をクリック。

デフォルトの設定のまま"Next"をクリック。

サンプルのDBを作成するか聞かれるので任意のチェックボックスにチェックをいれて"Next"をクリック。

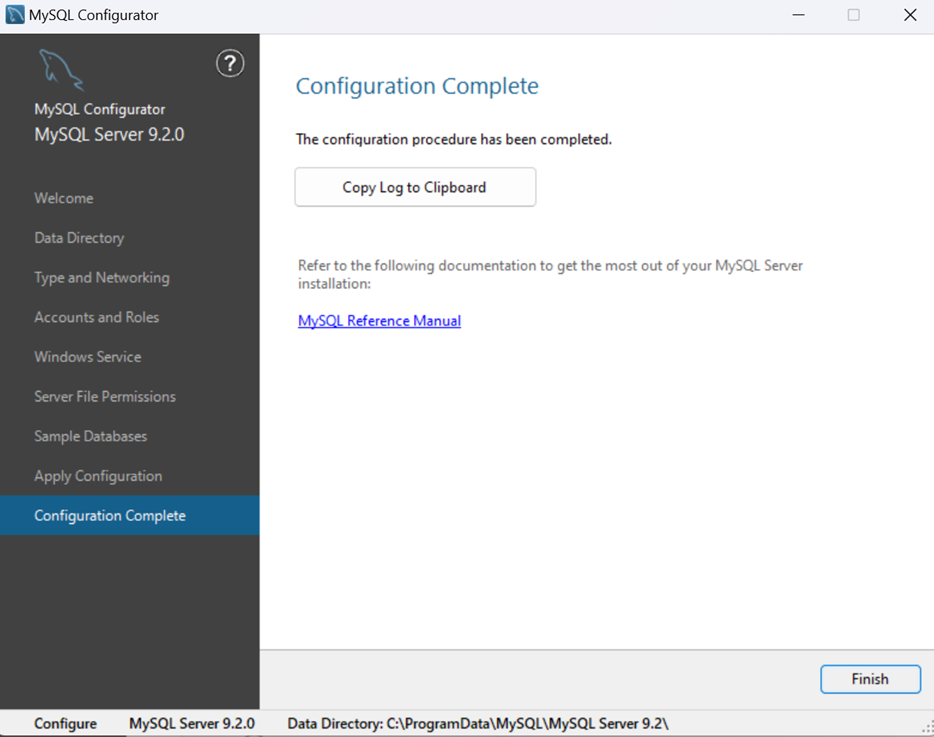
"Execute"を押すと設定の反映が行われる

設定完了