環境
npm 6.14.8
手順
テストコールするためのプロジェクトを作成
create-react-app test_call_api
cd test_call_api
npm start
を実行すると以下のページにアクセスするとデフォルトのreactのトップ画面が表示されます。
API実行処理を動かすために必要なものをインストール
今回はAPI実行用にaxiosと画面を綺麗にするbootstrapをインストールします。
インストール後はnpm audit fixする。
npm i axios bootstrap react-bootstrap
npm audit fix
vim src/App.js
App.jsの中身を実装
以下の様に実装しました。今回は世界一簡単なAPIの祝日APIから取得いたします。
https://holidays-jp.github.io/
import axios from 'axios';
import React, { Component } from 'react';
import { Container, Row, Col, Button, Table, Form } from 'react-bootstrap';

const API_URL = 'https://holidays-jp.github.io/api/v1/date.json';
/**
APIのレスポンスは以下を想定する
{
  "2017-01-01": "元日",
  "2017-01-02": "元日 振替休日",
  "2017-01-09": "成人の日"
}
*/

export default class App extends Component {
  // 初期値を設定
  constructor(props) {
    super(props);
    this.state = {
      api_data: [],
      // 今回test_paramは使用しないが、パラメータ設定方法の一つとして記載する
      test_param: ''
    };
  }

  /**
   * APIを実行する
   */
  handleTestCallApi() {
    axios
    // パラメータを指定する場合は以下のように設定
    // { params: { test_param: this.state.test_param }}
    .get(API_URL)
    .then((results) => {
      const data = results.data; // APIレスポンスを取得する
      this.setState({
        api_data: data,
      });
    },
    )
    .catch((error) => {
      if (error.response) {
        // 200系以外の時にエラーが発生する
        console.log(error.response.data);
        console.log(error.response.status);
        console.log(error.response.headers);
      } else if (error.request) {
        console.log(error.request);
      } else {
        // 上記以外のエラーが発生した場合
        console.log('Error', error.message);
      }
    });
  }
  /**
   * 変更があった場合、test_paramを更新する
   * 今回test_paramは使用しないが、パラメータ設定方法の一つとして記載する
   */
  handleChange(event:InputEvent) {
    this.setState({
      test_param: event.target.value,
    });
  }

  render() {
    return (
      <div className="app">
        <Container>
            <h1>API実行する画面</h1>
            <Form>
              <Row>
                <Col className="submit-form">
                  <Form.Group controlId="formBasicShopId">
                    <Form.Control value={this.state.test_param} type="text" name="test_param" onChange={(e) => { this.handleChange(e); }} />
                  </Form.Group>
                </Col>
              </Row>
              <Button onClick={() => this.handleTestCallApi()}>Exec</Button>
            </Form>
            <br />
          <Table>
            <thead  data-type="ok">
              <tr><th>date</th><th>何の日</th></tr>
            </thead>
            <tbody>
              {Object.keys(this.state.api_data).map(key => (
                <tr key={key}>
                  <td>{key}</td><td>{this.state.api_data[key]}</td>
                </tr>
              ))}
            </tbody>
          </Table>
        </Container>
      </div>
    );
  }
}
画面を開いてみます。
http://localhost:3000/
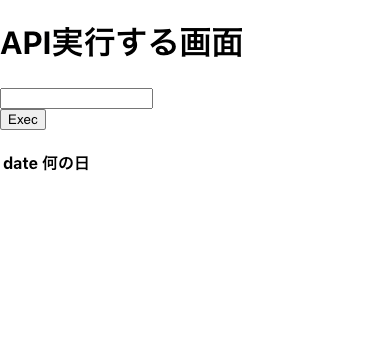
なんか綺麗な画面になっていません、Bootstrapがうまく動いていない様です。
vim public/index.html
index.htmlのmetaタグの下に以下の様にbootstrapを読み込む必要がありました。
    <link
      rel="stylesheet"
      href="https://maxcdn.bootstrapcdn.com/bootstrap/4.3.1/css/bootstrap.min.css"
      integrity="sha384-ggOyR0iXCbMQv3Xipma34MD+dH/1fQ784/j6cY/iJTQUOhcWr7x9JvoRxT2MZw1T"
      crossorigin="anonymous"
    />
これでアクセスし直します。
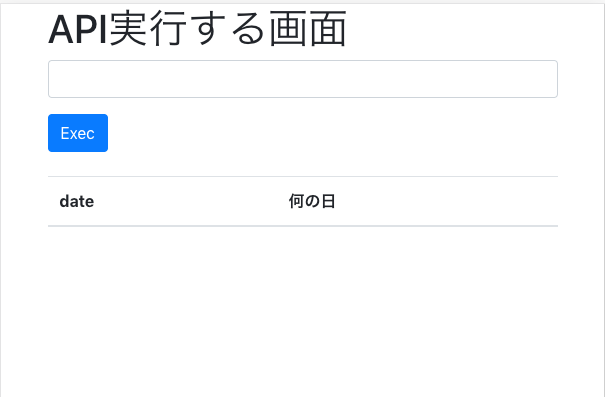
うまくいったようです。
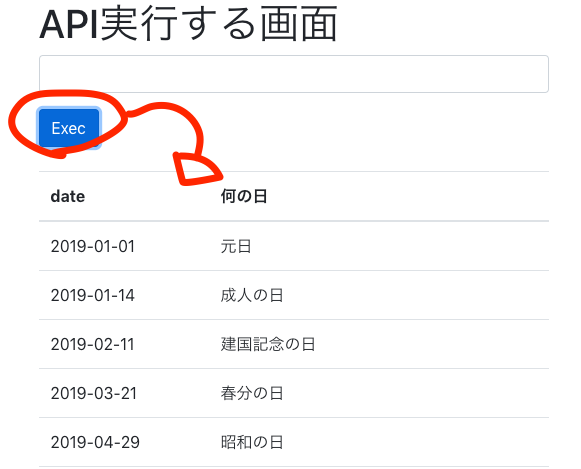
Execボタンを押すと祝日情報が表示される様になっています。
おわりに
react.jsでAPIを実行する方法がいまいち調べてもわからなかったのでまとめました。