はじめに
SpringBootでWebSocket通信ってどうやるのか、気になったのでやってみました。
さすがにBoot、驚くほど簡単に実現できます。
WebSocketといえばチャットアプリですので、チャットアプリを作っていきます。
認証やDB永続化などはしない、極力シンプルなものです。
やり方
順番に実施していきます。
プロジェクトテンプレート作成
Spring Initializr で作ります。
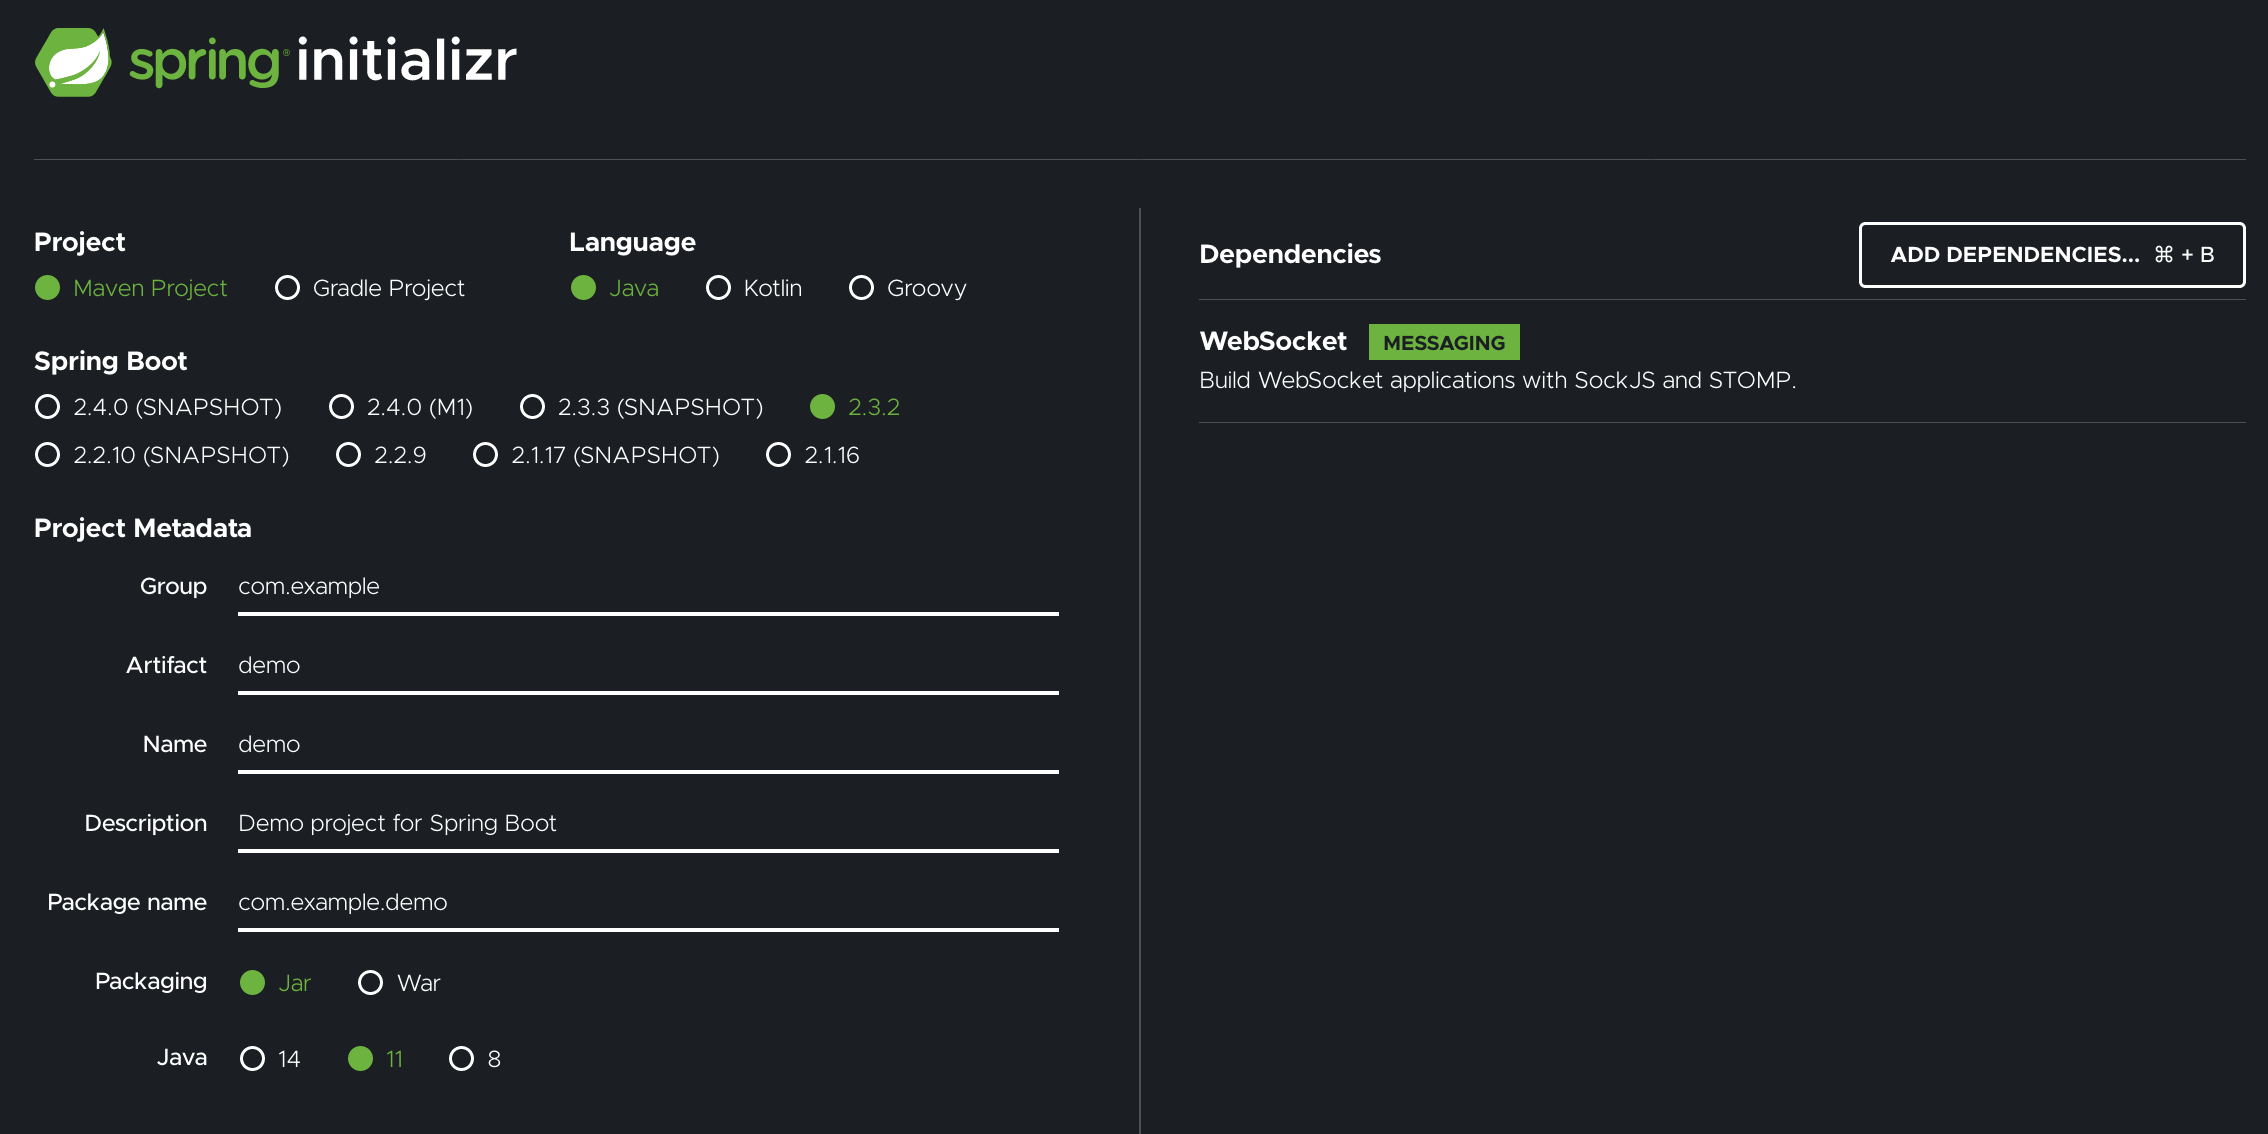
基本はデフォルトのままで、Dependenciesに WebSocketを追加だけしてGENERATEします。
依存ライブラリ追加
Dependenciesに WebSocketを追加しても足りない依存ライブラリを追加します。
今回は以下を追加しました。
<dependency>
  <groupId>org.webjars</groupId>
  <artifactId>webjars-locator-core</artifactId>
</dependency>
<dependency>
  <groupId>org.webjars</groupId>
  <artifactId>sockjs-client</artifactId>
  <version>1.0.2</version>
</dependency>
<dependency>
  <groupId>org.webjars</groupId>
  <artifactId>stomp-websocket</artifactId>
  <version>2.3.3</version>
</dependency>
<dependency>
  <groupId>org.webjars</groupId>
  <artifactId>bootstrap</artifactId>
  <version>3.3.7</version>
</dependency>
<dependency>
  <groupId>org.webjars</groupId>
  <artifactId>jquery</artifactId>
  <version>3.1.1-1</version>
</dependency>
追加したのはWebJarsです。JavaScript や CSS などのフロントサイドのライブラリの依存関係を、javaのライブラリと同様に Maven(Gradle)で管理できるようになった仕組みです。
BootStrapやJQueryなど、おなじみのJavaScriptやCSSのライブラリを取得することができます。
バックエンドの準備
最初に、ブラウザとアプリで通信してやりとりするクラスを作ります。こちらは上り(クライアントからのリクエスト)です。
今回はHelloMessage.javaとします。
nameとmessageを持つただのBeanです。
public class HelloMessage {
    private String name;
    private String message;

    public HelloMessage() {
    }

    public HelloMessage(String name,String message) {
        this.name = name;
        this.message = message;
    }

    public String getName() {
        return name;
    }

    public void setName(String name) {
        this.name = name;
    }

    public String getMessage() {
        return message;
    }

    public void setMessage(String message) {
        this.message = message;
    }
}
ブラウザとアプリで通信してやりとりするクラスを作ります。こちらは下り(サーバーからのレスポンス側)です。
今回はGreeting.javaとします。
contentを持つただのBeanです。
public class Greeting {
    private String content;

    public Greeting() {
    }

    public Greeting(String content) {
        this.content = content;
    }

    public String getContent() {
        return content;
    }
}
ここからが肝です。次にControllerを作ります。
import org.springframework.messaging.handler.annotation.MessageMapping;
import org.springframework.messaging.handler.annotation.SendTo;
import org.springframework.stereotype.Controller;
import org.springframework.web.util.HtmlUtils;

@Controller
public class GreetingController {


    @MessageMapping("/hello")
    @SendTo("/topic/greetings")
    public Greeting greeting(HelloMessage message) throws Exception {
        Thread.sleep(1000); // simulated delay
        return new Greeting(HtmlUtils.htmlEscape(message.getName())
                + " : "
                + HtmlUtils.htmlEscape(message.getMessage()) );
    }

}
通常のSpringMVCと異なるところは、 @MessageMappingと、@SendToです。
WebSocket通信は繋ぎっぱなしのイメージになるのですが、その際の送り先と、受け取り先の定義を示します。
引数と戻り値については、通常のSpringMVCと同じ考え方で大丈夫です。
次にアプリ全体のWebSocketの有効化をするためにConfigクラスを作ります。
import org.springframework.context.annotation.Configuration;
import org.springframework.messaging.simp.config.MessageBrokerRegistry;
import org.springframework.web.socket.config.annotation.EnableWebSocketMessageBroker;
import org.springframework.web.socket.config.annotation.StompEndpointRegistry;
import org.springframework.web.socket.config.annotation.WebSocketMessageBrokerConfigurer;

@Configuration
@EnableWebSocketMessageBroker
public class WebSocketConfig implements WebSocketMessageBrokerConfigurer {

    @Override
    public void configureMessageBroker(MessageBrokerRegistry config) {
        config.enableSimpleBroker("/topic");
        config.setApplicationDestinationPrefixes("/app");
    }

    @Override
    public void registerStompEndpoints(StompEndpointRegistry registry) {
        registry.addEndpoint("/gs-guide-websocket").withSockJS();
    }

}
先ほどと似ているのですが、config.enableSimpleBrokerで受け取り口の設定定義、
onfig.setApplicationDestinationPrefixesで送付先のプレフィックスを定義しています。
registry.addEndpoint("/gs-guide-websocket").withSockJS(); のところは
クライアント側から最初にWebSocketを繋ぐ際のつなぎ先(エンドポイント)を定義しています。
フロント側の準備

静的ファイルでよいので、main/resources/static フォルダを作り
HTMLファイル、そこから使われるJavaScriptとCSSを作ります。
<!DOCTYPE html>
<html>
<head>
    <title>WebSocket Chat</title>
    <link href="/webjars/bootstrap/css/bootstrap.min.css" rel="stylesheet">
    <link href="/main.css" rel="stylesheet">
    <script src="/webjars/jquery/jquery.min.js"></script>
    <script src="/webjars/sockjs-client/sockjs.min.js"></script>
    <script src="/webjars/stomp-websocket/stomp.min.js"></script>
    <script src="/app.js"></script>
</head>
<body>
<noscript><h2 style="color: #ff0000">Seems your browser doesn't support Javascript! Websocket relies on Javascript being
    enabled. Please enable
    Javascript and reload this page!</h2></noscript>
<div id="main-content" class="container">
    <div class="row">
        <div class="col-md-6">
            <form class="form-inline">
                <div class="form-group">
                    <label for="connect">WebSocket connection:</label>
                    <button id="connect" class="btn btn-default" type="submit">Connect</button>
                    <button id="disconnect" class="btn btn-default" type="submit" disabled="disabled">Disconnect
                    </button>
                </div>
            </form>
        </div>
        <div class="col-md-6">
            <form class="form-inline">
                <div class="form-group">
                    <label for="name">Name</label>
                    <input type="text" id="name" class="form-control" placeholder="Your name here...">
                </div>
                <div class="form-group">
                    <label for="name">Message</label>
                    <input type="text" id="message" class="form-control" placeholder="Hello">
                </div>
                <button id="send" class="btn btn-default" type="submit">Send</button>
            </form>
        </div>
    </div>
    <div class="row">
        <div class="col-md-12">
            <table id="conversation" class="table table-striped">
                <thead>
                <tr>
                    <th>Messages</th>
                </tr>
                </thead>
                <tbody id="greetings">
                </tbody>
            </table>
        </div>
    </div>
</div>
</body>
</html>
WebSocket通信のConnect・Disconnectボタンがあり、接続、切断ができます。
NameとMessageを入れてSendボタンでメッセージ送信し、WebSocket通信が繋がっているクライアントがあれば、そのメッセージを受け取ることができる、といったイメージです。
var stompClient = null;

function setConnected(connected) {
    $("#connect").prop("disabled", connected);
    $("#disconnect").prop("disabled", !connected);
    if (connected) {
        $("#conversation").show();
    }
    else {
        $("#conversation").hide();
    }
    $("#greetings").html("");
}

function connect() {
    var socket = new SockJS('/gs-guide-websocket');
    stompClient = Stomp.over(socket);
    stompClient.connect({}, function (frame) {
        setConnected(true);
        console.log('Connected: ' + frame);
        stompClient.subscribe('/topic/greetings', function (greeting) {
            showGreeting(JSON.parse(greeting.body).content);
        });
    });
}

function disconnect() {
    if (stompClient !== null) {
        stompClient.disconnect();
    }
    setConnected(false);
    console.log("Disconnected");
}

function sendMessage() {
    stompClient.send("/app/hello", {}, JSON.stringify({'name': $("#name").val(),'message': $("#message").val()}));
    $("#message").val('');
}

function showGreeting(message) {
    $("#greetings").append("<tr><td>" + message + "</td></tr>");
}

$(function () {
    $("form").on('submit', function (e) {
        e.preventDefault();
    });
    $( "#connect" ).click(function() { connect(); });
    $( "#disconnect" ).click(function() { disconnect(); });
    $( "#send" ).click(function() { sendMessage(); });
});

setTimeout("connect()", 3000);
接続(connect)、切断(disconnect)、メッセージ送信(sendMessage)、メッセージ受信(showGreeting)でそれぞれ関す作ります。送信はJSONで、受信はテキストそのままで受け取り、HTMLに反映させるようにしています。
CSSは特筆すべき点はないです。
body {
    background-color: #f5f5f5;
}

# main-content {
    max-width: 940px;
    padding: 2em 3em;
    margin: 0 auto 20px;
    background-color: #ffffff;
    border: 1px solid #e5e5e5;
    -webkit-border-radius: 5px;
    -moz-border-radius: 5px;
    border-radius: 5px;
}
ビルド、実行
プロジェクト直下から、
./mvnw spring-boot:run
するだけでよいです。初期URLは以下ですので、ブラウザからアクセスして試してみましょう。
http://localhost:8080/
チャットアプリっぽさを出すには、2ブラウザから試すとよいです。

まとめ
意外と簡単にできましたね。
おまけで、Herokuにあげてますので、動きが気になる人は触ってみて下さい。
- Herokuにあげている同アプリ(不定期で落ちます)
ご参考
- ソースコード
- 公式ドキュメント(ほぼ、このままです。少しでもやってみるハードルが下がれば、とブログ書きました)