はじめに
この記事では、Bluetooth Low Energy (BLE) を使用して、ESP32 (Peripheral) とiOS/macOS (Central) デバイス間での通信を実装する方法について説明します。
1/27土曜日の課題として14時から18時でやった内容のログです。
ちなみにほぼすべて初めてでいまいちな部分あるかもしれないので、このまま使えるようなものではありません。
- BLE
- Mac OS × SwiftUI
- ESP32、cpp
きっかけ
2つです。
- 時間を測定するアプリを作りたい
- アプリだけだと理想の使いやすさではないので物理デバイス欲しい。。
- →いい感じのが見つからない
- →自分で作るかー
- 参画しているプロジェクトでLTE-mを使っているが、電波が〜〜とかで障害多発(リアルタイム性は不要)
- Bluetooth使って、通信はスマホに担保させればよくない?
- デジタルデトックスでない限り、wifiか4Gか5Gかいずれかで繋がる
- メモリも潤沢で限度はあるけど、IoTよりは確実にあるから、overflowの心配も少ない
- 電波が悪いとかでデバイスの電池を心配することもない
ということで以下本題。
BLE通信の基本
意外と簡単です。
BLE通信は「Central」と「Peripheral」という2つのロールで構成されます。
Centralは情報を要求するデバイス(例:スマートフォンやコンピュータ)、Peripheralは情報を提供するデバイス(例:センサー、ESP32など)です。
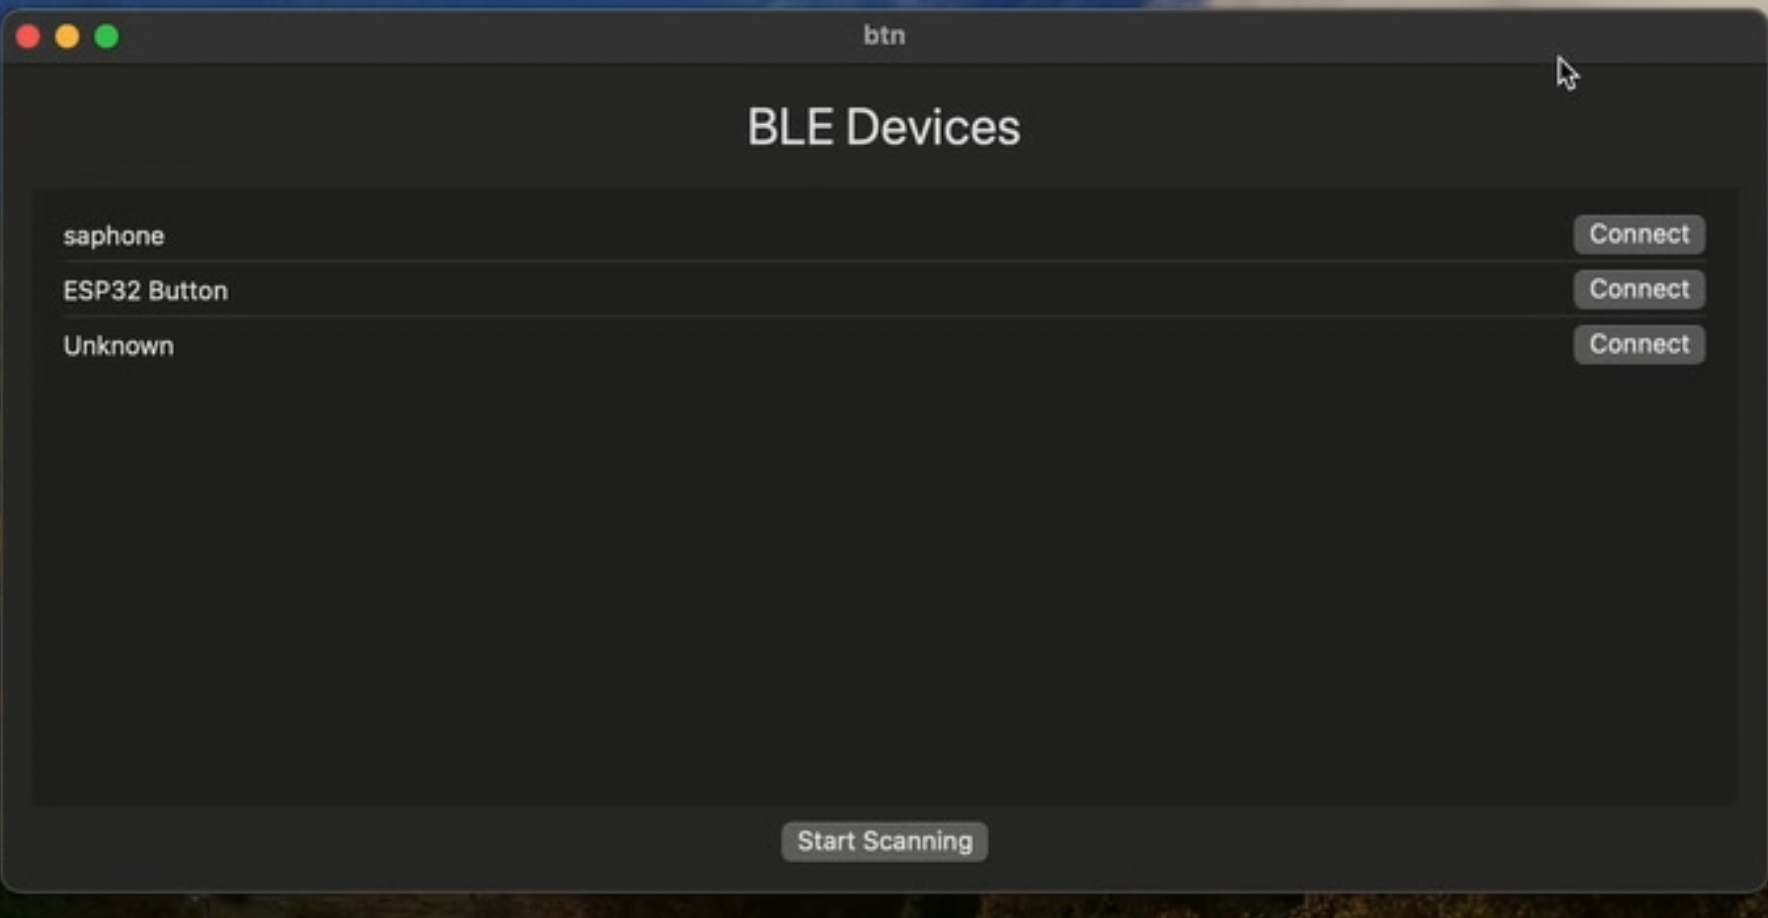
実装例と完成の動作
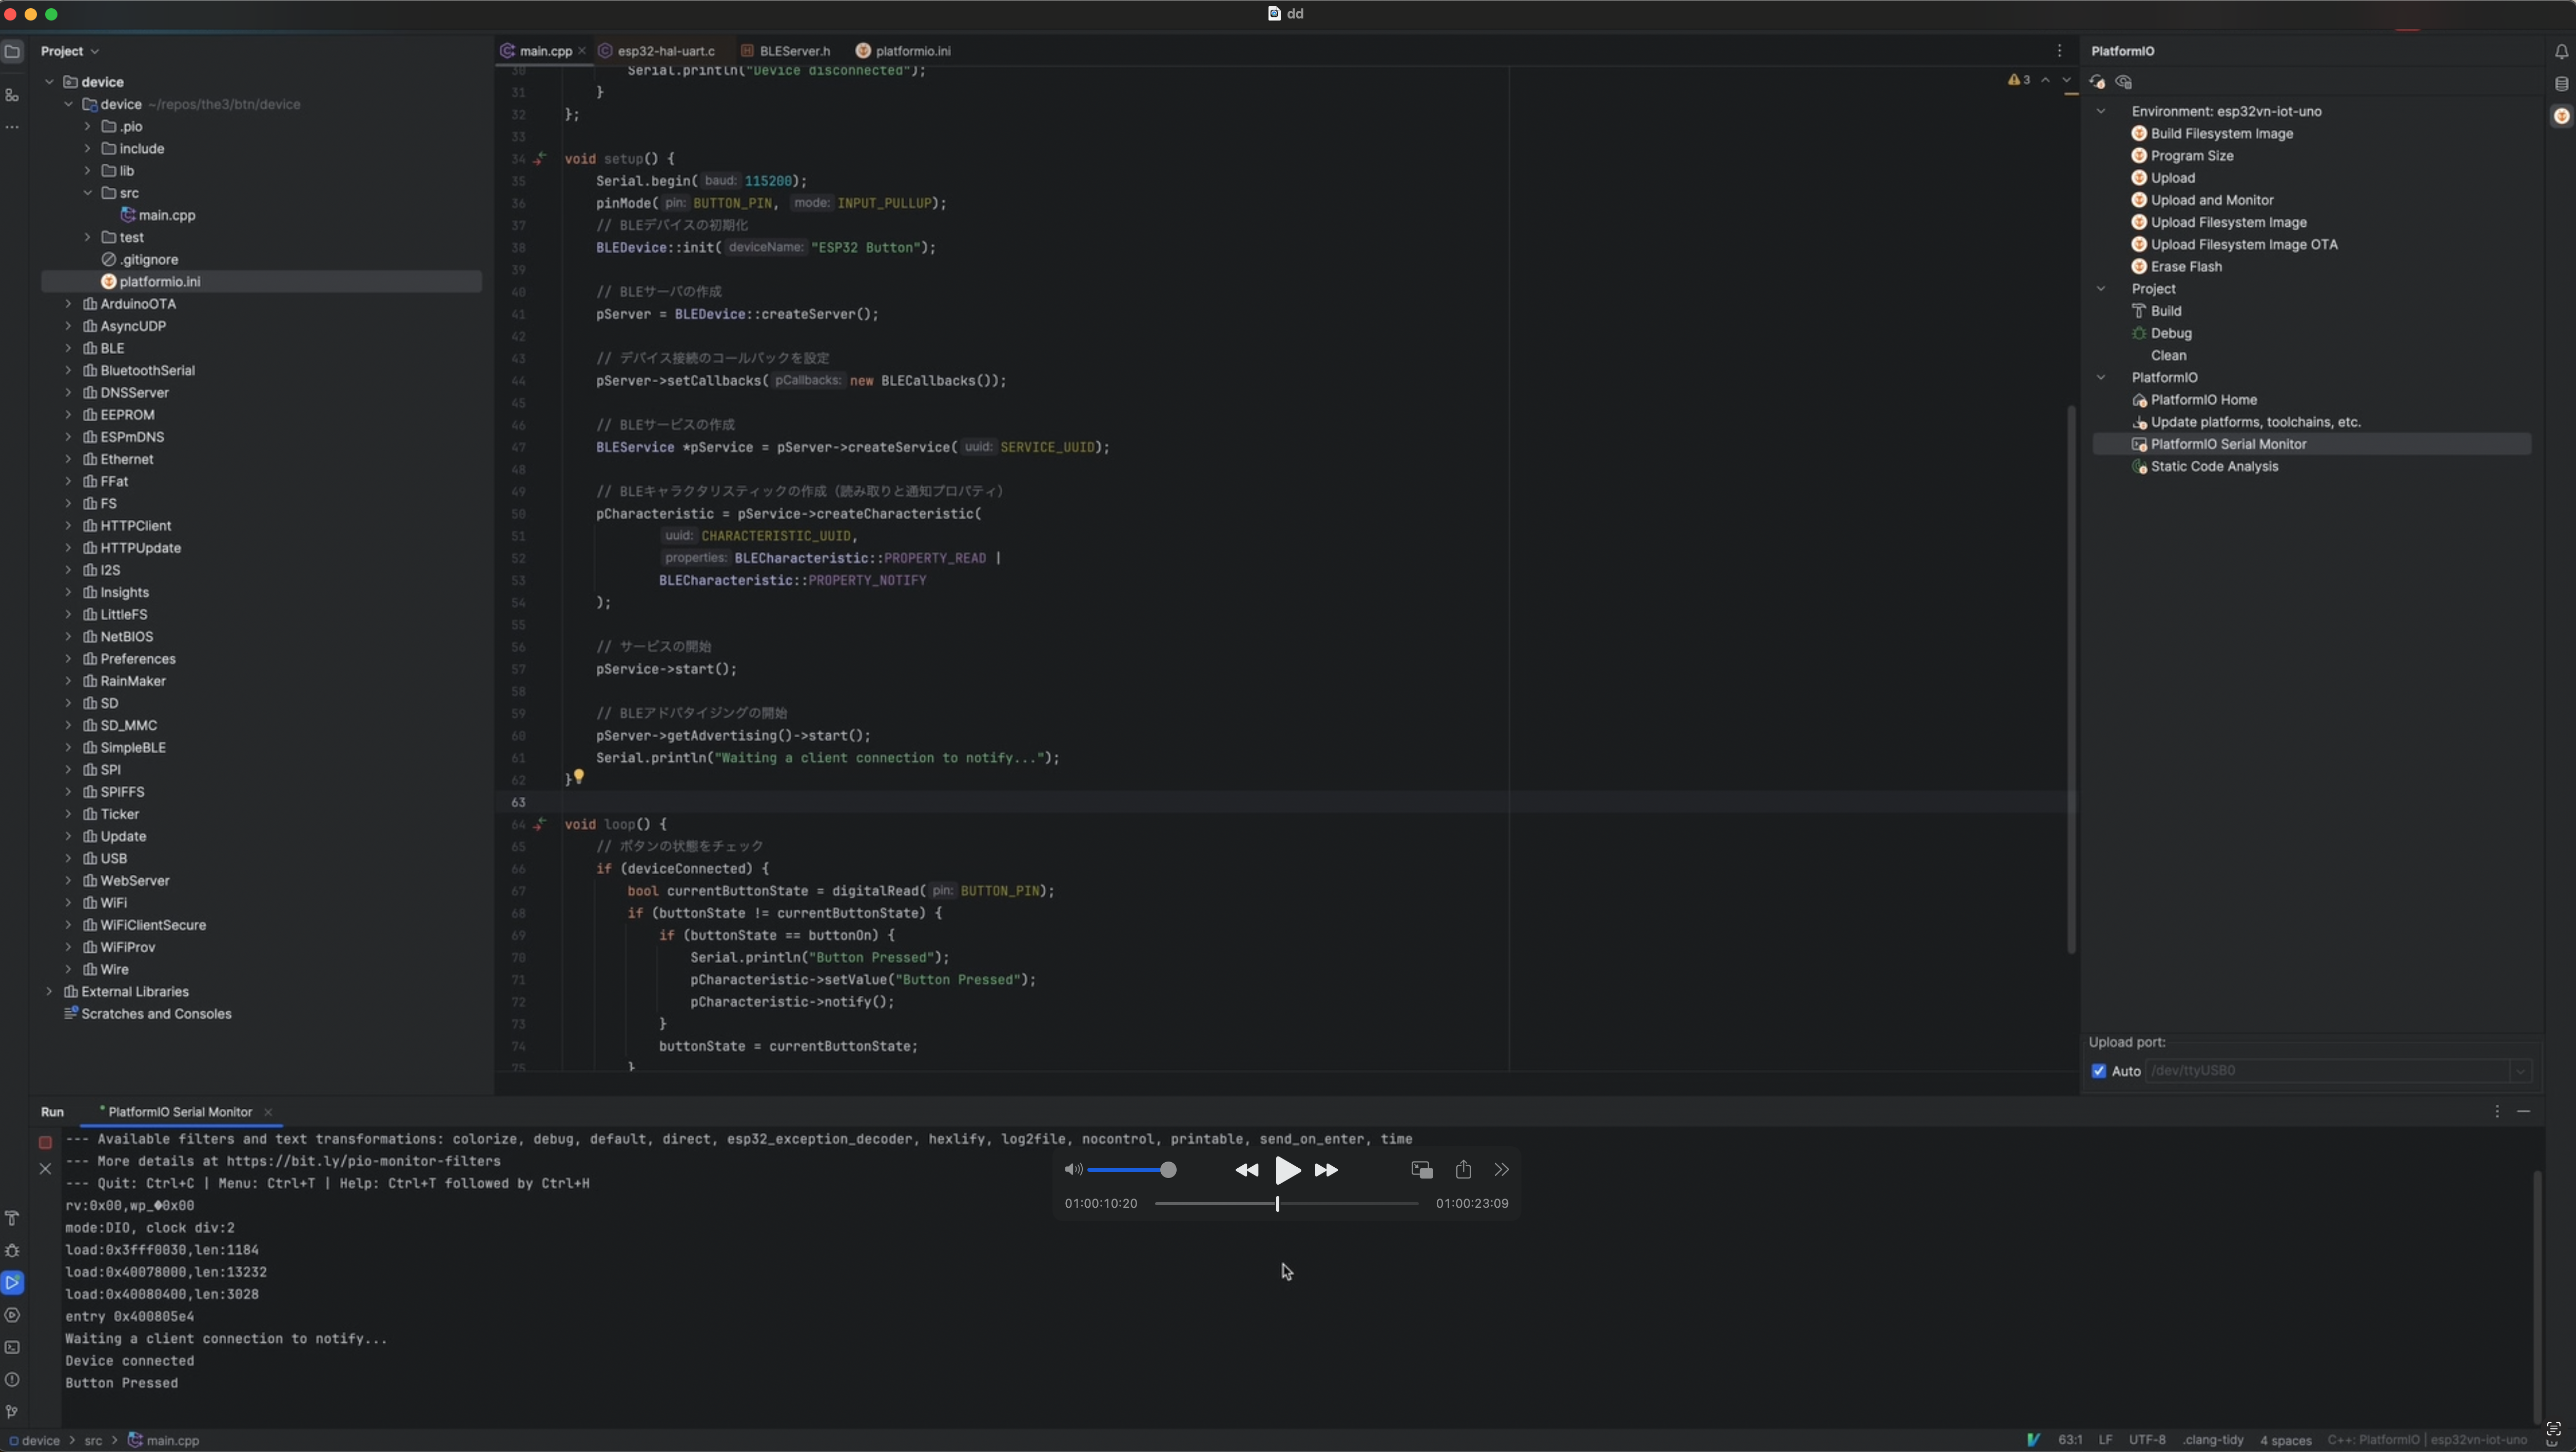
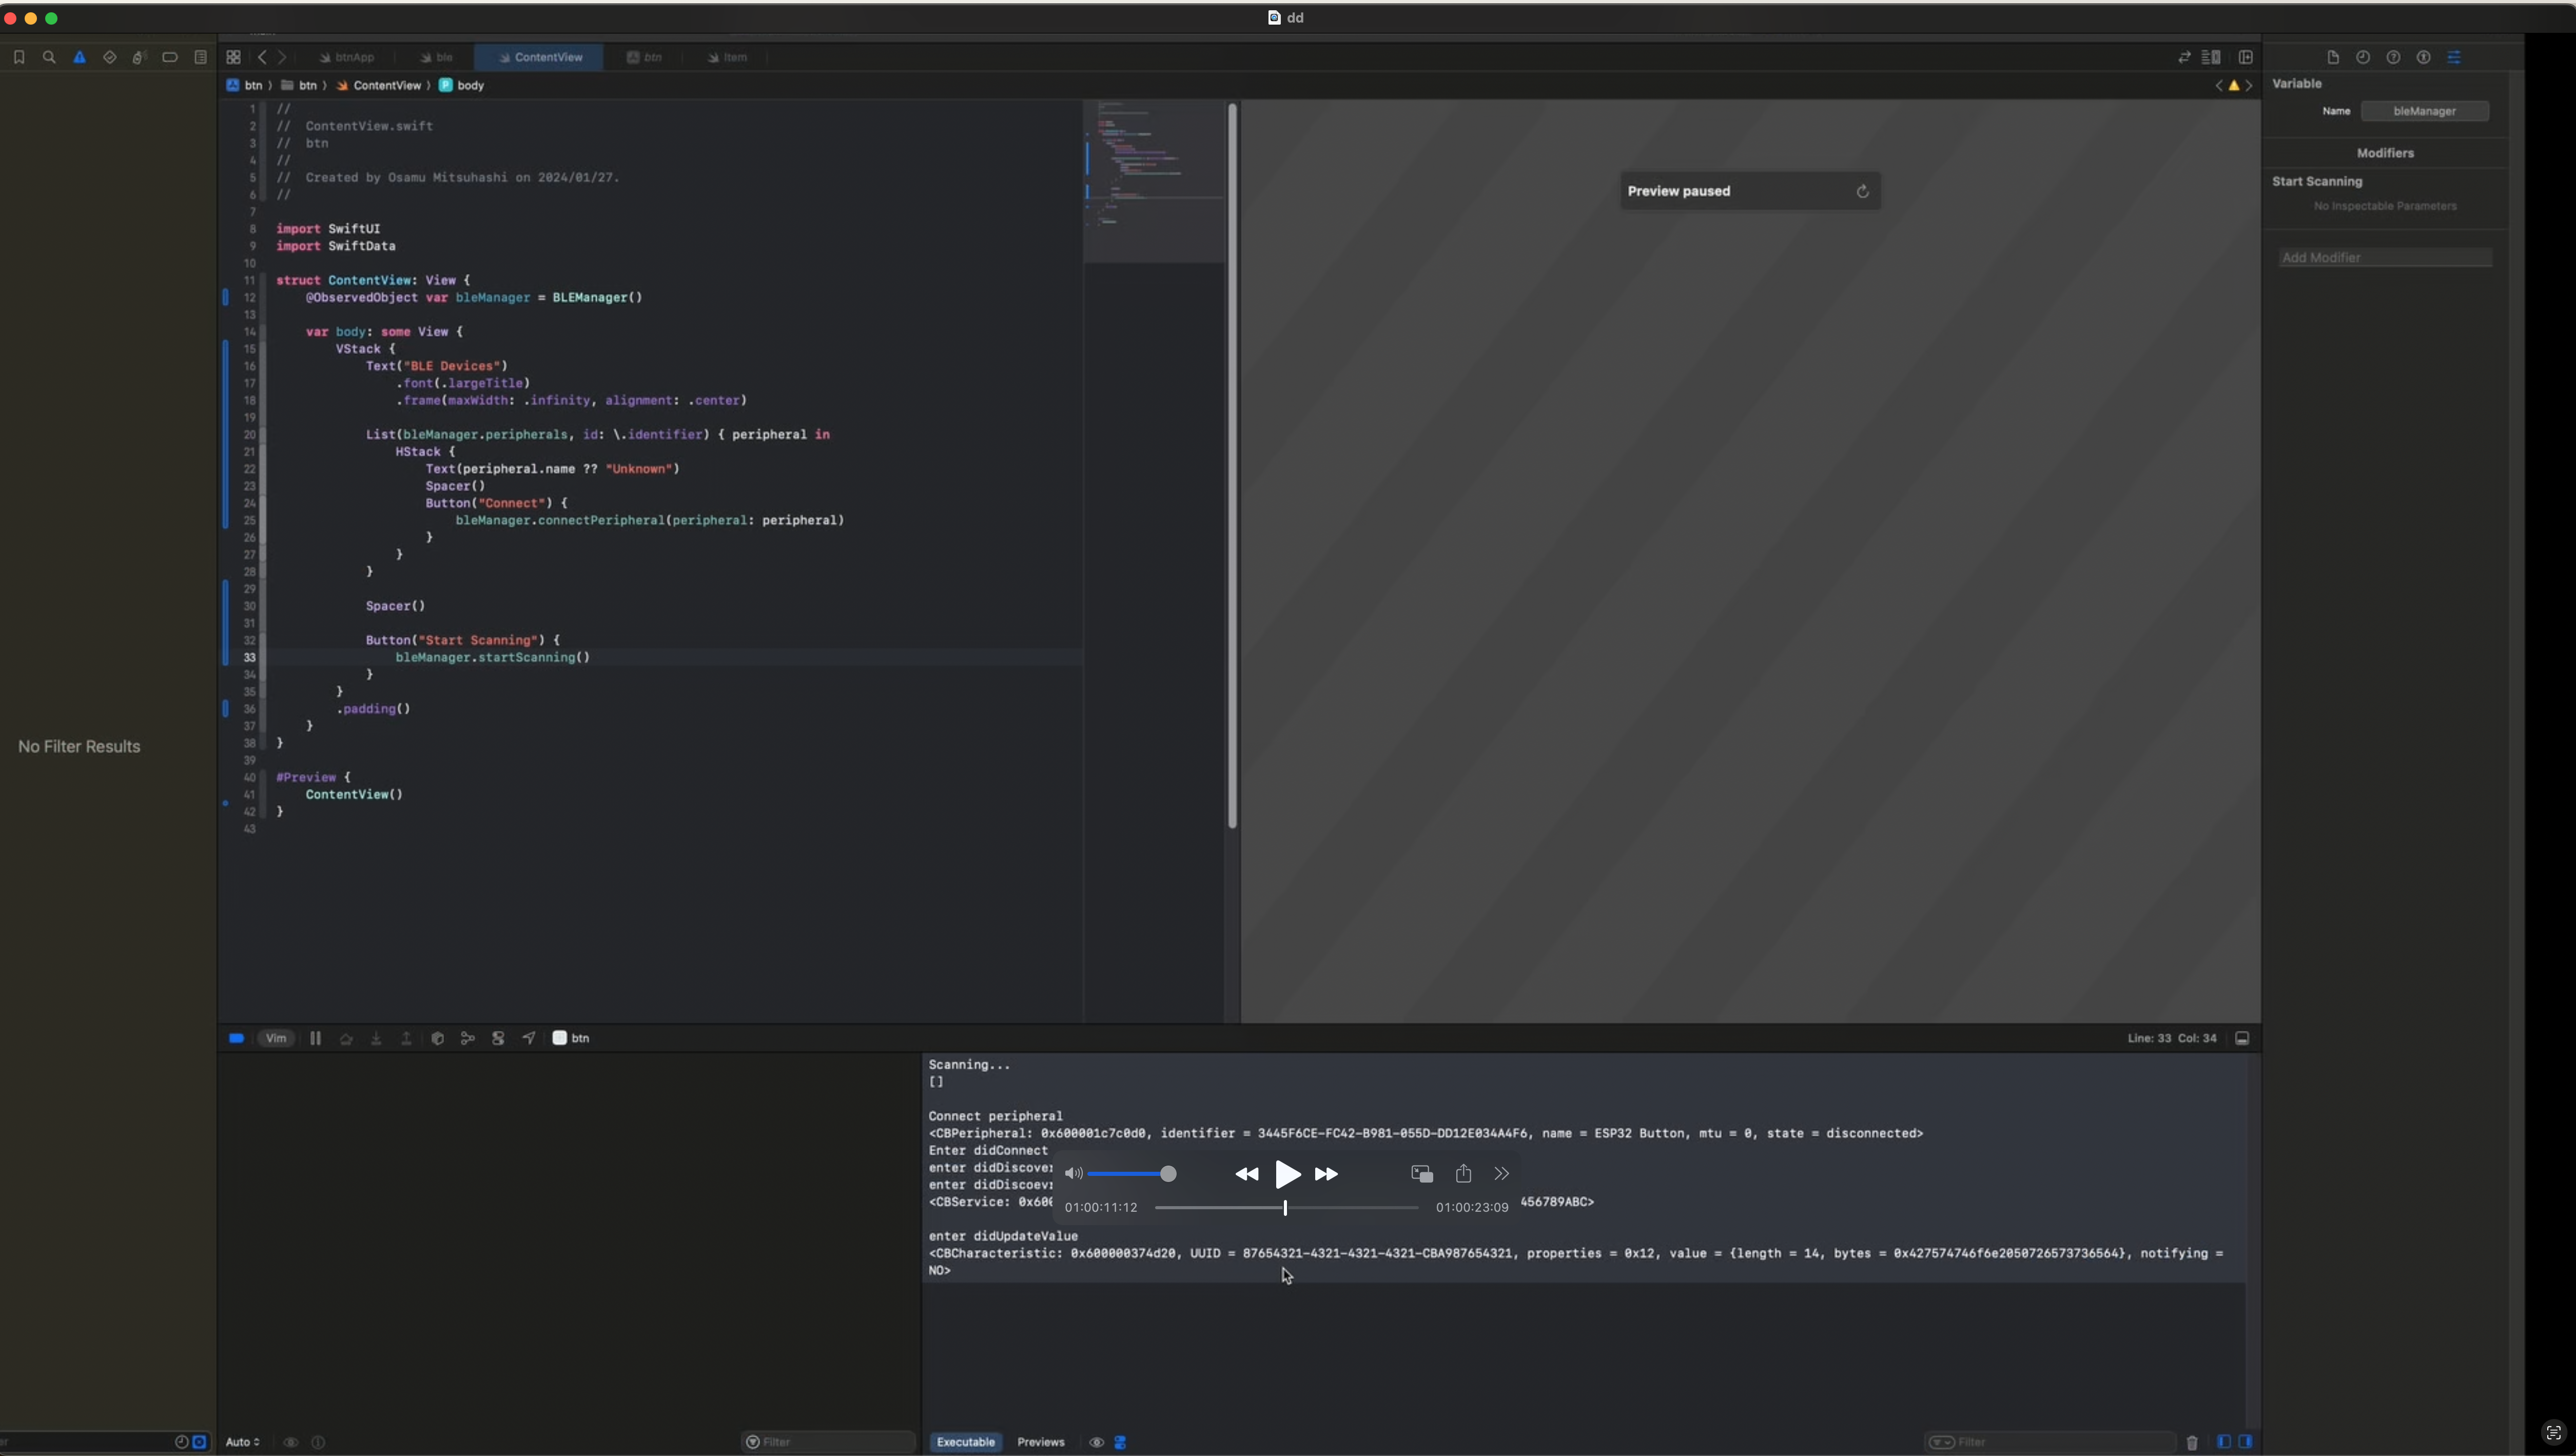
うまくgifが貼れないので、ss
以下、一旦単純に考えるために子機から親機にデータを送ることだけ考えます
ESP32のセットアップ
ESP32は、BLE Peripheralとして機能します。PlatformIOを使用して、ESP32にBLEサービスとキャラクタリスティックを設定します。
#include <Arduino.h>

#include <BLEDevice.h>
#include <BLEUtils.h>
#include <BLEServer.h>

// BLEサービスとキャラクタリスティックのUUID
#define SERVICE_UUID        "12345678-1234-1234-1234-123456789ABC"
#define CHARACTERISTIC_UUID "87654321-4321-4321-4321-CBA987654321"

#define BUTTON_PIN 13

const int buttonOn = LOW;
const int buttonOff = HIGH;

BLEServer *pServer = nullptr;
BLECharacteristic *pCharacteristic = nullptr;
bool deviceConnected = false;
int buttonState = buttonOff;

class BLECallbacks: public BLEServerCallbacks {
    void onConnect(BLEServer* pBLEServer) override {
        deviceConnected = true;
        Serial.println("Device connected");
    };

    void onDisconnect(BLEServer* pBLEServer) override {
        deviceConnected = false;
        Serial.println("Device disconnected");
    }
};

void setup() {
    Serial.begin(115200);
    pinMode(BUTTON_PIN, INPUT_PULLUP);
    // BLEデバイスの初期化
    BLEDevice::init("ESP32 Button");

    // BLEサーバの作成
    pServer = BLEDevice::createServer();

    // デバイス接続のコールバックを設定
    pServer->setCallbacks(new BLECallbacks());

    // BLEサービスの作成
    BLEService *pService = pServer->createService(SERVICE_UUID);

    // BLEキャラクタリスティックの作成(読み取りと通知プロパティ)
    pCharacteristic = pService->createCharacteristic(
            CHARACTERISTIC_UUID,
            BLECharacteristic::PROPERTY_READ |
            BLECharacteristic::PROPERTY_NOTIFY
    );

    // サービスの開始
    pService->start();

    // BLEアドバタイジングの開始
    pServer->getAdvertising()->start();
    Serial.println("Waiting a client connection to notify...");
}

void loop() {
    // ボタンの状態をチェック
    if (deviceConnected) {
        bool currentButtonState = digitalRead(BUTTON_PIN);
        if (buttonState != currentButtonState) {
            if (buttonState == buttonOn) {
                Serial.println("Button Pressed");
                pCharacteristic->setValue("Button Pressed");
                pCharacteristic->notify();
            }
            buttonState = currentButtonState;
        }
    }
    delay(10);
}
iOS/macOSアプリのセットアップ
iOS/macOSでは、CoreBluetoothフレームワークを使用してBLE通信を行います。Centralデバイスとして、周辺機器をスキャンし、接続し、データの読み書きを行います。
import CoreBluetooth
import SwiftUI

class BLEManager: NSObject, ObservableObject, CBCentralManagerDelegate, CBPeripheralDelegate {
    var centralManager: CBCentralManager!
    @Published var isSwitchedOn = false
    @Published var peripherals = [CBPeripheral]()

    let serviceUUID = CBUUID(string: "12345678-1234-1234-1234-123456789abc")
    let characteristicUUID = CBUUID(string: "87654321-4321-4321-4321-cba987654321")


    override init() {
        super.init()
        centralManager = CBCentralManager(delegate: self, queue: nil)
    }

    func centralManagerDidUpdateState(_ central: CBCentralManager) {
        if central.state == .poweredOn {
            isSwitchedOn = true
        } else {
            isSwitchedOn = false
        }
    }

    func centralManager(_ central: CBCentralManager, didDiscover peripheral: CBPeripheral, advertisementData: [String : Any], rssi RSSI: NSNumber) {
        if !peripherals.contains(peripheral) {
            peripherals.append(peripheral)
        }
    }

    func startScanning() {
        print("Scanning...")
        centralManager.scanForPeripherals(withServices: nil, options: nil)
        print(peripherals)
    }

    func connectPeripheral(peripheral: CBPeripheral) {
        print("Connect peripheral")
        print(peripheral)
        centralManager.stopScan()
        centralManager.connect(peripheral, options: nil)
    }

    func centralManager(_ central: CBCentralManager, didConnect peripheral: CBPeripheral) {
        print("Enter didConnect")
        // 意外とこれがないとサービスの登録がうまくいかなかった
        peripheral.delegate = self
        peripheral.discoverServices(nil)
    }

    func peripheral(_ peripheral: CBPeripheral, didDiscoverServices error: Error?) {
        print("enter didDiscoverService")
        guard let services = peripheral.services else { return }
        for service in services {
            peripheral.discoverCharacteristics([characteristicUUID], for: service)
        }
    }

    func peripheral(_ peripheral: CBPeripheral, didDiscoverCharacteristicsFor service: CBService, error: Error?) {
        print("enter didDiscoevrCharacteristics")
        print(service)
        guard let characteristics = service.characteristics else { return }
        for characteristic in characteristics {
            if characteristic.properties.contains(.notify) {
                peripheral.setNotifyValue(true, for: characteristic)
            }
        }
    }

    func peripheral(_ peripheral: CBPeripheral, didUpdateValueFor characteristic: CBCharacteristic, error: Error?) {
        print("enter didUpdateValue")
        if let data = characteristic.value {
            // ここでデータを処理
        }
        print(characteristic)
    }
}
※ swiftUIの画面部分は適当に用意してください
まとめ
今まで色々と作成してきましたがデバイス周りの作成は、macOSアプリの作成もBLEなどの通信も初めてでもっと時間が必要かと思っていましたが今までの知識の応用で理解していったら意外となんとかなり、この記事を作るくらいには余裕が生まれました。
この経験を元に、アプリだけだと解決しにくい問題にも積極的に関わっていこうと思います。
まずは、手始めに時間管理アプリをやります。
このガイドが、BLEプロジェクトの開始点となることを願っています。


