React.jsにおける動的スタイル変更
この記事は、以前書いた、
https://qiita.com/olt/items/c96795e5bdf1058cd547
の手直しを加えた形です。
React.jsのみを用いて動的にスタイル更新
今回はReact.jsのみを用いて動的にスタイル更新を
Stateの管理によって行います。
しかし、昨今ではReduxや最近ではReact Hooksなどを用いて、
Stateの更新を行うことが多いらしい。
ただ、React.jsのクラスコンポーネントを理解するためには、
実際にReact.jsのみでStateの更新を行ってみて、
理解していくのがわかりやすくていいと思っています。
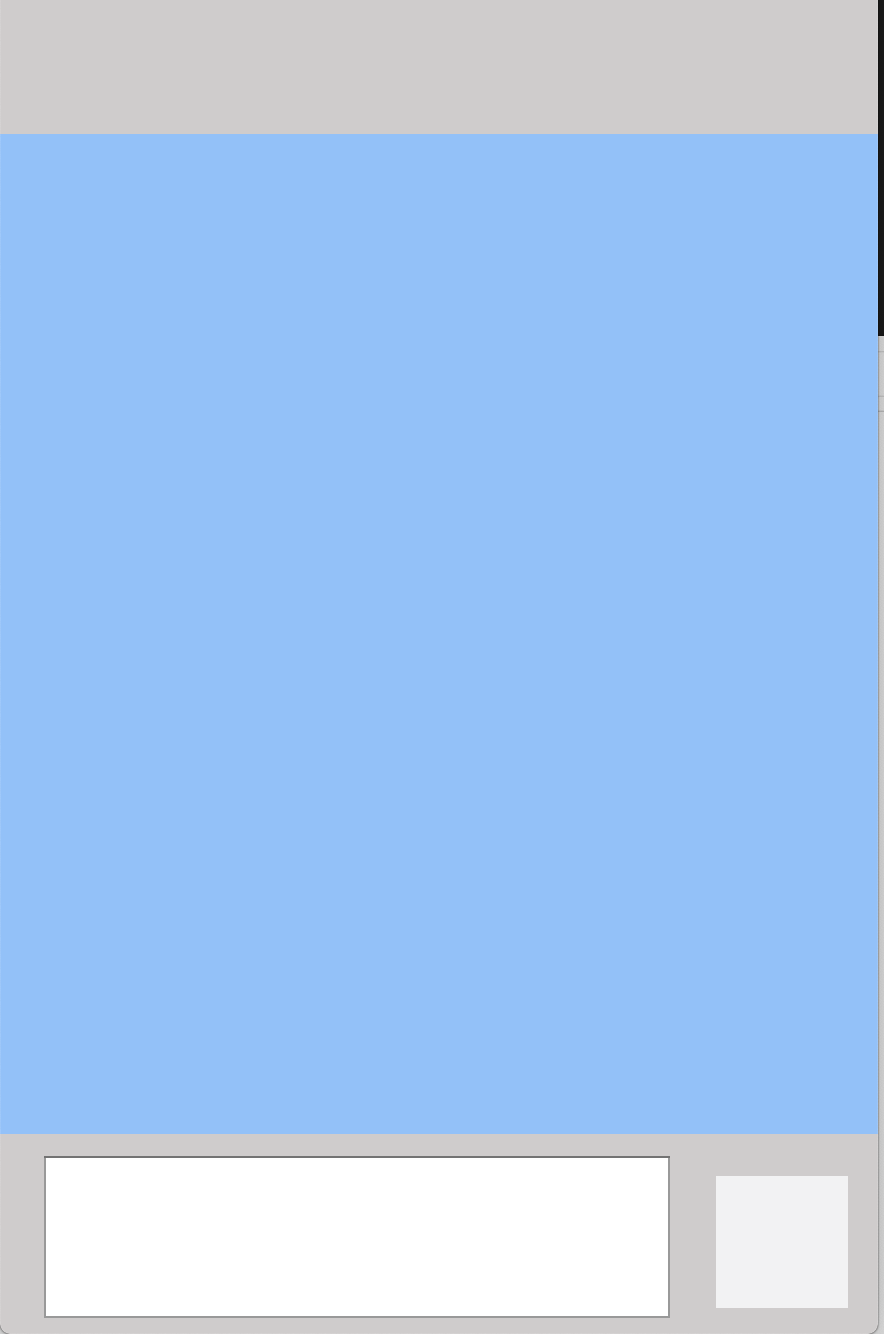
作るもの
大体こんな感じの枠組みを例として作ります。
要件
- CSSのみで管理できる範囲のコンポーネントのスタイルにはCSSを用いる
- 動的にスタイル操作する必要がある場合、React.jsのStateを用いて管理
- 極力レスポンシブデザイン
- 対象はWebアプリケーション
コーディング
前提として、Webpack+bable+Node.jsを用いますが、
ここでの説明を省きます。
まずMain.jsにて、コンポーネント全体のレンダリングを定義します。
Main.js
import React,  {Component} from 'react';
import ReactDOM from 'react-dom';
import {ContentBody} from './ContentBody';

class Main extends Component {
    render() {
        return (
            <ContentBody />
        );
    }
}

ReactDOM.render (
    <Main />,
    document.getElementById("root")
);

export default Main;
次に、レンダリングするコンポーネントの内容を記述していきます。
CSSモジュールを利用していますが、動的に変更を加えるスタイル要素には利用していません。
Component.js
import React, { Component } from 'react';
import ReactDOM from 'react-dom';
import styles from '../css/app.css'

export class ContentBody extends Component {
	constructor(props) {
		super(props);
		this.state = {
			message: "",
			num: 0,
			stylesSendButton: {},
			windowSizeSub: {}
		};
		this.sendMessage = this.sendMessage.bind(this);
		this.changeSizeStyles = this.changeSizeStyles.bind(this);
		this.buttonStylesSet = this.buttonStylesSet.bind(this);
	}
    //Windowのロードとリサイズの際にイベントハンドラを設定
	componentWillMount () {
		window.addEventListener('load', () =>{
			this.getInitWindowSize();
		});
		window.addEventListener('resize', () => {
			this.getWindowSize();
			this.changeSizeStyles();
		});
	}
	getInitWindowSize(){
		let width = window.innerWidth
		let height = window.innerHeight;
		let wsize = {
			width: width,
			height: height
		}
		if(height>=width+160){
			this.setState({stylesSendButton: this.buttonStylesSet("#f2f2f3", width*0.15, height, width*0.815, height*0.02)});
			this.setState({windowSizeSub: wsize});
		} else if(height<width+160){
			this.setState({stylesSendButton: this.buttonStylesSet("#f2f2f3", height*0.12, height, width*0.85, height*0.01)});
			this.setState({windowSizeSub: wsize});
		}
	}
	getWindowSize(){
		let width = window.innerWidth
		let height = window.innerHeight;
		let wsize = {
			width: width,
			height: height,
		}
		this.setState({windowSizeSub: wsize});
	}
	sendMessage(){
		let ws = this.state.stylesSendButton;
        //Buttonが押されたら色を変える
		this.setState({stylesSendButton: this.buttonStylesSet("#999", ws.width, ws.height, ws.left, ws.bottom)});
        //Buttonを押した後に元の色に戻す
		setTimeout(()=>{
			this.setState({stylesSendButton: this.buttonStylesSet("#f2f2f3", ws.width, ws.height, ws.left, ws.bottom)});
		},120);
	}
    //画面サイズが変更された際のスタイル更新
	changeSizeStyles(){
		let ws = this.state.windowSizeSub;
		if(ws.height>=ws.width+160) {
			this.setState({stylesSendButton: this.buttonStylesSet("#f2f2f3", ws.width*0.15, ws.height, ws.width*0.815, ws.height*0.02)});
		} else if(ws.height<ws.width+160) {
			this.setState({stylesSendButton: this.buttonStylesSet("#f2f2f3", ws.height*0.12, ws.width, ws.width*0.85, ws.height*0.01)});
		}
	}
	//Buttonのスタイル用の関数(書き換えるオブジェクト要素のみを引数に)
	buttonStylesSet(color, width, height, left, bottom){
		let ButtonStyles = {
			background: color,
			border: "none",
			position: "absolute",
			float: "left",
			left: left,
			bottom: bottom,
			outline: 0,
			display: "block",
			width: width+"px",
			height: width+"px"
		}
		return ButtonStyles;
	}
	render() {
		return (
			<div className={styles.MainBody} >
				<div className={styles.header} />
				<div className={styles.footer}>
					<div>
						<textarea className={styles.textarea1}
							input type="text"
							value={this.state.message}
							onChange={(e)=>this.setState({message:e.target.value})}
						/>
						<button id ="button" style={this.state.stylesSendButton}
							onClick={this.sendMessage.bind(this)}
						/>
					</div>
				</div>
			</div>
		);
	}
}
上記のコード中で用いているスタイル用の関数を用いることで、
動的にスタイルを更新する際に、
わざわざスタイル用のオブジェクトを再定義する必要がなくなります。
スタイル用の関数を最低限の変数を引数に設定して呼び出し、
その返り値をsetSate()の引数にすることで、ある程度の冗長性を
抑えられるのではないかなと思います。
CSSはこちら
app.css
.html{
	border: none;
}
.body{
	border: none;
}
.MainBody{
	border: none;
	background-color:#91c0fa;
	position: absolute;
	left: 0%;
	bottom:0%;
	height: 100%;
	width: 100%;
}
.header{
	background-color:rgb(207, 204, 204);
	box-shadow: rgb(214, 214, 214);
	border: none;
	float: left;
	position: absolute;
	width: 100%;
	height: 10%;
	top: 0%;
}
.footer{
	background-color:rgb(207, 204, 204);
	box-shadow: rgb(214, 214, 214);
	border: none;
	float: left;
	position: absolute;
	width: 100%;
	height: 15%;
	bottom: 0%;
}
.textarea1{
	background-color:rgb(255, 255, 255);
	position: absolute;
	float: left;
	width: 70%;
	height: 75%;
	left: 5%;
	bottom: 8%;
	resize: none;
	outline: 0;
}
今後はReactのStateの更新用のライブラリなども
調べていきたいですが、その際のおすすめや
今回のアドバイスなどあればコメントよろしくお願いします。