自分で開発環境を作ってみたいと思ったので、ググりながら勉強しながら作成した内容です。間違いなどありましたら教えていただけるとありがたいです。
また、公式によりますとVagrantでsymfonyの環境を作成するには、laravelのhomesteadの環境で作成するのが簡単なようです
Using Symfony with Homestead/Vagrant (Symfony Docs)
参考
- Ubuntu 18.04にNginx、PHP 7.4、MySQL 5.7をインストールする - Qiita
- vagrantを使用したlaravelの環境構築
- How To Install PHP 7.4 on Ubuntu 20.04/18.04/16.04
- nginx の最新版を Ubuntu 18.04 に apt インストールする
- Install MySQL 8 on Ubuntu 20.04 LTS
試したバージョン
- Vagrant 2.2.9
- VirtualBox Version 6.0.22 r137980 (Qt5.6.3)
1. ubuntuにsshするまで
1-1. ubuntuのboxを追加
Enter your choice:と聞かれるので3を選択する
$ vagrant box add bento/ubuntu-20.04
==> box: Loading metadata for box 'bento/ubuntu-20.04'
    box: URL: https://vagrantcloud.com/bento/ubuntu-20.04
This box can work with multiple providers! The providers that it
can work with are listed below. Please review the list and choose
the provider you will be working with.

1) hyperv
2) parallels
3) virtualbox
4) vmware_desktop

Enter your choice: 3
==> box: Adding box 'bento/ubuntu-20.04' (v202005.21.0) for provider: virtualbox
    box: Downloading: https://vagrantcloud.com/bento/boxes/ubuntu-20.04/versions/202005.21.0/providers/virtualbox.box
Download redirected to host: vagrantcloud-files-production.s3.amazonaws.com
==> box: Successfully added box 'bento/ubuntu-20.04' (v202005.21.0) for 'virtualbox'!
$ vagrant box list #boxが追加されていることを確認
bento/ubuntu-20.04 (virtualbox, 202005.21.0)
1-2. 仮想マシンでubuntuを立ち上げる
好きなディレクトリを作成し、そこで作業をする
$ vagrant init bento/ubuntu-20.04
A `Vagrantfile` has been placed in this directory. You are now
ready to `vagrant up` your first virtual environment! Please read
the comments in the Vagrantfile as well as documentation on
`vagrantup.com` for more information on using Vagrant.
VagrantFileができているので、config.vm.networkのコメントを外しておく
$ vi Vagrantfile
- # config.vm.network "private_network", ip: "192.168.33.10"
+ config.vm.network "private_network", ip: "192.168.33.10"
$ vagrant up #仮想マシン起動
$ vagrant status #起動されていることを確認
Current machine states:

default                   running (virtualbox)

The VM is running. To stop this VM, you can run `vagrant halt` to
shut it down forcefully, or you can run `vagrant suspend` to simply
suspend the virtual machine. In either case, to restart it again,
simply run `vagrant up`.
$ vagrant ssh #仮想マシンにssh
vagrant@vagrant:~$ sudo apt-get update #apt-getをupdateしておく
2. nginxのインストール
vagrant@vagrant:~$ sudo apt install -y nginx
vagrant@vagrant:~$ nginx -v #バージョン確認
nginx version: nginx/1.18.0 (Ubuntu)
vagrant@vagrant:~$ systemctl status nginx #起動していることを確認 active (running) になっていたらOK
● nginx.service - A high performance web server and a reverse proxy server
     Loaded: loaded (/lib/systemd/system/nginx.service; enabled; vendor preset: enabled)
     Active: active (running) since Sun 2020-07-12 20:47:53 UTC; 16s ago
       Docs: man:nginx(8)
   Main PID: 13662 (nginx)
      Tasks: 2 (limit: 1074)
     Memory: 4.4M
     CGroup: /system.slice/nginx.service
             ├─13662 nginx: master process /usr/sbin/nginx -g daemon on; master_process on;
             └─13663 nginx: worker process

Jul 12 20:47:53 vagrant systemd[1]: Starting A high performance web server and a reverse proxy server...
Jul 12 20:47:53 vagrant systemd[1]: Started A high performance web server and a reverse proxy server.
vagrant@vagrant:~$ sudo systemctl enable nginx #自動起動を設定
Synchronizing state of nginx.service with SysV service script with /lib/systemd/systemd-sysv-install.
Executing: /lib/systemd/systemd-sysv-install enable nginx
3. phpのインストール
3-1. インストール
vagrant@vagrant:~$ sudo apt install -y php php-cli php-fpm php-json php-pdo php-mysql php-zip php-gd  php-mbstring php-curl php-xml php-pear php-bcmath

省略

vagrant@vagrant:~$ php --version
PHP 7.4.3 (cli) (built: May 26 2020 12:24:22) ( NTS )
Copyright (c) The PHP Group
Zend Engine v3.4.0, Copyright (c) Zend Technologies
    with Zend OPcache v7.4.3, Copyright (c), by Zend Technologies
4. phpをnginxで動くようにする
4-1. fastcgi_paramsに追加
vagrant@vagrant:~$ sudo vim /etc/nginx/fastcgi_params
↓を追加する
fastcgi_param SCRIPT_FILENAME $document_root$fastcgi_script_name;
4-2 sites-available/default を修正
vagrant@vagrant:~$ sudo vim /etc/nginx/sites-available/default
↓のように修正
-        index index.html index.htm index.nginx-debian.html;
+        index index.php index.html index.htm index.nginx-debian.html;
-        #location ~ \.php$ {
-        #       include snippets/fastcgi-php.conf;
-        #
-        #       # With php-fpm (or other unix sockets):
-        #       fastcgi_pass unix:/var/run/php/php7.4-fpm.sock;
-        #       # With php-cgi (or other tcp sockets):
-        #       fastcgi_pass 127.0.0.1:9000;
-        #}
+        location ~ \.php$ {
+                include snippets/fastcgi-php.conf;
+
+                # With php-fpm (or other unix sockets):
+                fastcgi_pass unix:/var/run/php/php7.4-fpm.sock;
+                # With php-cgi (or other tcp sockets):
+                # fastcgi_pass 127.0.0.1:9000;
+                include fastcgi_params;
+        }
vagrant@vagrant:~$ sudo service nginx restart #nginx再起動
4-3. 確認
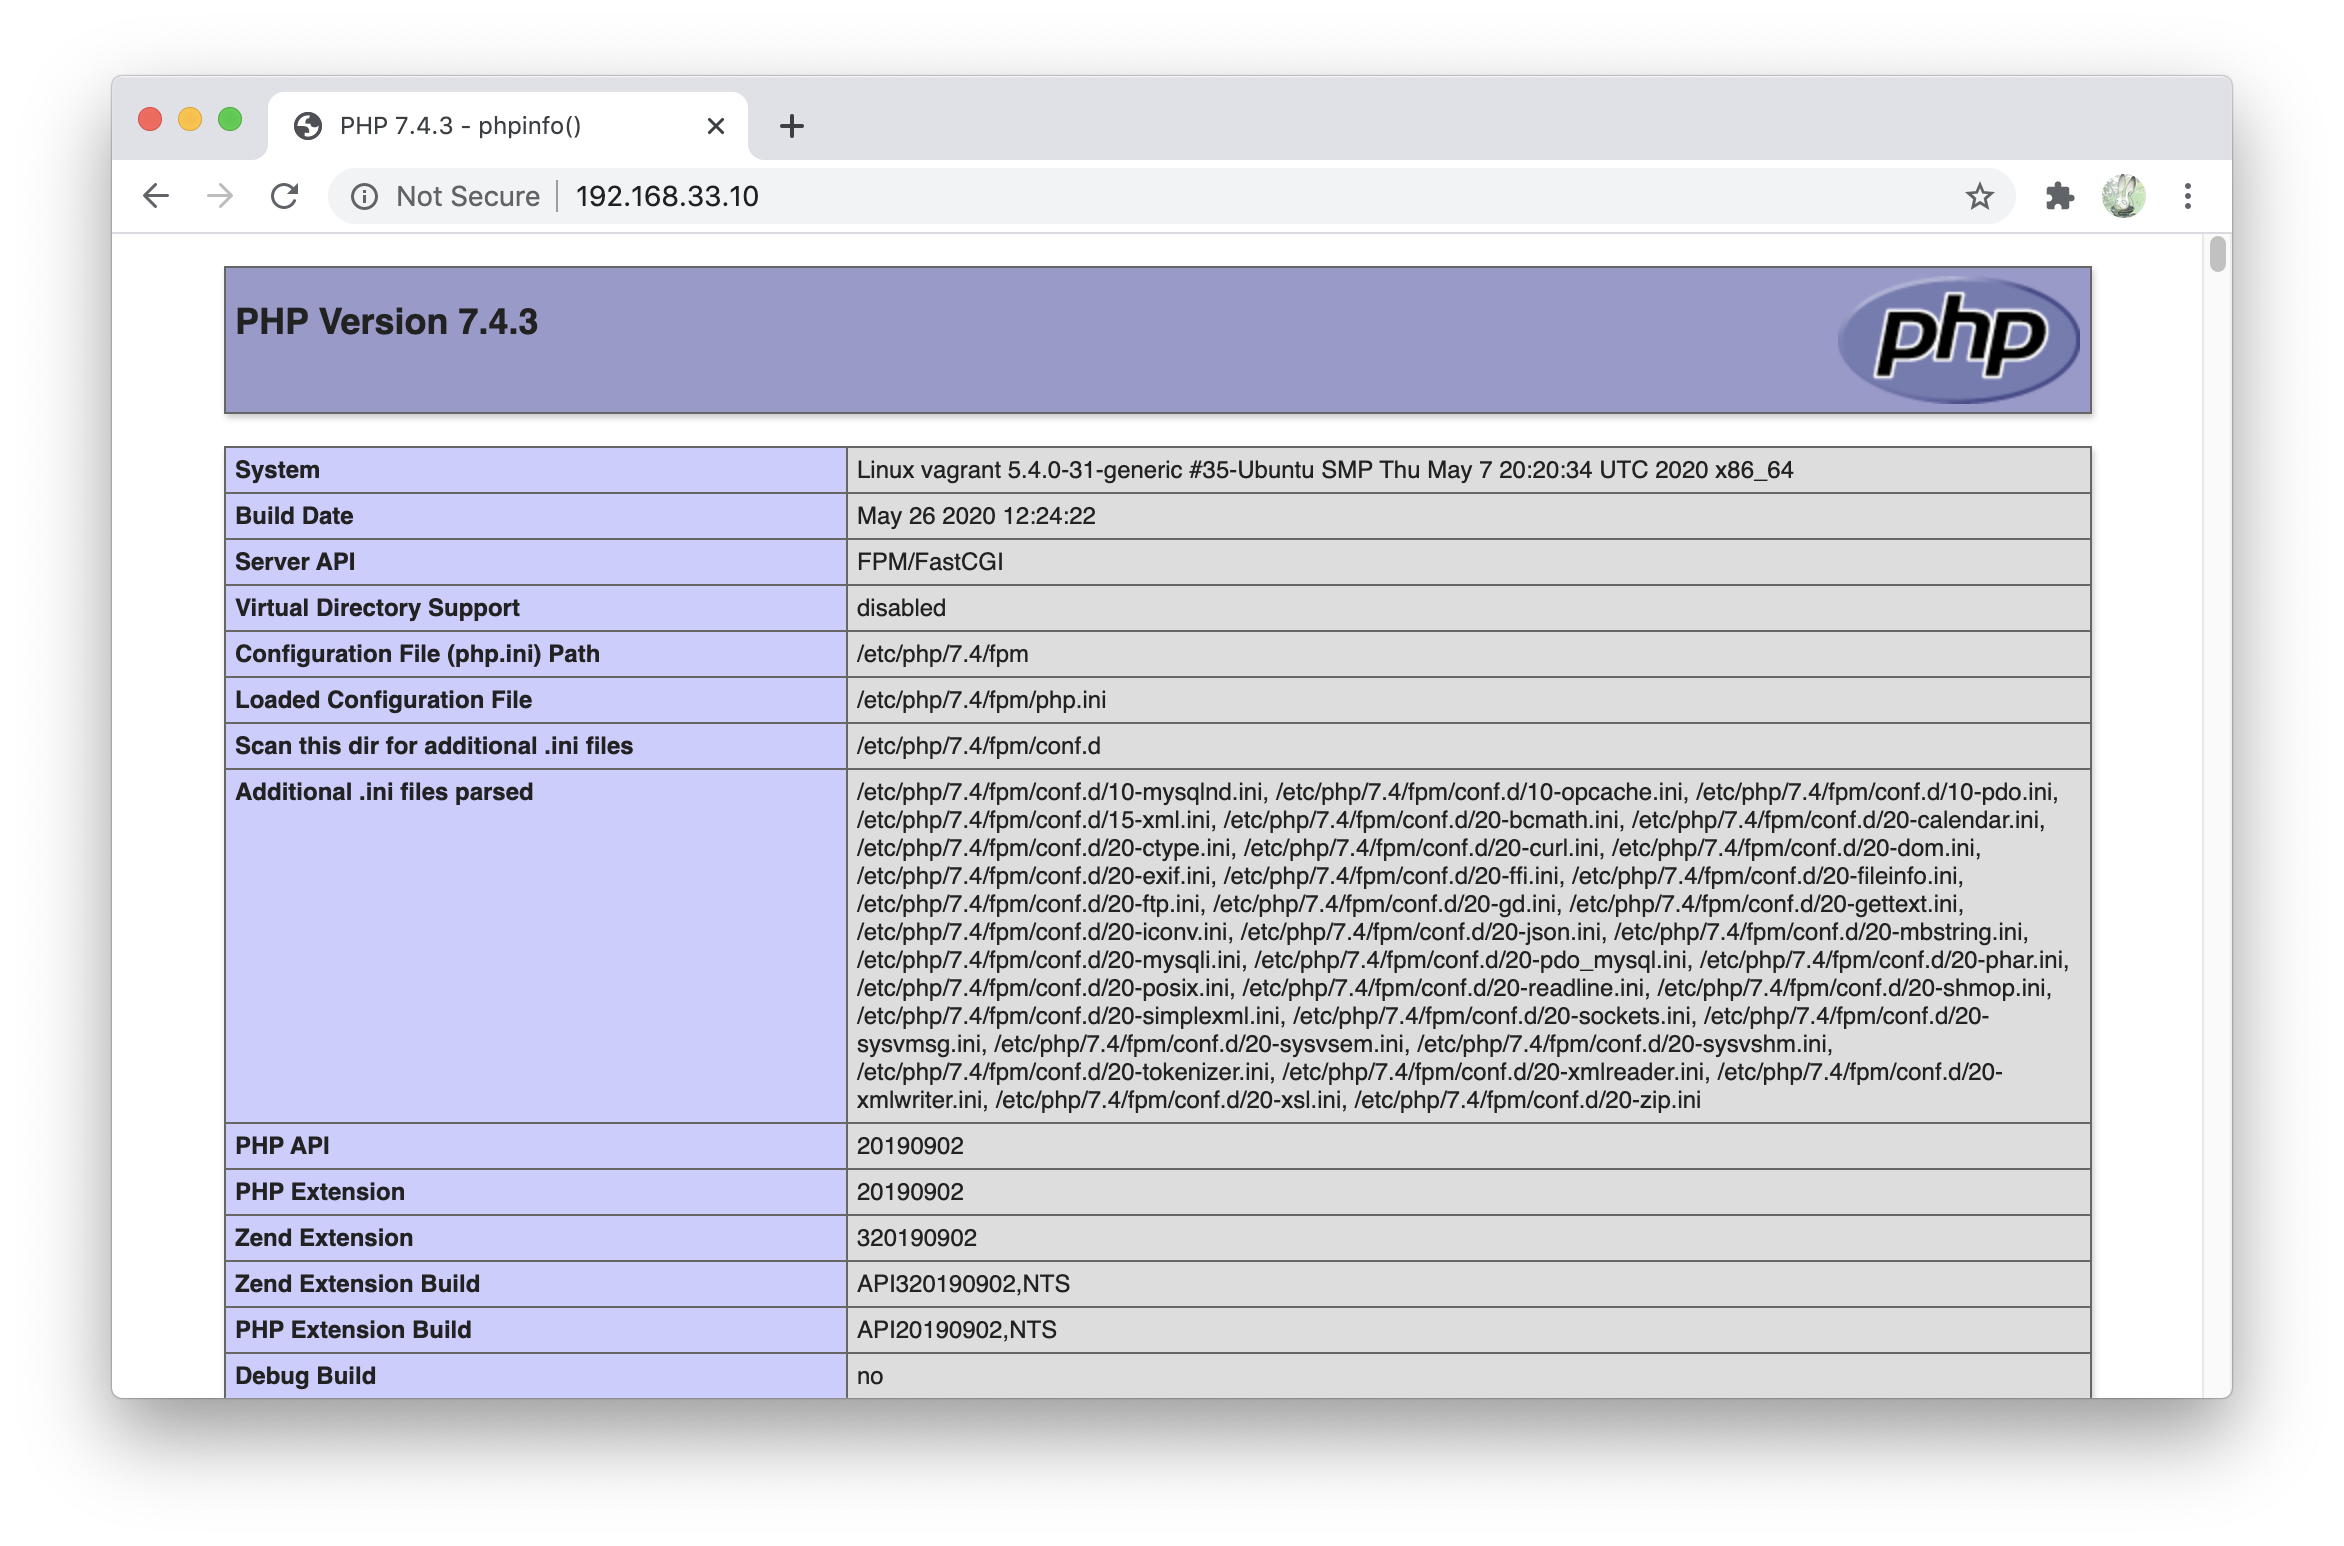
vagrant@vagrant:~$ sudo sh -c "echo '<?php phpinfo();' > /var/www/html/index.php" #nginxのルートにindex.php作成
最初にVagrantfileで設定したipアドレスにブラウザからアクセス

5. mysqlのインストール
vagrant@vagrant:~$ sudo apt install -y mysql-server
mysqlのパスワードを設定し、"sample"と言う名前のスキーマを作成する
vagrant@vagrant:~$ sudo mysql
Welcome to the MySQL monitor.  Commands end with ; or \g.
Your MySQL connection id is 8
Server version: 8.0.20-0ubuntu0.20.04.1 (Ubuntu)

Copyright (c) 2000, 2020, Oracle and/or its affiliates. All rights reserved.

Oracle is a registered trademark of Oracle Corporation and/or its
affiliates. Other names may be trademarks of their respective
owners.

Type 'help;' or '\h' for help. Type '\c' to clear the current input statement.
mysql> ALTER USER 'root'@'localhost' IDENTIFIED WITH mysql_native_password BY 'root'; -- パスワードをrootに設定
Query OK, 0 rows affected (0.00 sec)

mysql> create database sample character set utf8mb4 collate utf8mb4_general_ci; -- データベースを作成する
Query OK, 1 row affected (0.00 sec)

mysql> show schemas; -- 確認
+--------------------+
| Database           |
+--------------------+
| information_schema |
| mysql              |
| performance_schema |
| sample             |
| sys                |
+--------------------+
5 rows in set (0.01 sec)

mysql> quit
Bye
vagrant@vagrant:~$
6. composerダウンロード
注意
composerのダウンロードページには以下のようにWARNINGがあるため、composerのダウンロードは必ず公式の方を参照してください。
Google翻訳
警告:インストールコードを再配布しないでください。インストーラのバージョンごとに異なります。代わりに、このページにリンクするか、Composerをプログラムでインストールする方法を確認してください。
vagrant@vagrant:~$ php -r "copy('https://getcomposer.org/installer', 'composer-setup.php');"
vagrant@vagrant:~$ php -r "if (hash_file('sha384', 'composer-setup.php') === 'e5325b19b381bfd88ce90a5ddb7823406b2a38cff6bb704b0acc289a09c8128d4a8ce2bbafcd1fcbdc38666422fe2806') { echo 'Installer verified'; } else { echo 'Installer corrupt'; unlink('composer-setup.php'); } echo PHP_EOL;"
Installer verified
vagrant@vagrant:~$ php composer-setup.php
All settings correct for using Composer
Downloading...

Composer (version 1.10.8) successfully installed to: /home/vagrant/composer.phar
Use it: php composer.phar

vagrant@vagrant:~$ php -r "unlink('composer-setup.php');"
vagrant@vagrant:~$ sudo mv composer.phar /usr/local/bin/composer
vagrant@vagrant:~$ composer -V
Composer version 1.10.8 2020-06-24 21:23:30
7. symfonyのセットアップ
7-1. ブラウザで見れるまで
vagrant@vagrant:~$ cd /var/www/html/

vagrant@vagrant:/var/www/html$ sudo chmod 777 . #ローカルの開発環境なので雑に777に設定

vagrant@vagrant:/var/www/html$ composer create-project symfony/website-skeleton symfony #symfonyというフォルダでプロジェクト作成
symfonyのバージョンを指定する場合はcomposer create-project symfony/website-skeleton:^5.1 symfony
プロジェクトが作成されて↓にブラウザでアクセスするとsymfonyが動作していることを確認できる

7-2. nginxの設定
トップページのurlをhttp://192.168.33.10/symfony/public/ から http://192.168.33.10 で実行できるようにし、ルーティング(どんなurlでアクセスされても/var/www/html/symfony/public/index.phpの処理を実行する)も設定する
vagrant@vagrant:/var/www/html$ sudo vim /etc/nginx/sites-available/default
↓のように変更する
-        root /var/www/html;
+        root /var/www/html/symfony/public;
         location / {
                 # First attempt to serve request as file, then
                 # as directory, then fall back to displaying a 404.
-                try_files $uri $uri/ =404;
+                # try_files $uri $uri/ =404;
+                try_files $uri $uri/ /index.php;
         }
vagrant@vagrant:/var/www/html$ sudo service nginx restart #nginx再起動
http://192.168.33.10/ でsymfonyの画面が表示されたことを確認

ルーティングの確認
vagrant@vagrant:/var/www/html$ cd /var/www/html/symfony/
vagrant@vagrant:/var/www/html/symfony$ php bin/console make:controller ProductController #コントローラ作成
↓が作成された
<?php

namespace App\Controller;

use Symfony\Bundle\FrameworkBundle\Controller\AbstractController;
use Symfony\Component\Routing\Annotation\Route;

class ProductController extends AbstractController
{
    /**
     * @Route("/product", name="product")
     */
    public function index()
    {
        return $this->render('product/index.html.twig', [
            'controller_name' => 'ProductController',
        ]);
    }
}
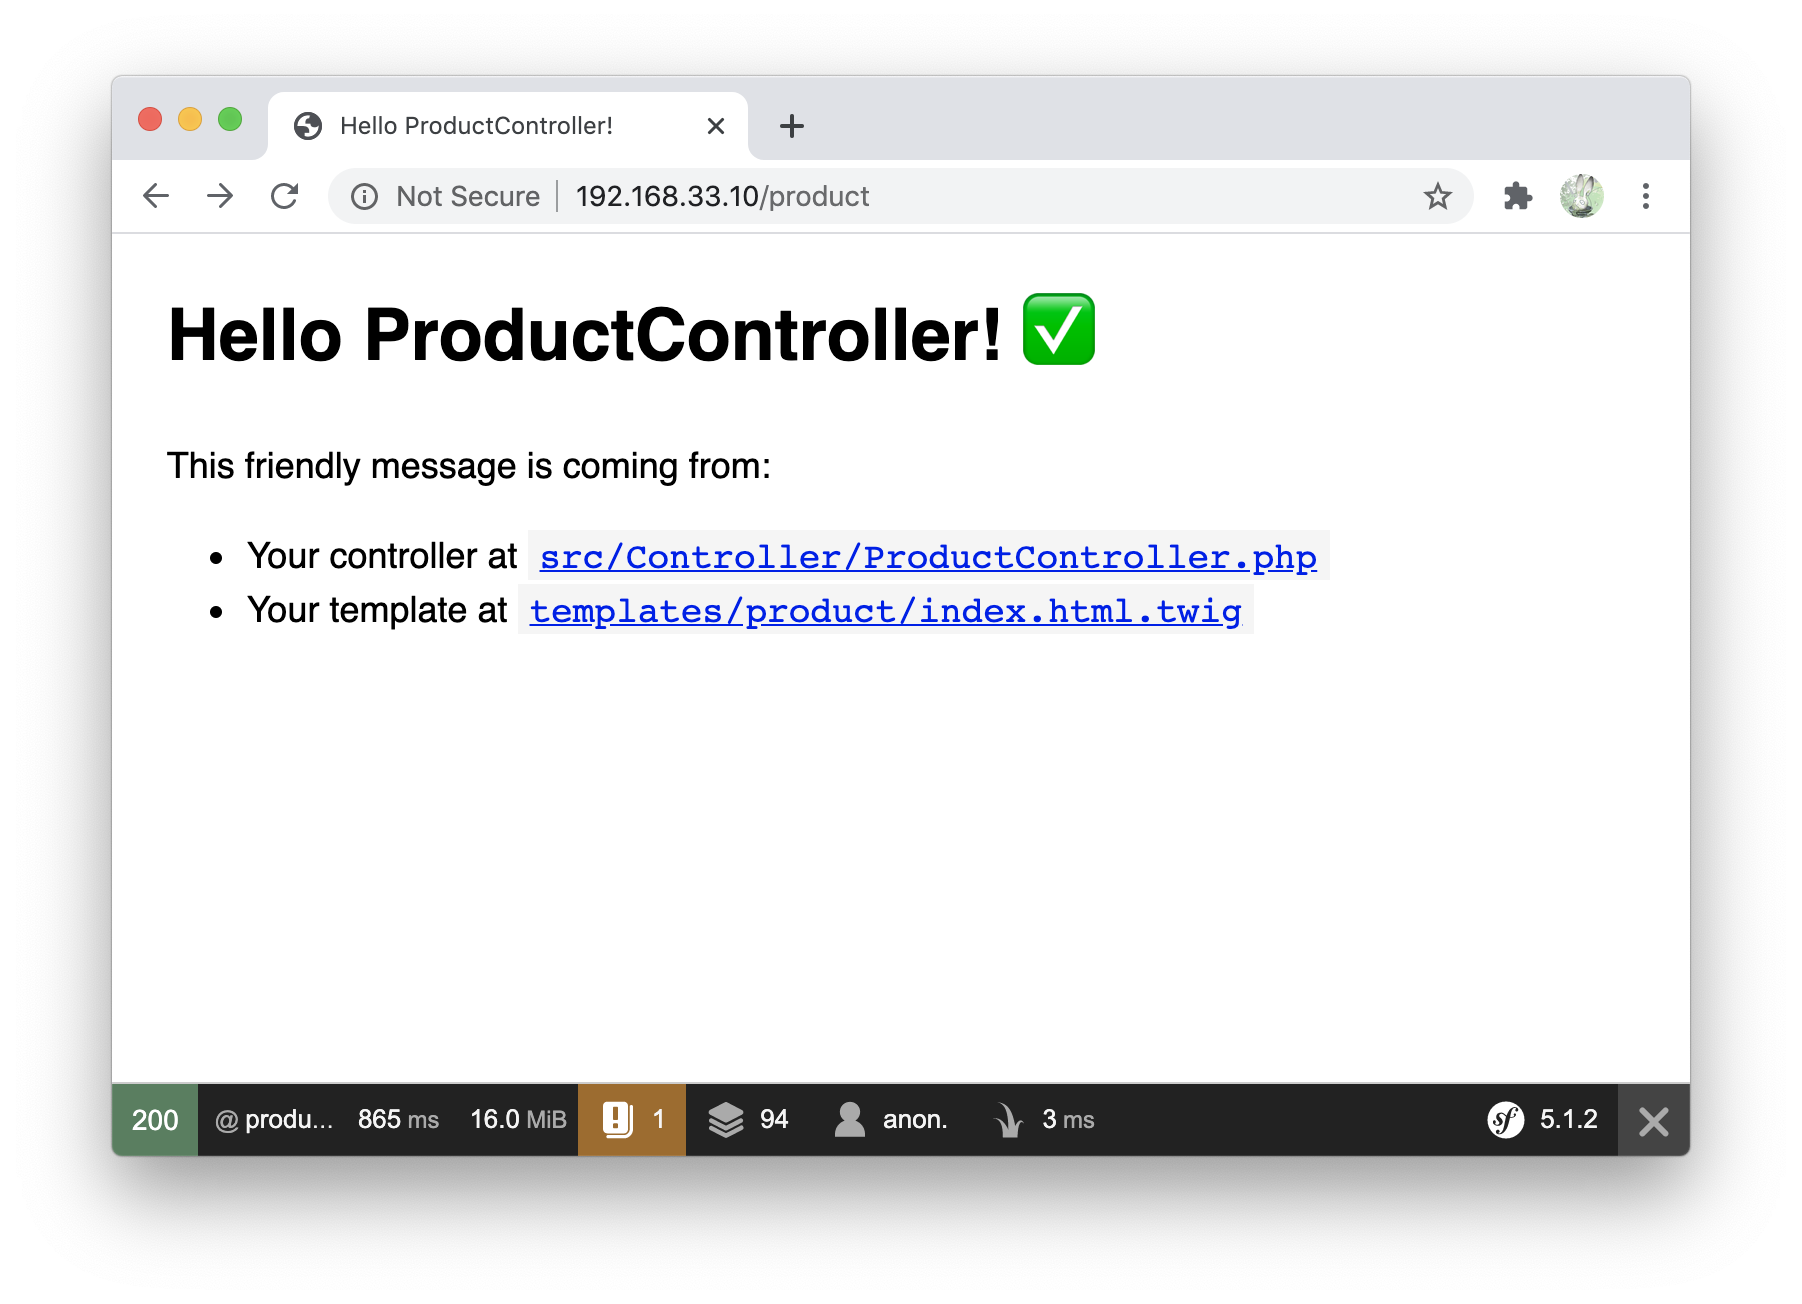
http://192.168.33.10/product にアクセスしてProductControllerの内容が表示されたことを確認できました

7-3. データベースに保存する
.envを書き換える
- DATABASE_URL=mysql://db_user:db_password@127.0.0.1:3306/db_name?serverVersion=5.7
+ DATABASE_URL=mysql://root:root@127.0.0.1:3306/sample?serverVersion=8.0
公式( Databases and the Doctrine ORM (Symfony Docs) )の通りにEntityを作成してみて、接続できる確認してみる
vagrant@vagrant:/var/www/html/symfony$ php bin/console make:entity

 Class name of the entity to create or update (e.g. GrumpyJellybean):
 > Product

 created: src/Entity/Product.php
 created: src/Repository/ProductRepository.php

 Entity generated! Now let's add some fields!
 You can always add more fields later manually or by re-running this command.

 New property name (press <return> to stop adding fields):
 > name

 Field type (enter ? to see all types) [string]:
 > string

 Field length [255]:
 > 255

 Can this field be null in the database (nullable) (yes/no) [no]:
 > no

 updated: src/Entity/Product.php

 Add another property? Enter the property name (or press <return> to stop adding fields):
 > price

 Field type (enter ? to see all types) [string]:
 > integer

 Can this field be null in the database (nullable) (yes/no) [no]:
 > no

 updated: src/Entity/Product.php

 Add another property? Enter the property name (or press <return> to stop adding fields):
 >


  Success!


 Next: When you're ready, create a migration with php bin/console make:migration
src/Entity/Product.php と src/Repository/ProductRepository.php が作成される
vagrant@vagrant:/var/www/html/symfony$ php bin/console make:migration #migrationファイル作成


  Success!


 Next: Review the new migration "src/Migrations/Version20200712212921.php"
 Then: Run the migration with php bin/console doctrine:migrations:migrate
 See https://symfony.com/doc/current/bundles/DoctrineMigrationsBundle/index.html
src/Migrations/Version20200712212921.php が作成される
vagrant@vagrant:/var/www/html/symfony$ php bin/console doctrine:migrations:migrate #migration実行

                    Application Migrations


WARNING! You are about to execute a database migration that could result in schema changes and data loss. Are you sure you wish to continue? (y/n)y
Migrating up to 20200712212921 from 0

  ++ migrating 20200712212921

     -> CREATE TABLE product (id INT AUTO_INCREMENT NOT NULL, name VARCHAR(255) NOT NULL, price INT NOT NULL, PRIMARY KEY(id)) DEFAULT CHARACTER SET utf8mb4 COLLATE `utf8mb4_unicode_ci` ENGINE = InnoDB

  ++ migrated (took 55.7ms, used 18M memory)

  ------------------------

  ++ finished in 59.4ms
  ++ used 18M memory
  ++ 1 migrations executed
  ++ 1 sql queries
vagrant@vagrant:/var/www/html/symfony$ mysql -uroot -proot sample -e 'show tables;' #テーブルができているか確認
mysql: [Warning] Using a password on the command line interface can be insecure.
+--------------------+
| Tables_in_sample   |
+--------------------+
| migration_versions |
| product            |
+--------------------+
ProductController修正
  <?php
  namespace App\Controller;


+ use App\Entity\Product;
  use Symfony\Bundle\FrameworkBundle\Controller\AbstractController;
  use Symfony\Component\Routing\Annotation\Route;

  class ProductController extends AbstractController
  {
    /**
     * @Route("/product", name="product")
     */
     public function index()
     {
+        // 保存
+        $entityManager = $this->getDoctrine()->getManager();
+        $product = new Product();
+        $product->setName('Keyboard');
+        $product->setPrice(1999);
+        $entityManager->persist($product);
+        $entityManager->flush();
+
+        // 取得
+        $id = 1;
+        $product = $this->getDoctrine()
+            ->getRepository(Product::class)
+            ->find($id);
+        if (!$product) {
+            throw $this->createNotFoundException(
+                'No product found for id '.$id
+            );
+        }
+        dd($product);

         return $this->render('product/index.html.twig', [
             'controller_name' => 'ProductController',
         ]);
     }
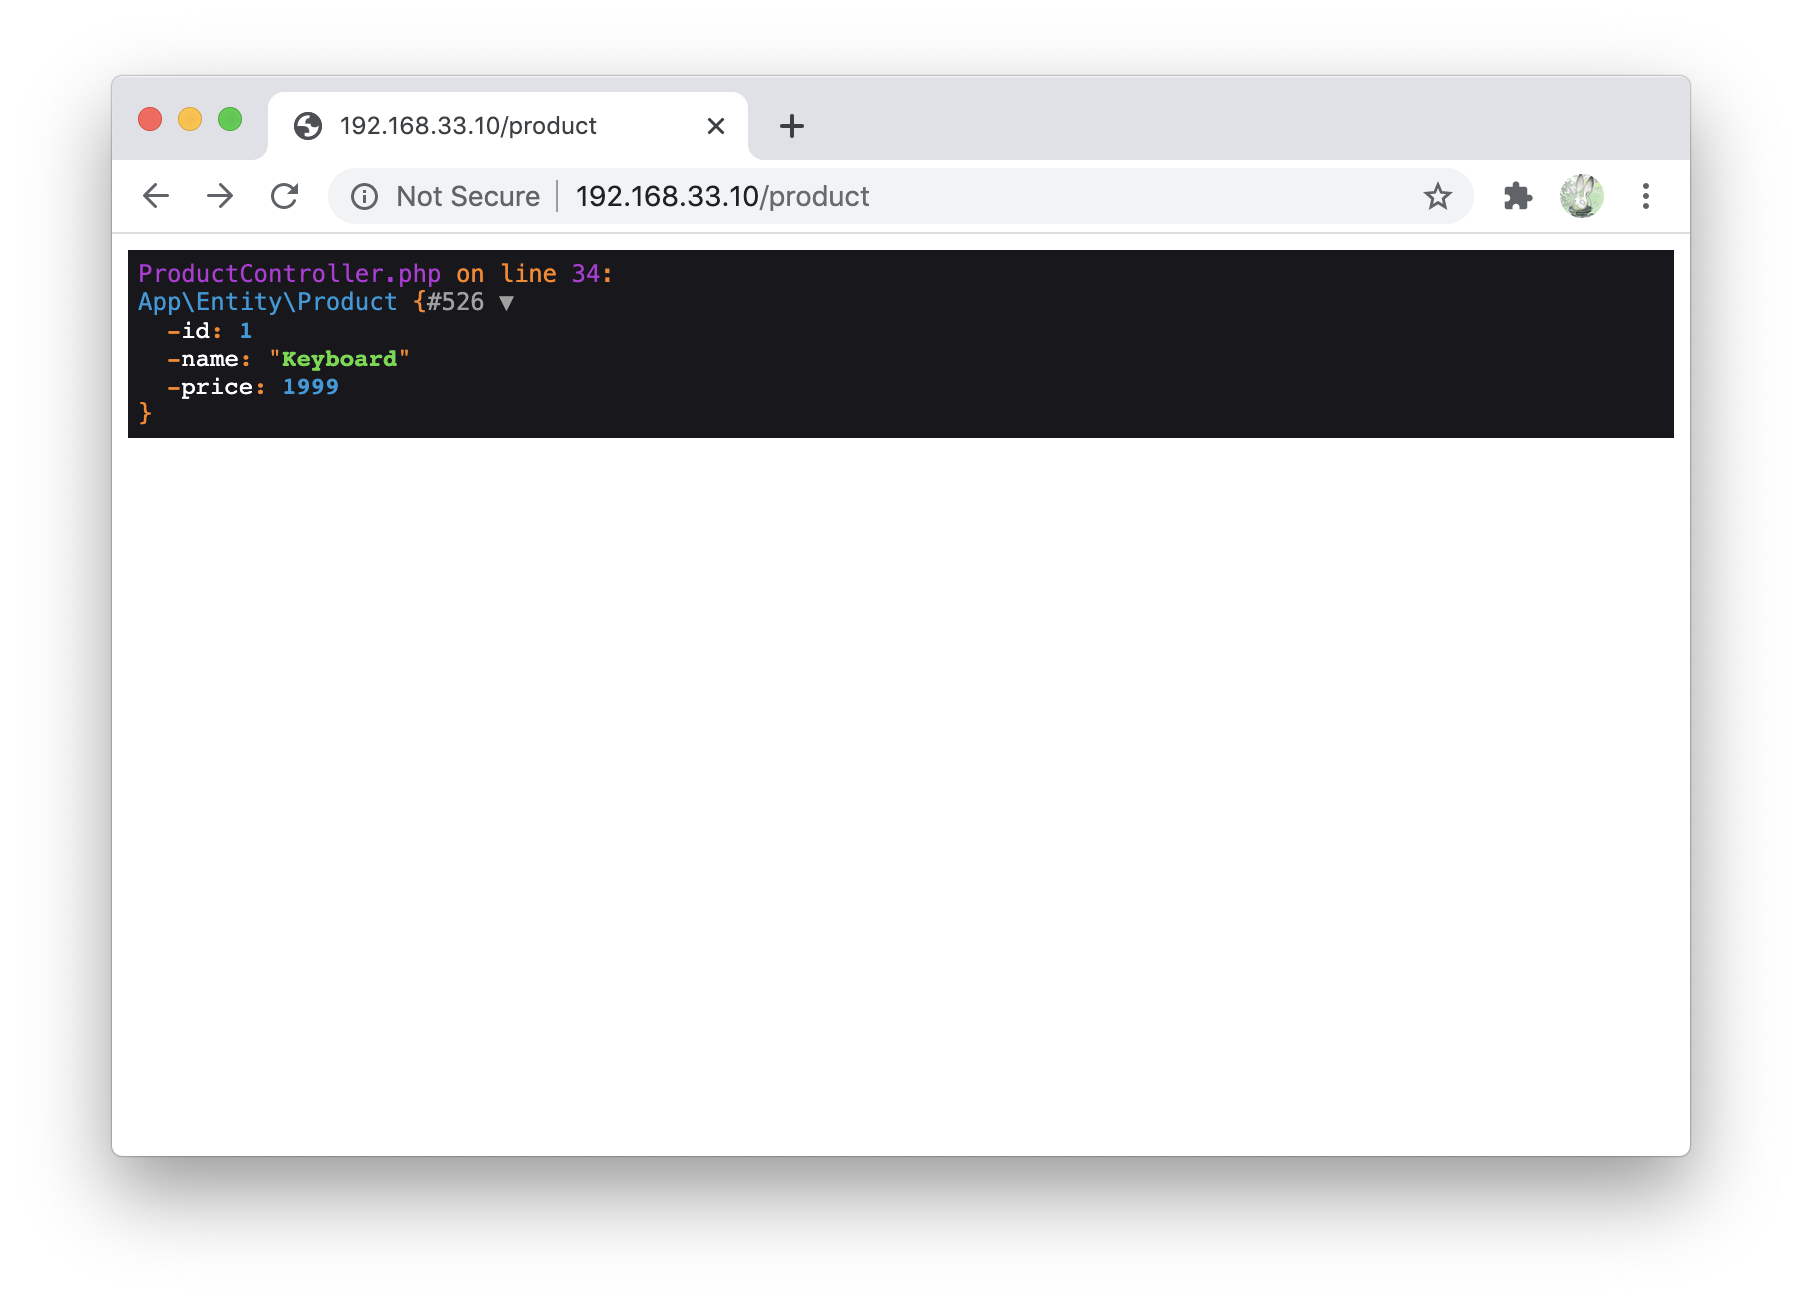
テーブルへのアクセスができました

最後まで見ていただいてありがとうございましたm(_ _)m