Twitter公式アプリの起動時と似たアニメーションをSwiftで実装したので紹介します。
GitHub : https://github.com/okmr-d/App-Launching-like-Twitter
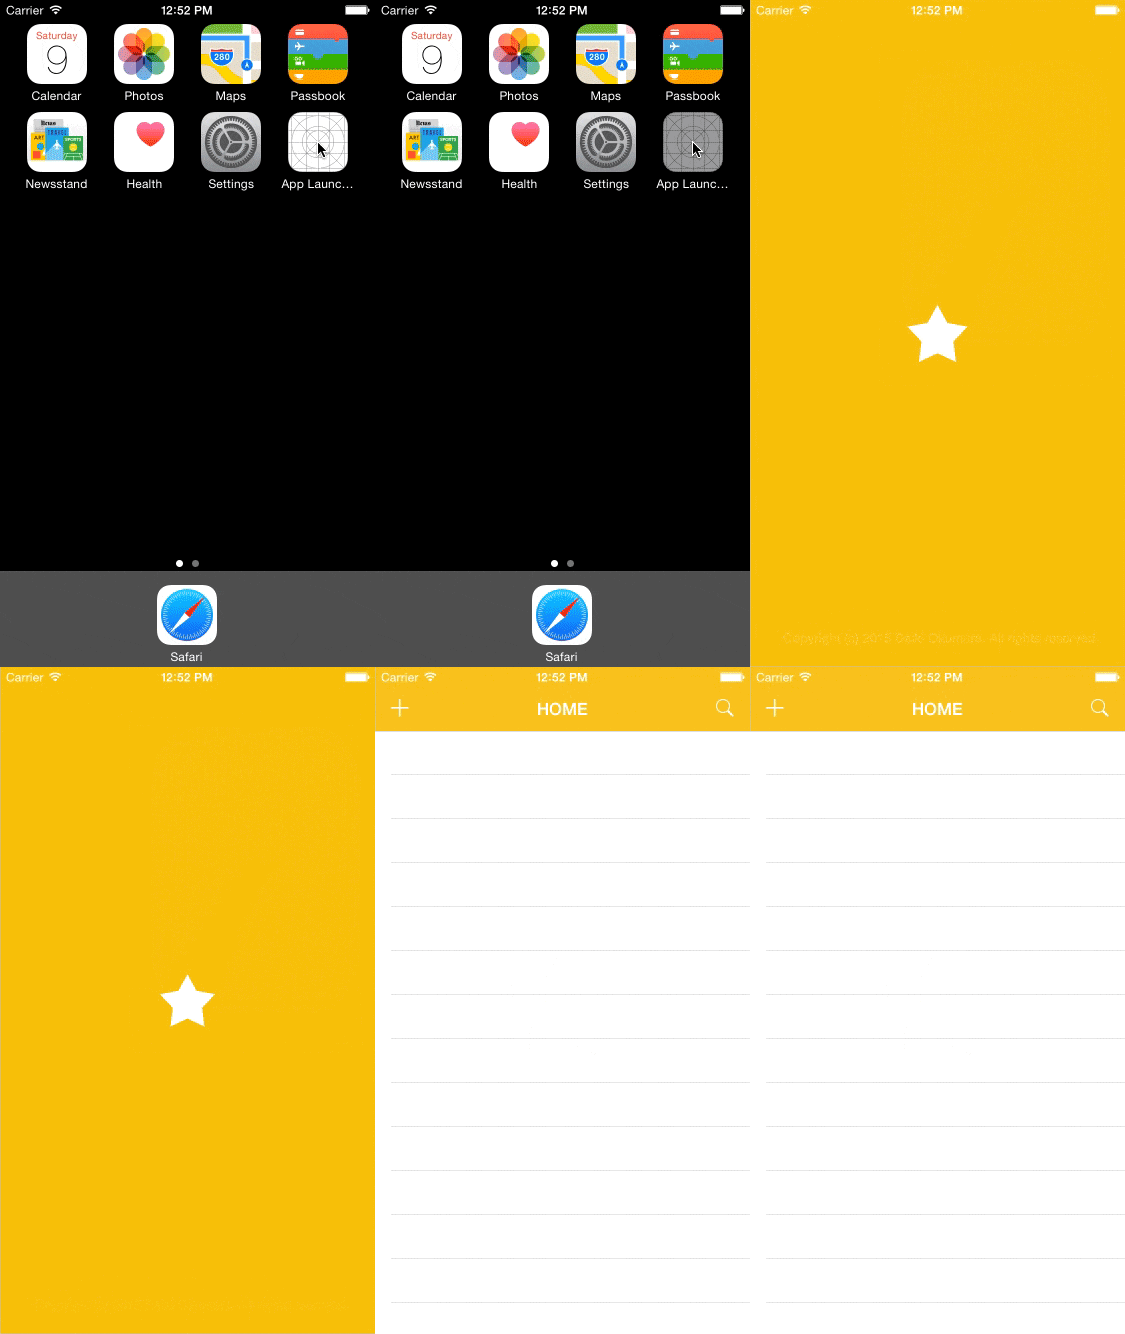
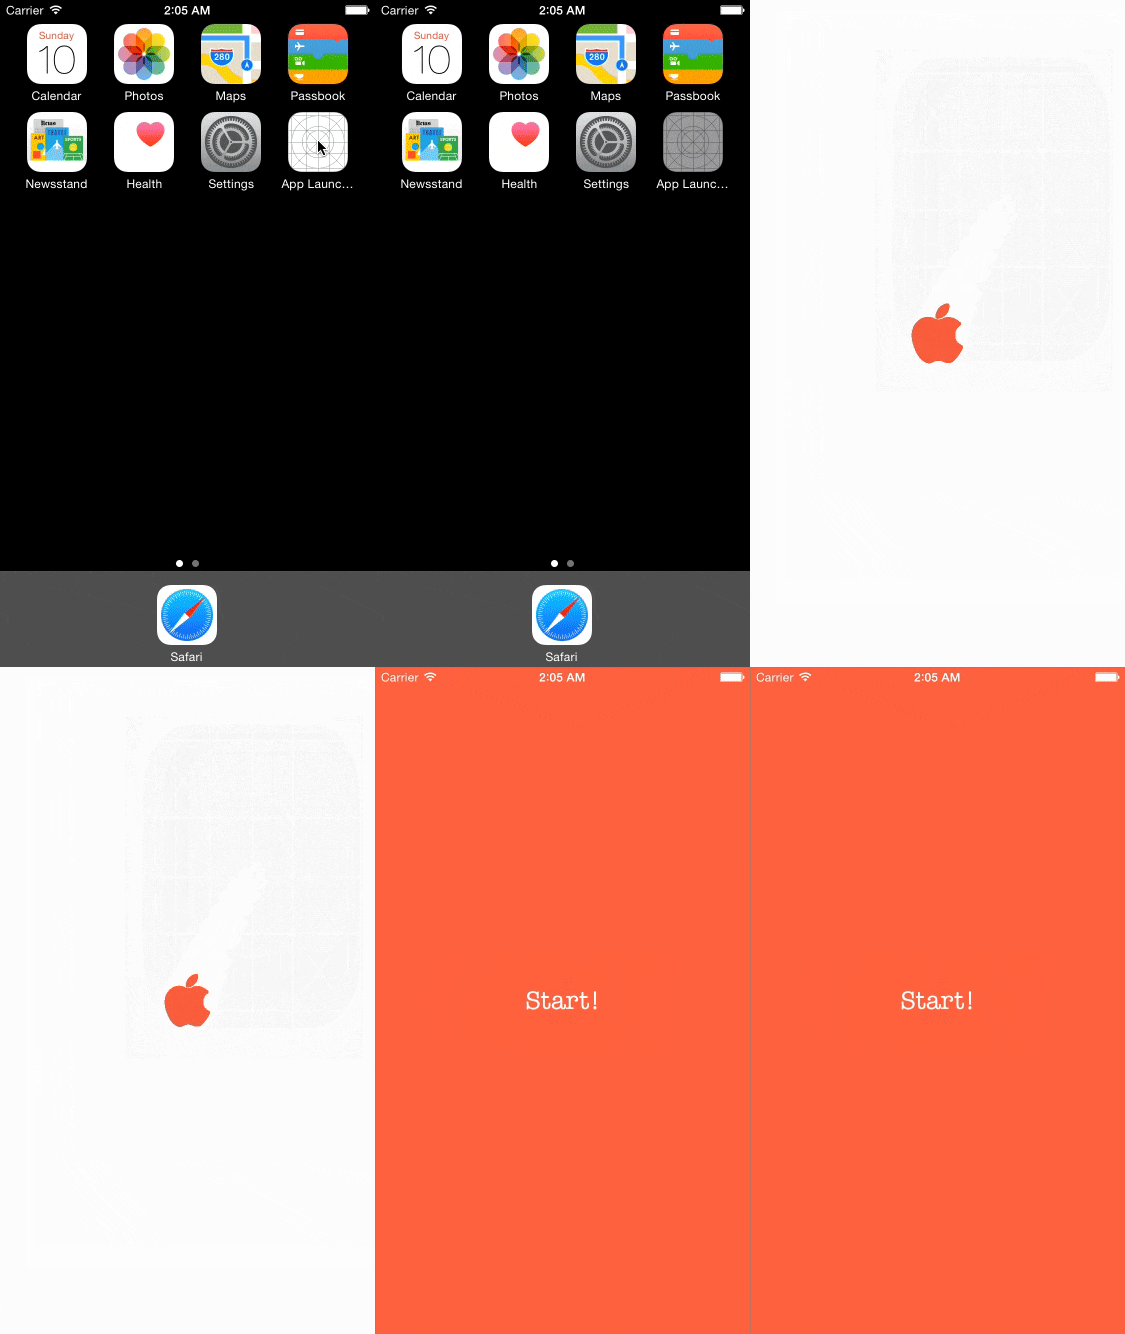
動作イメージ
やり方
①ロゴ画像を用意
②Launch Screenを設定
③Launch Screenと同じ見た目になるよう初期表示されるviewを設定(←ここがミソ)
④アニメーションさせる
①ロゴ画像を用意
起動画面(Launch ScreenとかSplashとも呼ぶらしい)に初期表示するロゴ画像を透過PNGで用意します。
画面サイズより大きく拡大するので、大きめの画像がいいです。今回は1000px × 1000pxにしています。

②Launch Screenを設定
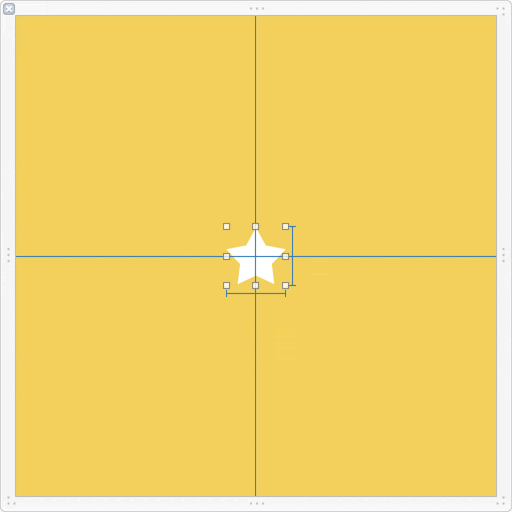
LaunchScreen.xibのviewの背景に好きな色を指定し、ロゴ画像をviewの中心に配置します。

③Launch Screenと同じ見た目になるよう初期表示されるviewを設定
AppDelegate.swiftのapplication(_:didFinishLaunchingWithOptions:)メソッドにて、初期表示されるviewをLaunch Screenと同じ見た目になるように設定します。
※今回の一番のポイントは「3.」でviewをロゴ画像の形にマスクする点です。
-
- windowの背景色にLaunchScreen.xibのviewの背景色と同じ色を設定
-
- rootViewControllerをStoryBoardから設定 (今回はUINavigationControllerとしているが、他のViewControllerでも可)
-
- rootViewController.viewをロゴ画像の形にマスクし、LaunchScreen.xibのロゴ画像と同サイズ・同位置に配置
-
- rootViewController.viewの最前面に白いviewを配置
@UIApplicationMain
class AppDelegate: UIResponder, UIApplicationDelegate {

    var window: UIWindow?

    func application(application: UIApplication, didFinishLaunchingWithOptions launchOptions: [NSObject: AnyObject]?) -> Bool {

        // ▼ 1. windowの背景色にLaunchScreen.xibのviewの背景色と同じ色を設定
        self.window = UIWindow(frame: UIScreen.mainScreen().bounds)
        self.window!.backgroundColor = UIColor(red: 241/255, green: 196/255, blue: 15/255, alpha: 1)
        self.window!.makeKeyAndVisible()

        // ▼ 2. rootViewControllerをStoryBoardから設定 (今回はUINavigationControllerとしているが、他のViewControllerでも可)
        let mainStoryboard: UIStoryboard = UIStoryboard(name: "Main", bundle: nil)
        var navigationController = mainStoryboard.instantiateViewControllerWithIdentifier("navigationController") as! UIViewController
        self.window!.rootViewController = navigationController

        // ▼ 3. rootViewController.viewをロゴ画像の形にマスクし、LaunchScreen.xibのロゴ画像と同サイズ・同位置に配置
        navigationController.view.layer.mask = CALayer()
        navigationController.view.layer.mask.contents = UIImage(named: "logo.png")!.CGImage
        navigationController.view.layer.mask.bounds = CGRect(x: 0, y: 0, width: 60, height: 60)
        navigationController.view.layer.mask.anchorPoint = CGPoint(x: 0.5, y: 0.5)
        navigationController.view.layer.mask.position = CGPoint(x: navigationController.view.frame.width / 2, y: navigationController.view.frame.height / 2)

        // ▼ 4. rootViewController.viewの最前面に白いviewを配置
        var maskBgView = UIView(frame: navigationController.view.frame)
        maskBgView.backgroundColor = UIColor.whiteColor()
        navigationController.view.addSubview(maskBgView)
        navigationController.view.bringSubviewToFront(maskBgView)

        // 中略 (「④アニメーションさせる」を参照)

        return
    }
ここまでの実装で、LaunchScreenの表示終了後もLaunchScreenと全く同じ画面に見えるようになります。
④アニメーションさせる
続けて③で設定したviewにアニメーションを設定します。
-
- rootViewController.viewのマスクを少し縮小してから、画面サイズよりも大きくなるよう拡大するアニメーション
-
- rootViewController.viewの最前面に配置した白いviewを透化するアニメーション (完了後に親viewから削除)
-
- rootViewController.viewを少し拡大して元に戻すアニメーション
-
- 「5.」のアニメーション完了時のdelegateメソッドを実装し、マスクを削除する
    func application(application: UIApplication, didFinishLaunchingWithOptions launchOptions: [NSObject: AnyObject]?) -> Bool {

        // 中略 (「③LaunchScreenと同じ見た目になるよう初期表示のviewを設定」を参照)

        // ▼ 5. rootViewController.viewのマスクを少し縮小してから、画面サイズよりも大きくなるよう拡大するアニメーション
        let transformAnimation = CAKeyframeAnimation(keyPath: "bounds")
        transformAnimation.delegate = self
        transformAnimation.duration = 1
        transformAnimation.beginTime = CACurrentMediaTime() + 1 // 開始タイミングを1秒遅らせる
        let initalBounds = NSValue(CGRect: navigationController.view.layer.mask.bounds)
        let secondBounds = NSValue(CGRect: CGRect(x: 0, y: 0, width: 50, height: 50))
        let finalBounds = NSValue(CGRect: CGRect(x: 0, y: 0, width: 2000, height: 2000))
        transformAnimation.values = [initalBounds, secondBounds, finalBounds]
        transformAnimation.keyTimes = [0, 0.5, 1]
        transformAnimation.timingFunctions = [CAMediaTimingFunction(name: kCAMediaTimingFunctionEaseInEaseOut), CAMediaTimingFunction(name: kCAMediaTimingFunctionEaseOut)]
        transformAnimation.removedOnCompletion = false
        transformAnimation.fillMode = kCAFillModeForwards
        navigationController.view.layer.mask.addAnimation(transformAnimation, forKey: "maskAnimation")

        // ▼ 6. rootViewController.viewの最前面に配置した白いviewを透化するアニメーション (完了後に親viewから削除)
        UIView.animateWithDuration(0.1,
            delay: 1.35,
            options: UIViewAnimationOptions.CurveEaseIn,
            animations: {
                maskBgView.alpha = 0.0
            },
            completion: { finished in
                maskBgView.removeFromSuperview()
        })

        // ▼ 7. rootViewController.viewを少し拡大して元に戻すアニメーション
        UIView.animateWithDuration(0.25,
            delay: 1.3,
            options: UIViewAnimationOptions.TransitionNone,
            animations: {
                self.window!.rootViewController!.view.transform = CGAffineTransformMakeScale(1.05, 1.05)
            },
            completion: { finished in
                UIView.animateWithDuration(0.3,
                    delay: 0.0,
                    options: UIViewAnimationOptions.CurveEaseInOut,
                    animations: {
                        self.window!.rootViewController!.view.transform = CGAffineTransformIdentity
                    },
                    completion: nil
                )
        })

        return true
    }

    // ▼ 8. 「5.」のアニメーション完了時のdelegateメソッドを実装し、マスクを削除する
    override func animationDidStop(anim: CAAnimation!, finished flag: Bool) {
        // remove mask when animation completes
        self.window!.rootViewController!.view.layer.mask = nil
    }
これで完成!
変なところあったら指摘ください。
GitHub : https://github.com/okmr-d/App-Launching-like-Twitter

