目次
前半
- Raspberry Pi Picoを買ってみた
- Windows Subsystem for Linux (WSL)の導入
後半
- WSLでのRaspberry Pi Pico開発環境の設定
- Lチカプログラムの書き込み
Raspberry Pi Picoを買ってみた
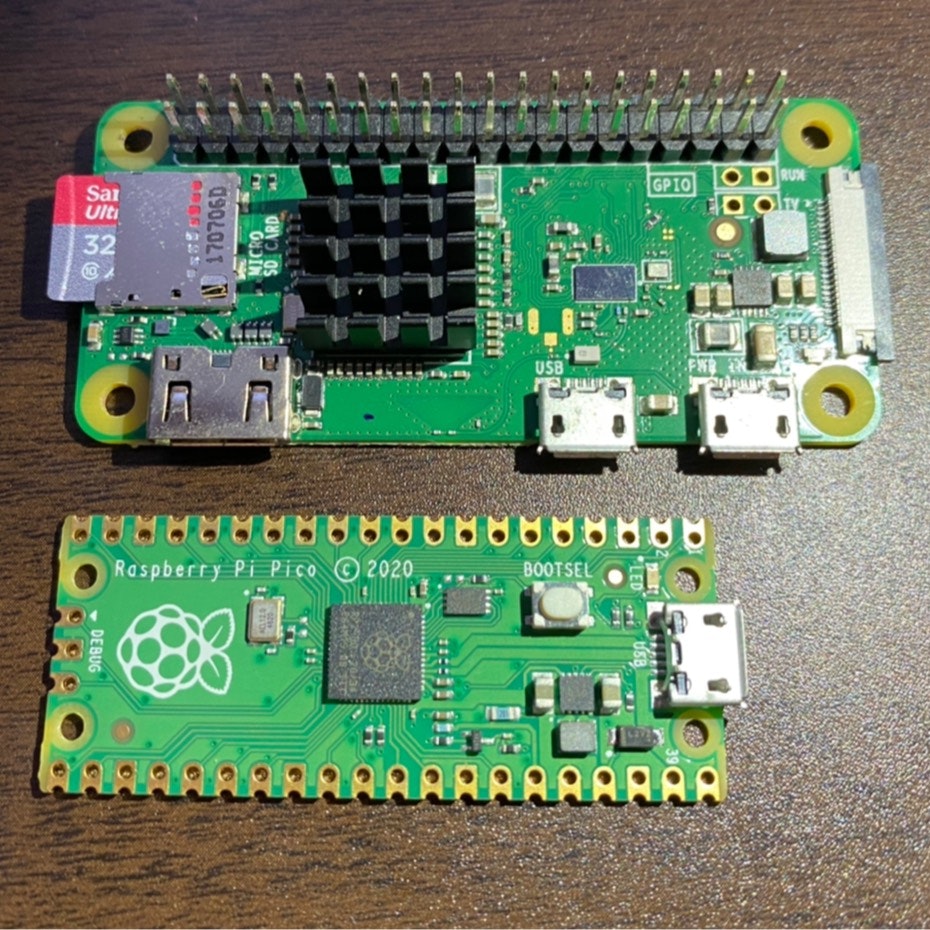
2021/02/01 Raspberry Pi Picoを以下で購入、なかなか小さくていい感じ
https://www.switch-science.com/catalog/6900/
上 : Raspberry Pi Zero, 下 : Raspberry Pi Pico

Windows Subsystem for Linux (WSL)の導入
手元で気軽に触れるPCがWindows機しかなかったため、WSLで開発する
https://docs.microsoft.com/ja-jp/windows/wsl/install-win10
WSLとは
https://docs.microsoft.com/ja-jp/windows/wsl/about より引用:
Windows Subsystem for Linux を使用すると、開発者は、仮想マシンのオーバーヘッドなしで、ほとんどのコマンド ライン ツール、ユーティリティ、アプリケーションを含む GNU/Linux 環境を変更せずそのまま Windows 上で直接実行できます。
WSLの有効化
1.[スタート]→[設定]に移動
2.[アプリ]に移動
3.「関連設定」→[プログラムと機能]をクリック
4.[Windows の機能の有効化または無効化]にチェックをつける
Linuxディストリビューションのインストール、設定
- Microsoft StoreでUbuntu20.04を検索する
- 入手、インストールを行う
- インストール後立ち上がったコンソールにて、ユーザーネームとパスワードを設定する
以上でWSLの設定までは完了、後半ではRaspberry Pi Picoの開発環境などをインストールしてみます