今日は以下の内容をネタに記事を書いてみようと思います。
記事のネタに丁度いいかなって思ってブックマークしてたのですが、あれからも1月以上がたってしまいました…
#WPF でPrismを使い #UserControl を動的に作成して任意の座標に配置するとかドンピシャで参考になる事例が出てこない。
— なべひろ (@HRK_66622) December 3, 2020
あっても断片的なコードで参考にならん。
WinForms?今時?wって小馬鹿にした言葉を良く見かけるが、WinFormsの方が情報が豊富でWPFより精神的に楽だわ。
WPF 的な考え方
座標とか表示するデータを管理するクラスを定義して ObservableCollection<T> に突っ込みましょう。
突っ込んだら後は Canvas を ItemsPanel に設定した ItemsControl に表示すれば OK です。
今回はサンプルなので表示用データは以下のようなシンプルなレコードにしました。
namespace PureWpf
{
    // これを表示していく
    public record Item(int X, int Y, string Content);
}
ViewModel も作ります。INotifyPropertyChanged や ICommand の実装を自分でやるのはめんどくさいので Prism.Core パッケージを参照して BindableBase と DelegateCommand は拝借しました。
AddCommand が実行されたらランダムな座標をもった Item クラスを作って追加しています。
using Prism.Commands;
using Prism.Mvvm;
using System;
using System.Collections.ObjectModel;

namespace PureWpf
{
    public class MainWindowViewModel : BindableBase
    {

        public ObservableCollection<Item> Items { get; } = new();

        private DelegateCommand _addCommand;
        public DelegateCommand AddCommand => _addCommand ??= new(AddExecute);

        // 表示位置をランダムにするための Random クラス
        private Random Random { get; } = new();
        private void AddExecute() =>
            // ランダムな位置に、とりあえず現在時間の文字列を出すようなデータを作る
            Items.Add(new(Random.Next(500), Random.Next(500), DateTime.Now.ToString()));
    }
}
ここまで出来たら、あとはそれをどのように表示するのかというのは XAML の仕事です。コレクションを表示するのは ItemsControl (およびその派生クラス) でやることが多いです。
要素の選択が必要とかツリー状に表示したいとか仮想化したいとか用途に応じて選んでいきます。今回は表示出来ればいいだけなので一番シンプルな ItemsControl にします。
ItemsControl 系のコントロールでは、要素をどのように並べるかという Panel を差し替え可能です。今回は指定した座標に題したので Panel を Canvas にしています。Canvas は、まさに指定した座標に要素を配置するためのコントロールです。
<Window
    x:Class="PureWpf.MainWindow"
    xmlns="http://schemas.microsoft.com/winfx/2006/xaml/presentation"
    xmlns:x="http://schemas.microsoft.com/winfx/2006/xaml"
    xmlns:d="http://schemas.microsoft.com/expression/blend/2008"
    xmlns:local="clr-namespace:PureWpf"
    xmlns:mc="http://schemas.openxmlformats.org/markup-compatibility/2006"
    Title="MainWindow"
    Width="800"
    Height="450"
    mc:Ignorable="d">
    <Window.DataContext>
        <local:MainWindowViewModel />
    </Window.DataContext>
    <Grid>
        <Grid.RowDefinitions>
            <RowDefinition Height="Auto" />
            <RowDefinition />
        </Grid.RowDefinitions>

        <Button Command="{Binding AddCommand}" Content="Add" />
        <ItemsControl Grid.Row="1" ItemsSource="{Binding Items}">
            <ItemsControl.ItemsPanel>
                <!--  要素の並びは Canvas で好きな座標に出せるようにする  -->
                <ItemsPanelTemplate>
                    <Canvas />
                </ItemsPanelTemplate>
            </ItemsControl.ItemsPanel>
            <ItemsControl.ItemTemplate>
                <DataTemplate DataType="local:Item">
                    <!--  ここに表示したい UserControl を設定する。今回は別途作るのがめんどいので WPF のコントロールを直接並べてます  -->
                    <Border
                        Width="100"
                        Height="100"
                        Background="Red">
                        <TextBlock
                            HorizontalAlignment="Center"
                            VerticalAlignment="Center"
                            Text="{Binding Content}" />
                    </Border>
                </DataTemplate>
            </ItemsControl.ItemTemplate>
            <ItemsControl.ItemContainerStyle>
                <!--  Canvas 上での表示位置の設定は Canvas に直接乗るコンテナに指定  -->
                <Style TargetType="ContentPresenter">
                    <Setter Property="Canvas.Top" Value="{Binding Y}" />
                    <Setter Property="Canvas.Left" Value="{Binding X}" />
                </Style>
            </ItemsControl.ItemContainerStyle>
        </ItemsControl>
    </Grid>
</Window>
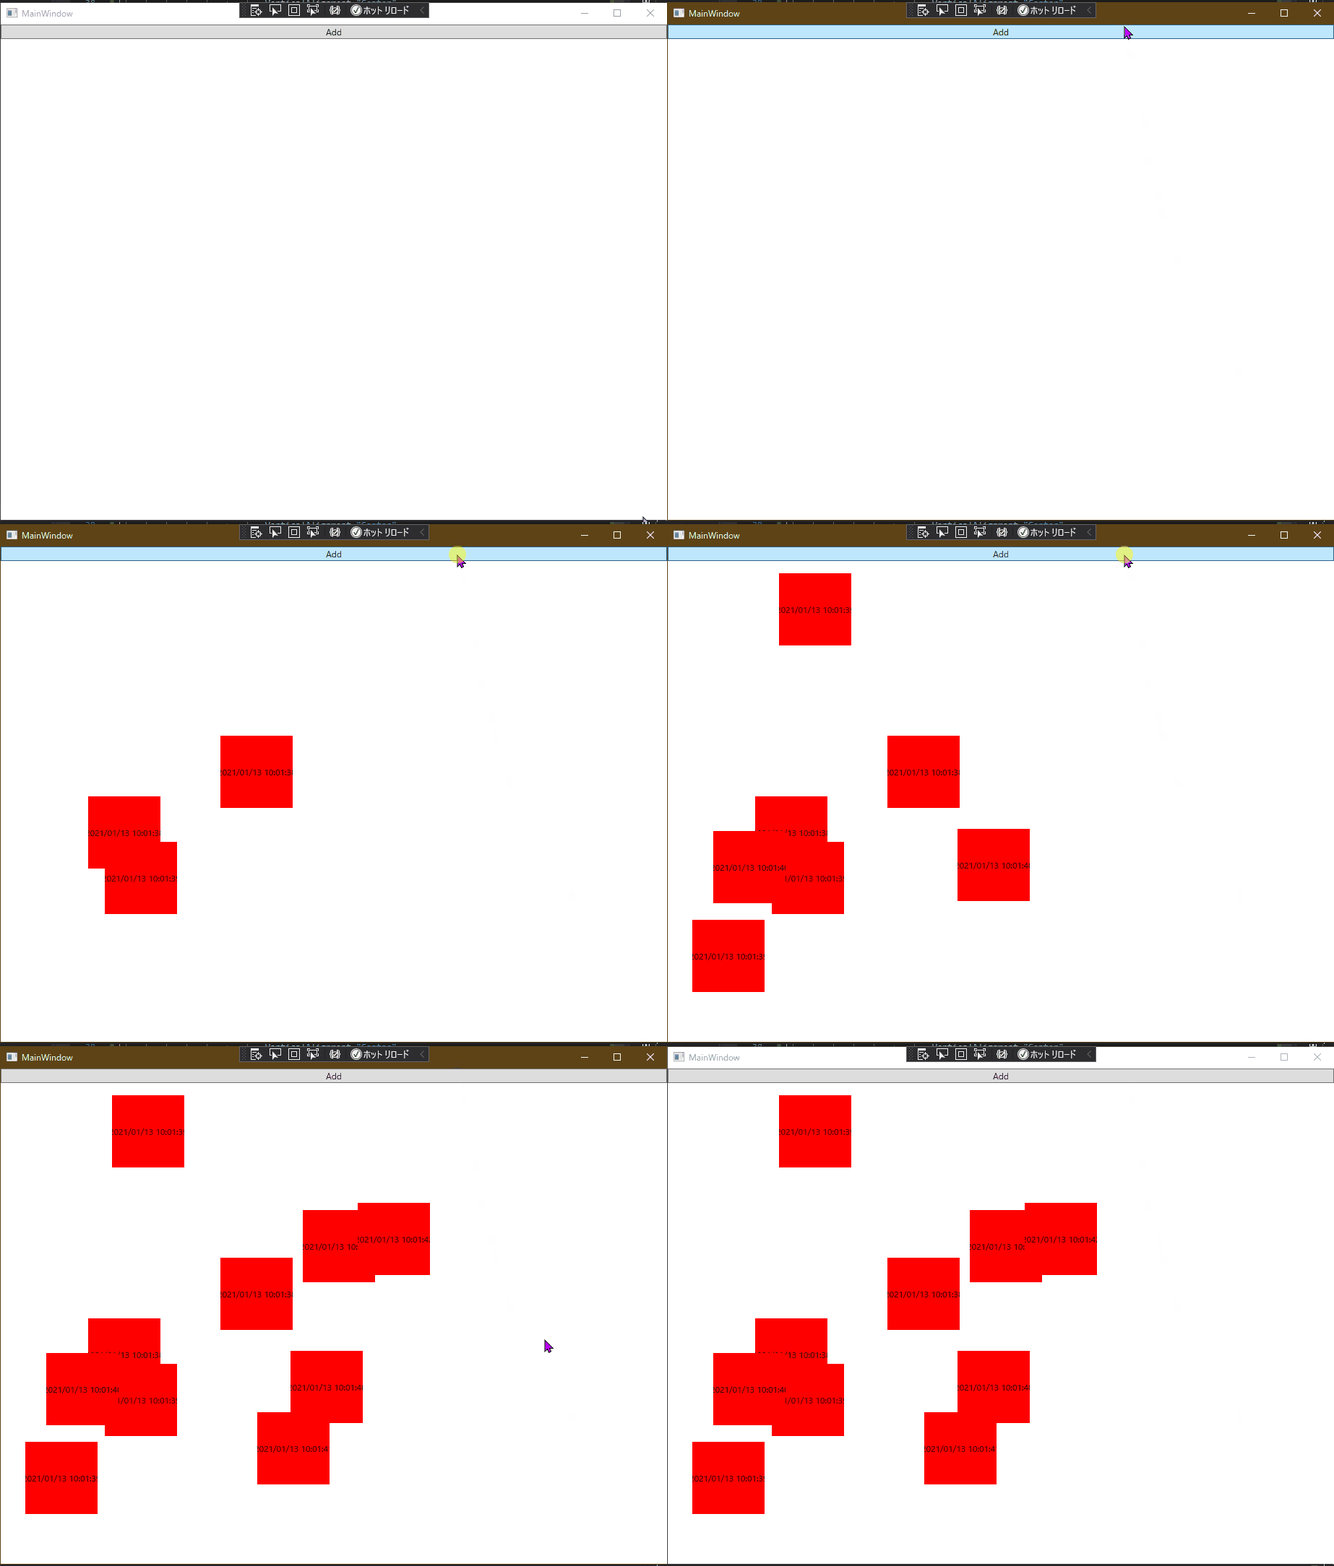
実行してボタンをぽちぽち押すと、こんな感じで現在時刻がランダムな位置に表示されます。
Prism 的な考え
Prism でも基本的に同じです。ですが、例えば Prism の Region 内の指定した座標に View を表示したいという要望であれば先ほど紹介した内容と Prism を組み合わせてやる感じになります。
Prism の Region に ItemsControl が指定できるので ItemsPanel を Canvas にしておきます。
<Window
    x:Class="PrismApp.Views.MainWindow"
    xmlns="http://schemas.microsoft.com/winfx/2006/xaml/presentation"
    xmlns:x="http://schemas.microsoft.com/winfx/2006/xaml"
    xmlns:prism="http://prismlibrary.com/"
    Title="{Binding Title}"
    Width="525"
    Height="350"
    prism:ViewModelLocator.AutoWireViewModel="True">
    <Grid>
        <Grid.RowDefinitions>
            <RowDefinition Height="Auto" />
            <RowDefinition />
        </Grid.RowDefinitions>
        <Button Command="{Binding AddCommand}" Content="Add" />
        <!-- レイアウト用の Panel を Canvas にした ItemsControl を Region にする -->
        <ItemsControl Grid.Row="1" prism:RegionManager.RegionName="ContentRegion">
            <ItemsControl.ItemsPanel>
                <ItemsPanelTemplate>
                    <Canvas />
                </ItemsPanelTemplate>
            </ItemsControl.ItemsPanel>
        </ItemsControl>
    </Grid>
</Window>
ViewModel 側では ContentRegion に対して ViewA を表示するように要求する AddCommand を追加しておきます。表示位置とか表示内容はナビゲーションのパラメーターで指定するようにしました。
private DelegateCommand _addCommand;

public DelegateCommand AddCommand =>
    _addCommand ?? (_addCommand = new DelegateCommand(ExecuteAddCommand));

private Random Random { get; } = new Random();
private void ExecuteAddCommand()
{
    _regionManager.RequestNavigate("ContentRegion", "ViewA", new NavigationParameters
    {
        { "x", Random.Next(500) },
        { "y", Random.Next(500) },
        { "message", DateTime.Now.ToString() },
    });
}
ViewA の ViewModel はこんな感じです。
using Prism.Mvvm;
using Prism.Regions;
using System.Diagnostics;

namespace PrismApp.Main.ViewModels
{
    public class ViewAViewModel : BindableBase, INavigationAware
    {
        private string _message;
        public string Message
        {
            get { return _message; }
            set { SetProperty(ref _message, value); }
        }

        private int _x;
        public int X
        {
            get { return _x; }
            set { SetProperty(ref _x, value); }
        }

        private int _y;
        public int Y
        {
            get { return _y; }
            set { SetProperty(ref _y, value); }
        }

        public ViewAViewModel()
        {
        }

        public void OnNavigatedTo(NavigationContext navigationContext)
        {
            // パラメーターから表示位置や表示する内容を取得してプロパティに保持
            if (navigationContext.Parameters.TryGetValue<int>("x", out var x))
            {
                X = x;
            }

            if (navigationContext.Parameters.TryGetValue<int>("y", out var y))
            {
                Y = y;
            }

            if (navigationContext.Parameters.TryGetValue<string>("message", out var message))
            {
                Message = message;
            }
        }

        // ここで true を返すとナビゲーション時に View が再利用されるので断固拒否
        public bool IsNavigationTarget(NavigationContext navigationContext) => false;

        public void OnNavigatedFrom(NavigationContext navigationContext)
        {
        }
    }
}
普通の WPF とちょっと違う点としては、Canvas の位置指定を行うための Canvas.Top, Canvas.Left 添付プロパティを設定する場所です。Prism では Region に指定している ItemsControl の Items に直接 View のインスタンスを追加するので、ItemsContainer でラップされないため View で直接添付プロパティを設定します。
ということで ViewA.xaml は以下のようになります。
<UserControl
    x:Class="PrismApp.Main.Views.ViewA"
    xmlns="http://schemas.microsoft.com/winfx/2006/xaml/presentation"
    xmlns:x="http://schemas.microsoft.com/winfx/2006/xaml"
    xmlns:d="http://schemas.microsoft.com/expression/blend/2008"
    xmlns:local="clr-namespace:PrismApp.Main.Views"
    xmlns:mc="http://schemas.openxmlformats.org/markup-compatibility/2006"
    xmlns:prism="http://prismlibrary.com/"
    Canvas.Left="{Binding X}"
    Canvas.Top="{Binding Y}"
    Width="100"
    Height="100"
    d:DesignHeight="300"
    d:DesignWidth="300"
    prism:ViewModelLocator.AutoWireViewModel="True"
    Background="LightBlue"
    mc:Ignorable="d">
    <Grid>
        <TextBlock
            HorizontalAlignment="Center"
            VerticalAlignment="Center"
            Text="{Binding Message}" />
    </Grid>
</UserControl>
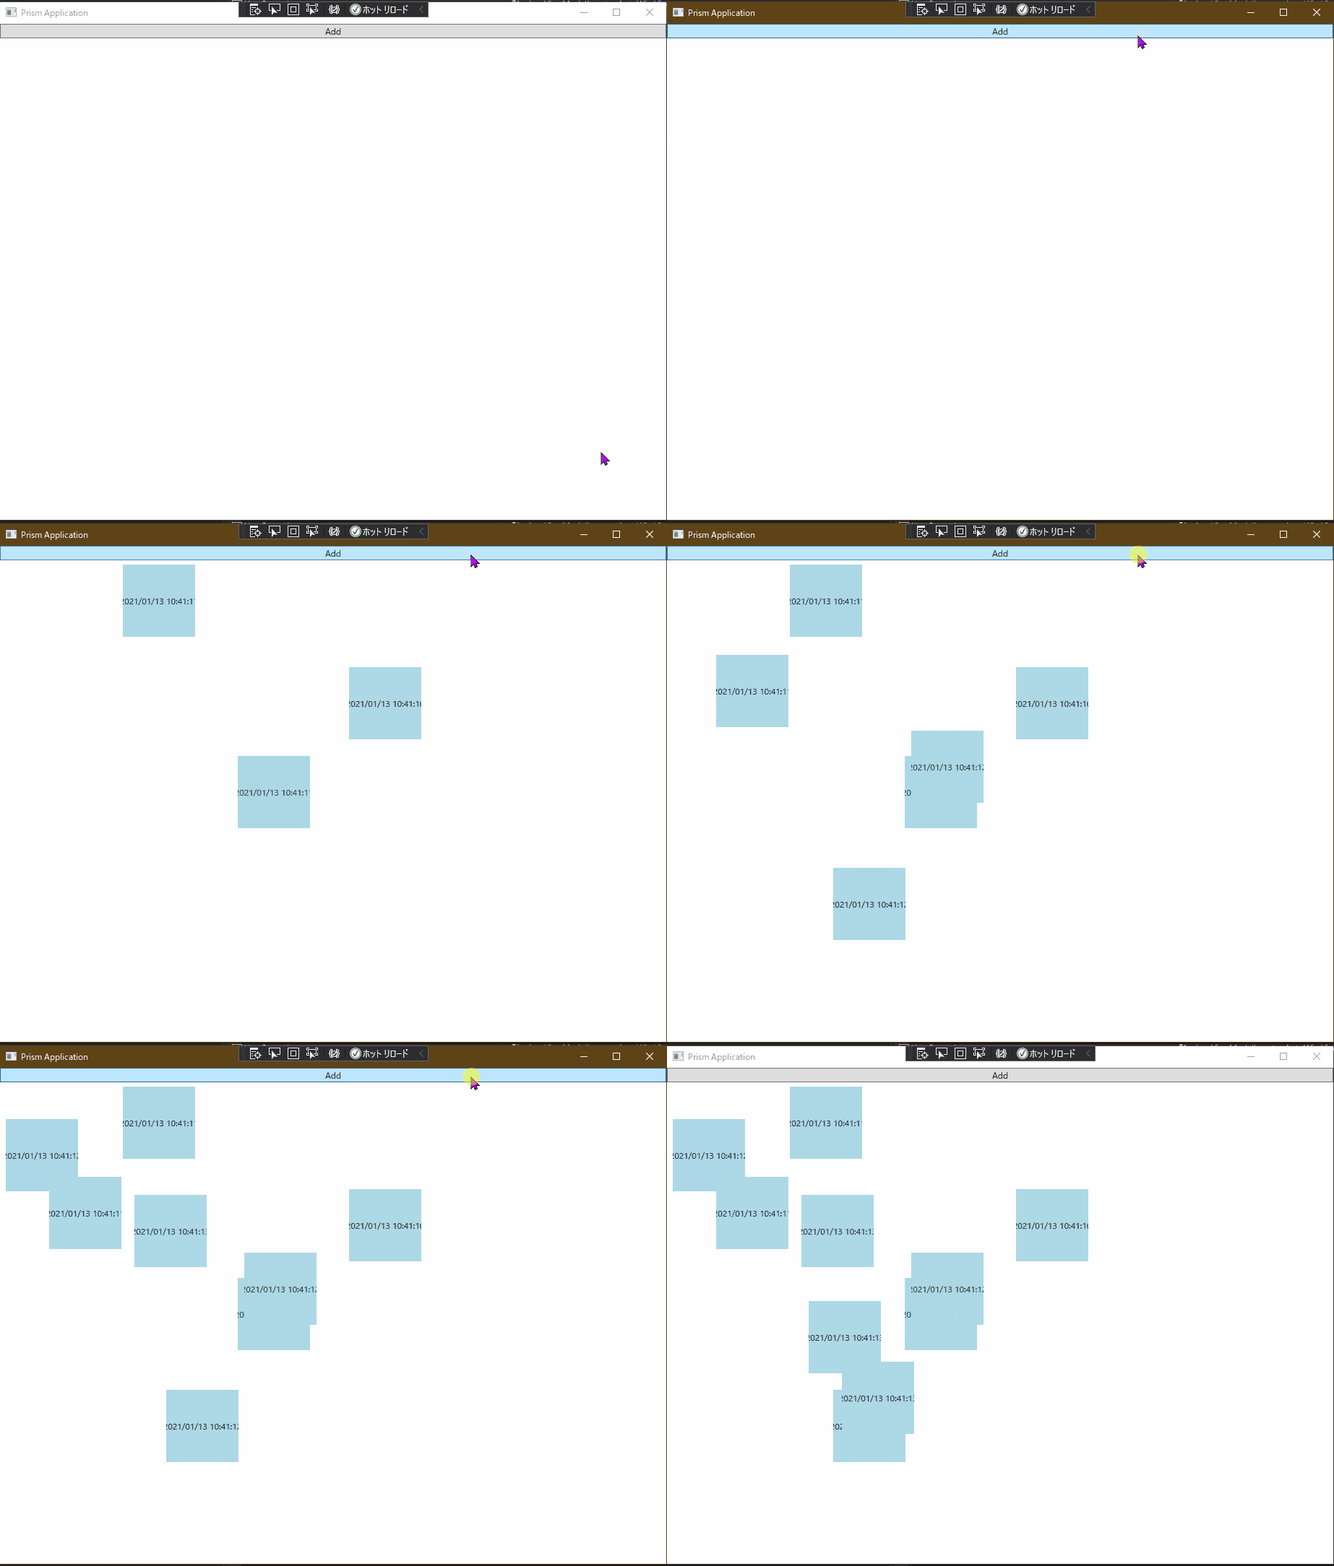
実行するとこんな感じになります。
まとめ
ということで、WPF の基本である(と個人的に思ってる)データの管理は C# でやって、それをどのように表示するかは XAML でどうにでもなるという原則がよく出ている例になるかなと思いました。
ソースコードは以下のリポジトリに上げています。PureWpf プロジェクトが Prism を使ってないもので PrismApp が Prism を使っているものになります。
それでは、良い WPF & Prism ライフを!
追記
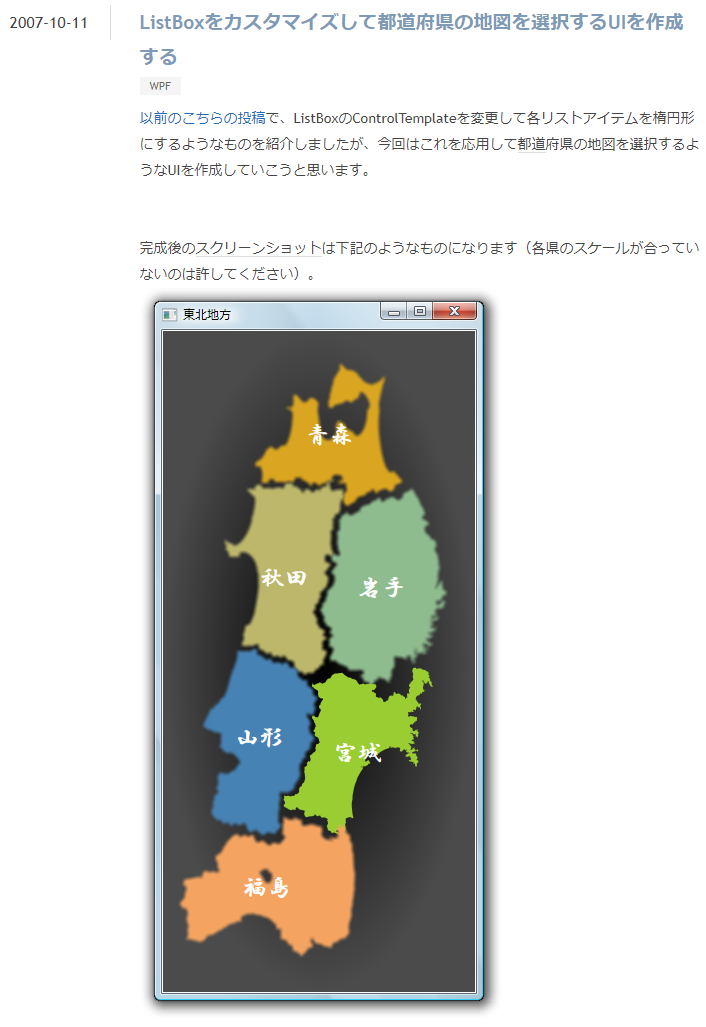
この記事のポイントは ItemsControl の理解と、Prism の Region への応用という感じです。WPF で ItemsControl や ListBox などを使って柔軟にデータを表示できる例としてインパクトが大きいもの例に ListBox で都道府県選択 UI を作って見た目を日本地図を表示した Yamaki さんの記事があるので紹介しておきます。(13 年前の記事になるのか…)


