React Native for Windows が最近 C++ で書き直されてパフォーマンスが改善されました。少し前までは C++ で書き直されたバージョンは vnext 扱いだったのですが、先日ついに、これがデフォルトになりました。
上記 記事より抜粋
This milestone is a huge one for us on the React Native for Windows team
and we're super excited to officially announce that the work we have been doing in our C++ overhaul
 (formerly dubbed vnext) is now the new default framework installed when you integrate Windows
into your React Native project.
まぁ、重要なのはこれまで vnext だったのが now the new default faramework という部分。早いは正義なのと、React Native for Windows は色々 MS 自身の製品でも使われてるということなので試してみたいと思います。
環境構築
React Native for Windows なので、Windows 上での開発になります。以下のページが System Requirements になります。
以下のような環境が必要です。
- Windows 10 10.0.15063.0 以上
- 開発者モードに設定済み(設定アプリの更新とセキュリティ→開発者向けのページから開発者モードを選択)
- Visual Studio 2019
- ユニバーサル Windows プラットフォーム開発
- C++ (v141) ユニバーサル Windows プラットフォーム ツール (v141 な点に注意!デフォルトでチェックが入っているのは v142 です。両方入れて大丈夫です。)
- C++ によるデスクトップ開発
- 個別のコンポーネント
- MSVC v141 - VS 2017 C++ ARM ビルド ツール (v14.16)
- MSVC v141 - VS 2017 C++ x64/x86 build tools (v14.16)
- ユニバーサル Windows プラットフォーム開発
あとは Node.js ですね。ドキュメントでは 12.9.1 が使われてるので、それを入れましょう。Chocolatey を使ってる場合は以下のコマンドで入ります。
choco install nodejs.install --version=12.9.1
あとはオプションで Chrome と Yarn を入れる感じです。私は入れてやります。
エディターは好みのもので OK で私は Visual Studio Code でやります。VS Code には React Native Tools 拡張機能を入れておきます。
早速ハローワールド
ここらへんやってみましょう。
適当なフォルダー(シンボリックリンクのフォルダーだとデバッグ実行時にエラーになるので物理フォルダーで)で、パスの長さによるエラーで悩まないために階層の浅いところにプロジェクト用のフォルダーを作ります。
npx react-native init でプロジェクトを作ります。
> npx react-native init HelloRN4W --version ^0.60.0
そして、Visual Studio Code で開きます。
> code -r HelloRN4W
ここからは、VS Code のターミナル上でやりましょう。React Native for Windows 系コマンドを入れて…
> yarn add rnpm-plugin-windows
最後に React Native for Windows のパッケージを追加します。
> npx react-native windows
実行途中に metro.config.js を置き換えるか聞いてくるので y を押して置き換えます。
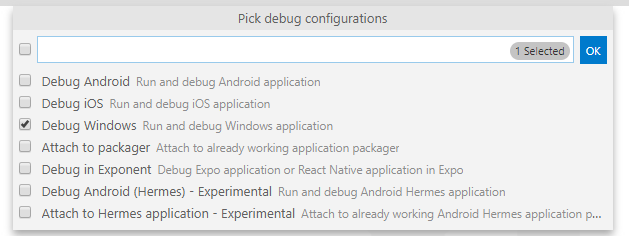
では実行してみましょう。VS Code でデバッグするための launch.json を作ります。React Native で作りましょう。
Windows が選択肢にありますね。
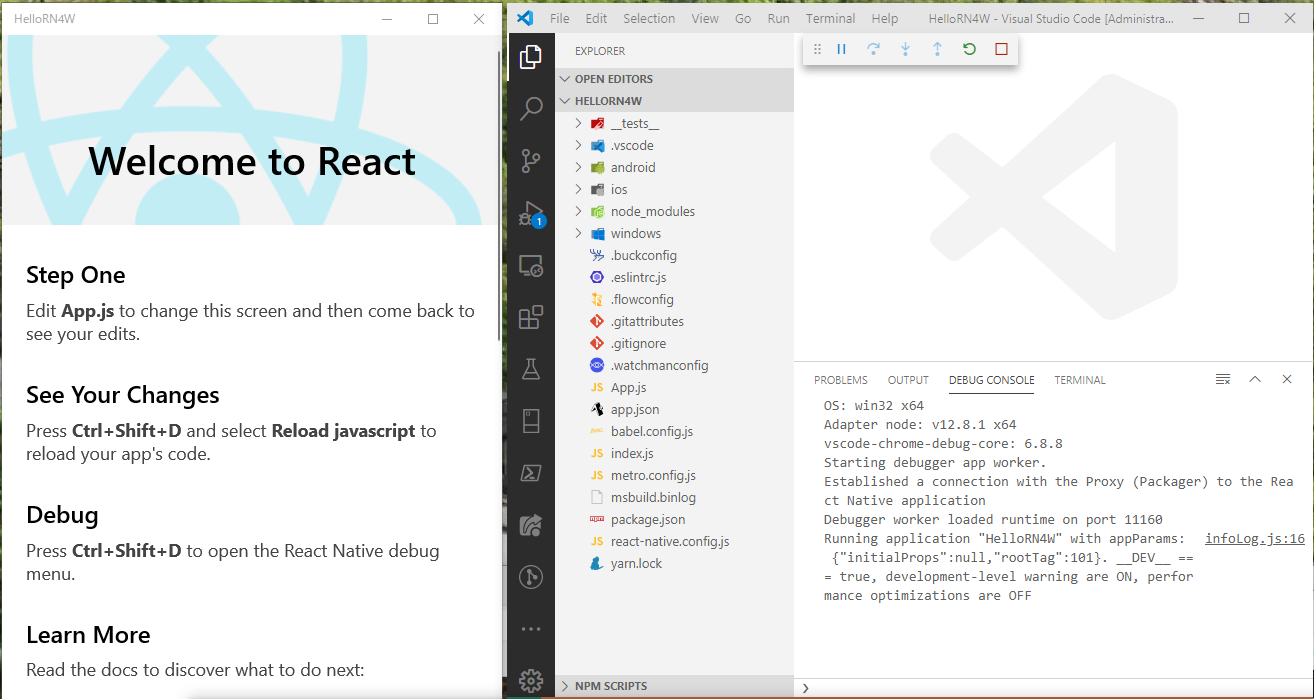
F5 を押すと長い長い初回ビルドが始まります。カップ麺でも食べるか腕立て伏せをするか、コーヒーを淹れに行くなりして時間をつぶして待ちます。初回は、管理者権限でのビルドが必要かもしれません。(何かしっぱいしました…)
成功すると以下のように起動します。
TypeScript 対応
個人的には TypeScript 使いたいので追加していきます。基本的には公式に従ってやります。
Adding TypeScript to an Existing Project
型定義を追加して
> yarn add typescript @types/jest @types/react @types/react-native @types/react-test-renderer
tsconfig.json を追加します。json のインポートに対応するために resolveJsonModule を公式のものから追加しています。
{
  "compilerOptions": {
    "allowJs": true,
    "allowSyntheticDefaultImports": true,
    "esModuleInterop": true,
    "isolatedModules": true,
    "jsx": "react",
    "lib": ["es6"],
    "moduleResolution": "node",
    "noEmit": true,
    "strict": true,
    "target": "esnext",
    "resolveJsonModule": true
  },
  "exclude": [
    "node_modules",
    "babel.config.js",
    "metro.config.js",
    "jest.config.js"
  ]
}
jest.config.js も追加します。
module.exports = {
    preset: 'react-native',
    moduleFileExtensions: ['ts', 'tsx', 'js', 'jsx', 'json', 'node'],
};
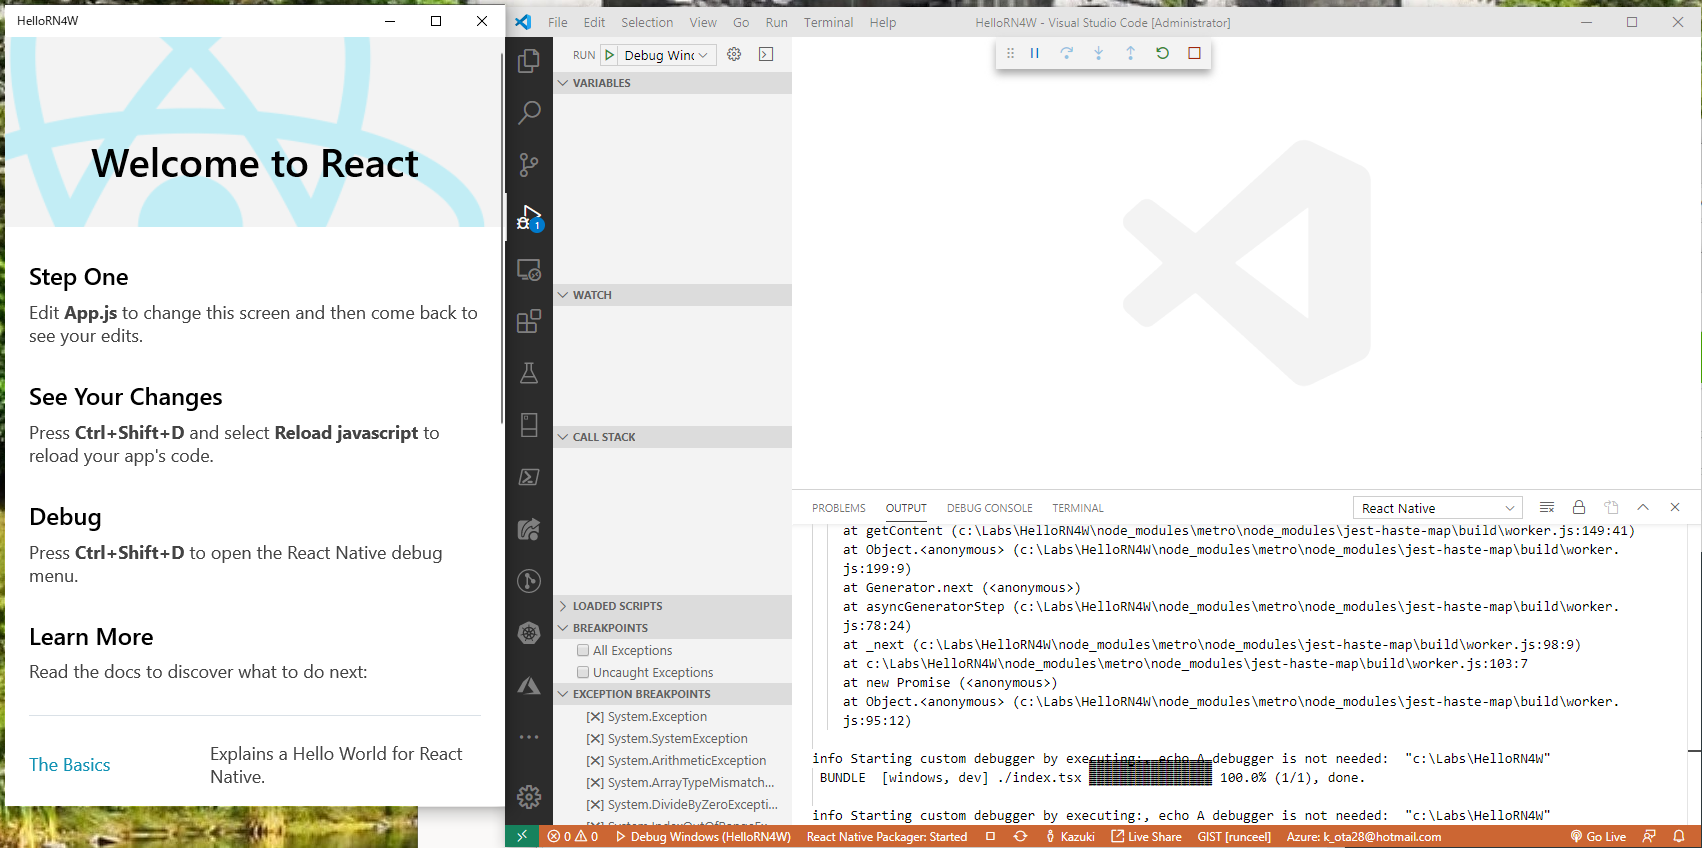
そして index.js を index.tsx に、App.js を App.tsx にします。再実行すると…
なんか、失敗したりもするけど動くは動きました。
ソースを書き換えると即座に反映されるのは楽しいですねやっぱり。
App.tsx を以下のように書き換えると…
/**
 * Sample React Native App
 * https://github.com/facebook/react-native
 *
 * @format
 * @flow
 */

import React, {Fragment, useState, useEffect } from 'react';
import {
  SafeAreaView,
  StyleSheet,
  ScrollView,
  View,
  Text,
  StatusBar,
  Button,
} from 'react-native';

import {
  Header,
  LearnMoreLinks,
  Colors,
  DebugInstructions,
  ReloadInstructions,
} from 'react-native/Libraries/NewAppScreen';

const App = () => {
  const [count, setCount] = useState(0);
  return (
    <Fragment>
      <StatusBar barStyle="dark-content" />
      <SafeAreaView>
        <View>
          <Text style={styles.centerText}>Hello world</Text>
          <Text style={styles.centerText}>Count: {count}</Text>
          <Button title='Increment' onPress={() => setCount(count + 1)}></Button>
          <Button title='Reset' onPress={() => setCount(0)}></Button>
        </View>
      </SafeAreaView>
    </Fragment>
  );
};

const styles = StyleSheet.create({
  centerText: {
    textAlign: 'center',
  }
});

export default App;
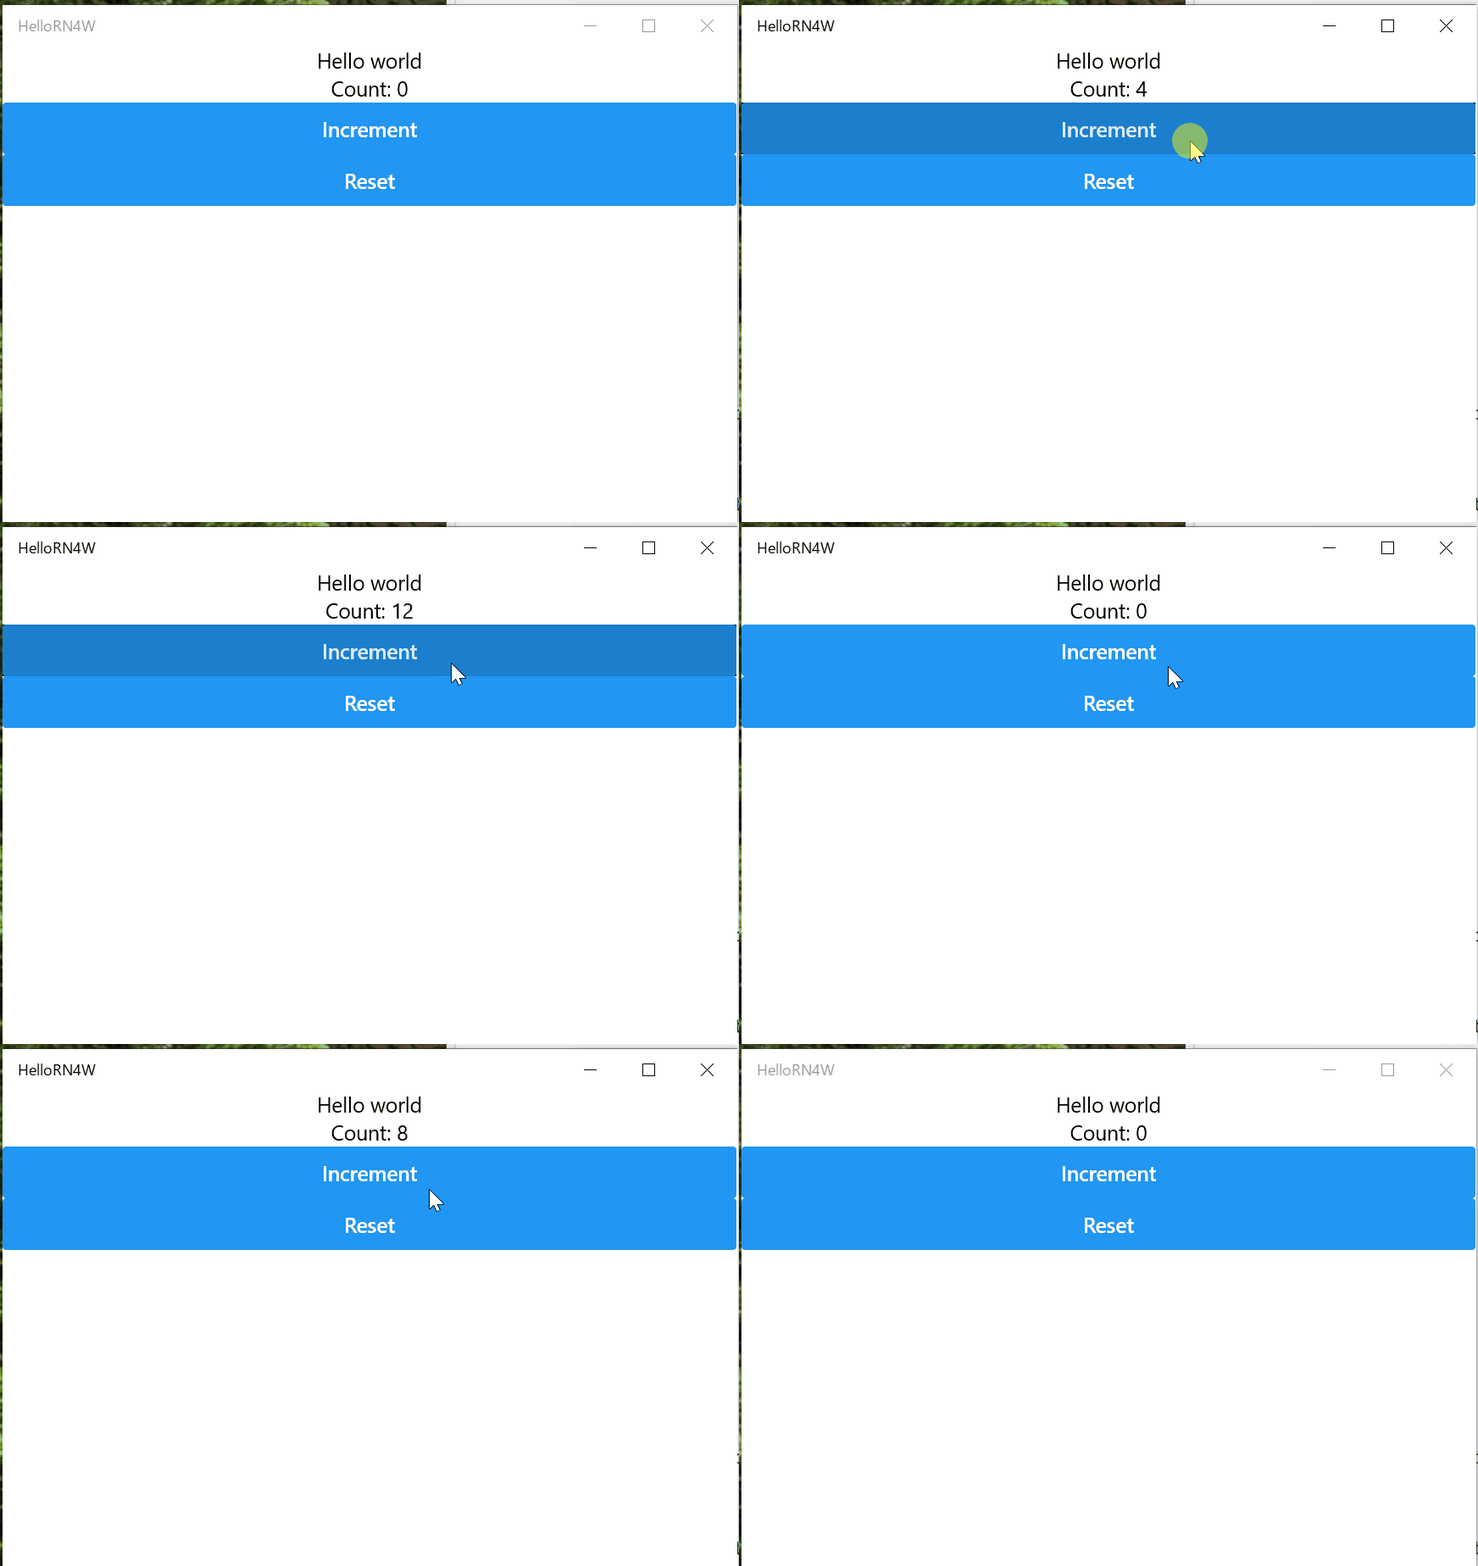
いい感じにカウンターできた。
まとめ
開発基盤が出来たので、レイアウトの組み方とか勉強していこうかな。


