Uno Platform を使うと Windows, macOS, Linux, Android, iOS, WebAssembly 対応のアプリが作れます。
クロスプラットフォーム開発の苦しさはまぁあるとして、その苦しさとクロスプラットフォームに対応するメリットを天秤にかけて最終的に政治的な力によって採用・不採用が決まる感じですよね。
まぁそれは置いといて Uno Platform でも ReactiveProperty が使いたい!!ということで使うまでの手順を説明します。
やってみよう
ということでやっていきます。
プロジェクトの作成
Uno Platform のアプリのプロジェクトを作ります。
ReactiveProperty の参照の追加
NuGet で全プロジェクトに ReactiveProperty への参照を追加します。
Reactive.Wasm の追加
Wasm (Web Assembly) のプロジェクトに Reactive.Wasm を NuGet で追加します。そして Wasm のプロジェクトにある Program.cs の Main メソッドに EnableWasm の呼び出しを追加します。
using System;
using System.Reactive.PlatformServices;
using Windows.UI.Xaml;

namespace App10.Wasm
{
    public class Program
    {
        private static App _app;

        static int Main(string[] args)
        {
# pragma warning disable CS0618 // 型またはメンバーが旧型式です
            PlatformEnlightenmentProvider.Current.EnableWasm(); // これを追加
# pragma warning restore CS0618 // 型またはメンバーが旧型式です
            Windows.UI.Xaml.Application.Start(_ => _app = new App());

            return 0;
        }
    }
}
これで完了です。では使ってみましょう。
適当にテスト用コードの追加
ViewModel を Shared プロジェクトに追加します。
using Reactive.Bindings;
using System;
using System.Reactive.Linq;
using System.Threading.Tasks;

namespace App10.Shared
{
    public class MainPageViewModel
    {
        public ReactiveProperty<string> Input { get; }
        public ReadOnlyReactiveProperty<string> Output { get; }
        public AsyncReactiveCommand ResetCommand { get; }

        public MainPageViewModel()
        {
            Input = new ReactiveProperty<string>("");
            Output = Input.Select(x => x?.ToUpper() ?? "")
                .Delay(TimeSpan.FromSeconds(3))
                .ToReadOnlyReactiveProperty();

            ResetCommand = new AsyncReactiveCommand()
                .WithSubscribe(async () =>
                {
                    await Task.Delay(TimeSpan.FromSeconds(3));
                    Input.Value = "";
                });
        }
    }
}
ReactiveProperty でよくやる 3 秒後とかに大文字になるやつです。これを MainPage.xaml.cs のプロパティとして追加します。
using App10.Shared;
using Windows.UI.Xaml.Controls;

namespace App10
{
    public sealed partial class MainPage : Page
    {
        private MainPageViewModel ViewModel { get; } = new MainPageViewModel(); // add
        public MainPage()
        {
            this.InitializeComponent();
        }
    }
}
最後に XAML に適当にコントロールを足してバインドしましょう。
<Page
    x:Class="App10.MainPage"
    xmlns="http://schemas.microsoft.com/winfx/2006/xaml/presentation"
    xmlns:x="http://schemas.microsoft.com/winfx/2006/xaml"
    xmlns:d="http://schemas.microsoft.com/expression/blend/2008"
    xmlns:local="using:App10"
    xmlns:mc="http://schemas.openxmlformats.org/markup-compatibility/2006"
    mc:Ignorable="d">

    <StackPanel Background="{ThemeResource ApplicationPageBackgroundThemeBrush}">
        <TextBox Text="{x:Bind ViewModel.Input.Value, Mode=TwoWay, UpdateSourceTrigger=PropertyChanged}" />
        <TextBlock Text="{x:Bind ViewModel.Output.Value, Mode=OneWay}" />
        <Button Command="{x:Bind ViewModel.ResetCommand}" Content="Reset" />
    </StackPanel>
</Page>
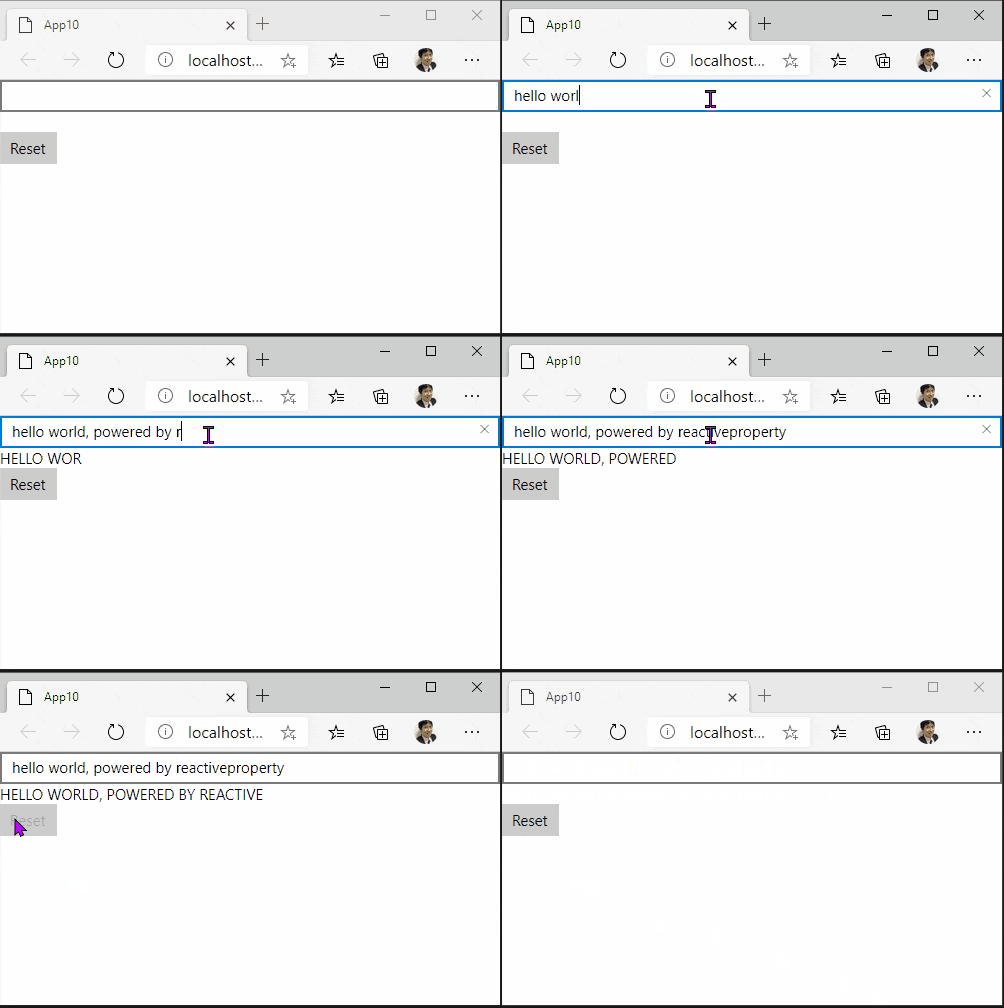
そして、Wasm のプロジェクトをスタートアッププロジェクトに設定して実行すると以下のような感じで動きます。WebAssembly でも ReactiveProperty が動きました!!
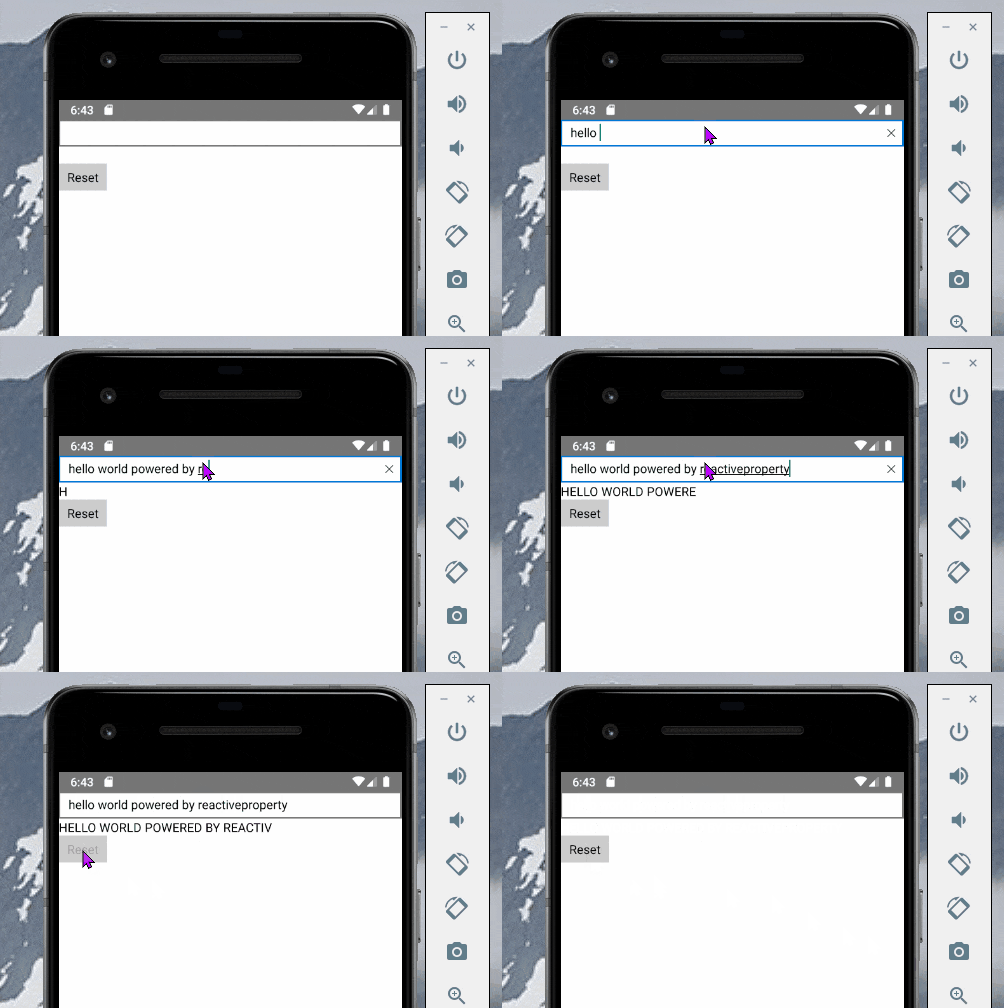
念のため Android でも
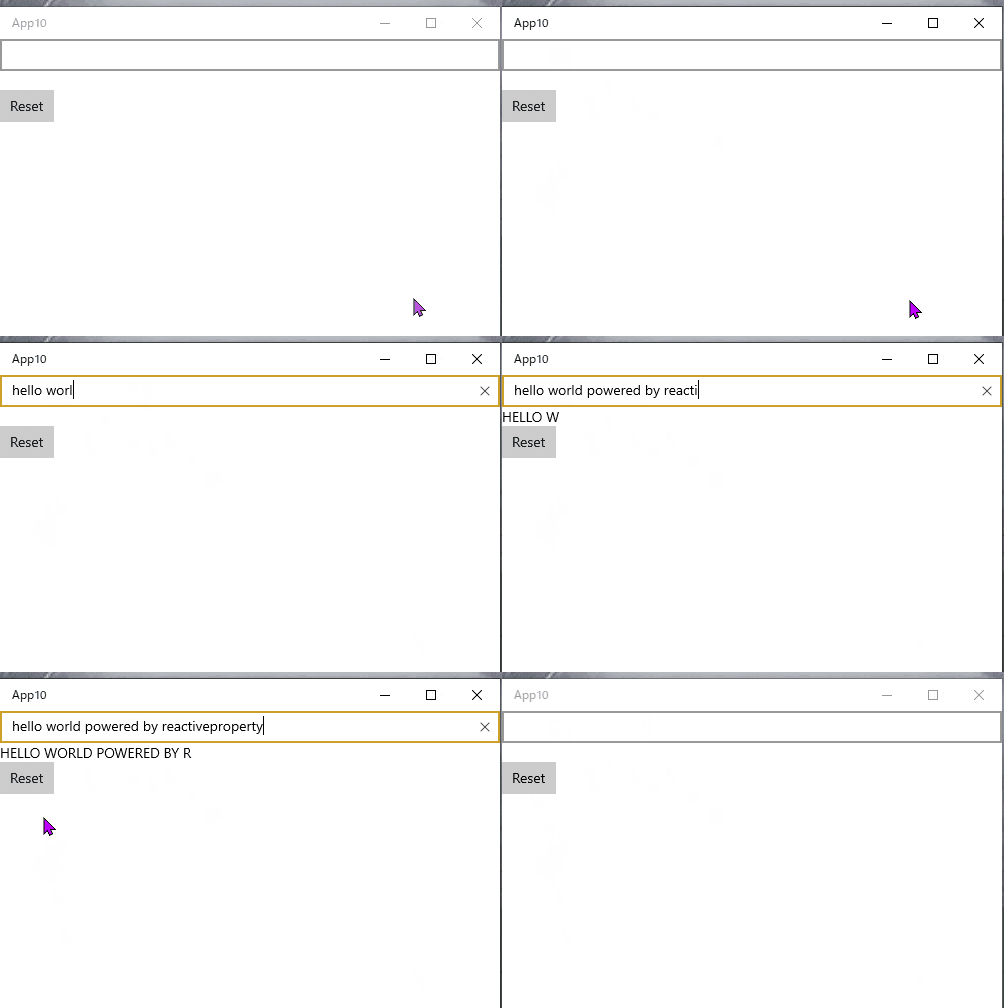
もちろん UWP でも
iOS は試そうと思ってたら MacBook Pro を久しぶりに起動したら起動しなかった(!?)ので保留です。
まとめ
ということで Uno Platform を使うときも ReactiveProperty をぜひお願いします!


