Next.js Tutorial
概要
Next.js を使って以下のことをやりたい場合の Tutorial です。
- Server Side Rendering
- 静的ファイルへの出力
Getting Started
最初にプロジェクト用のファイルを用意します。
mkdir practice-next.js
cd practice-next.js
yarn init -y
yarn add react react-dom next express isomorphic-unfetch --save
yarn add http-server --dev
mkdir -p pages
touch pages/{index.js,about.js,shared.js} server.js next.config.js
create pages/shared.js
const layoutStyle = {
  margin: 20,
  padding: 20,
  border: '1px solid #DDD'
}

export const Layout = (props) => (
  <div style={layoutStyle}>
    <p>rendered by: {getRenderedBy()}</p>
    {props.children}
  </div>
)

export function getRenderedBy() {
  return (typeof window !== 'undefined' && window.document) ? 'client' : 'server';
}
create pages/index.js
import { Layout } from './shared'

export default () => (
  <Layout>
    <p>This is the index page</p>
  </Layout>
)
この状態で以下のコマンドを実行します。
yarn next
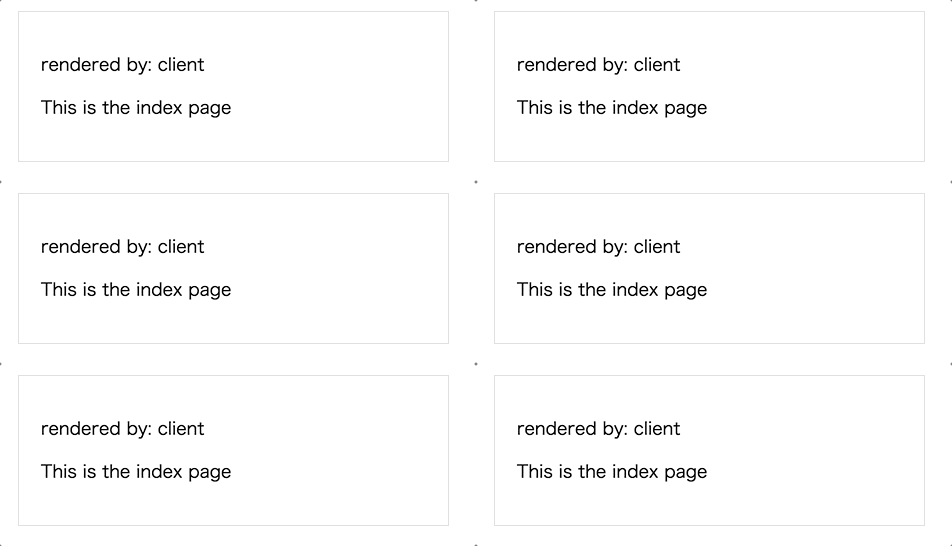
以下の画面で server と client の文字が切り替わるポイントがあると思います。これは画面を reload した直後は Server Side Rendering されていて、直後に Single Page Application に置き換えられているからです。
Navigate Between Pages & Using Shared Components
先ほどは単一のページでしたので、今度は複数のページを用意して、画面を行き来できるようにします。about 画面を追加して、以下の画面への導線を準備します。
http://localhost:3000/http://localhost:3000/about
create pages/about.js
import { Layout } from './shared'

export default () => (
  <Layout>
    <p>This is the about page</p>
  </Layout>
)
edit pages/shared.js
import Link from 'next/link'

const linkStyle = {
  marginRight: 15
}

export const Header = () => (
  <div>
    <Link href="/">
      <a style={linkStyle}>Home</a>
    </Link>
    <Link href="/about">
      <a style={linkStyle}>About</a>
    </Link>
  </div>
)

const layoutStyle = {
  margin: 20,
  padding: 20,
  border: '1px solid #DDD'
}

export const Layout = (props) => (
  <div style={layoutStyle}>
    <Header />
    {props.children}
  </div>
)

export function getRenderedBy() {
  return (typeof window !== 'undefined' && window.document) ? 'client' : 'server';
}
以下のコマンドを実行して動作確認をしてください。
yarn next
Create Dynamic Pages
動的なページを作ります。ここでは簡単にダイナミックなページを試すために /post?title=xxxxxx のようにクエリーパラメータを利用します。
edit pages/shared.js
+ export const PostLink = (props) => (
+  <Link href={`/post?title=${props.title}`}>
+    <a style={linkStyle}>{props.title}</a>
+  </Link>
+ )
edit pages/index.js
import { Layout, PostLink } from './shared'

export default () => (
  <Layout>
    <p>This is the index page</p>
    <ul>
      <li><PostLink title="Hello Next.js"/></li>
      <li><PostLink title="Learn Next.js is awesome"/></li>
      <li><PostLink title="Deploy apps with Zeit"/></li>
    </ul>
  </Layout>
)
create pages/post.js
import fetch from 'isomorphic-unfetch'
import { Layout } from './shared';

export default withRouter((props) => (
  <Layout>
   <h1>{props.router.query.title}</h1>
   <p>This is the blog post content.</p>
  </Layout>
))
以下のコマンドを実行します。
yarn next
トップページから動的ページ(post.js)への導線が機能していることを確認してください。
Server Side Support to create many routes
今のままだと /post?title=Learn%20Next.js%20is%20awesome のように URL が少しスマートではないので、これを /p/learn-nextjs のように修正します。
create server.js
const express = require('express')
const next = require('next')

const dev = process.env.NODE_ENV !== 'production'
const app = next({ dev })
const handle = app.getRequestHandler()

app.prepare()
.then(() => {
  const server = express()

  server.get('/p/:id', (req, res) => {
    const actualPage = '/post'
    const queryParams = { title: req.params.id }
    app.render(req, res, actualPage, queryParams)
  })

  server.get('*', (req, res) => {
    return handle(req, res)
  })

  server.listen(3000, (err) => {
    if (err) throw err
    console.log('> Ready on http://localhost:3000')
  })
})
.catch((ex) => {
  console.error(ex.stack)
  process.exit(1)
})
edit pages/index.js
   <Layout>
     <p>This is the index page</p>
     <ul>
-      <li><PostLink title="Hello Next.js"/></li>
-      <li><PostLink title="Learn Next.js is awesome"/></li>
-      <li><PostLink title="Deploy apps with Zeit"/></li>
+      <li><PostLink id="hello-next" title="Hello Next.js"/></li>
+      <li><PostLink id="learn-next" title="Learn Next.js is awesome"/></li>
+      <li><PostLink id="deploy" title="Deploy apps with Zeit"/></li>
     </ul>
   </Layout>
edit pages/shared.js
 export const PostLink = (props) => (
- <Link href={`/post?title=${props.title}`}>
-   <a style={linkStyle}>{props.title}</a>
- </Link>
+  <Link as={`/p/${props.id}`} href={`/post?title=${props.title}`}>
+    <a style={linkStyle}>{props.title}</a>
+  </Link>
 )
今まで yarn next を実行していましたが、今度は以下のコマンドを実行します。
node server.js
先ほどと同じ画面ですが URL が変わっていることを確認してください。
Fetching Data for Pages
さて、非同期処理でデータを取得してレンダリングを行います。非同期処理が加わると SSR を実装するときに手間がかかるのですが、 Next.js がその手間を軽減してくれます。
今回自分で API を実装しないで jsonplaceholder の API を使用しています。
edit pages/index.js
import Link from 'next/link'
import fetch from 'isomorphic-unfetch'

import { Layout, PostLink } from './shared'

const Index = (props) => (
  <Layout>
    <p>This is the index page</p>
    <ul>
      {props.posts.map(post => (
        <li key={post.id}>
          <Link as={`/p/${post.id}`} href={`/post?id=${post.id}`}>
            <a>{post.title}</a>
          </Link>
        </li>
      ))}
    </ul>
  </Layout>
)

Index.getInitialProps = async function() {
  const res = await fetch('https://jsonplaceholder.typicode.com/posts');
  const posts = await res.json()

  console.log(`posts count: ${posts.length}`)

  return { posts }
}

export default Index
edit pages/post.js
import { Layout } from './shared';
import fetch from 'isomorphic-unfetch'

const Post = (props) => {

  return (
  <Layout>
   <h1>{props.post.title}</h1>
   <p>{props.post.body}</p>
  </Layout>
  )
}

Post.getInitialProps = async function (context) {
  const { id } = context.query
  const res = await fetch(`https://jsonplaceholder.typicode.com/posts/${id}`)
  const post = await res.json()
  console.log(`Fetched post: ${post.title}`)
  return { post }
}

export default Post
getInitialProps に非同期処理を記述しておけば面倒な SSR の設定を next.js がよしなにしてくれます
Export into a Static HTML App
next.config.js に exportPathMap を設定する必要があります。
const fetch = require('isomorphic-unfetch')

module.exports = {
  exportPathMap: async function () {
    console.log("exportPathMap");
    const res = await fetch(`https://jsonplaceholder.typicode.com/posts`)
    const posts = await res.json()
    const ids = posts.map(x => x.id);

    const route = {
      '/': { page: '/' },
      '/about': { page: '/about' },
    }

    ids.forEach(id => {
      route[`/p/${id}`] = { page: '/post', query: { id } }
    })

    return route
  }
}
静的ファイルを出力
yarn next build
yarn next export
動作確認
yarn http-server out
まとめ
Next.js を使って Server Side Rendering と静的ファイルの生成を試しました。Single Page Application にしつつ SEO に弱くならないようにするために SSR を採用したい場面に遭遇した場合は next.js のことを思い出すと良いでしょう。
また、Gatsby のように React component を再利用できる Static Generator がすでに存在していますが、その独特の作法に疲れてしまう人はいっその事 next.js を使って自前で実装する事もできます。
というわけで使い方を覚えておいて損しないツールだと思います。
