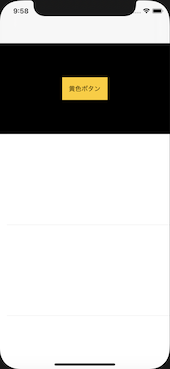
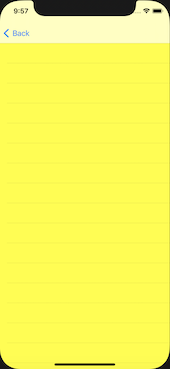
今回作るもの
黄色のボタンを押すと画面が遷移され黄色くなる実装をdelegateを使って実装&説明します。
きっかけ
Swiftのdelegateの説明をQiitaでたくさん読みましたがいまいち理解できず、なんとなく実装していました。delegateで詰まることが多かったので、アウトプットの機会にしようと思います。
対象
私のように他の記事を読んでも理解に苦しんだ方々に読んで頂きたいです。
Delegateとは
Delegateは委譲という意味ですが、そのクラスではできないことを他のクラスでやってもらうため委譲が必要になるのです。
詳しくコードと共に見ていきましょう。
実際のコード
3ファイル作成しました。
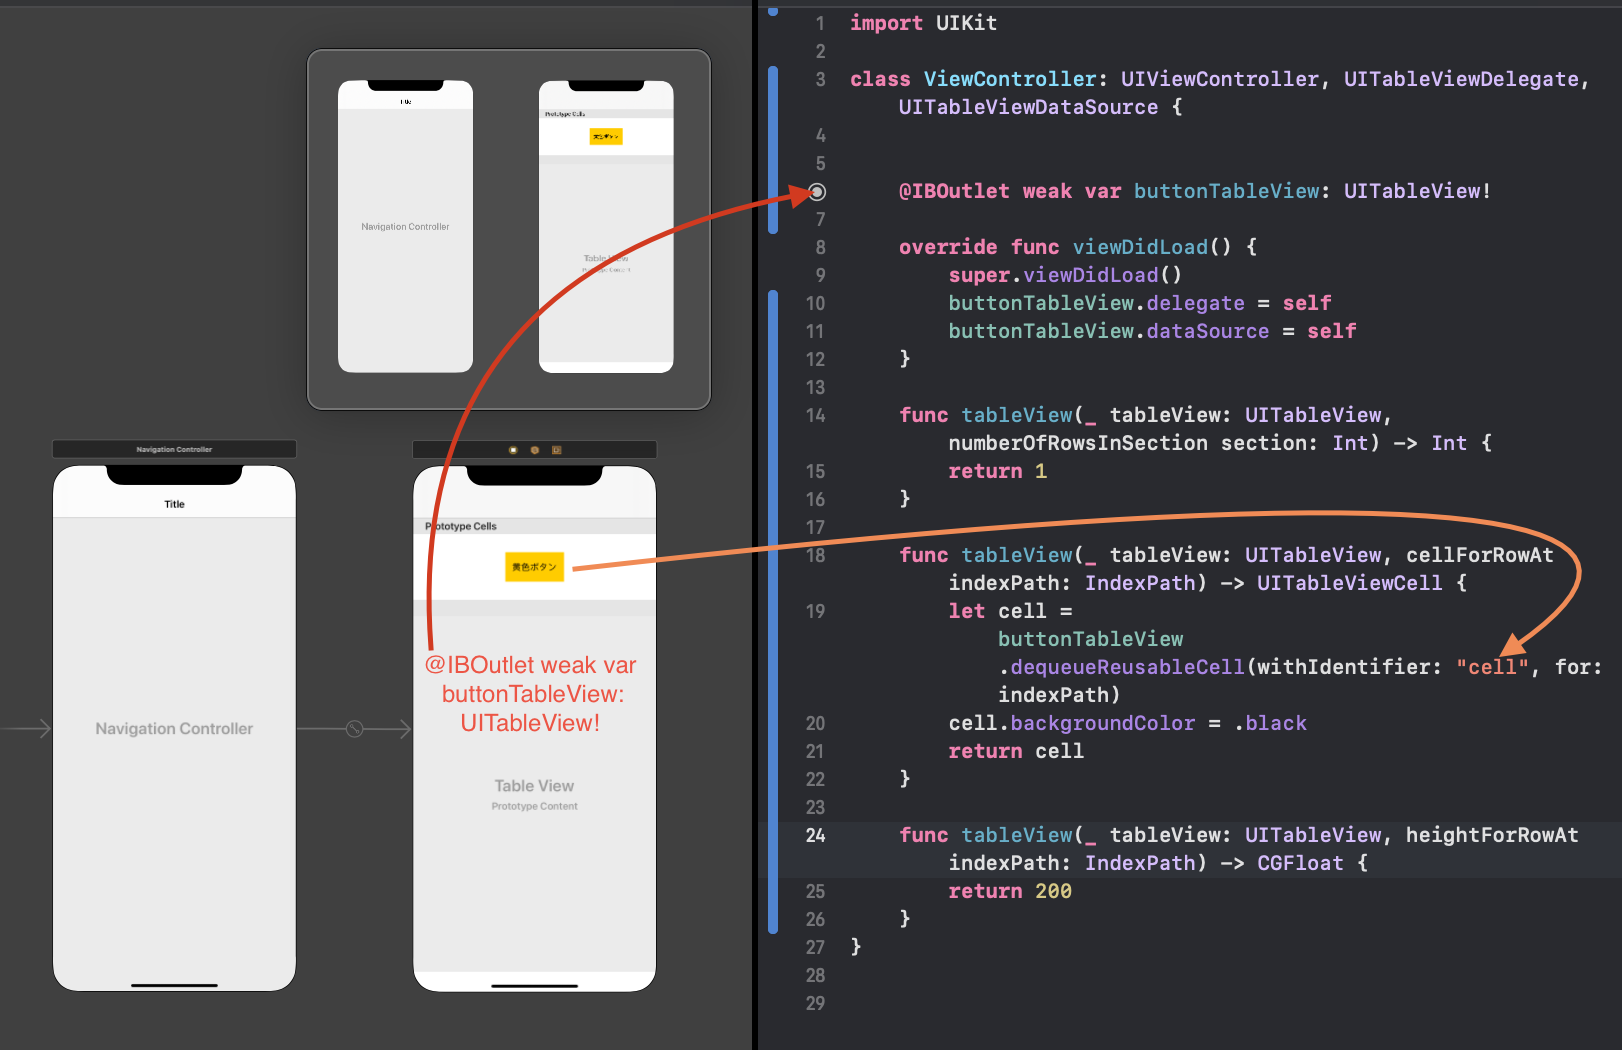
1つめははじめの画面のViewController
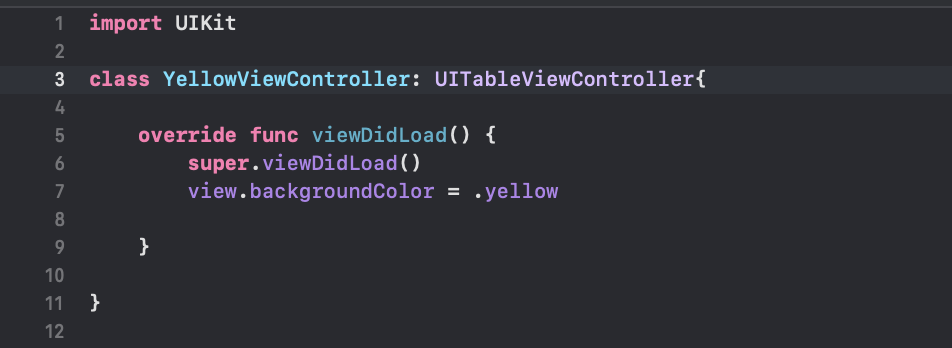
2つめは黄色画面遷移先のYellowViewController
3つめはViewControllerのCellのクラス(ButtonTableViewCell)
まず1つ目のViewControllerです。
次に黄色画面遷移先のYellowViewControllerです
最後に先ほど作った黄色ボタンのCellのクラスです
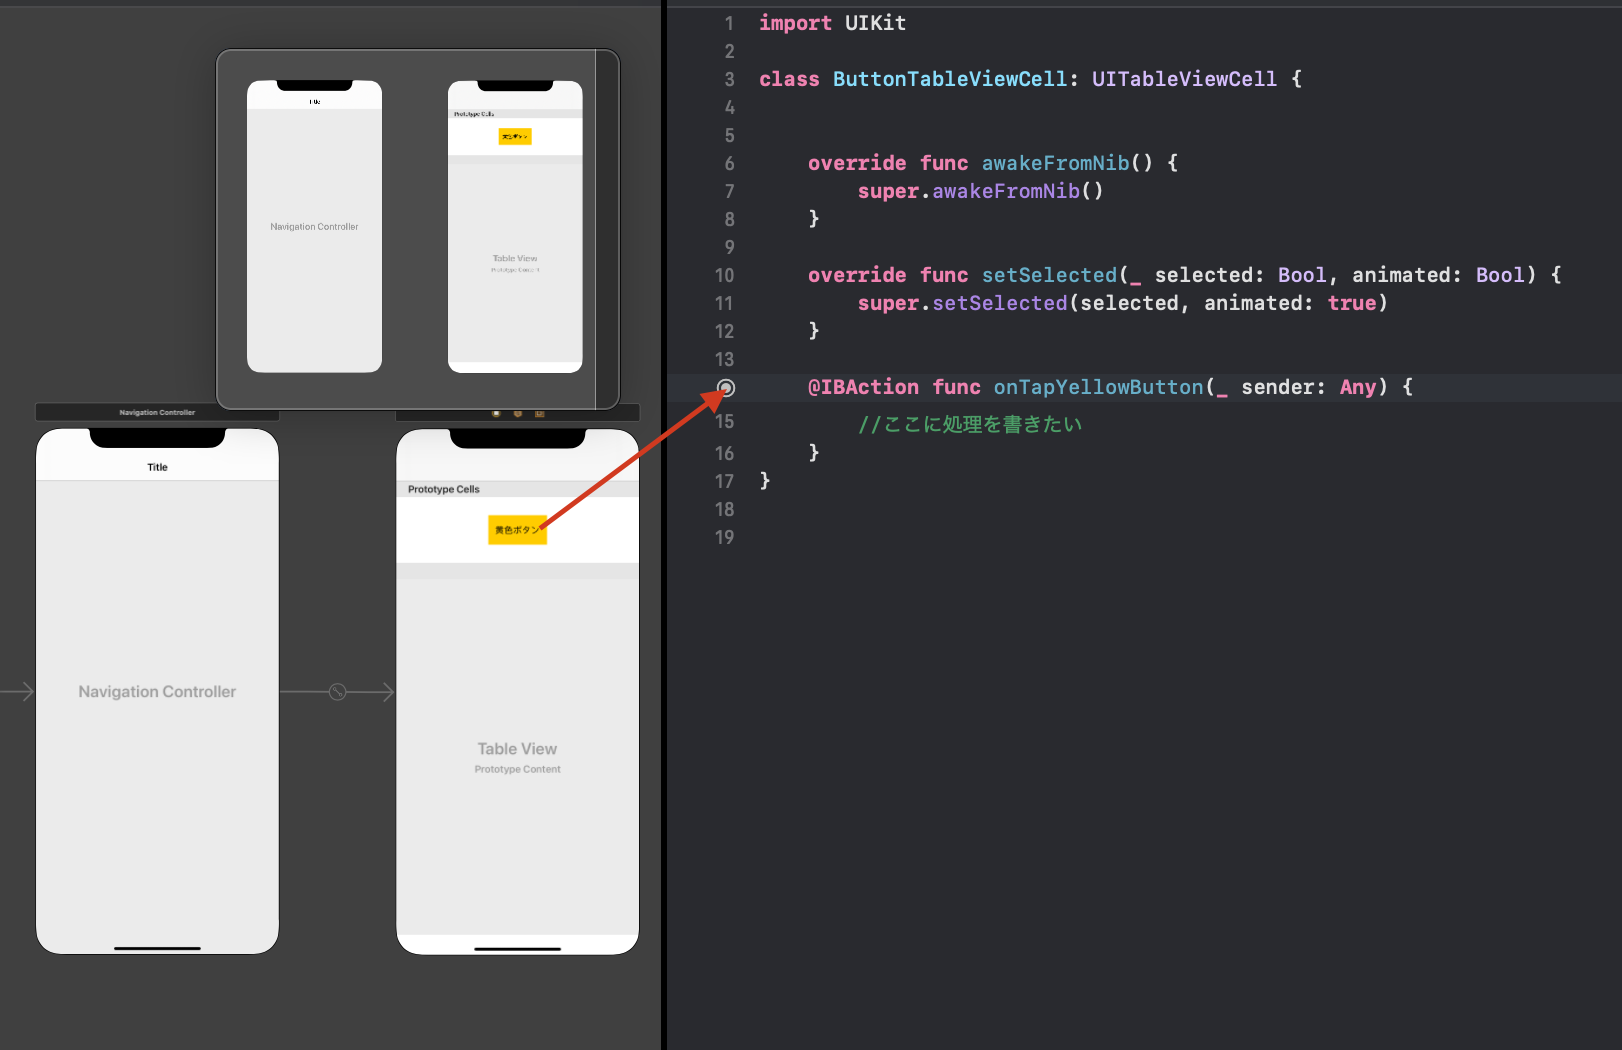
ここではcellの中のボタンタップ時の処理を行えます。
「ここに処理を書きたい」の部分に
let yellowViewController = YellowViewController()
navigationController?.pushViewController(yellowViewController, animated: true)
を入れて黄色画面に飛ばしてやりたいですが、CellではNavigationControllerが使用できないので、他の画面で処理をする必要があるのです。そこでdelegateという考え方が必要になります。
Delegateの使い方
1, protocolを宣言
2, delegateを宣言
3, 発火させたい場所にdelegate設置
4, 受け渡し先のクラスで継承
5, 受け渡し先のViewにdelegateを呼び出す
6, 処理を実装する
具体的な実装方法
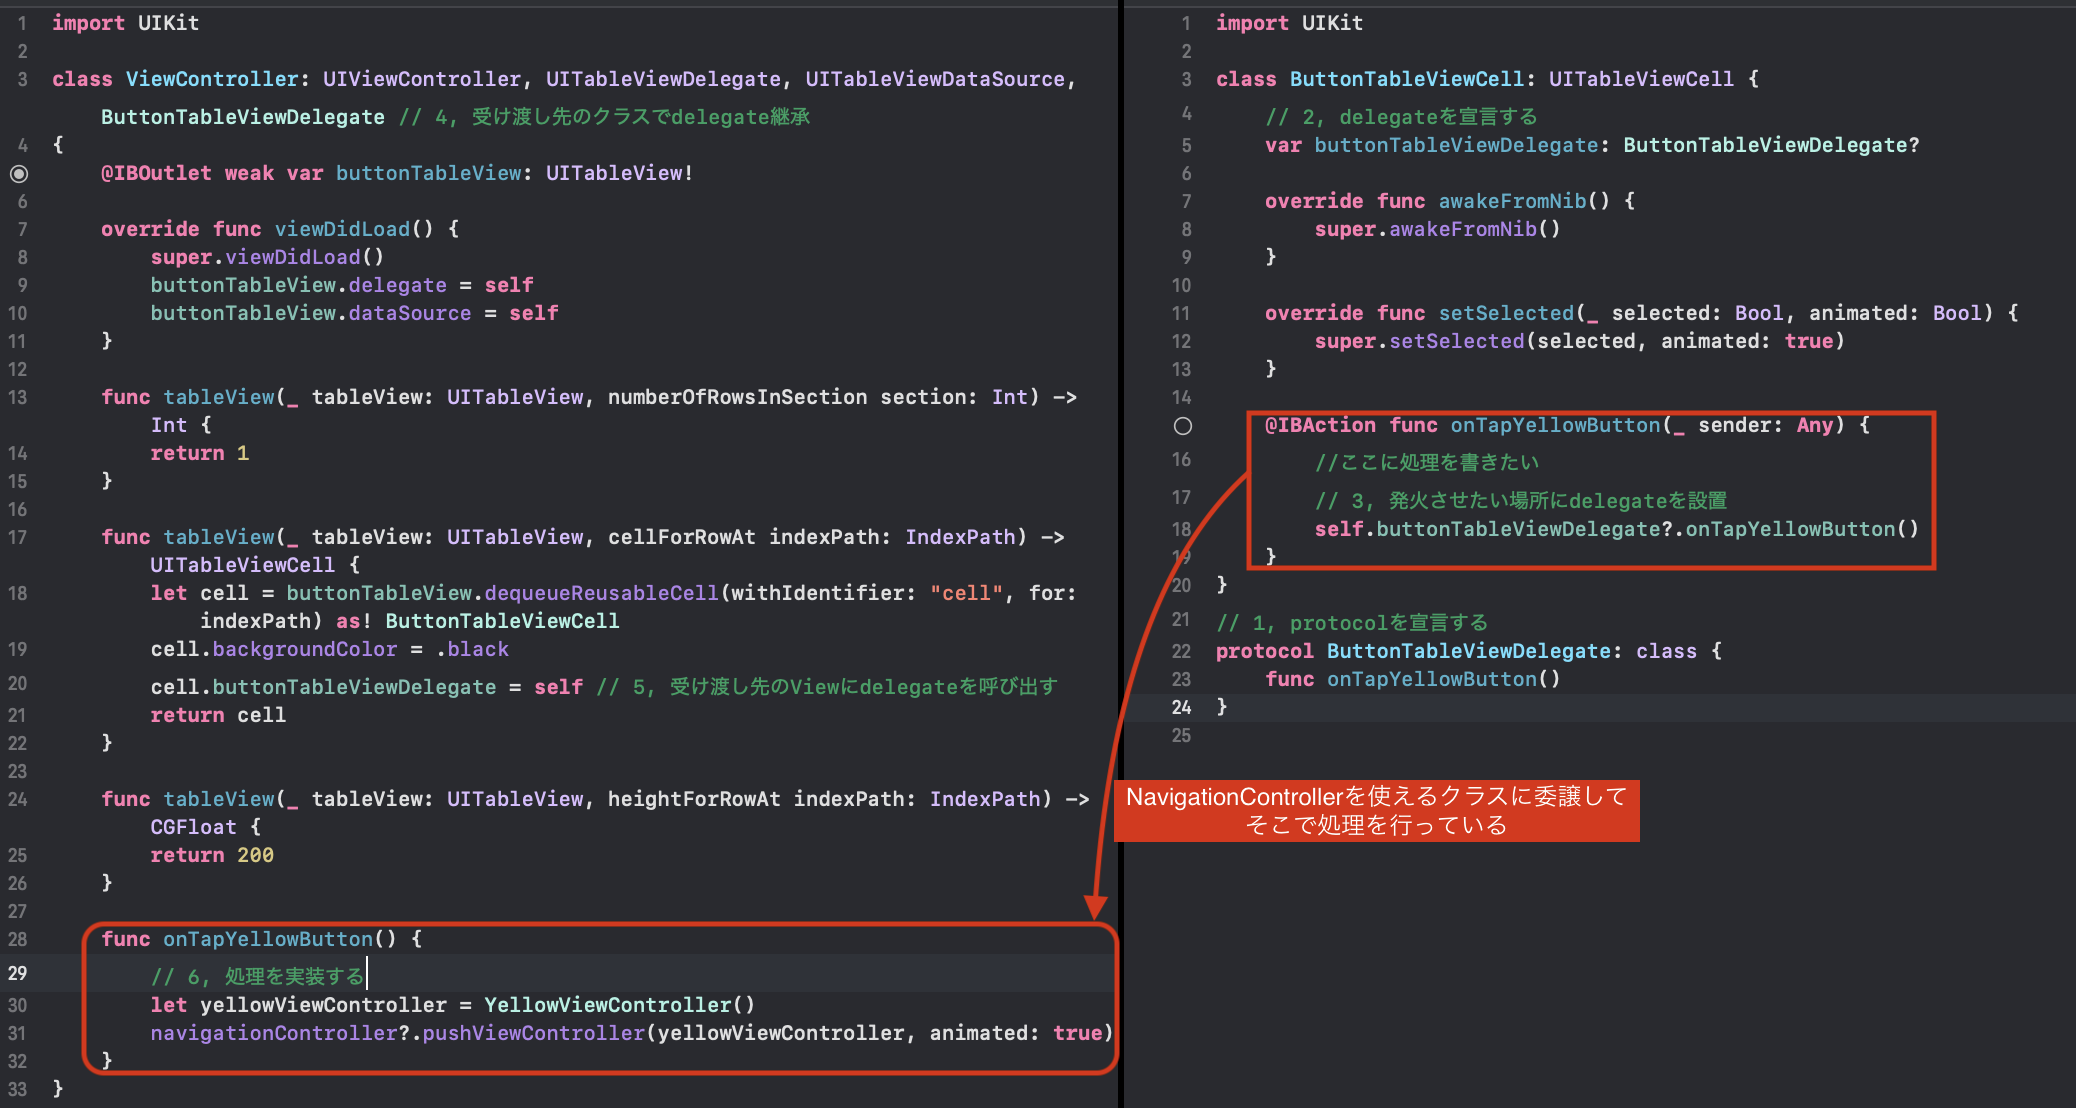
1, まずprotocolを発火させたい(ここでは@IBActionのあるButtonTableViewCell)クラスで宣言します。
protocol [delegate名]: class {
   func [メソッド名]
}
2, delegateを発火させたい(ここでは@IBActionのあるButtonTableViewCell)クラスで宣言します
3, 実際に発火させたい箇所(ここでは@IBActionの中)でdelegateを設置
4, ViewControllerに戻って、delegate名を継承する
5, ViewControllerでcellを使える場所で、delegateを呼び出す
6, そのままでは実際にしたい処理が書かれていないので、protocolで宣言したmethodをViewController内で書きます
おまけ (元々あるDelegate)
ViewControllerにも元々
buttonTableView.delegate = self
buttonTableView.dataSource = self
と書かれていますが、これも同様に
class ViewController: UIViewController, UITableViewDelegate, UITableViewDataSource,
UITableViewDelegate, UITableViewDataSourceを継承しているからです。
その証拠に、
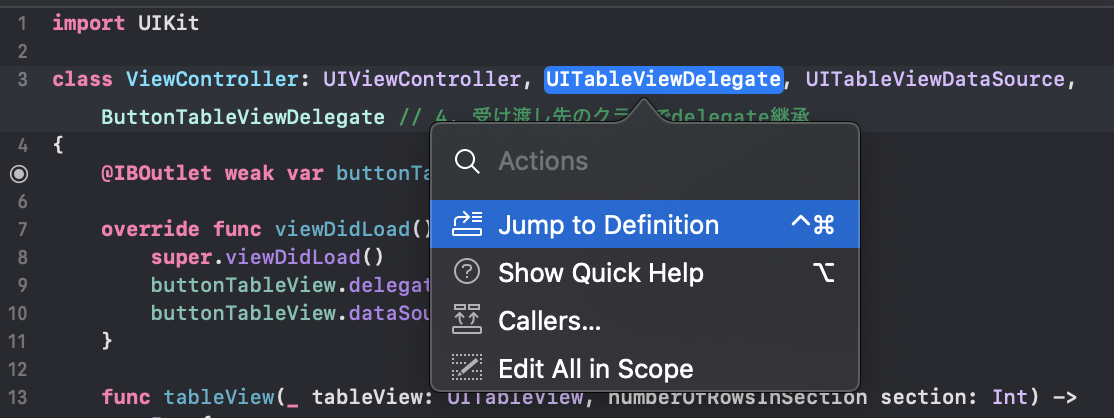
UITableViewDelegateを右クリックして見てみましょう。
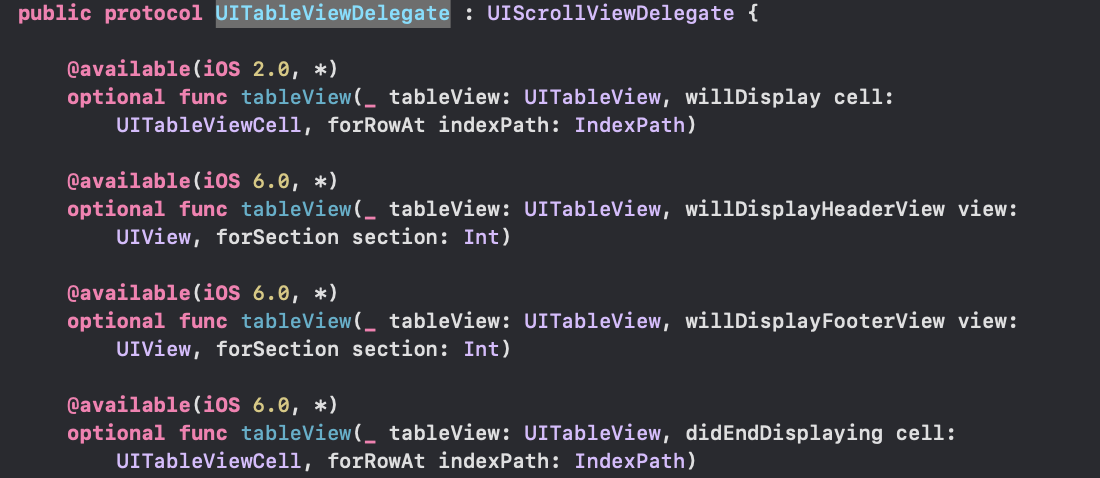
protocolが宣言されている訳です。
ViewControllerでデフォルトでtableViewが使えていたのも理由があったのですね。
func tableView(_ tableView: UITableView, numberOfRowsInSection section: Int) -> Int {
    }

func tableView(_ tableView: UITableView, cellForRowAt indexPath: IndexPath) -> UITableViewCell {
    }
最後に
最後まで読んでいただきありがとうございます。理解していただけたしょうか?
delegateはswiftを学習し始めで必ずと言っていいほど、詰まる箇所だと思います。
とても複雑に見えていましたが、根本を理解してみると簡単なものでした。
