はじめに
ある日いきなりgit cloneできなくなって焦ったので書き残しておきます。
環境
Docker - centOS
前提
-
Dockerを起動させておきます。
-
以下のサイトを元に実施しています。
手順
Git環境の準備
以下のDockerfileを適当なディレクトリに作成します。
# 検証環境
FROM centos:centos7
# 必要なツールのインストール
RUN yum install -y git
# ファイルの作成と編集が可能
vi Dockerfile
# ファイルの作成のみ
type nul > Dockerfile

# フォルダから作成したファイルをメモ帳で開き編集
Dockerfileが置かれているディレクトリ上で以下のコマンドを実施
# Dockerfileを元にイメージを作成
$ sudo docker build -t git/git .
# イメージを元にコンテナを起動
$ sudo docker run -it git/git
Windowsの場合はコマンドプロンプトを管理者権限で開く必要があります。
# Dockerfileを元にイメージを作成
$ docker build -t git/git C:¥Users¥<ユーザ名>¥Dockerfile

# イメージを元にコンテナを起動
$ docker run -it git/git
# 起動したコンテナ上でgitのバージョンを確認
$ git --version

# アカウント名とメールアドレスを登録
$ git config --global user.name "<アカウント名>"
$ git config --global user.email "<メールアドレス>"
Githubアカウントの作成
以下のサイトからアカウントを作成します。
※無料で使いたいのでプラン(subscription)はFreeを選択します。
リモートリポジトリの作成
前提で記載したサイトの「リモートリポジトリの作成」以降を元にリモートリポジトリを作成します。
※Mac用のサイトですが、該当箇所はMac/Windows共用です。
※作成後に表示されるURLをコピーしておいてください。
Githubにプッシュをする
git用のディレクトリを準備します。
# リモートリポジトリに登録するディレクトリ・ファイルを作成
$ mkdir mysite
$ cd mysite
$ git init
$ git remote add origin <作成したリモートリポジトリのURL>
$ touch index.html

# リモートリポジトリにプッシュ
$ git add index.html
$ git commit -m "Create index.html"

# プッシュしたらエラーが発生
$ git push origin master
Username for 'https://github.com': <Githubのアカウント名>
Password for 'https://ko-ogino@github.com':<Githubのアカウントパスワード>
remote: Support for password authentication was removed on August 13, 2021. Please use a personal access token instead.
remote: Please see https://github.blog/2020-12-15-token-authentication-requirements-for-git-operations/ for more information.
fatal: Authentication failed for 'https://github.com/ko-ogino/mysite.git/'
エラー内容をGoogle先生で翻訳するとパスワード認証は2021/08/13で終了したらしい。
代わりにアクセストークンを使用しろとのこと。
リモート:パスワード認証のサポートは2021年8月13日に削除されました。代わりに個人アクセストークンを使用してください。
リモート:詳細については、https://github.blog/2020-12-15-token-authentication-requirements-for-git-operations/を参照してください。
致命的:「https://github.com/ko-ogino/mysite.git/」の認証に失敗しました
アクセストークンの取得
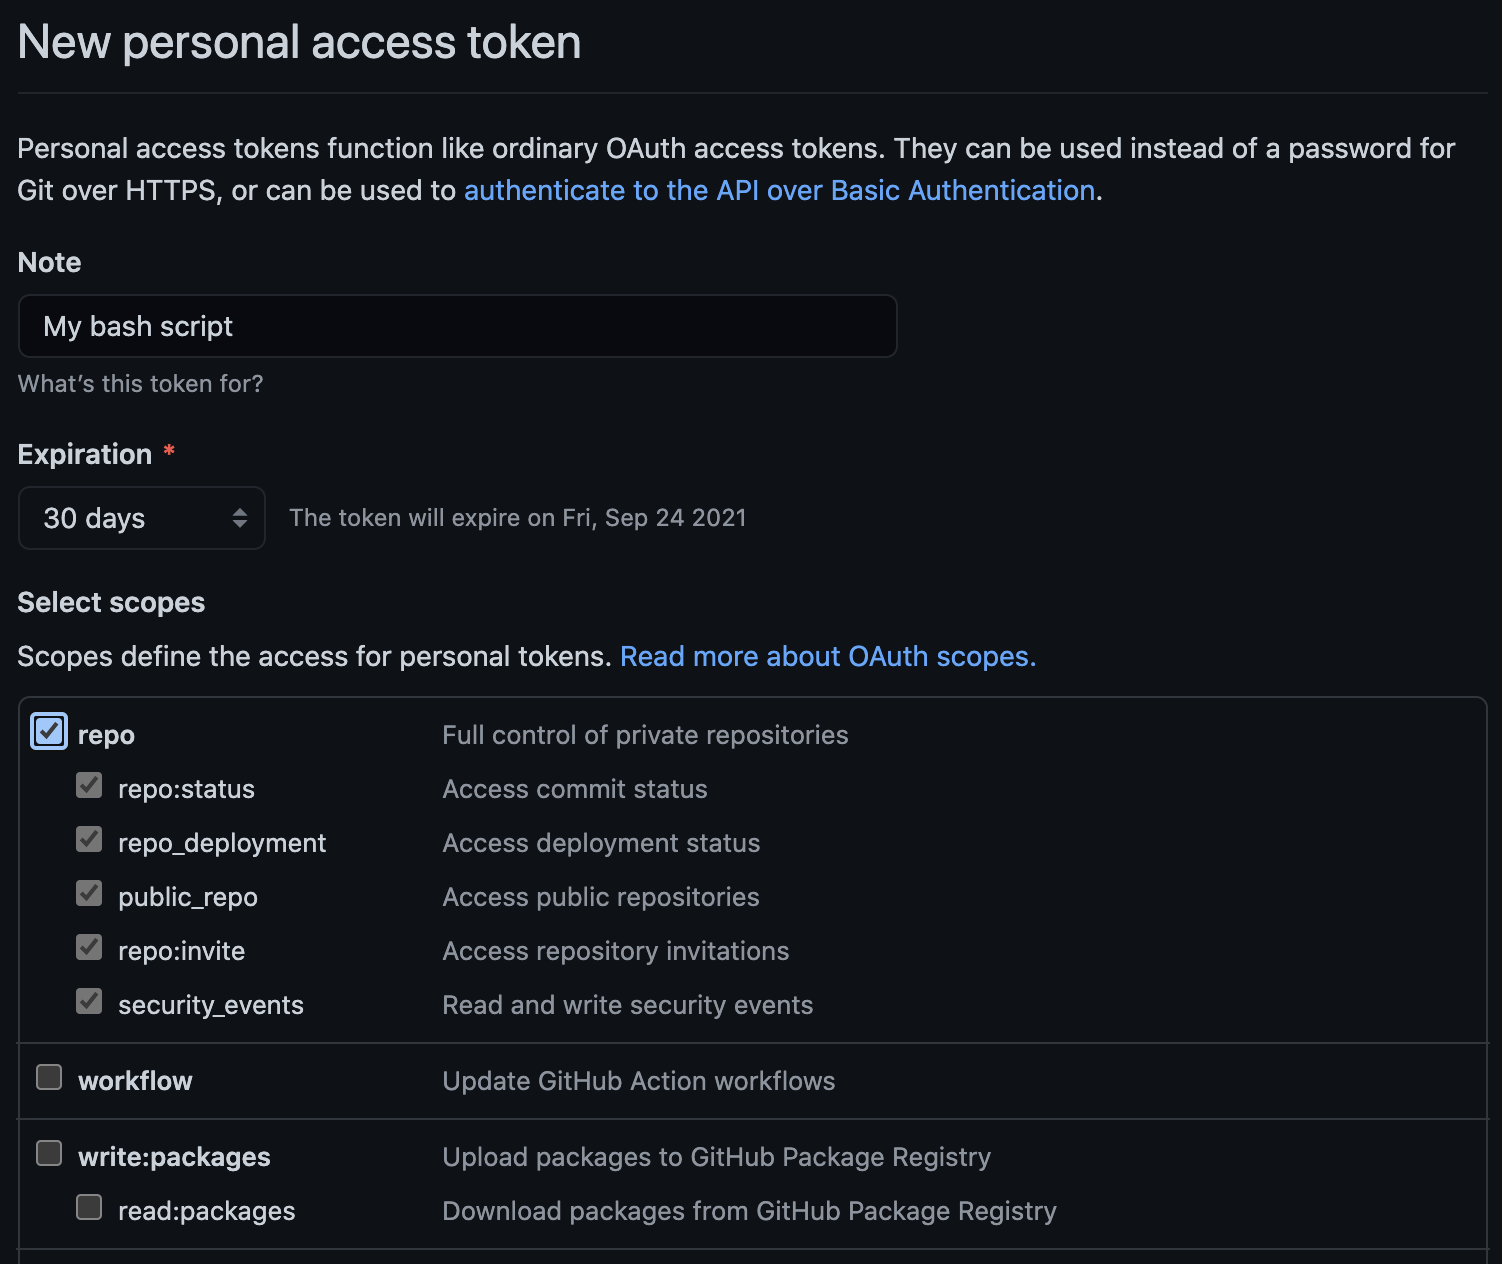
以下の公式サイトを元にアクセストークンを取得します。
今回は検証&CLIからプッシュするのでrepoにのみチェックを入れGenerate tokenをクリックします。

取得したアクセストークンを元に再度プッシュします。
$ git push origin master
Username for 'https://github.com': <Githubのアカウント名>
Password for 'https://ko-ogino@github.com': <取得したアクセストークン>
Counting objects: 3, done.
Writing objects: 100% (3/3), 219 bytes | 0 bytes/s, done.
Total 3 (delta 0), reused 0 (delta 0)
To https://github.com/ko-ogino/mysite.git
 * [new branch]      master -> master
リモートリポジトリをブラウザから参照し、作成したファイルが登録されていることを確認します。
おわりに
取得したトークンはシークレット情報として別途保管・管理する必要がある点だけ注意が必要です。
とはいえ、アクセストークンの取得はそこまで難しくはなかったです。
トークン側でアクセス制御をある程度かけられるのもよかったです。