こんにちは。
株式会社クラスアクト インフラストラクチャ事業部の大塚です。
今回はEC2を使ってWindows Serverをデプロイ。Active Directory環境を構築していきたいと思います。
Active Directoryは便利でありますが、一方でWindows Serverを使うため、少なくともローカルには勉強用の環境をなかなか用意できないのが課題であると思います。触ってみたい人はAWS上に作ってみると良いかもしれません。
構築
SG作成
ADを作成するEC2にアタッチするSGを作成していきます。
今回は以下の構成で作成しました。名前をmy-vpc-ad-sgとしました。

具体的な中身は以下で設定しています。インバウンドだけでアウトバウンドはフリーにしています。
- Active Directoryに必要なインバウンドポート
- DNS (Domain Name System)
- ポート: 53 (TCP/UDP)
- 用途: DNSクエリの解決
- LDAP (Lightweight Directory Access Protocol)
- ポート: 389 (TCP/UDP)
- 用途: ディレクトリサービスへのクエリ
- LDAP over SSL (LDAPS)
- ポート: 636 (TCP)
- 用途: 安全なLDAPクエリ
- Global Catalog
- ポート: 3268 (TCP)
- 用途: グローバルカタログ検索
- ポート: 3269 (TCP)
- 用途: グローバルカタログ検索(SSL経由)
- Kerberos Authentication
- ポート: 88 (TCP/UDP)
- 用途: 認証プロトコル
- SMB (Server Message Block)
- ポート: 445 (TCP)
- 用途: ファイル共有およびプリンタ共有
- RPC (Remote Procedure Call)
- ポート: 135 (TCP)
- 用途: RPCエンドポイントマッピング
- 動的RPCポート範囲: 49152-65535 (TCP)
- 用途: ADレプリケーション、RPC通信
- Windows Time
- ポート: 123 (UDP)
- 用途: NTP時間同期
- NetBIOS
- ポート: 137-139 (TCP/UDP)
- 用途: NetBIOS名前解決およびセッションサービス
- RDP (Remote Desktop Protocol)
- ポート: 3389 (TCP)
- 用途: リモートデスクトップ接続
- DNS (Domain Name System)
EC2作成
以下の設定でEC2を作成します。
Windows Server 2022を選択し、インスタンスタイプをt3.smallとしました。t2.microでも動かせますが、かなり重くなってストレスフルなので、無理量利用枠ではないですが、少しだけスペックのあるインスタンスタイプを選択しています。VPCやSubnet、SGは個別で作成したものを使用しています。
※AMIでJapanese-baseを選択すれば日本語のWindows Serverをデプロイできるはずです。

AD導入
EC2にRDPしてログインします。
Server Managerを起動します。

画面中央上にある②Add role and featuresを選択します。

Nextを押下します。
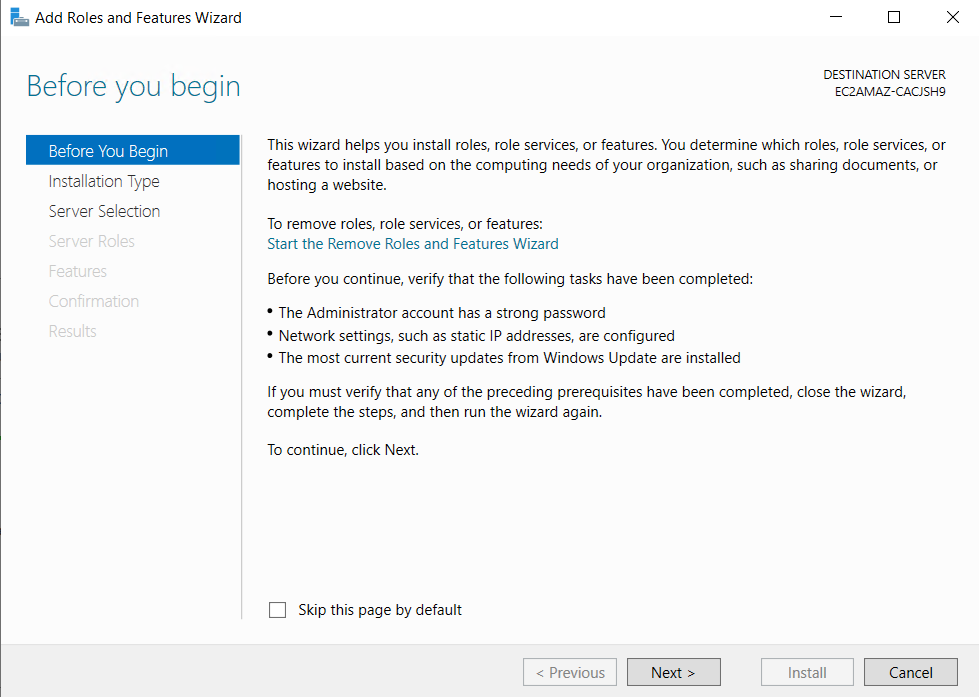
Role-based or feature-based installationを選択してNextを押下します。

Nextを押下します。
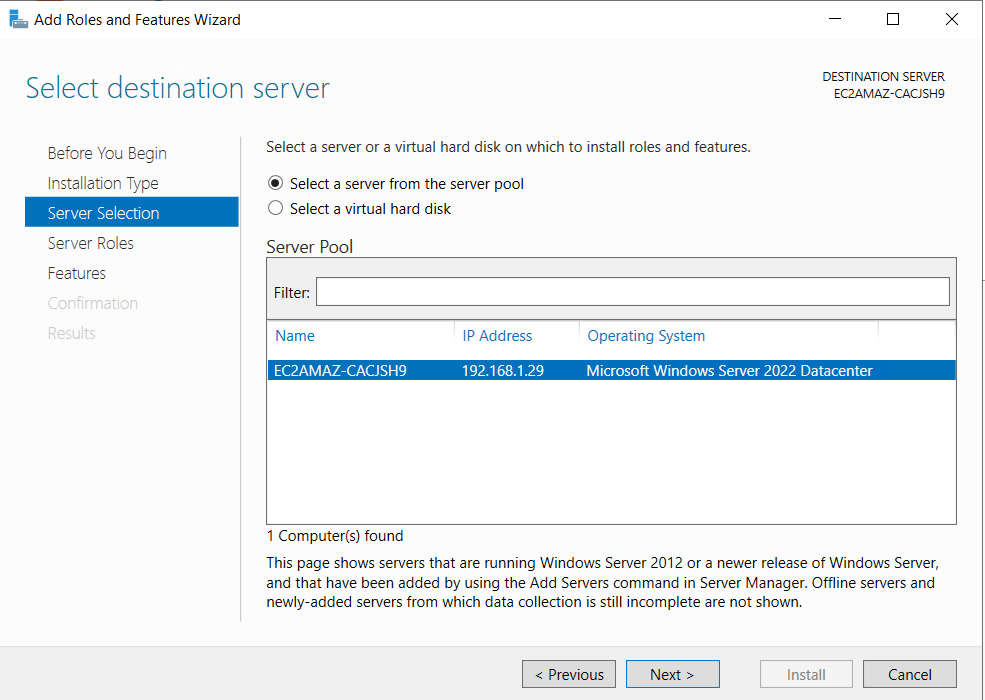
Active Directory Domain Services と DNS Serverを選択して次に進みます。
※スクショではCertificate Servicesも選択していますが誤りです。

デフォルトの状態で次に進みます。

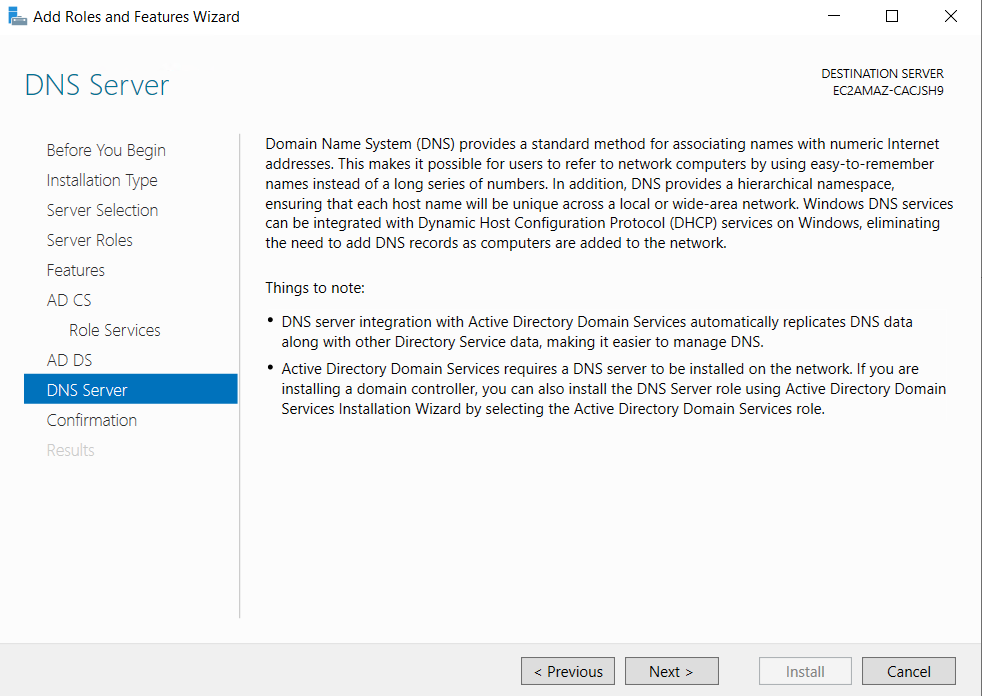
ADとDNSに説明が表示されます。次に進みます。

installを押下します。
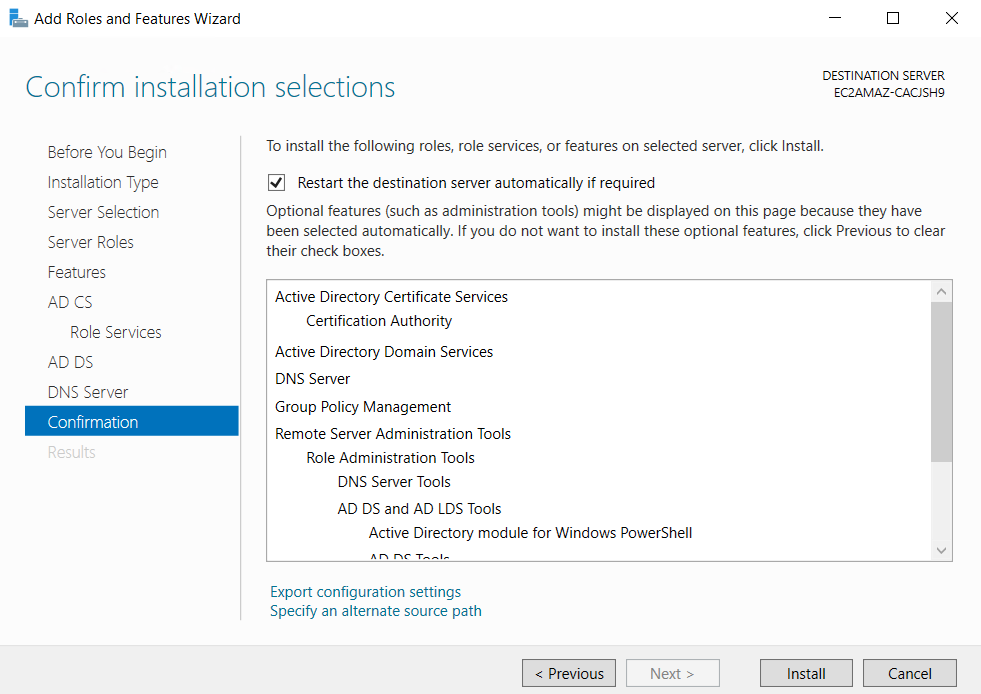
インストールが開始されます。
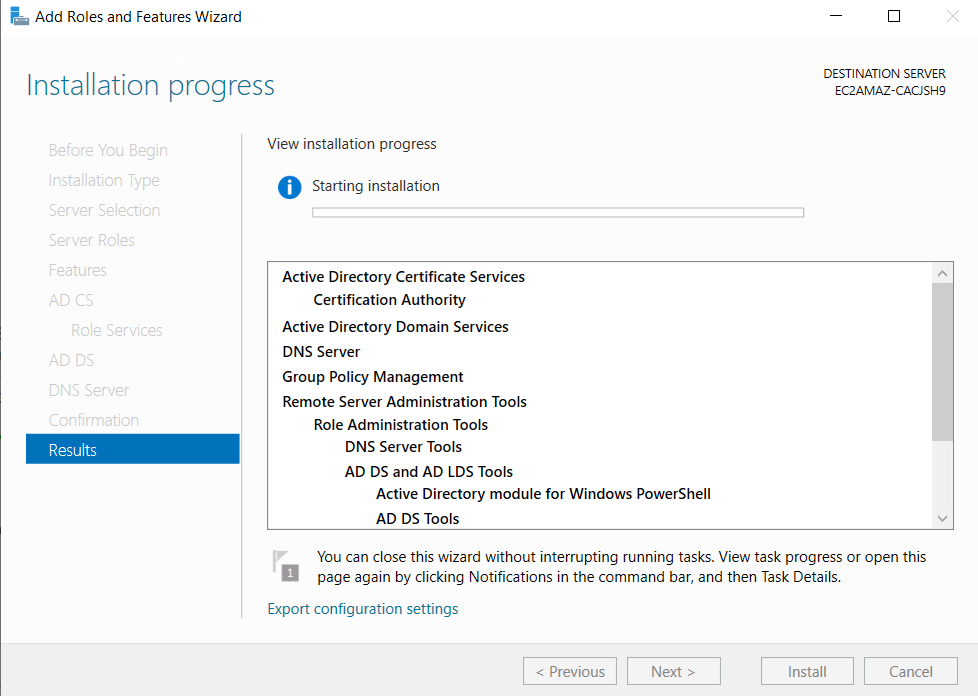
インストールが完了しましたら、Promote this server to a domain controllerという文字列のリンクを押下します。

Add a new forestを選択します。Root domain nameに今回はad.example.comと入力しました。
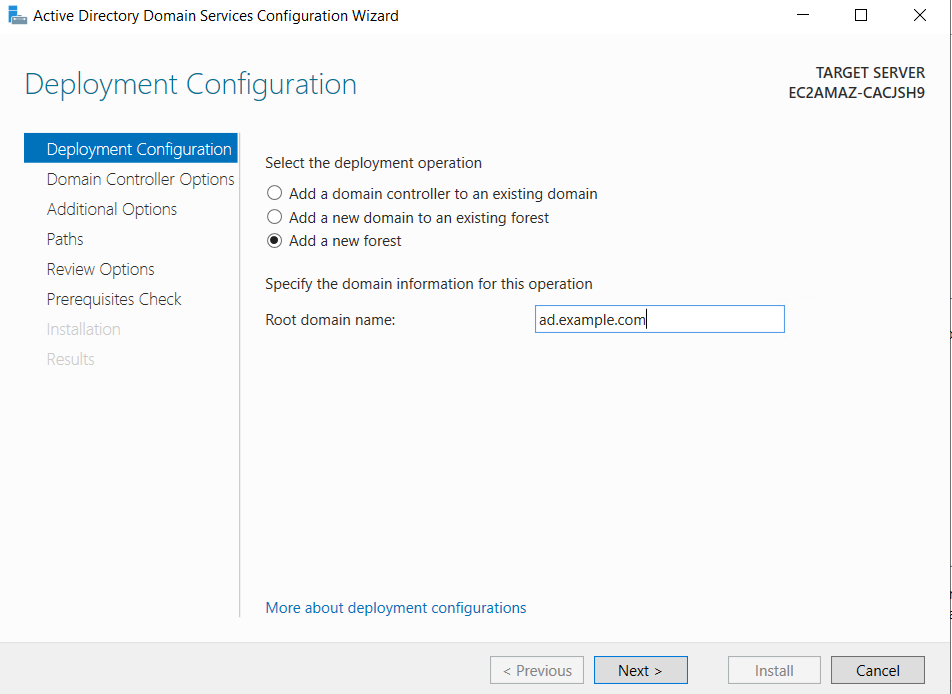
以下のような設定で次に進みます。


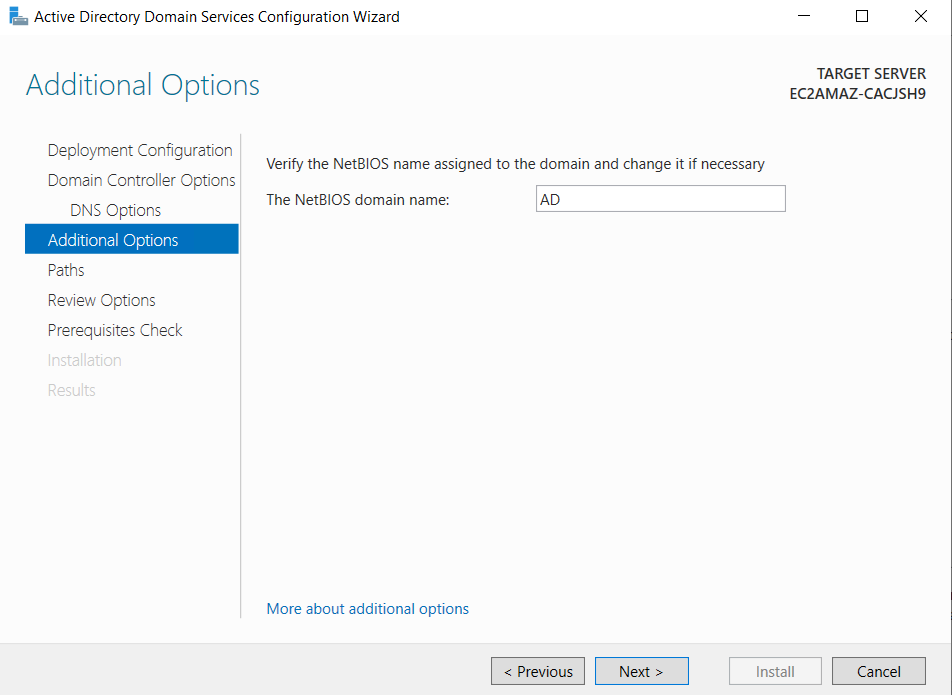

Nextを押下します。
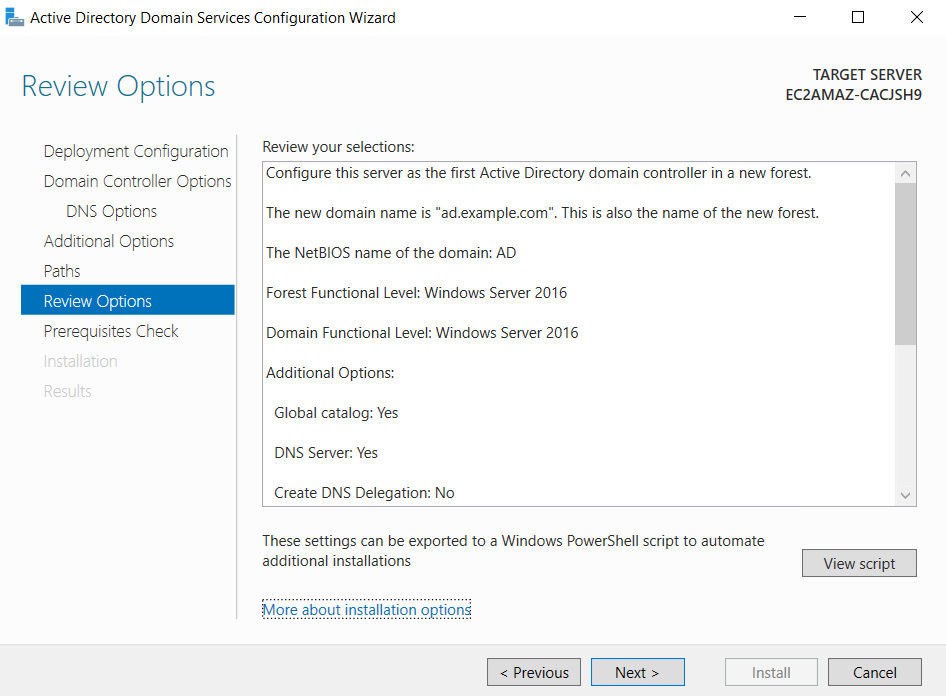

緑色のチェックマークがついたら、installボタンを押下します。
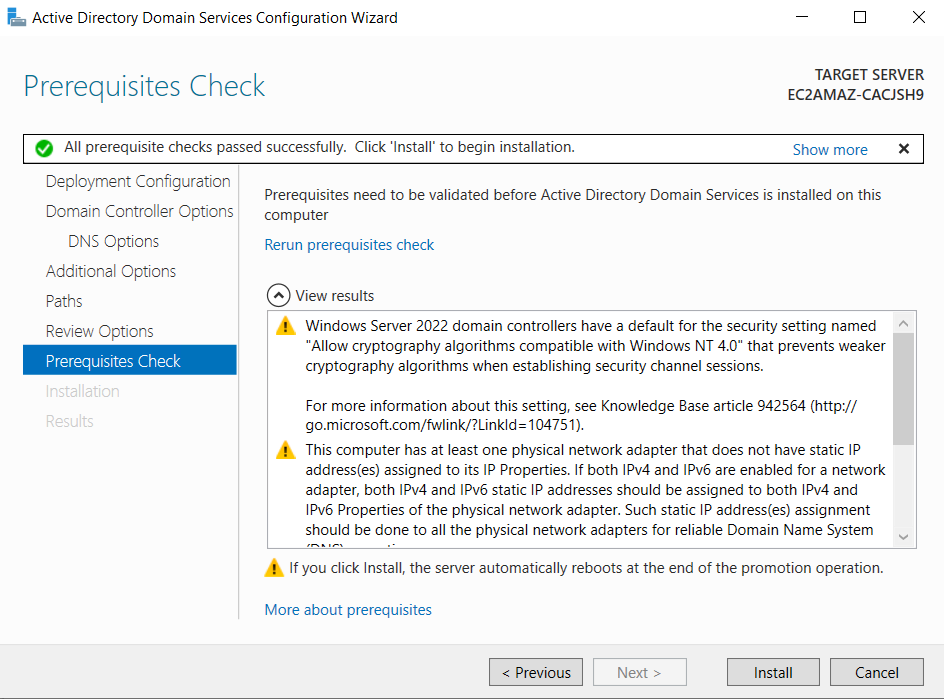
install後、自動で再起動をします。これでAD環境作成完了です。

ADユーザを作成してRDPする
ADユーザ作成
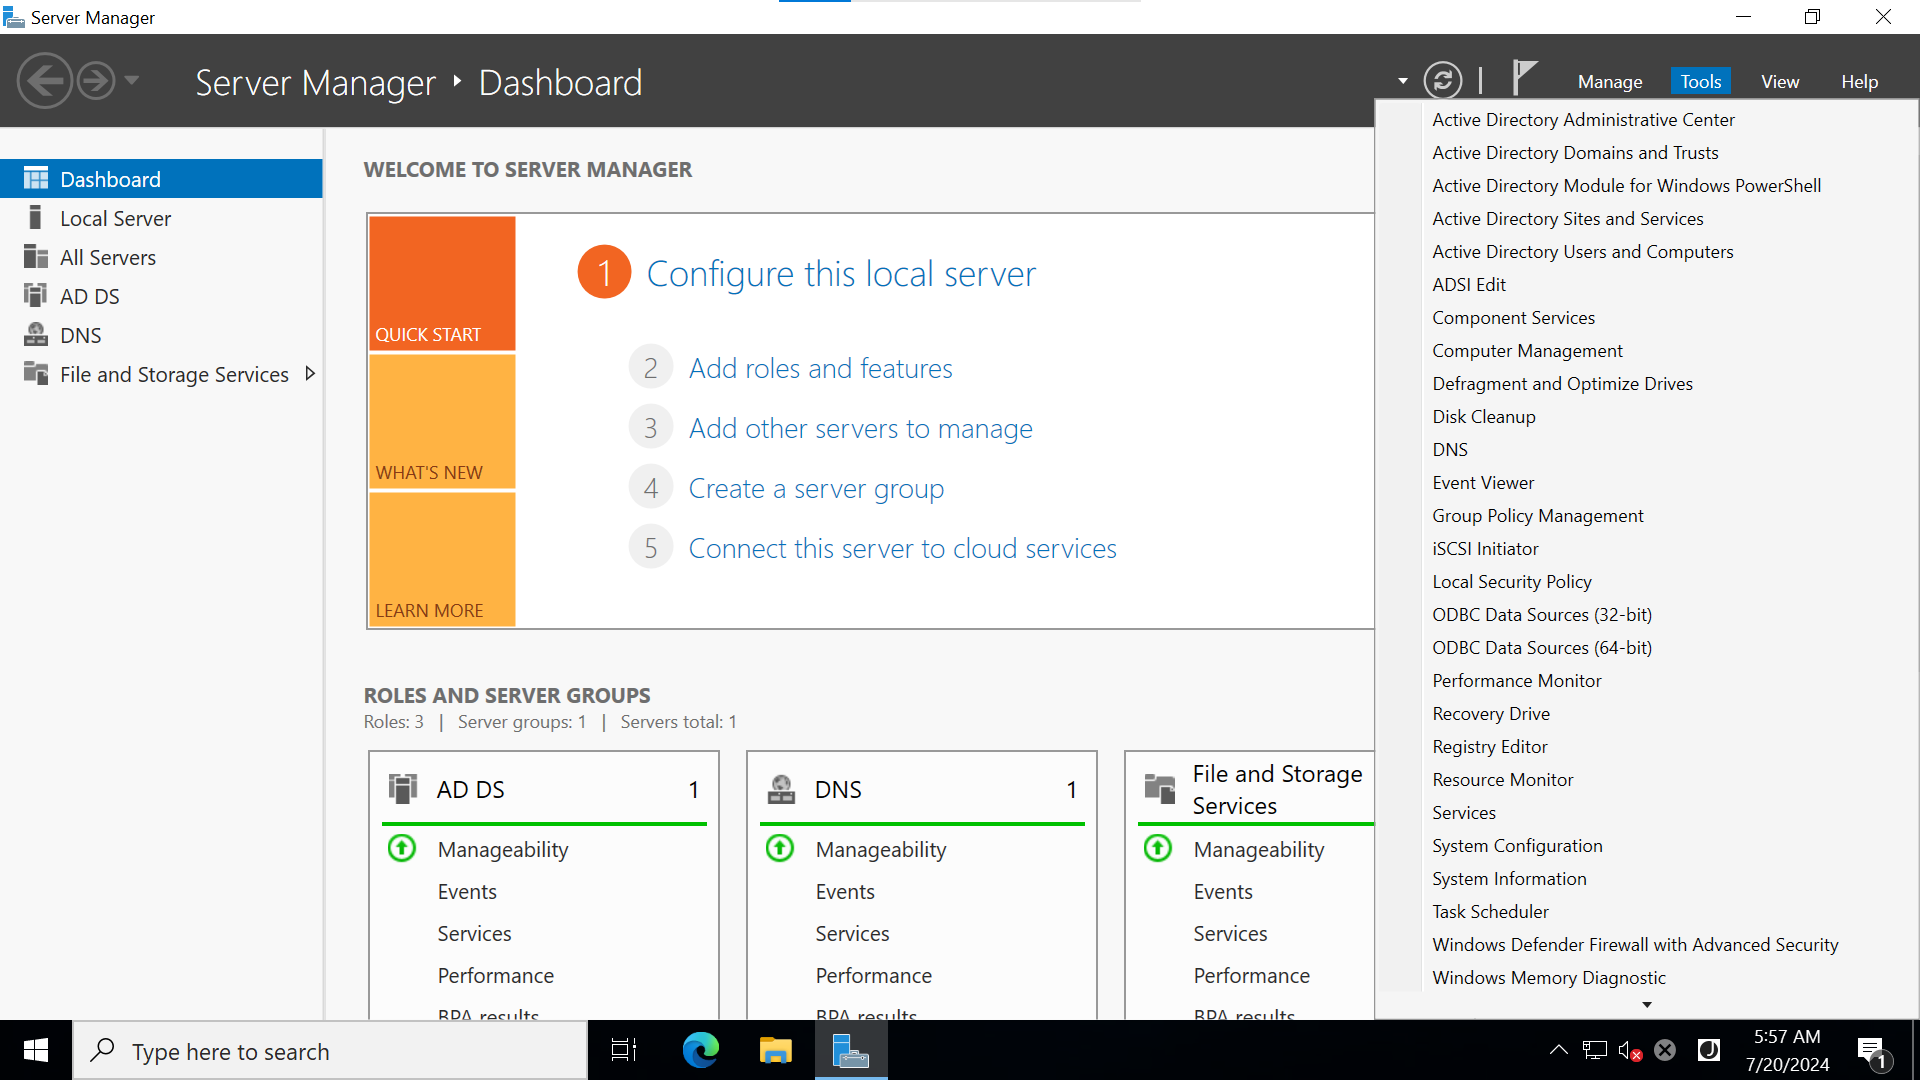
再起動後、改めてサーバにRDPしてtoolsタブのActive Directory Users and Computersを押下します。
Active Directory Users and Computers > ad.example.com(作成したドメイン名) > Usersで右クリックをします。New > Usersを押下します。

今回はuser01というユーザ名にしました。次に進みます。

user01でログインする時のパスワードを決めます。

内容を確認してFinishボタンを押下します。

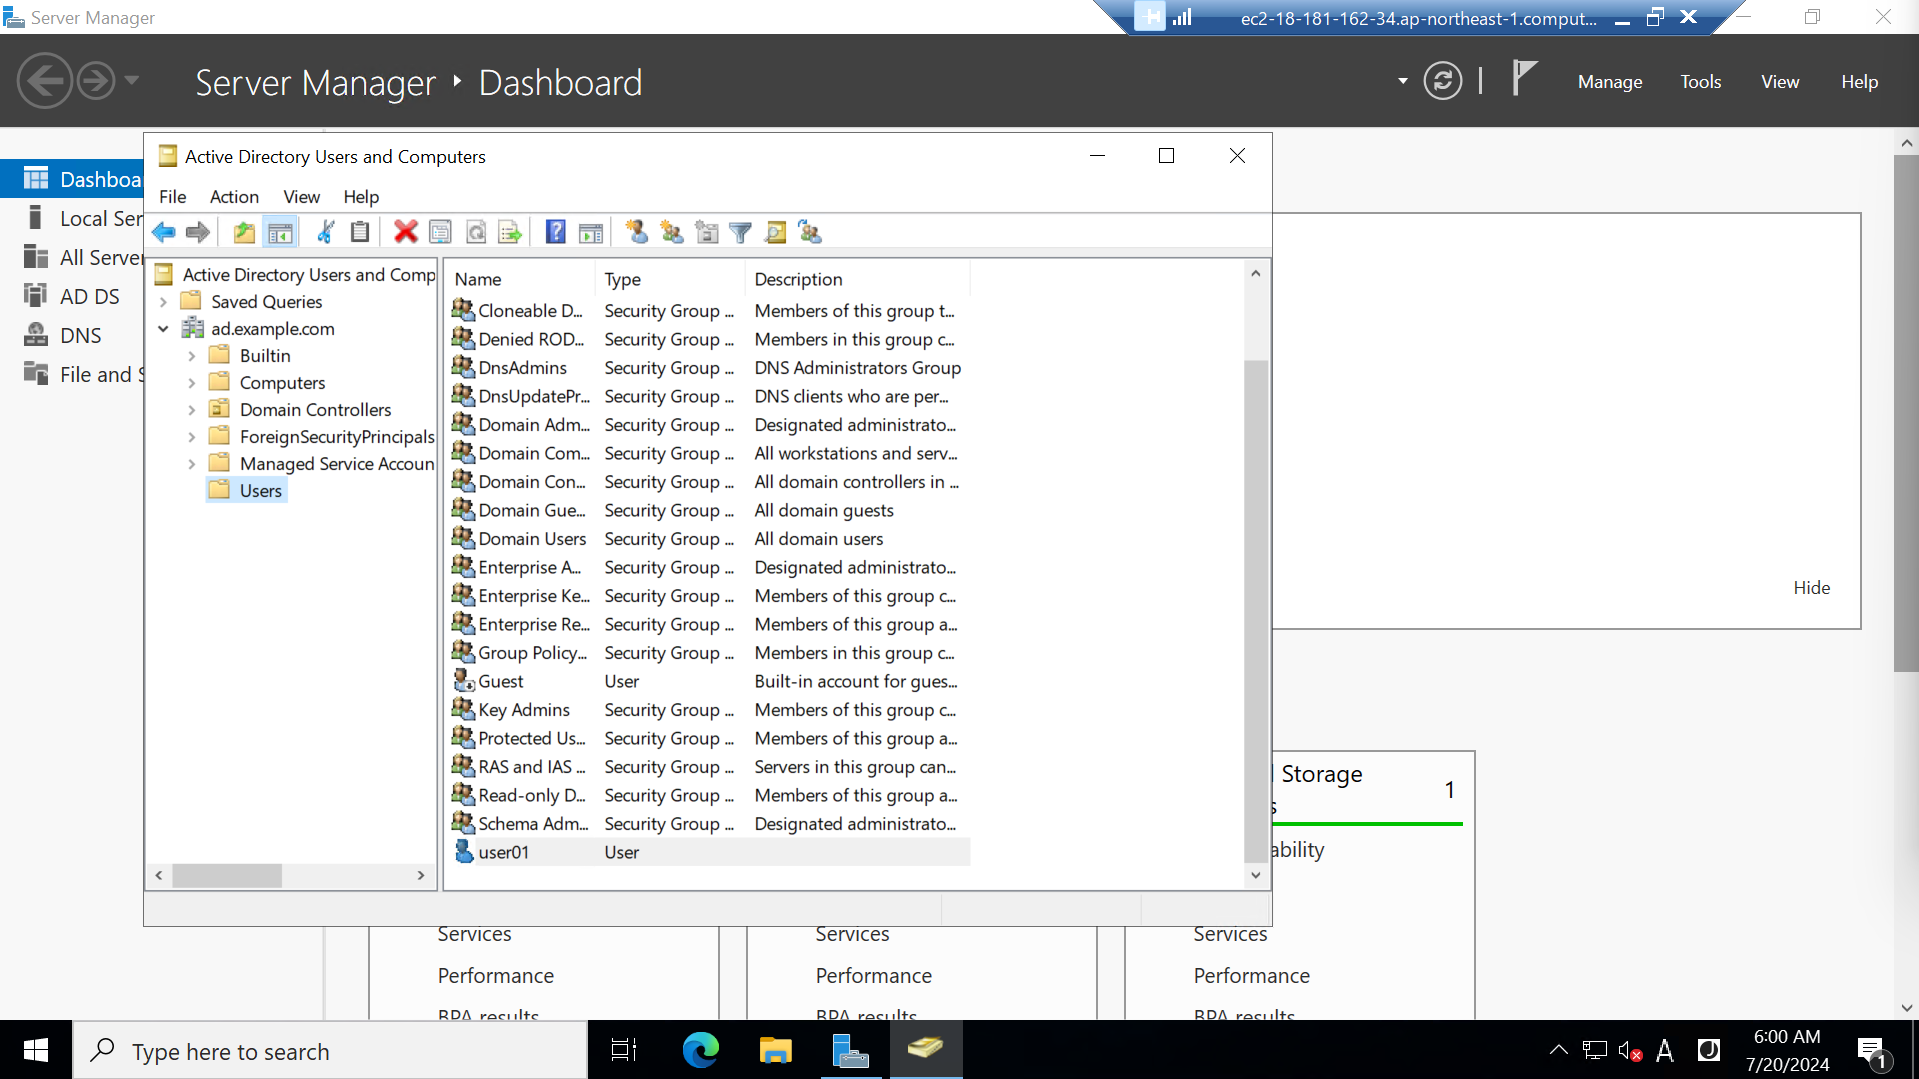
作成されていることを確認します。
ADユーザをRemote Desktop Usersグループにアサインする
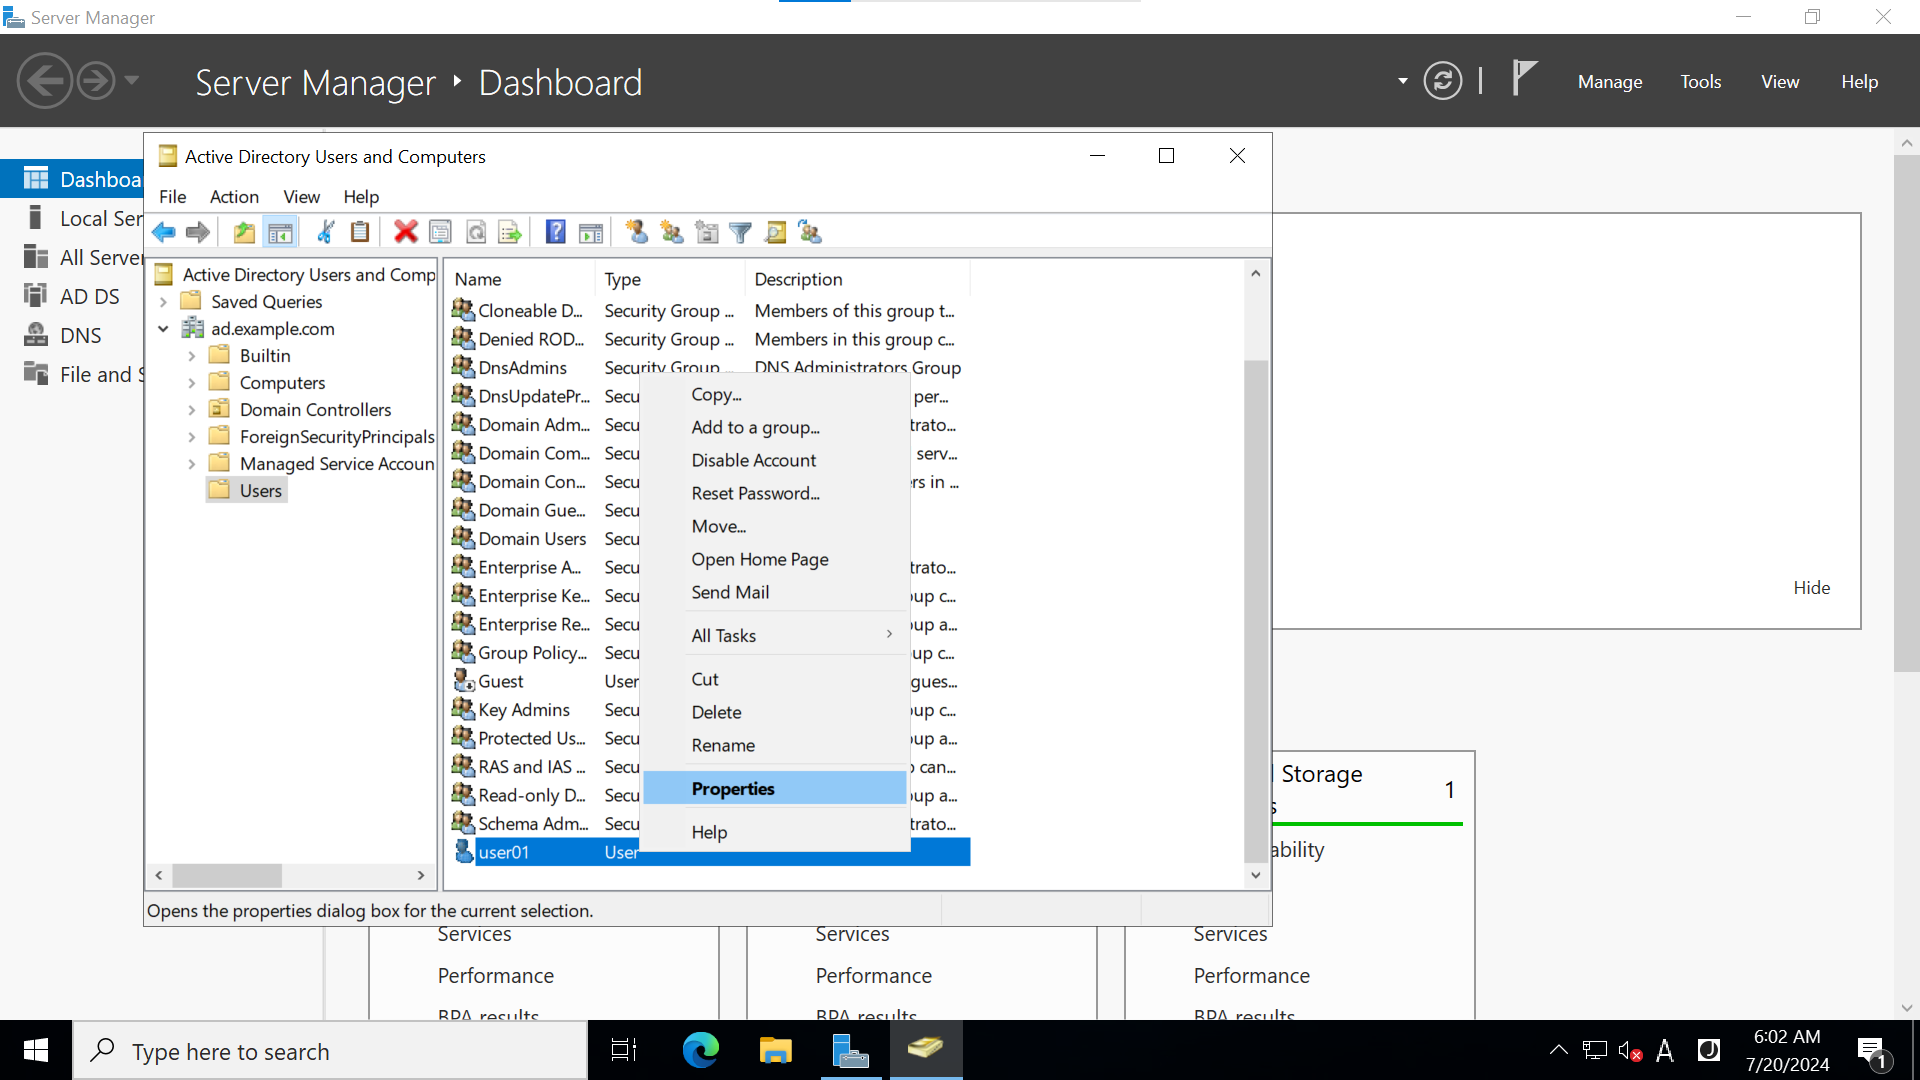
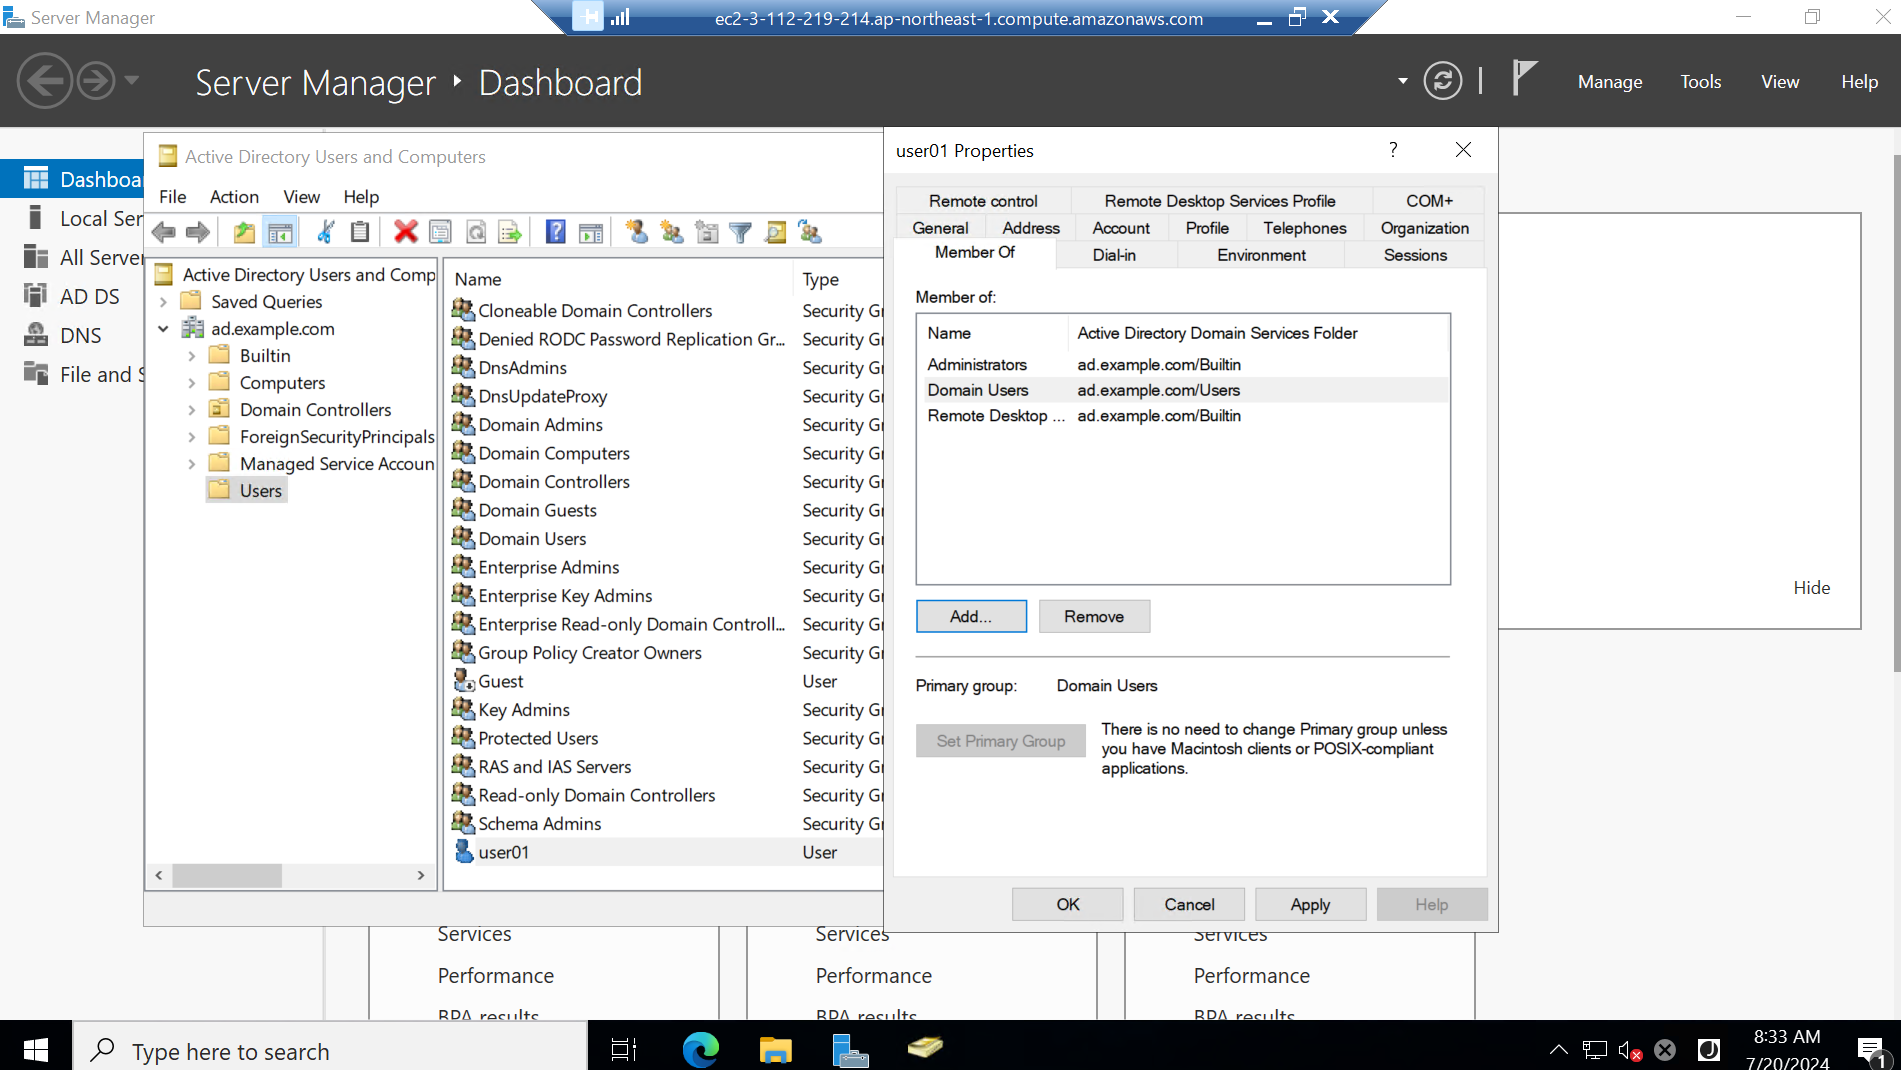
作成したuser01を右クリックしてPropertiesを選択します。
Member ofと書かれているタブを選択してAddボタンを押下します。

Remote Desktop UsersとAdministratorsを追加してApplyボタンを押下した後、OKボタンを押下します。
Group Policy Managementを押下します。

Group Policy Management > Forest ad.example.com(作成したドメイン) > Domain > ad.example.com(作成したドメイン) > Domain Controllers > Default Domainで右クリックをしてEditを選択します。

Group Policy Management Editorが立ち上がります。
Default Domain Controllers Policy > Computer Configuration > Policies > Windows Settings > Security Settings > Local Policies > User Rights Assignmentを選択して、Allow log on through Remote Desktop Servicesを選択します。
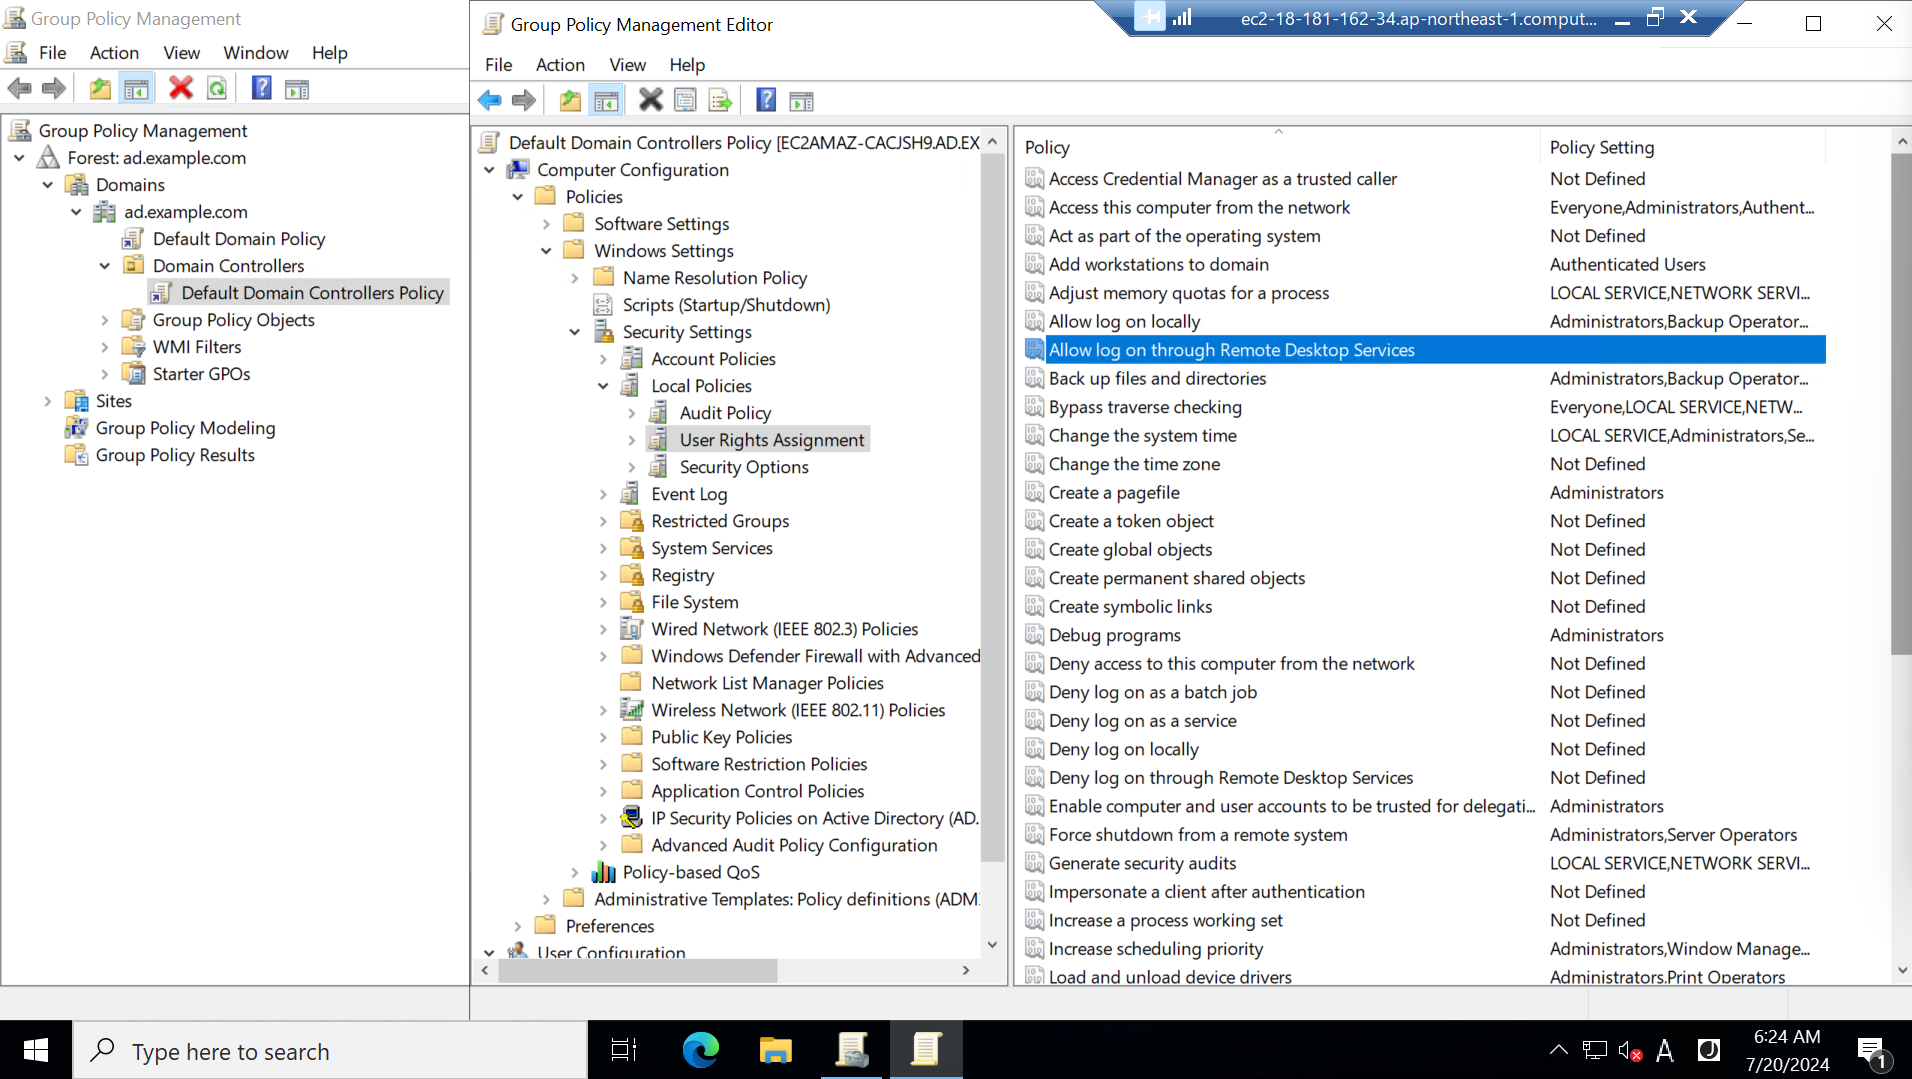
Add User or Groupを選択してRemote Desktop Usersグループを追加して以下のような状態にします。Applyをした後OKボタンを押下します。

設定が反映されていることを確認します。

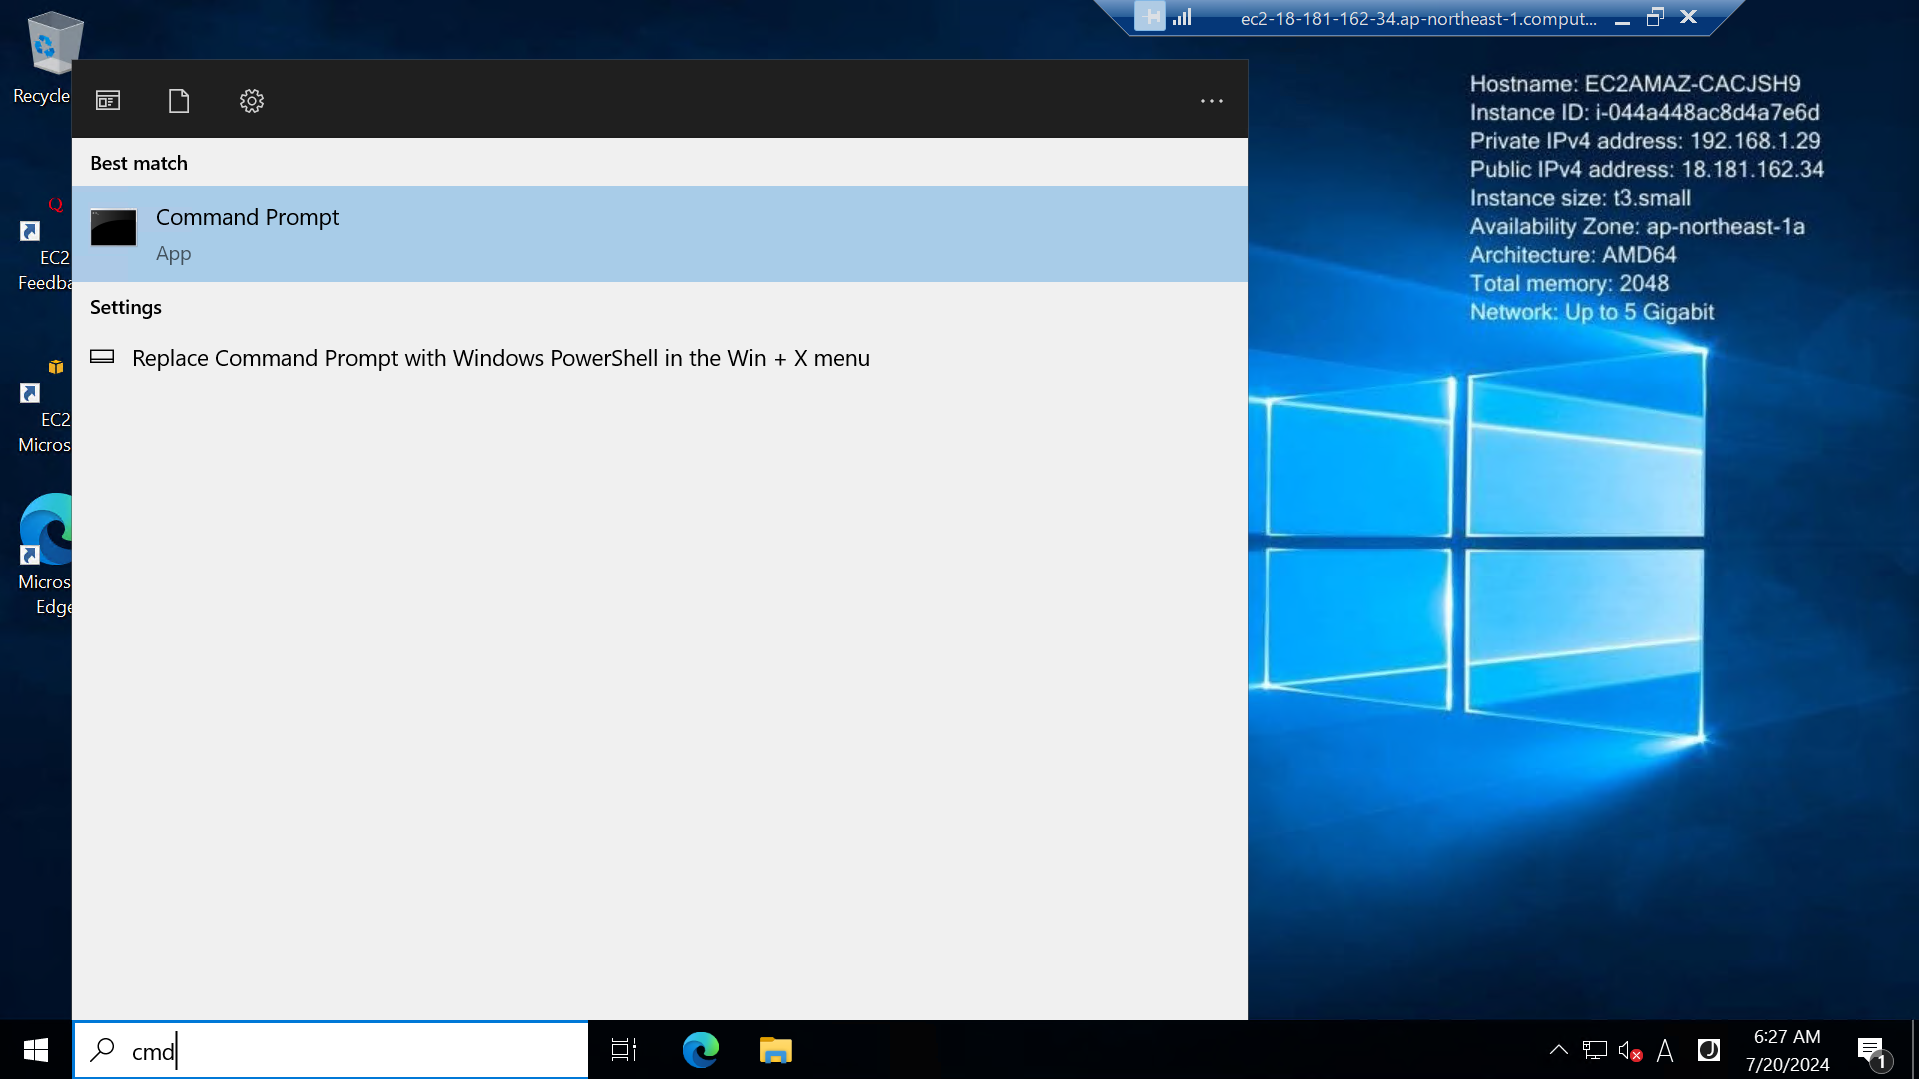
管理者権限でCMDを起動してコマンドを実行します。このコマンドを実行することで設定を反映します。
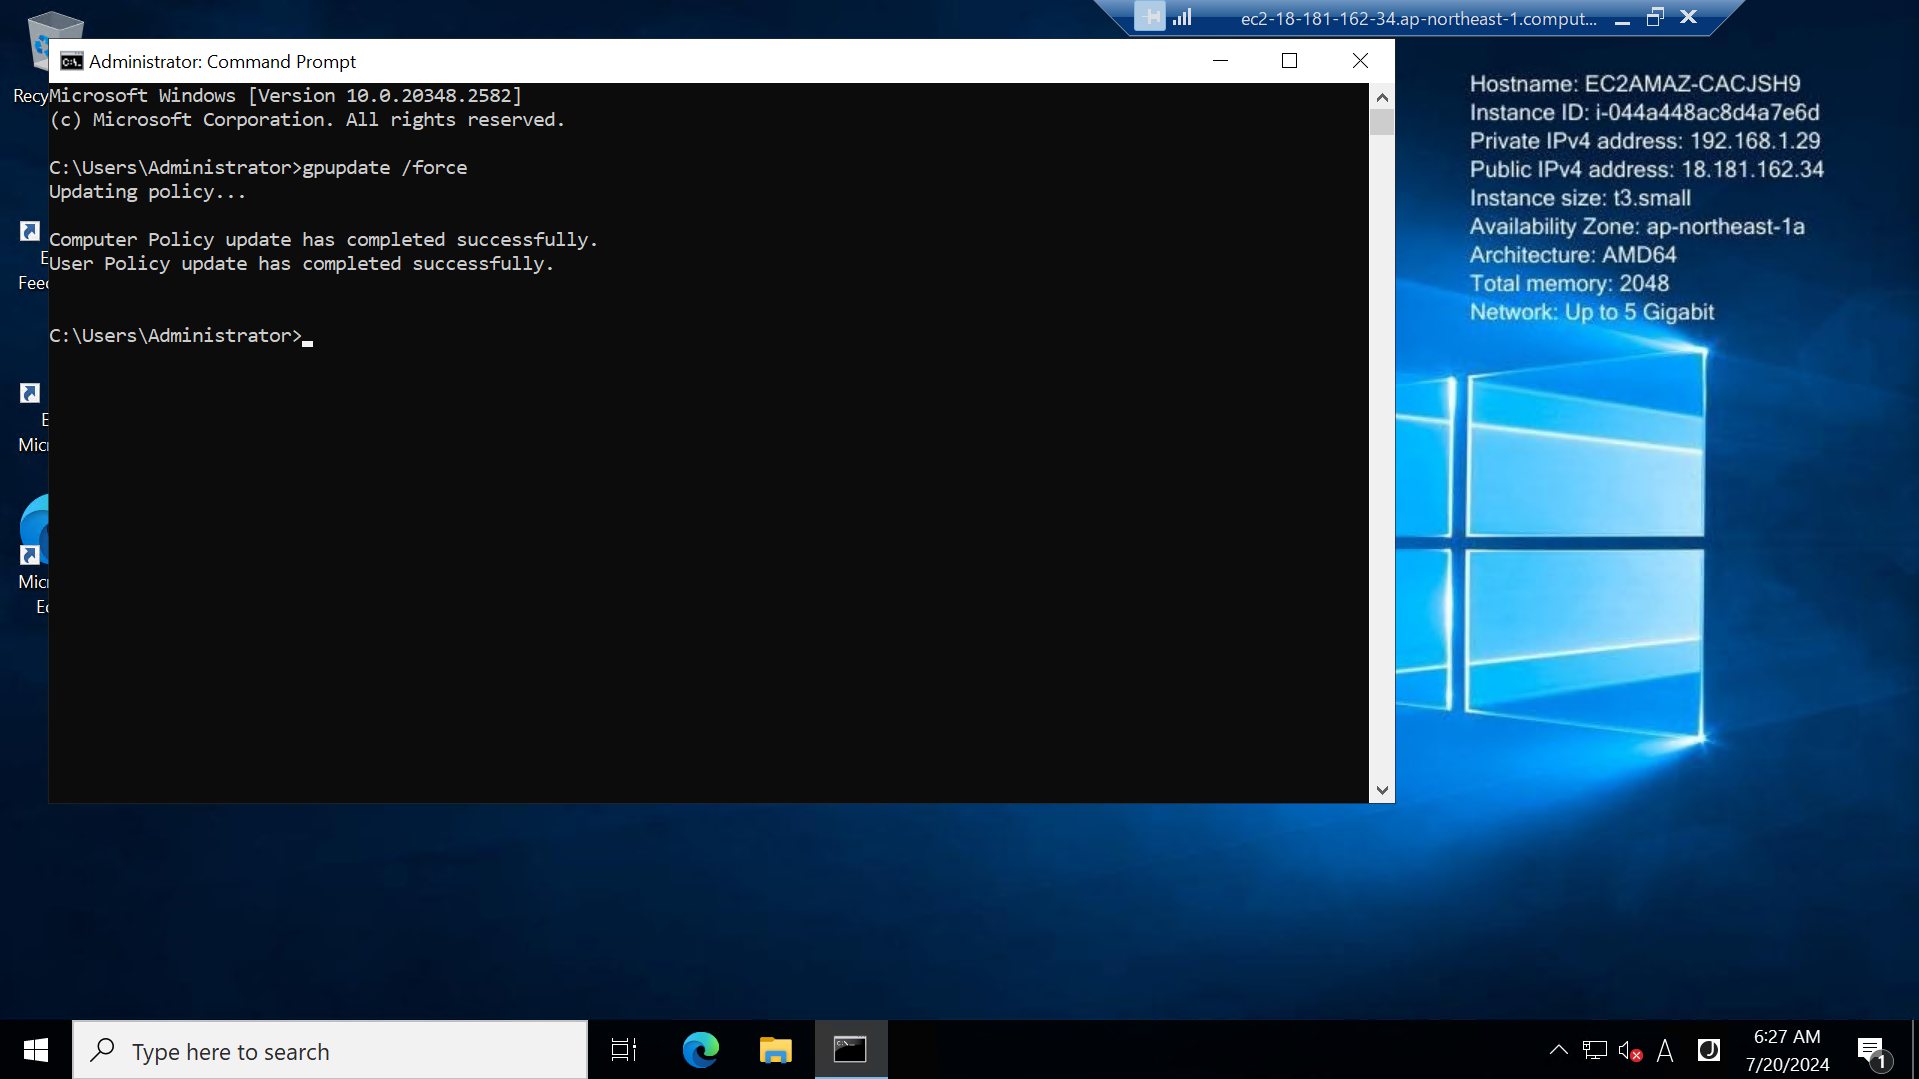
gpupdate /force
ADユーザでRDPする
ローカルのPCでリモートデスクトップをします。以下の設定で接続を試みます。
ユーザ:ad.example.com\user01
パスワード:入力したパスワード

ログインできればADユーザが機能しています。
Administrator権限となっていることも確認しましょう。
