概要
raspberry pi 3 でstretchやってみた。
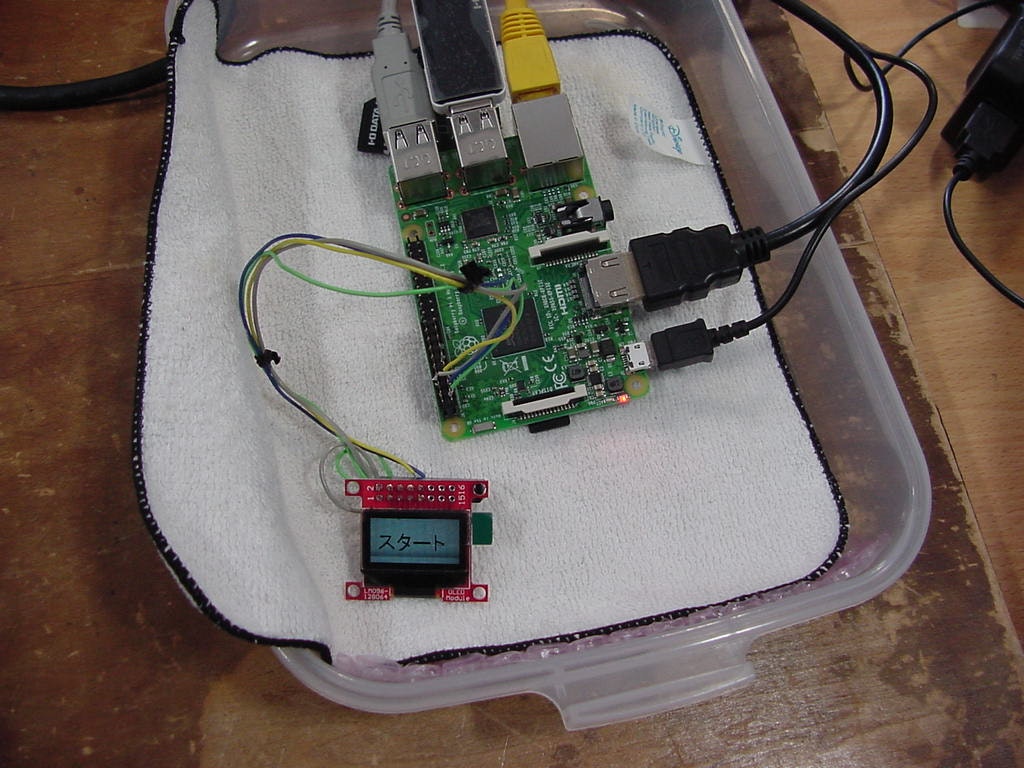
oledやってみた。
ライブラリーは、使わない。
写真
環境
Raspberry Pi 3 model B v1.2 element14
2017-09-07-raspbian-stretch
回路図

設定
raspi-config のinterfaces からi2cを有効化する。
確認
i2cdetect 1 で 3cの生存を確認。
準備
128×64の画像をつくって、ダウンロードする。
http://jsdo.it/ohisama1/yhxJ
サンプルコード
import smbus
import time
from PIL import Image

image = Image.open('canvas.png')
img = image.convert('1')
px = img.getdata()
oled = smbus.SMBus(1)
list0 = [0x21, 0, 127, 0x22, 0, 7]
for k in list0:
    block = []
    block.append(k)
    oled.write_i2c_block_data(0x3c, 0x0, block)

step = 1024
buf = [0] * 8 * step
of = [0, 128, 256, 384, 512, 640, 768, 896]
w = 128
j = 0
for y in range(0, 8 * step, step):
    i = y + w - 1
    while i >= y:
        buf[j] = (px[i] & 0x01) | (px[i + of[1]] & 0x01) << 1 | (px[i + of[2]] & 0x01) << 2 | (px[i + of[3]] & 0x01) << 3 | (px[i + of[4]] & 0x01) << 4 | (px[i + of[5]] & 0x01) << 5 | (px[i + of[6]] & 0x01) << 6 | (px[i + of[7]] & 0x01) << 7
        i -= 1
        j += 1

for i in range(64):
    block = []
    for j in range(16):
        b = i * 16 + j
        block.append(buf[b])
    oled.write_i2c_block_data(0x3c, 0x40, block)
print ("ok")
以上。