はじめに
Claude Code は、Anthropic が提供する AI アシスタント「Claude」を、開発者向けに特化させた CLI & GUI ツールです。
コード補完・設計レビュー・プロンプト改善などを ローカル環境 で行え、開発支援を強化できます。
この記事では、以下をカバーします。
- Claude Code のインストールと起動方法
- Claude Router を経由して Claude Code を使う設定
- 実際の活用例(Lyraによるプロンプト設計 → AI実装補助)
- トラブルシューティング
- 開発効率を高める操作コマンド
Claude Code 単体での利用
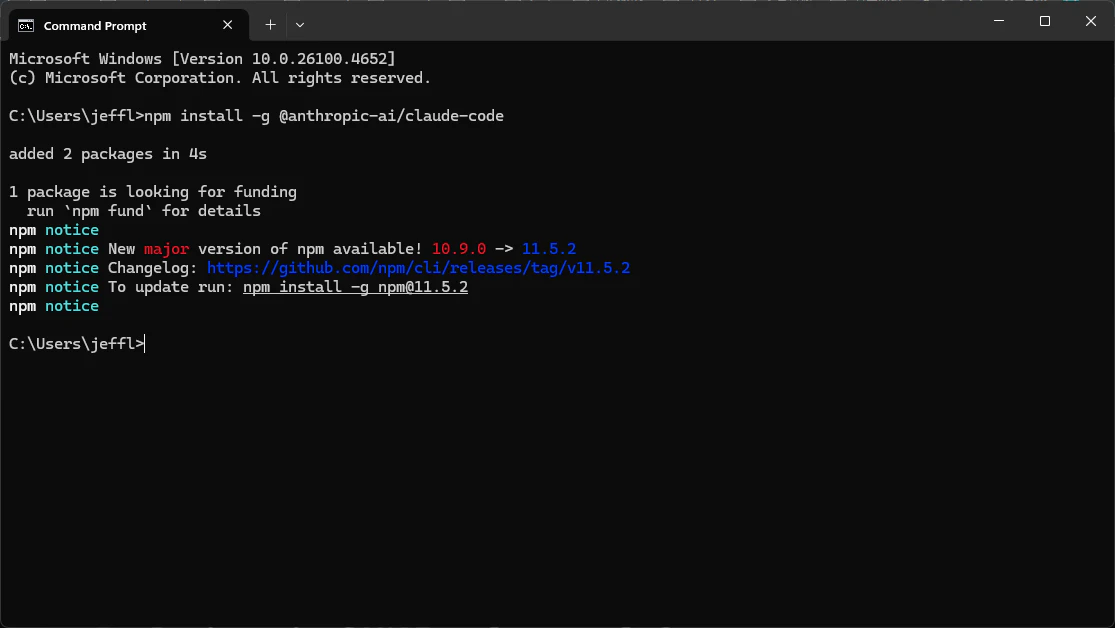
1. claude codeのインストール
npm install -g @anthropic-ai/claude-code
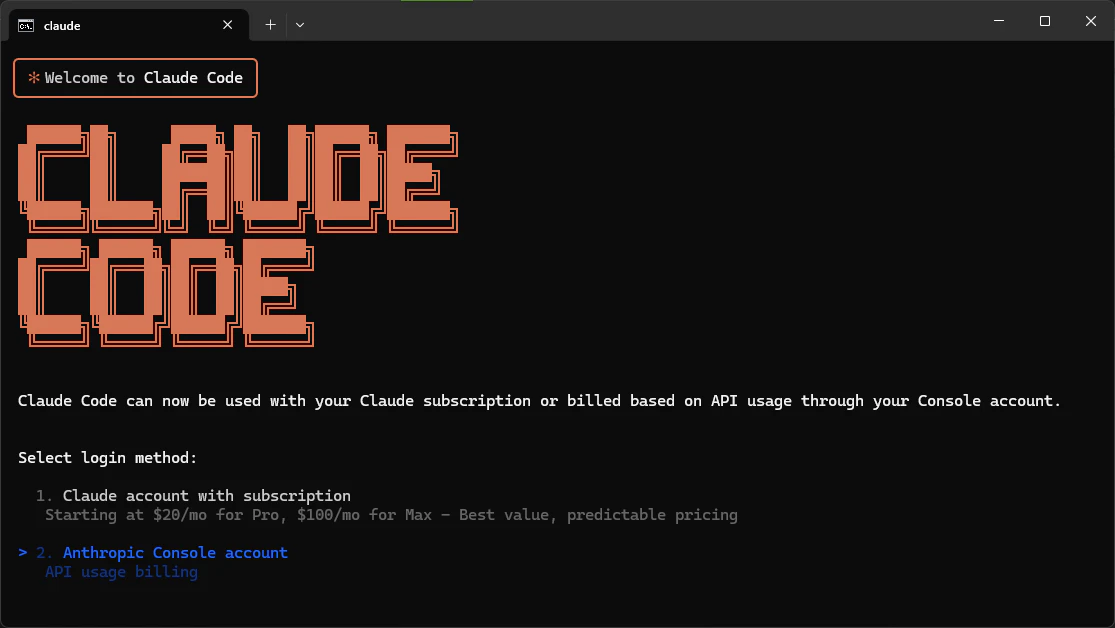
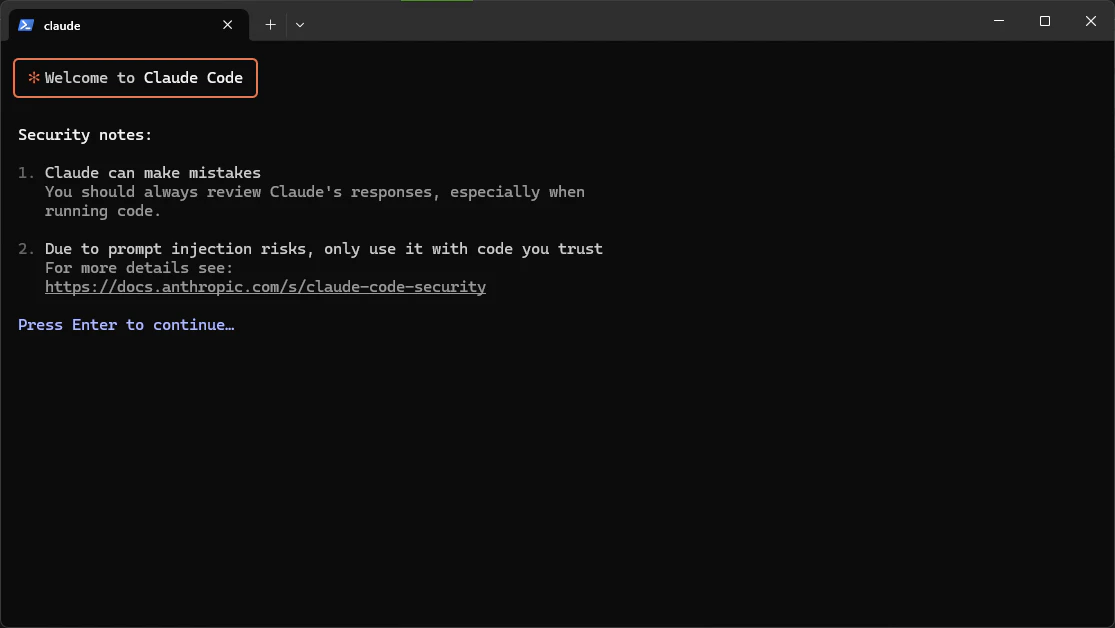
2. Claude Codeの起動
コマンドプロンプトに以下のコマンドを実行する
コマンドプロンプト
claude
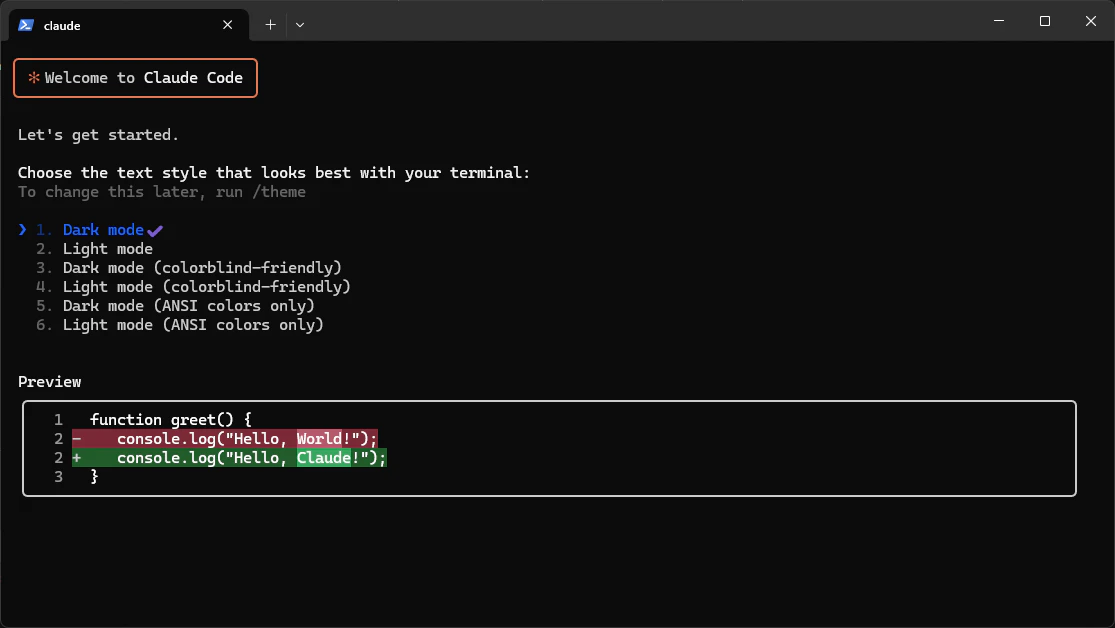
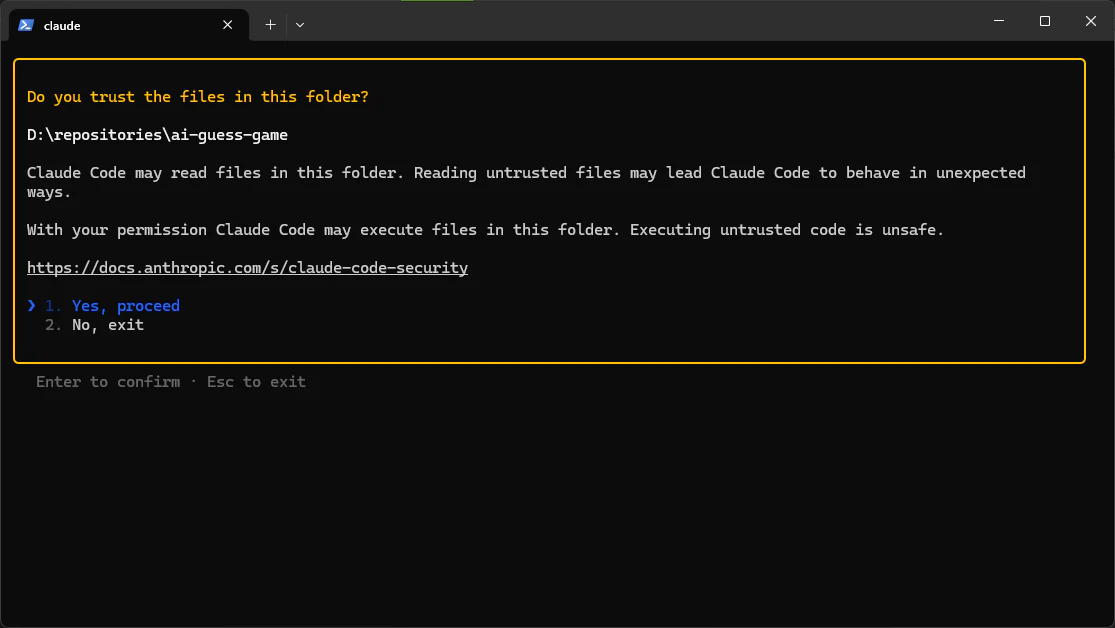
3. 初期設定
- テーマ選択(ライト / ダーク)
- アカウント連携(Claude サブスクリプションまたは Anthropic Console アカウント)

Claude Router 経由で Claude Code を使う
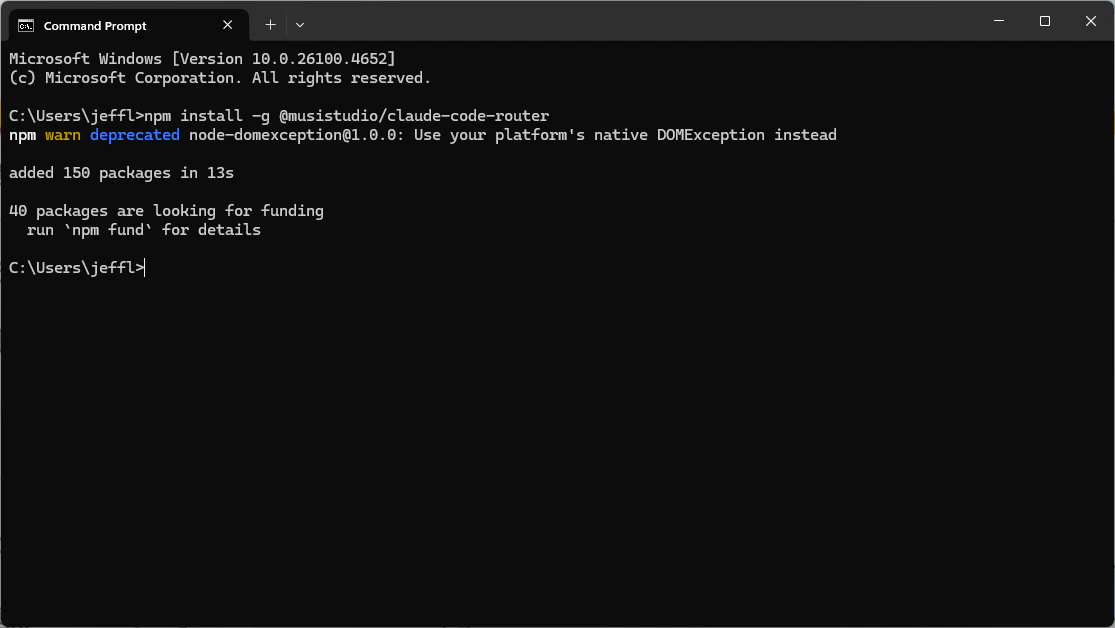
1. Claude Routerのインストール
npm install -g @musistudio/claude-code-router
2. 設定ファイルの作成
- macOS / Linux:
~/.claude-code-router/config.json- Windows:
C:\Users\<ユーザー名>\config.json
config.json
{
  "Providers": [
    {
      "name": "openrouter",
      "api_base_url": "https://openrouter.ai/api/v1/chat/completions",
      "api_key": "sk-xxx",
      "models": [
        "anthropic/claude-sonnet-4"
      ],
      "transformer": {
        "use": ["openrouter"]
      }
    }
  ],
  "Router": {
    "default": "openrouter,anthropic/claude-sonnet-4"
  },
  "LOG": true,
  "HOST": "127.0.0.1"
}
Open Routerで生成されたAPI トークンを張り付ける。
3. Claude Routerの起動
ccr code を実行する
4. トラブルシューティング
Service not running, starting service...
💡 対処法
ccr start を実行する
Error starting server: Error: listen EACCES: permission denied 127.0.0.1:3456
💡 対処法
設定ファイルにPORTを追加する
config.json
{
  "Providers": [
    {
      "name": "openrouter",
      "api_base_url": "https://openrouter.ai/api/v1/chat/completions",
      "api_key": "sk-xxx",
      "models": [
        "anthropic/claude-sonnet-4"
      ],
      "transformer": {
        "use": ["openrouter"]
      }
    }
  ],
  "Router": {
    "default": "openrouter,anthropic/claude-sonnet-4"
  },
  "LOG": true,
  "HOST": "127.0.0.1",
+ "PORT": 23456
}
configを修正したら、ccr stropを実行してccr codeで変更を反映させる
実例:AI設計補助として使う
ここでは Lyra プロンプト最適化と組み合わせ、Claude Code でシステム設計を依頼する例を紹介します。
1. Claude Router 起動 → プロジェクト開始
- プロジェクトフォルダを作成する(
ai-guess-game)- プロジェクトフォルダにコマンドプロンプトを開く
ccr codeを実行する
2. Lyraによる指示文の作成
- 入力: 「Next.js でお絵描きゲームを作り、Gemini APIで絵の内容をAIが推測」
入力例
DETAIL using Claude —

## Project Overview

Create an online "Pictionary" game where players can draw on a canvas, and an AI system is responsible for guessing what the drawing represents.

## Technology Stack

* Framework: Next.js
* Use Gemini's API for AI, with API calls made from the backend
* Do not use any SDKs; call the Gemini API endpoint directly
- Lyra が 最適化されたプロンプトを生成し、Claude Code に渡す
実施結果
**Your Optimized Prompt:**
You're an expert AI product architect and full-stack developer.
I'm building an online "Pictionary"-style web app using **Next.js** where players draw on a canvas and an AI guesses what the drawing represents.
**Your mission:**
Help me design the core architecture and implementation flow for this app. I will use **Gemini's API directly from the backend (no SDKs)** to send user drawings to the AI.
Please provide:
1. **System Architecture**
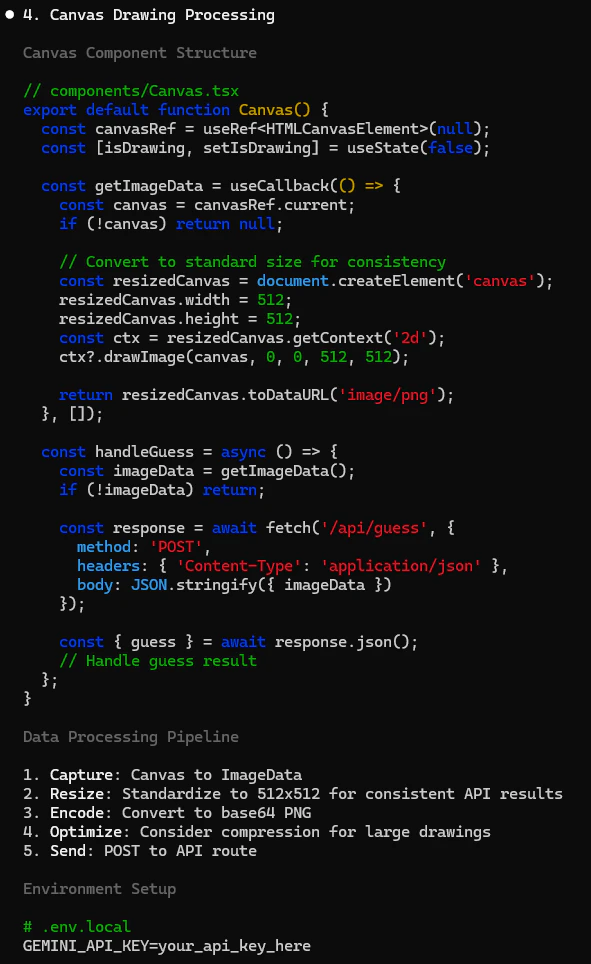
- How to structure the frontend and backend in Next.js
- Where and how to process the drawing data for API calls
- How to securely call Gemini API directly without an SDK
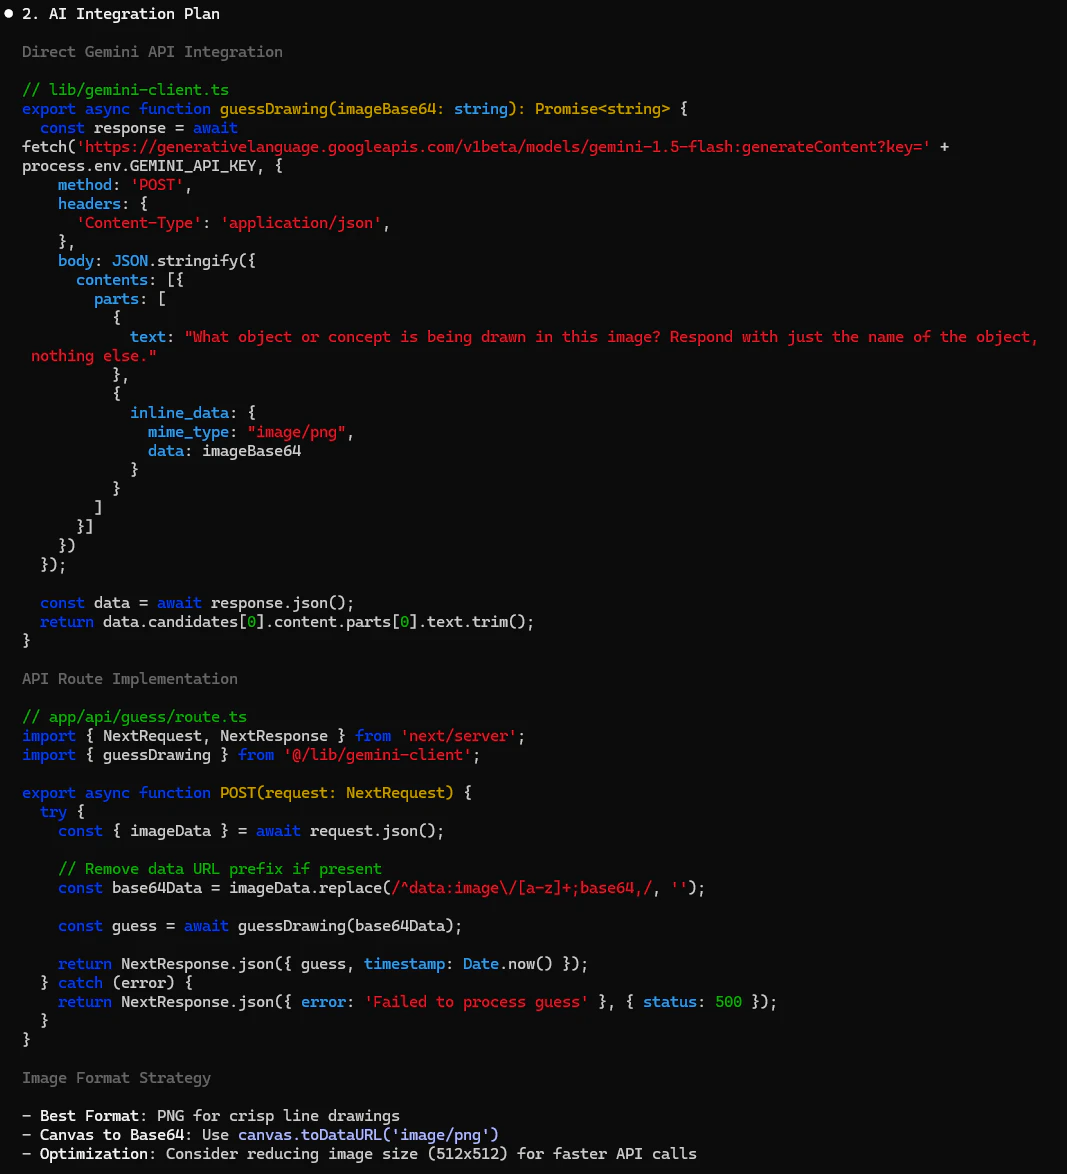
2. **AI Integration Plan**
- How to convert the user's canvas drawing into an appropriate format (image or strokes)
- Best format to send to Gemini for accurate interpretation
- API request/response structure examples
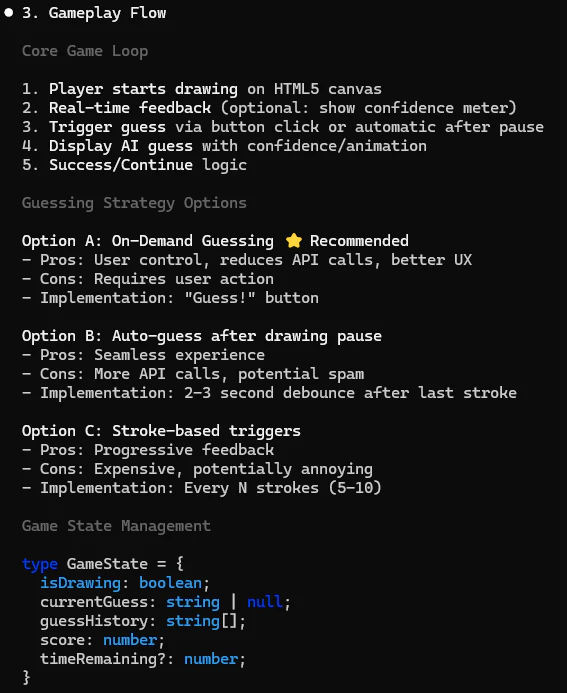
3. **Gameplay Flow**
- Steps from player drawing to AI making a guess
- Whether to guess after each stroke or on demand (with pros/cons)
- Optional: Add top-N guess logic with confidence scores
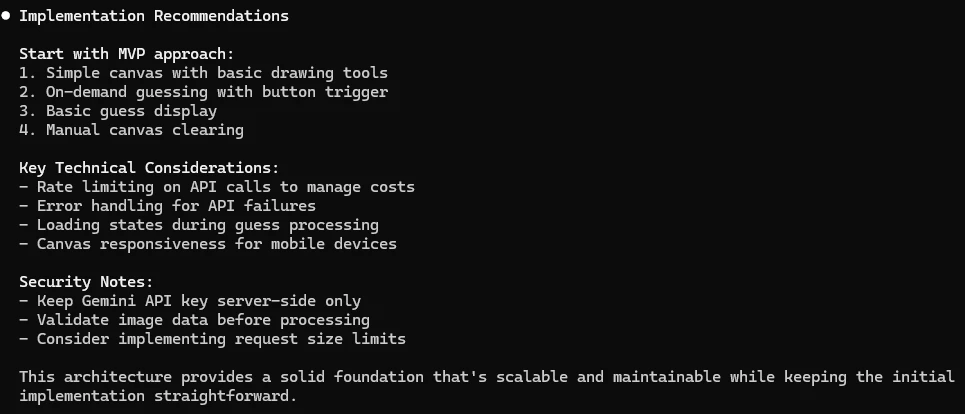
4. **Security & Performance Tips**
- How to protect Gemini API key
- How to minimize latency for real-time interaction
Do not suggest using Gemini SDKs. All API calls should be handled manually.
Start by outlining the architecture, then walk through each step of the AI interaction and gameplay logic.
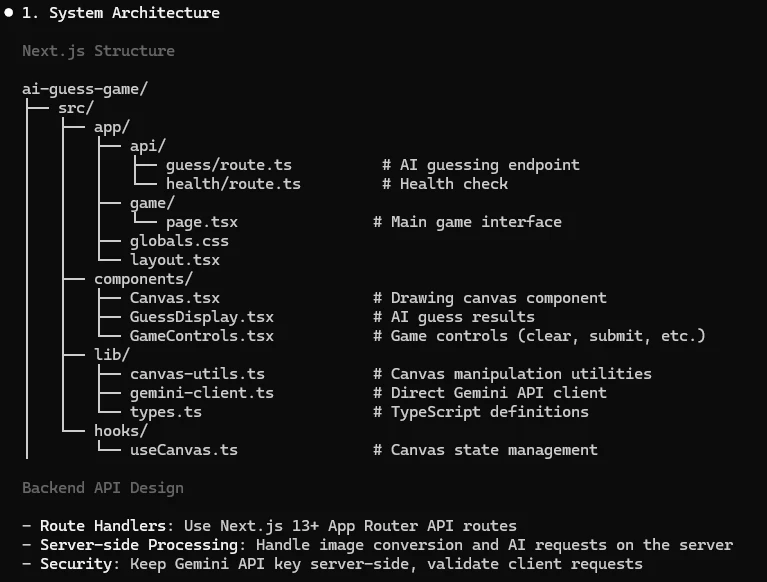
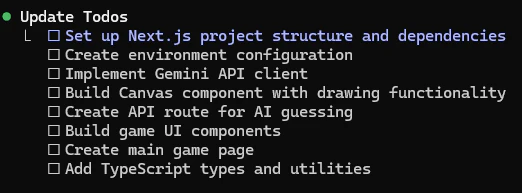
3. Claude Code が設計図を提案
- アーキテクチャ構成
- API連携の流れ
- ゲームプレイのステップ
- セキュリティ・パフォーマンス対策

4. コード生成と実行結果
- 設計に沿って
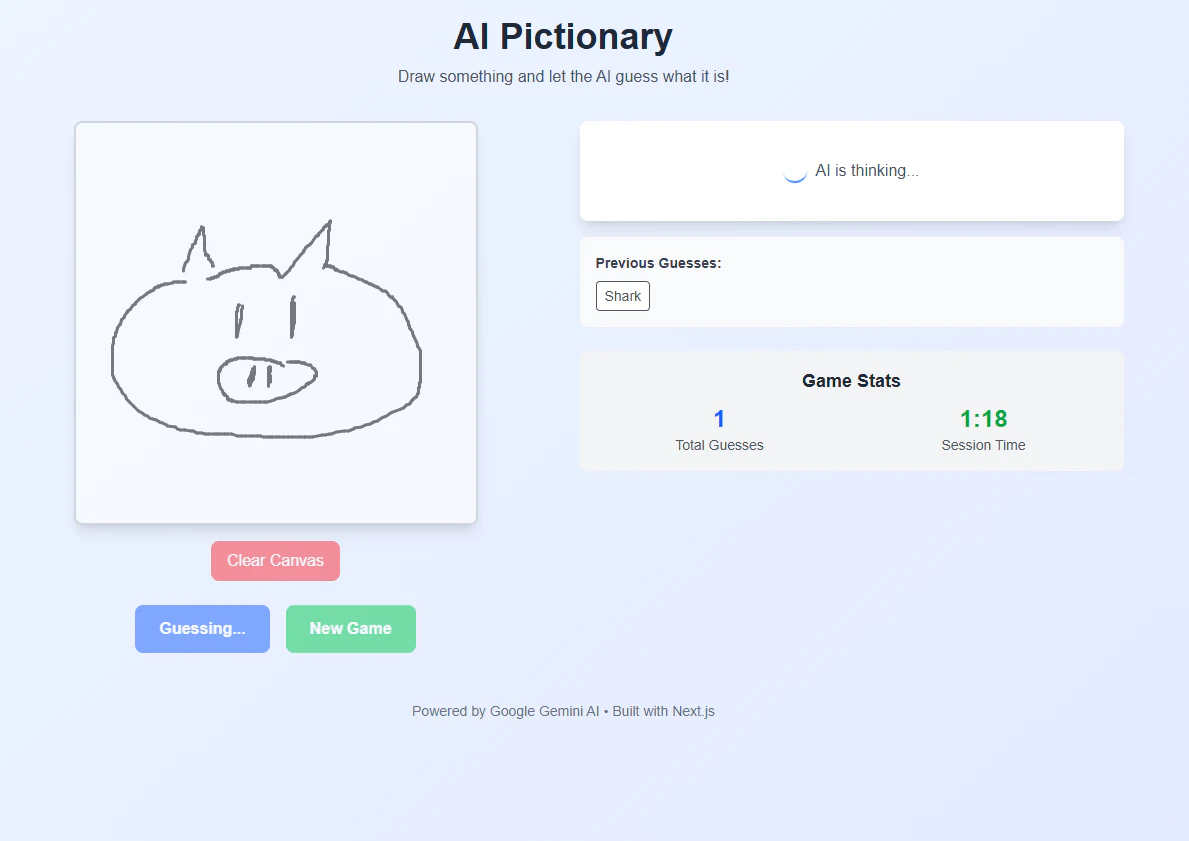
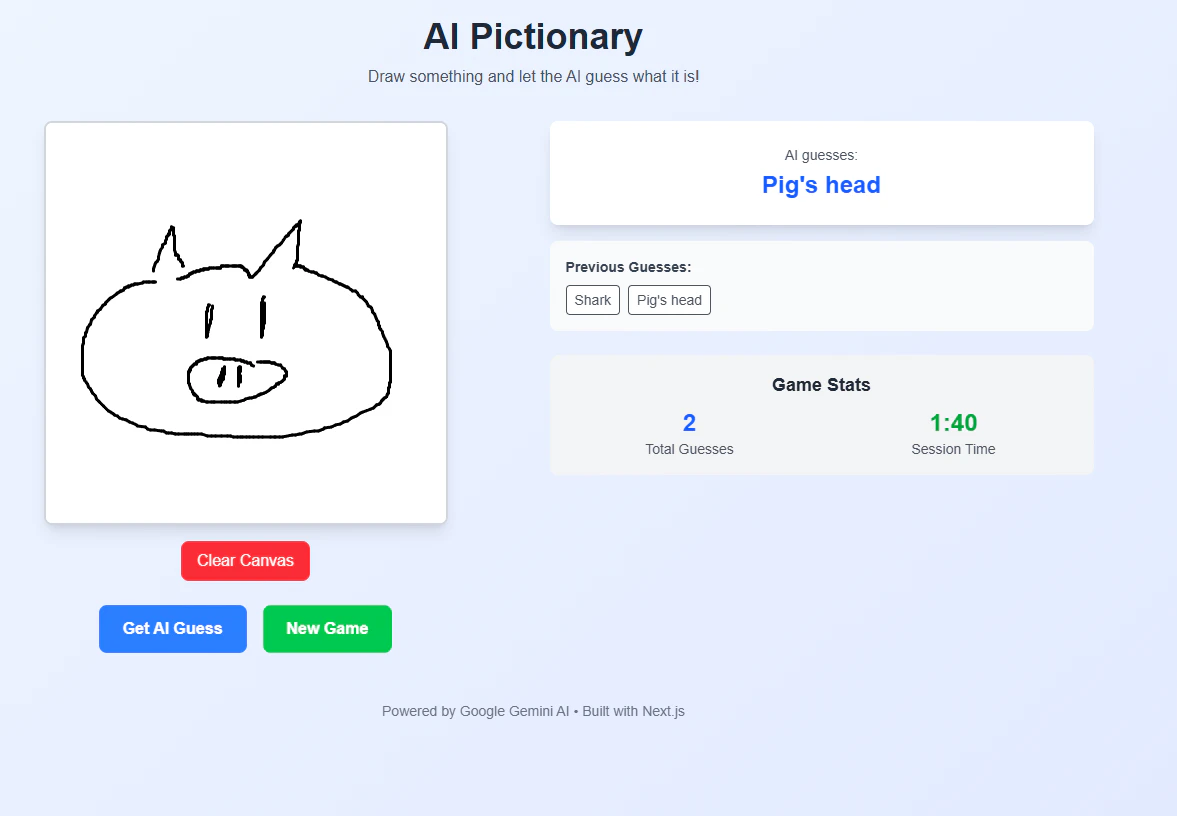
implement with the above planを入力- 実装コードが生成され、描いた「豚」を正しく「豚の頭」と認識
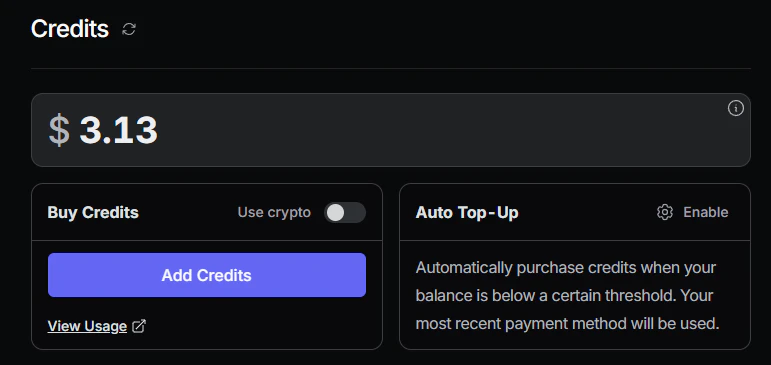
- 今回は4 USDをトップしましたが、0.87 USDを使いました
5. 成果の確認
豚を描きましたが、「豚の頭」だと正しく認識してくれました!
Claude Code の活用法
Claude Code は、Chatだけでなく、以下のような「プロンプト設計支援機能」があります。
1. Claude Code の便利コマンド
| コマンド | 説明 |
|---|---|
/init |
プロジェクト情報を CLAUDE.md にまとめる |
/compact |
コンテキスト圧縮でトークン消費を削減 |
/clear |
会話履歴をリセット |
alt + m |
モード切替(手動承認 / 自動承認 / プランモード) |
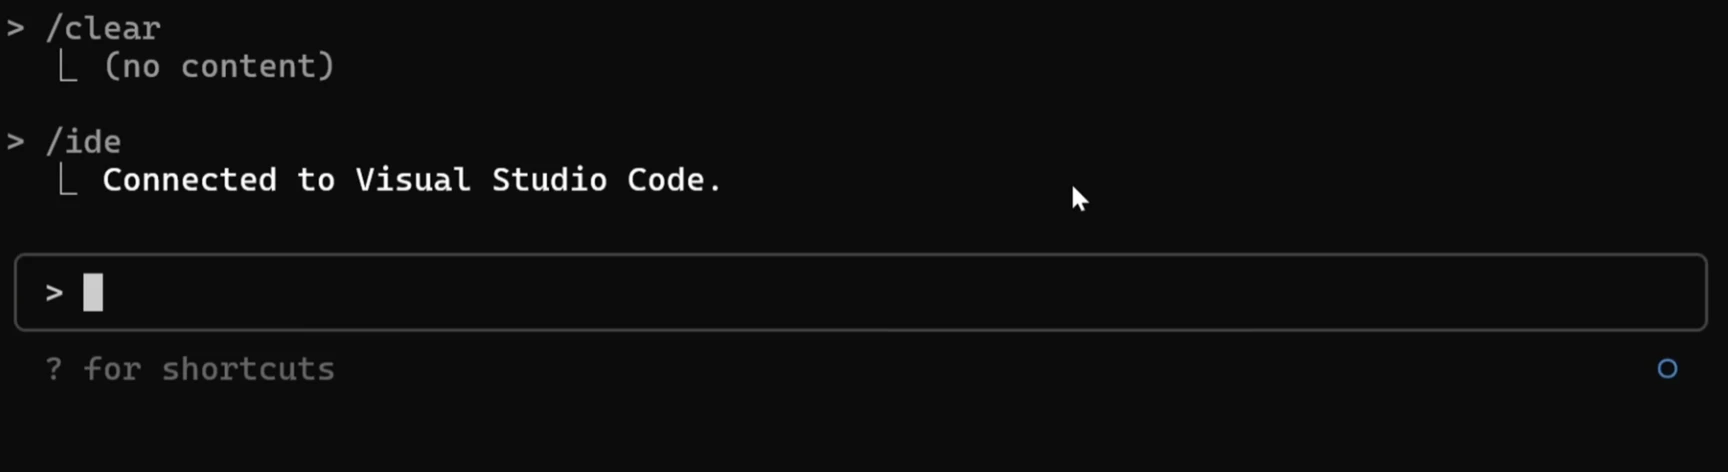
2. VS Code 連携
1. VS Code に Claude Code 拡張機能をインストール
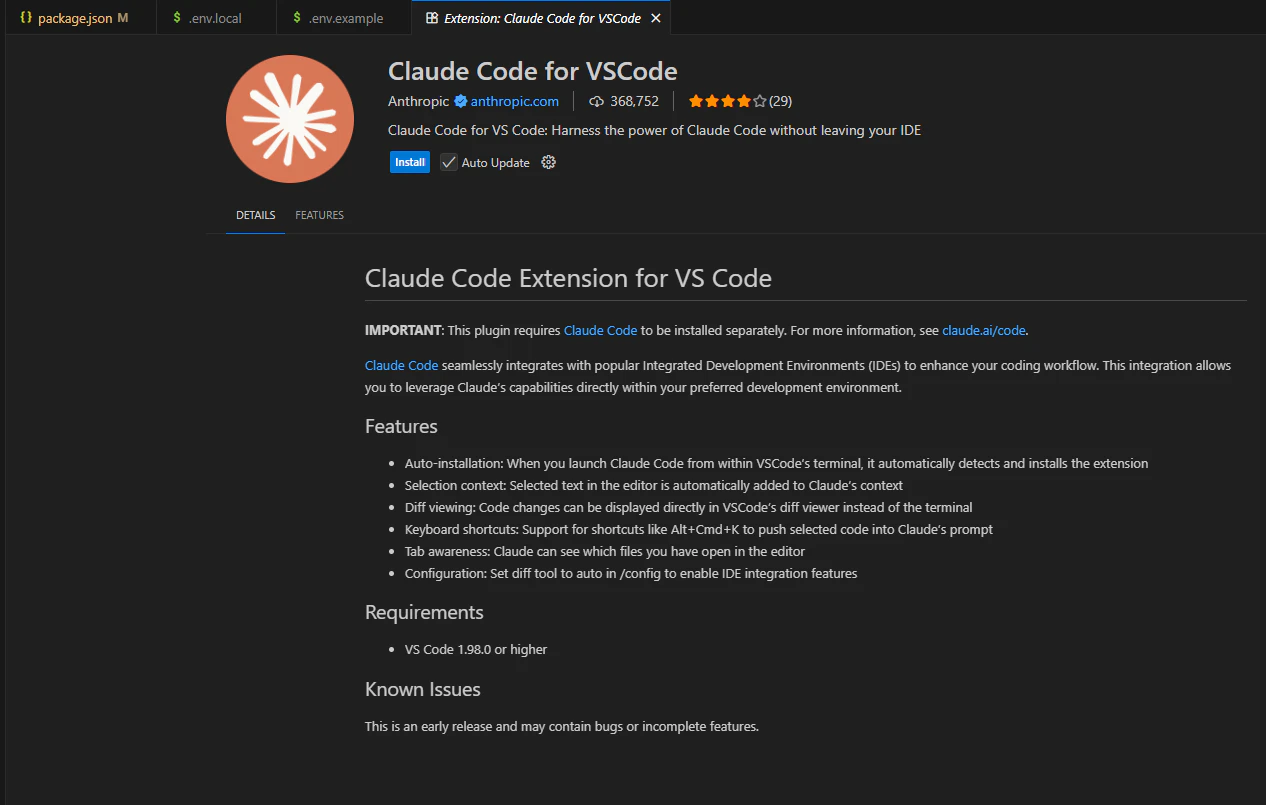
2. Claude Code で
/ideを実行し、Visual Studio Code を選択
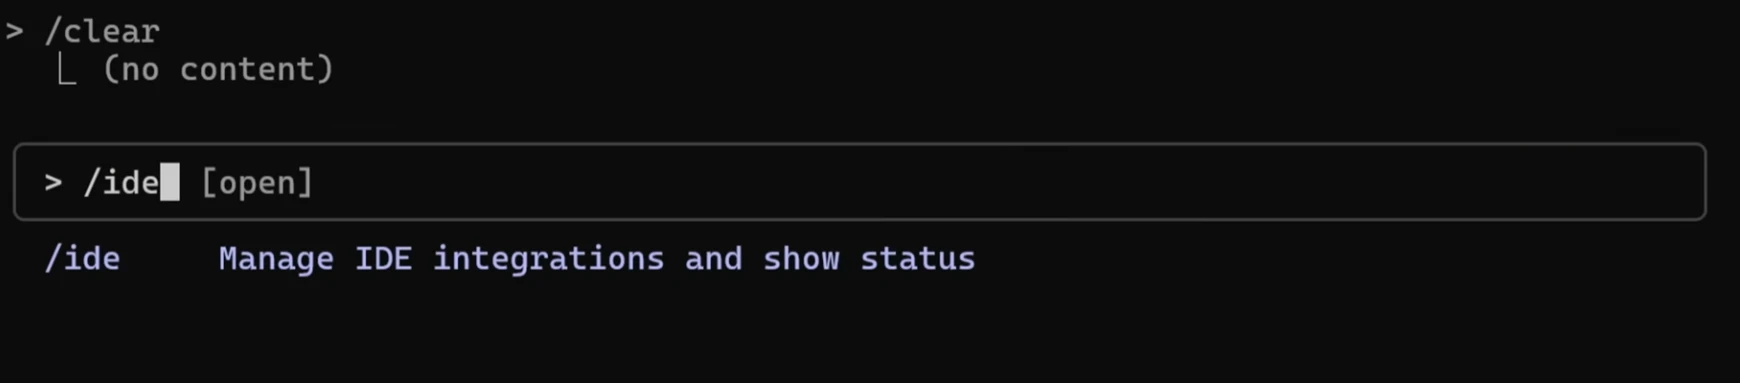
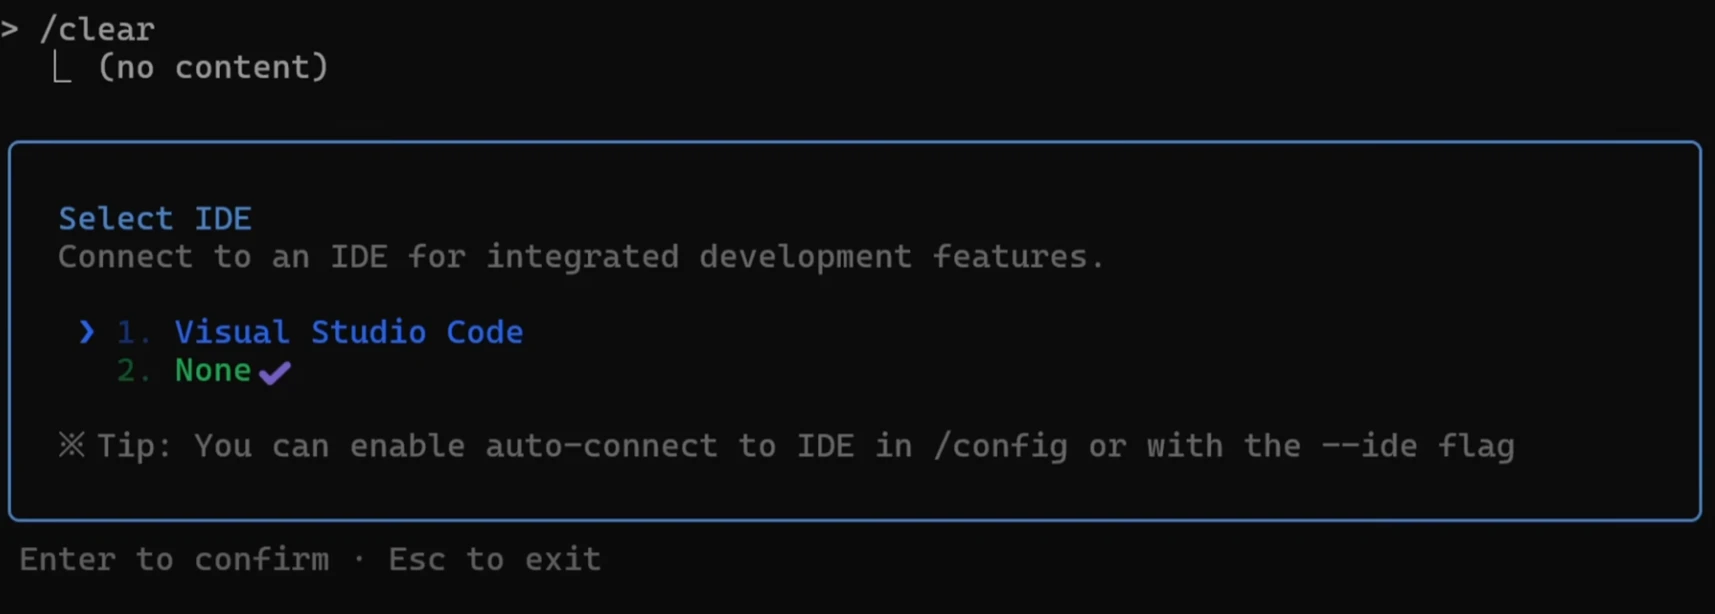
3. 編集差分が可視化され、コードレビューの効率が向上
おわりに
これで、Claude Code をローカル環境で動かし、Claude Router と組み合わせて開発に活用する準備が整いました。次は実際の開発プロジェクトで、設計レビュー・コード生成・改善提案を試してみましょう。