はじめに
Windows上でネイティブのLinux環境を提供するWSL 2と、コンテナ技術であるDockerを組み合わせることで、軽量かつ効率的なRuby開発環境を構築できることを説明します。
Windows Subsystem for Linux (WSL) のセットアップはこちら
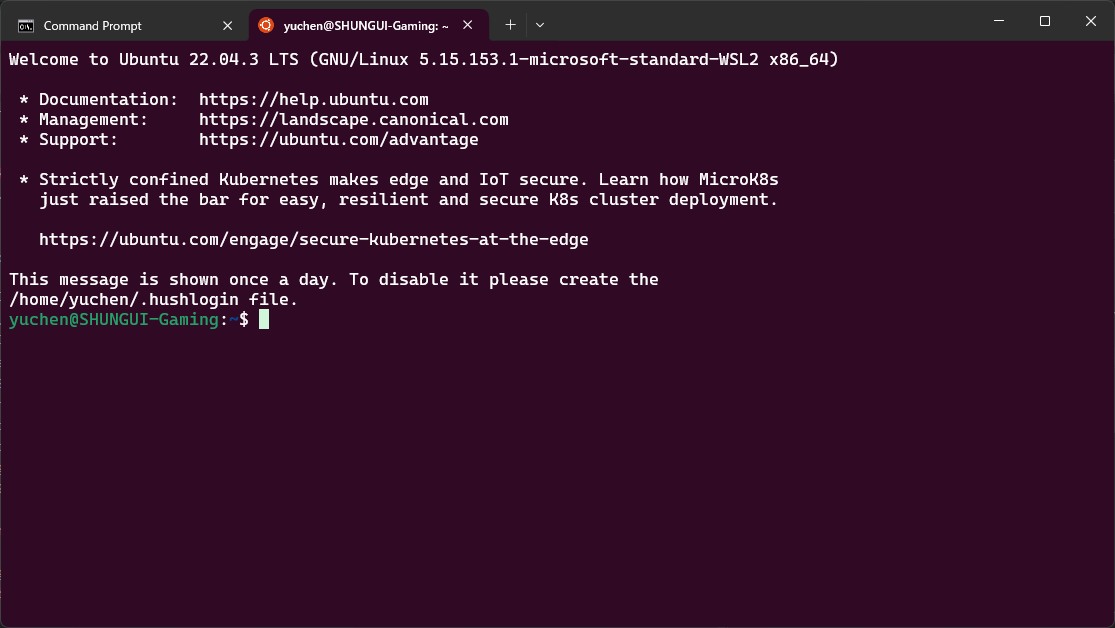
Ubuntuを起動する
Ubuntuを起動して、WSL環境が正しく動作していることを確認します。
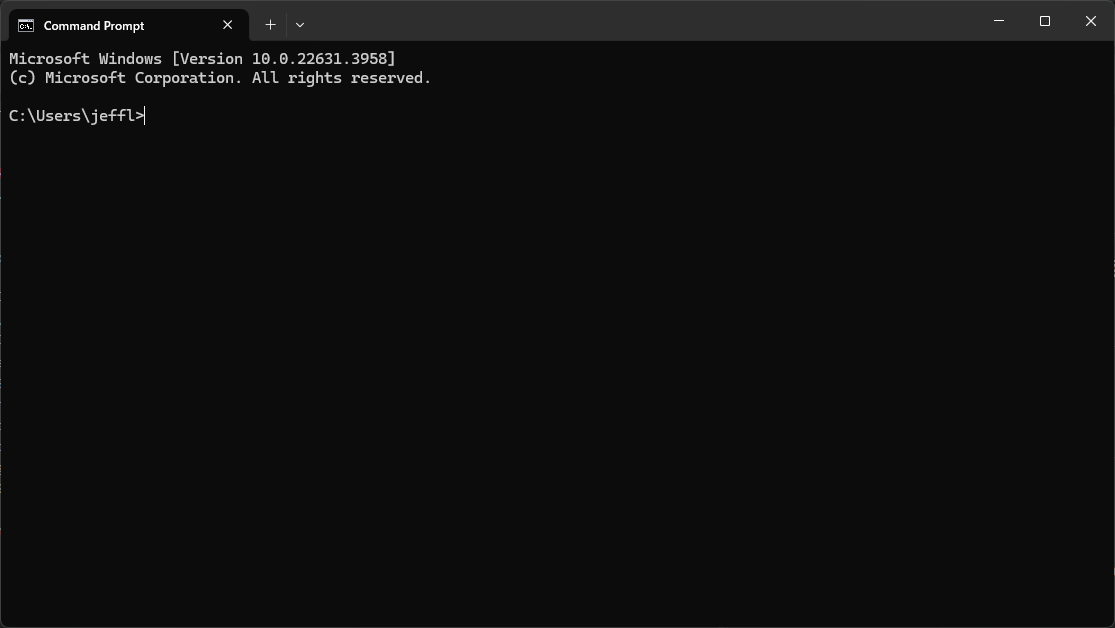
1.Windowsの検索バーから「ターミナル」と入力して、ターミナルを起動します。

2.ドロップダウンメニューから「Ubuntu」を選択します。

Ruby環境の構築
次に、Dockerを利用してRubyの開発環境を構築します。以下の手順で進めてください。
1.「ruby_test」ディレクトリを生成
まず、プロジェクト用のディレクトリを作成します。
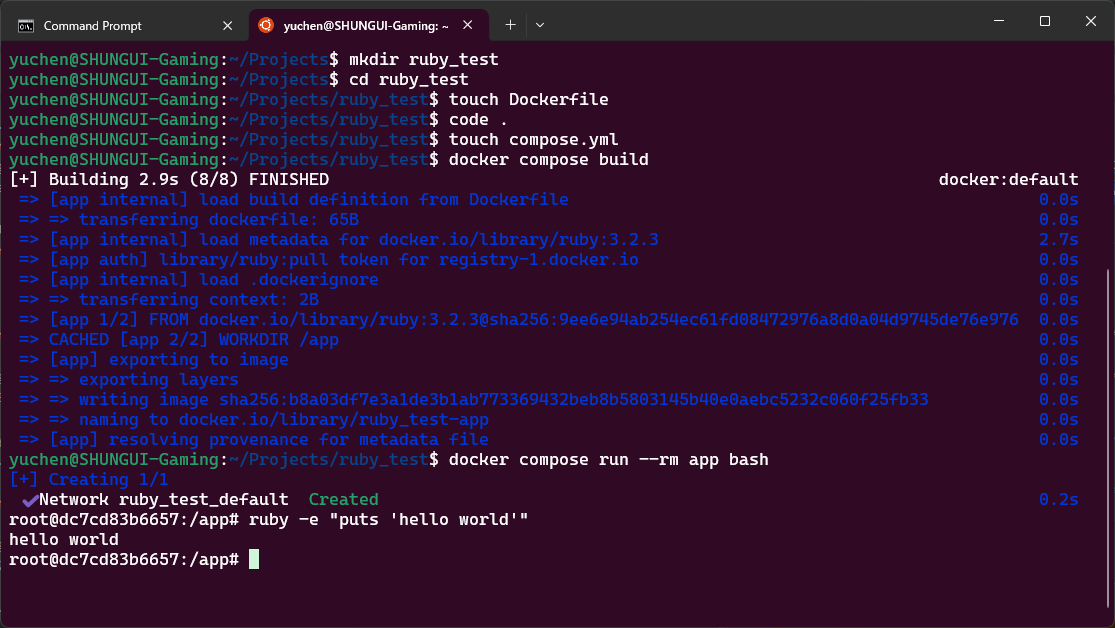
mkdir ruby_test
cd ruby_test
2.Dockerfileの作成
次に、Ruby環境のベースとなるDockerfileを作成します。
touch Dockerfile
編集するために下記コマンドでVScodeを開きます。
code .
VSCodeで以下の内容をDockerfileに追加します。
FROM ruby:3.2.3
WORKDIR /app
3.compose.ymlの作成
次に、Docker Compose用の設定ファイル docker-compose.yml を作成します。
touch compose.yml
VSCodeで以下の内容を docker-compose.yml に追加します。
services:
  app:
    build: .
    volumes:
      - .:/app
4.Dockerコンテナをビルドする
Docker Desktopが起動していることを確認します
Docker Desktopが立ち上がっていないと、エラーになります。
以下のコマンドでDockerコンテナをビルドします。
docker compose build
Rubyコマンドの実行
コンテナ内でRubyを実行し、開発環境が正常に動作しているか確認します。
1.Docker コンテナの環境に入る
以下のコマンドを実行し、Dockerコンテナのシェルに入ります。
docker compose run --rm app bash
2.Rubyのコマンド実行
コンテナ内でRubyを実行し、動作を確認します。
ruby -e "puts 'hello world'"
3.Docker コンテナから離れる
exit
まとめ
この手順により、WSL 2とDockerを使用した軽量かつ効率的なRuby開発環境が構築できます。Windows環境でもスムーズにRubyを使用できるため、開発作業が快適に行えるようになるでしょう。


