概要
リッチメニューをMessaging APIから設定するとかなり柔軟な設定ができ,最大で20個のボタンを設定できる.
だけど,それを設定するためJson作るのがとんでもなく面倒なので,簡単に設定できるスクリプトを書いた.
例えば,こんな感じの画像があったとして,
8個のボタンをそれぞれの丸に設定するとすると,座標,高さ,幅を調べるのは面倒すぎる.
手順1
まずはリッチメニュー用に2500x1686の大きさの元画像を作成する.
今回の画像のように,シンプルな図形だけであれば良いけど,写真や文字など複雑な図形は認識できないので,ボタンにしたい部分だけを強調するような画像を個別に作っておくと良い.
ボタンの部分がわかりやすくなっている画像をsample.pngとします
手順2
スクリプトに食わせる.
$ python menu_gen.py sample.png
スクリプトはこんな感じ.
menu_gen.py
import cv2
import json
import collections as cl
import codecs
import sys

def main():

  args = sys.argv

  file_name = args[1]

  img_color = cv2.imread(file_name) # オリジナル画像読み込み
  img_gray = cv2.imread(file_name, cv2.IMREAD_GRAYSCALE) # グレースケールで画像読み込み
  ret, img_binary = cv2.threshold(img_gray, 250, 255, cv2.THRESH_BINARY_INV) # グレイスケール画像を二値化
  contours, hierarchy = cv2.findContours(img_binary, cv2.RETR_EXTERNAL, cv2.CHAIN_APPROX_SIMPLE) # 輪郭抽出
  #cv2.drawContours(img_color, contours, -1, (0,0,255), 2) # 輪郭に赤色を描画
  print(len(contours),"個見つけた") # 輪郭の個数

  rich_menu_json = cl.OrderedDict()
  rich_menu_json["size"] = {"width": 2500, "height": 1686}
  rich_menu_json["selected"] = "true"
  rich_menu_json["name"] = file_name
  rich_menu_json["chatBarText"] = 'メニュー'
  rich_menu_json["areas"] = []

  for i, c in enumerate(contours):
    x,y,w,h = cv2.boundingRect(c) # 矩形判定
    # print("["+str(i)+"]",x,y,w,h)

    img_color = cv2.rectangle(img_color, (x,y), (x+w, y+h), (255,0,0), 3)
    img_color = cv2.putText(img_color, "b_"+str(i), (x+int(w/3),y+int(h/2)), cv2.FONT_HERSHEY_SIMPLEX, 4, (255,255,255), 2, cv2.LINE_AA)

    tmp = cl.OrderedDict()
    tmp["bounds"] = {
      "x": x,
      "y": y,
      "width": w,
      "height": h
    }
    tmp["action"] = {
      "type": "postback",
      "label": "b_"+str(i),
      "data": "{  }",
      "displayText": str(i)
    }
    rich_menu_json["areas"].append(tmp)


  fw = codecs.open(file_name.split('.')[0]+"_created_.json", 'w', "utf-8")
  json.dump(rich_menu_json, fw, indent=4, ensure_ascii=False)

  print('''
  次の内容でリッチメニューを作成する

  curl -v -X POST https://api.line.me/v2/bot/richmenu \\
  -H 'Authorization: Bearer { アクセストークン }' \\
  -H 'Content-Type: application/json' \\
  -d \\
  '
    ここに編集済みのJsonを挿入
  '

  ''')

  cv2.imwrite(file_name.split('.')[0]+"_created_.jpg", img_color)
  cv2.imshow("window", img_color)
  cv2.waitKey()
  cv2.destroyAllWindows()

if __name__ == '__main__':
  main()
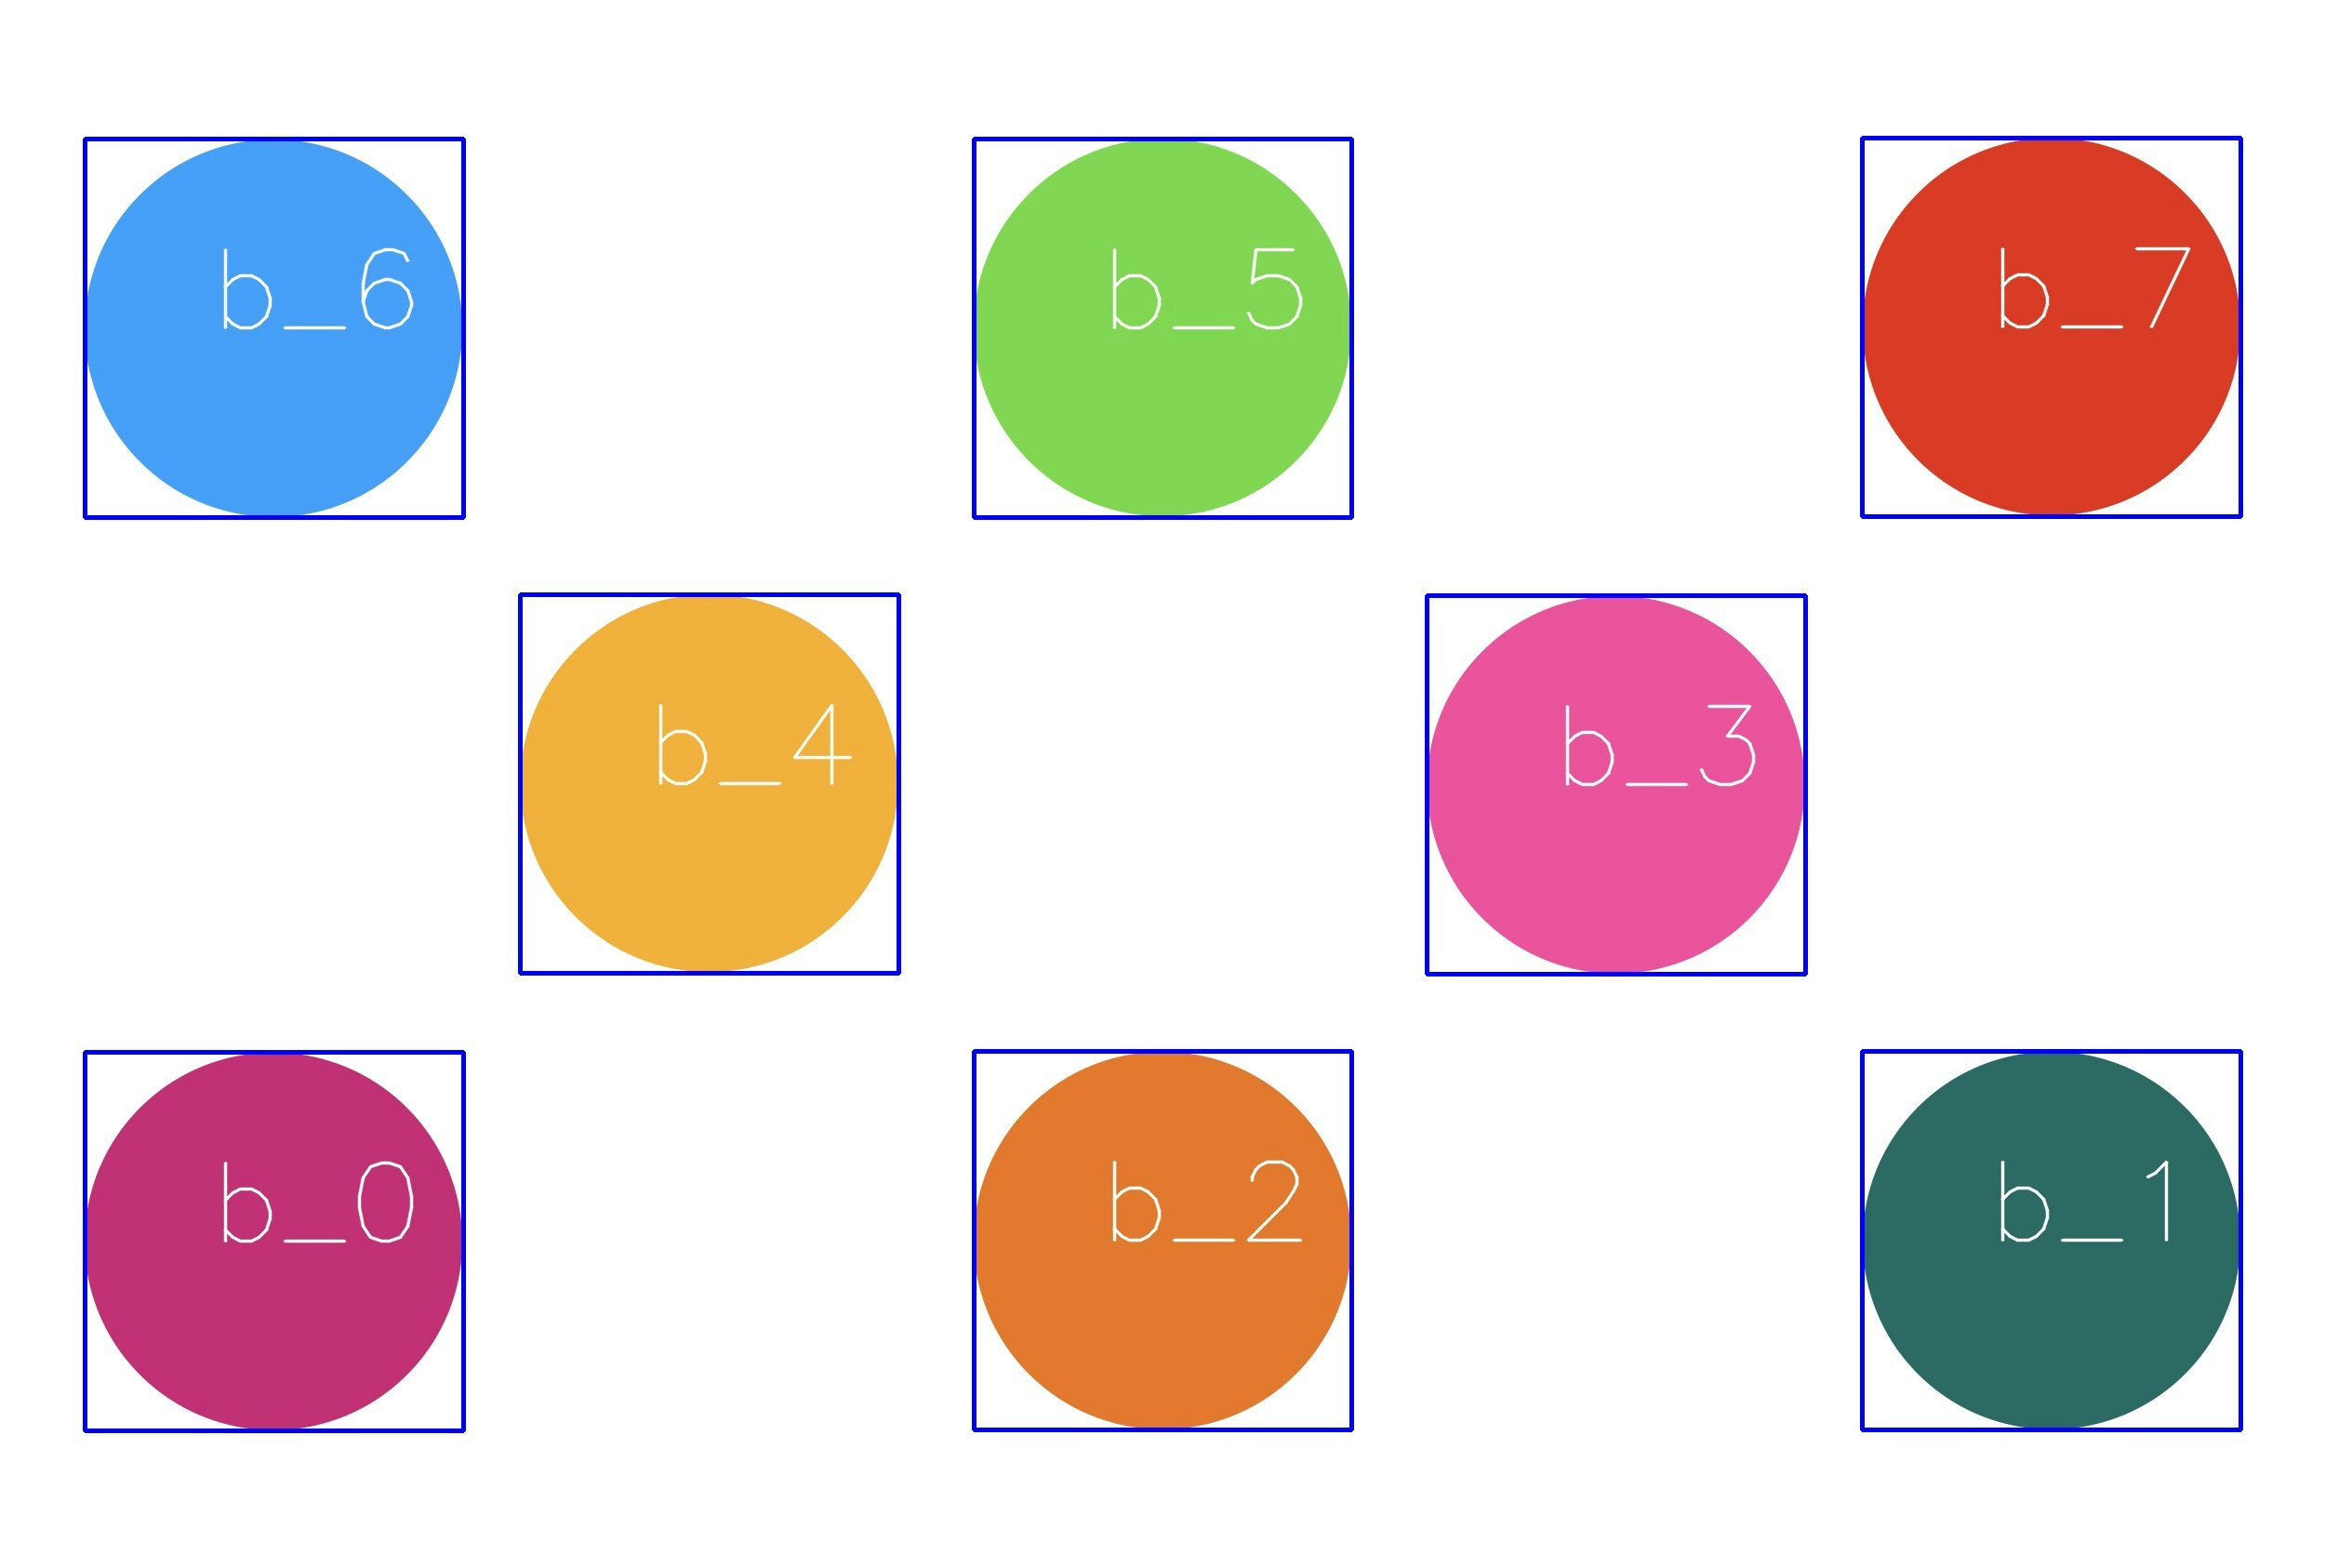
すると,こんな感じでb_1のようにボタンごとにラベルをつけた画像が生成される.
同時に,座標や高さ,幅の情報からsample_created.jsonが作られる.
以下のような感じ
{
    "size": {
        "width": 2500,
        "height": 1686
    },
    "selected": "true",
    "name": "sample.png",
    "chatBarText": "メニュー",
    "areas": [
        {
            "bounds": {
                "x": 91,
                "y": 1131,
                "width": 407,
                "height": 407
            },
            "action": {
                "type": "postback",
                "label": "b_0",
                "data": "{  }",
                "displayText": "0"
            }
        },
        {
            "bounds": {
                "x": 2002,
                "y": 1130,
                "width": 407,
                "height": 407
            },
            "action": {
                "type": "postback",
                "label": "b_1",
                "data": "{  }",
                "displayText": "1"
            }
        },
        {
            "bounds": {
                "x": 1047,
                "y": 1130,
                "width": 406,
                "height": 407
            },
            "action": {
                "type": "postback",
                "label": "b_2",
                "data": "{  }",
                "displayText": "2"
            }
        },
        {
            "bounds": {
                "x": 1534,
                "y": 640,
                "width": 407,
                "height": 407
            },
            "action": {
                "type": "postback",
                "label": "b_3",
                "data": "{  }",
                "displayText": "3"
            }
        },
        {
            "bounds": {
                "x": 559,
                "y": 639,
                "width": 407,
                "height": 407
            },
            "action": {
                "type": "postback",
                "label": "b_4",
                "data": "{  }",
                "displayText": "4"
            }
        },
        {
            "bounds": {
                "x": 1047,
                "y": 149,
                "width": 406,
                "height": 407
            },
            "action": {
                "type": "postback",
                "label": "b_5",
                "data": "{  }",
                "displayText": "5"
            }
        },
        {
            "bounds": {
                "x": 91,
                "y": 149,
                "width": 407,
                "height": 407
            },
            "action": {
                "type": "postback",
                "label": "b_6",
                "data": "{  }",
                "displayText": "6"
            }
        },
        {
            "bounds": {
                "x": 2002,
                "y": 148,
                "width": 407,
                "height": 407
            },
            "action": {
                "type": "postback",
                "label": "b_7",
                "data": "{  }",
                "displayText": "7"
            }
        }
    ]
}
とりあえず,postback形式にしてあるけど,この辺りの内容を画像と見比べながら内容を埋めると手間が省けると思われる.
雑な説明だけど,誰かの参考になれば.

