はじめに
GoogleCloudPlatformはGoogleが提供するクラウドサービスです。
GoogleAppEngineはその中に位置するPaaSで、
プログラムコードをgcloudコマンドで操作することで、自動的に環境構築できます。
Webサーバーやロードバランサーなど複数の処理がGAEの中で自動化されており、
アクセスなどの負荷に応じてオートスケールが行われる点も特徴となっています。
自身が過去、GAEを触り始めた頃はJavaのみの対応だったように記憶していますが、
現在ではJava以外にもPython,PHP,Rubyなど言語として選定することができます。
今回はRails5を言語として選定する場合の一連の流れを記載します。
(参考)
https://cloud.google.com/ruby/rails/appengine?hl=ja
https://cloud.google.com/ruby/getting-started/using-cloud-sql?hl=ja
Railsアプリケーションの展開
Mac上のrailsのversionを確認する
(rbenvを使って正しいversionをinstallする。この辺りはlocal開発と変わらない)
$ rails -v
Rails 5.1.4
サンプルプロジェクトを作成する
$ rails new appengine_example
$ cd appengine_example
手元で立ち上げる
$ bundle install
$ bundle install --path vendor/bundle
$ bundle exec rails server
http:// localhost:3000
アプリケーションの作成
手元のMacとgcloud上にアプリケーションを用意し、
それぞれアクセスできるように設定します。
手元 : localhost:3000
gcloud上 : [instance_name].appspot.com/
## indexページを作る
$ bundle exec rails generate controller Welcome index

//rootに設定する
config/routes.rb  に root to: 'welcome#index'を加えるとルートが設定される
secretを作成する
$ bundle exec rails secret
>c015f43d2a98c5d045865ec32c33d8a75ec6e4c97968ca21a...
app.yamlを作る(作成したseacretをSECRET_KEY_BASEに貼り付ける)
$ cd appengine_example
$ vim app.yaml

>>>>>>>>>>>>>>>>>>>>>>>>>>>これを貼り付け
# [START all]
# [START step_1]
entrypoint: bundle exec rackup --port $PORT
env: flex
runtime: ruby
# [END step_1]

env_variables:
  SECRET_KEY_BASE: [SECRET_KEY]
# [END all]
<<<<<<<<<<<<<<<<<<<<<<<<<<<ここまで
gcloudコマンドを使えるようにする
curl https://sdk.cloud.google.com | bash
source .bash_profile
初期化
$ gcloud init
Welcome! This command will take you through the configuration of gcloud.

Pick configuration to use:
 [1] Re-initialize this configuration [default] with new settings
 [2] Create a new configuration
Please enter your numeric choice:  1

Your current configuration has been set to: [default]

You can skip diagnostics next time by using the following flag:
  gcloud init --skip-diagnostics

Network diagnostic detects and fixes local network connection issues.
Checking network connection...done.
Reachability Check passed.
Network diagnostic (1/1 checks) passed.

Choose the account you would like to use to perform operations for
this configuration:
 [1] aaa@gmail.com
 [2] Log in with a new account
Please enter your numeric choice:  1

You are logged in as: [aaa@gmail.com].

Pick cloud project to use:
 [1] rails-api-demo
 [2] Create a new project
Please enter numeric choice or text value (must exactly match list
item):  1

Your current project has been set to: [rails-api-demo].

API [compute.googleapis.com] not enabled on project [1111111].
Would you like to enable and retry?  (Y/n)?  Y

Do you want to configure Google Compute Engine
(https://cloud.google.com/compute) settings (Y/n)?
Which Google Compute Engine zone would you like to use as project
default?
If you do not specify a zone via a command line flag while working
with Compute Engine resources, the default is assumed.
 [1] asia-east1-b
 [2] asia-east1-c
 [3] asia-east1-a
 [4] asia-northeast1-a
...
Please enter numeric choice or text value (must exactly match list
item):  Please enter a value between 1 and 37, or a value present in the list:  Please enter a value between 1 and 37, or a value present in the list:  4

Your project default Compute Engine zone has been set to [asia-northeast1-a].
You can change it by running [gcloud config set compute/zone NAME].
pre compileする
$ RAILS_ENV=production bundle exec rails assets:precompile
デプロイする
$ gcloud app deploy

>descriptor:      [/Users/hoge/workspace/appengine_example/app.yaml]
>source:          [/Users/hoge/workspace/appengine_example]
>target project:  [rails5-demo]
>target service:  [default]
>target version:  [xxxxxxxx]
>target url:      [https://rails5-demo.appspot.com]
(エラー)
ERROR: (gcloud.app.deploy) FAILED_PRECONDITION: Operation does not satisfy the following requirements: billing-enabled {Billing must be enabled for activation of service '' in project 'rails5-demo' to proceed.,

>>請求先に紐付けが必要。コンソールに示されているリンクを開いて請求先を紐付けると解消する。
疎通を確認する
$ gcloud app browse
--> ブラウザが開く or [instance_name].appspot.comを開く

$ bundle exec rails server
--> localhost:3000
CloudSQLインスタンスの作成
次にMySQLのデータストアを用意します。
Cloud SQL Administrationを有効にする
ブラウザからSQLを選択して、第二世代のMySQLを作成する


Cloud ShellからログインしてDBを作成する
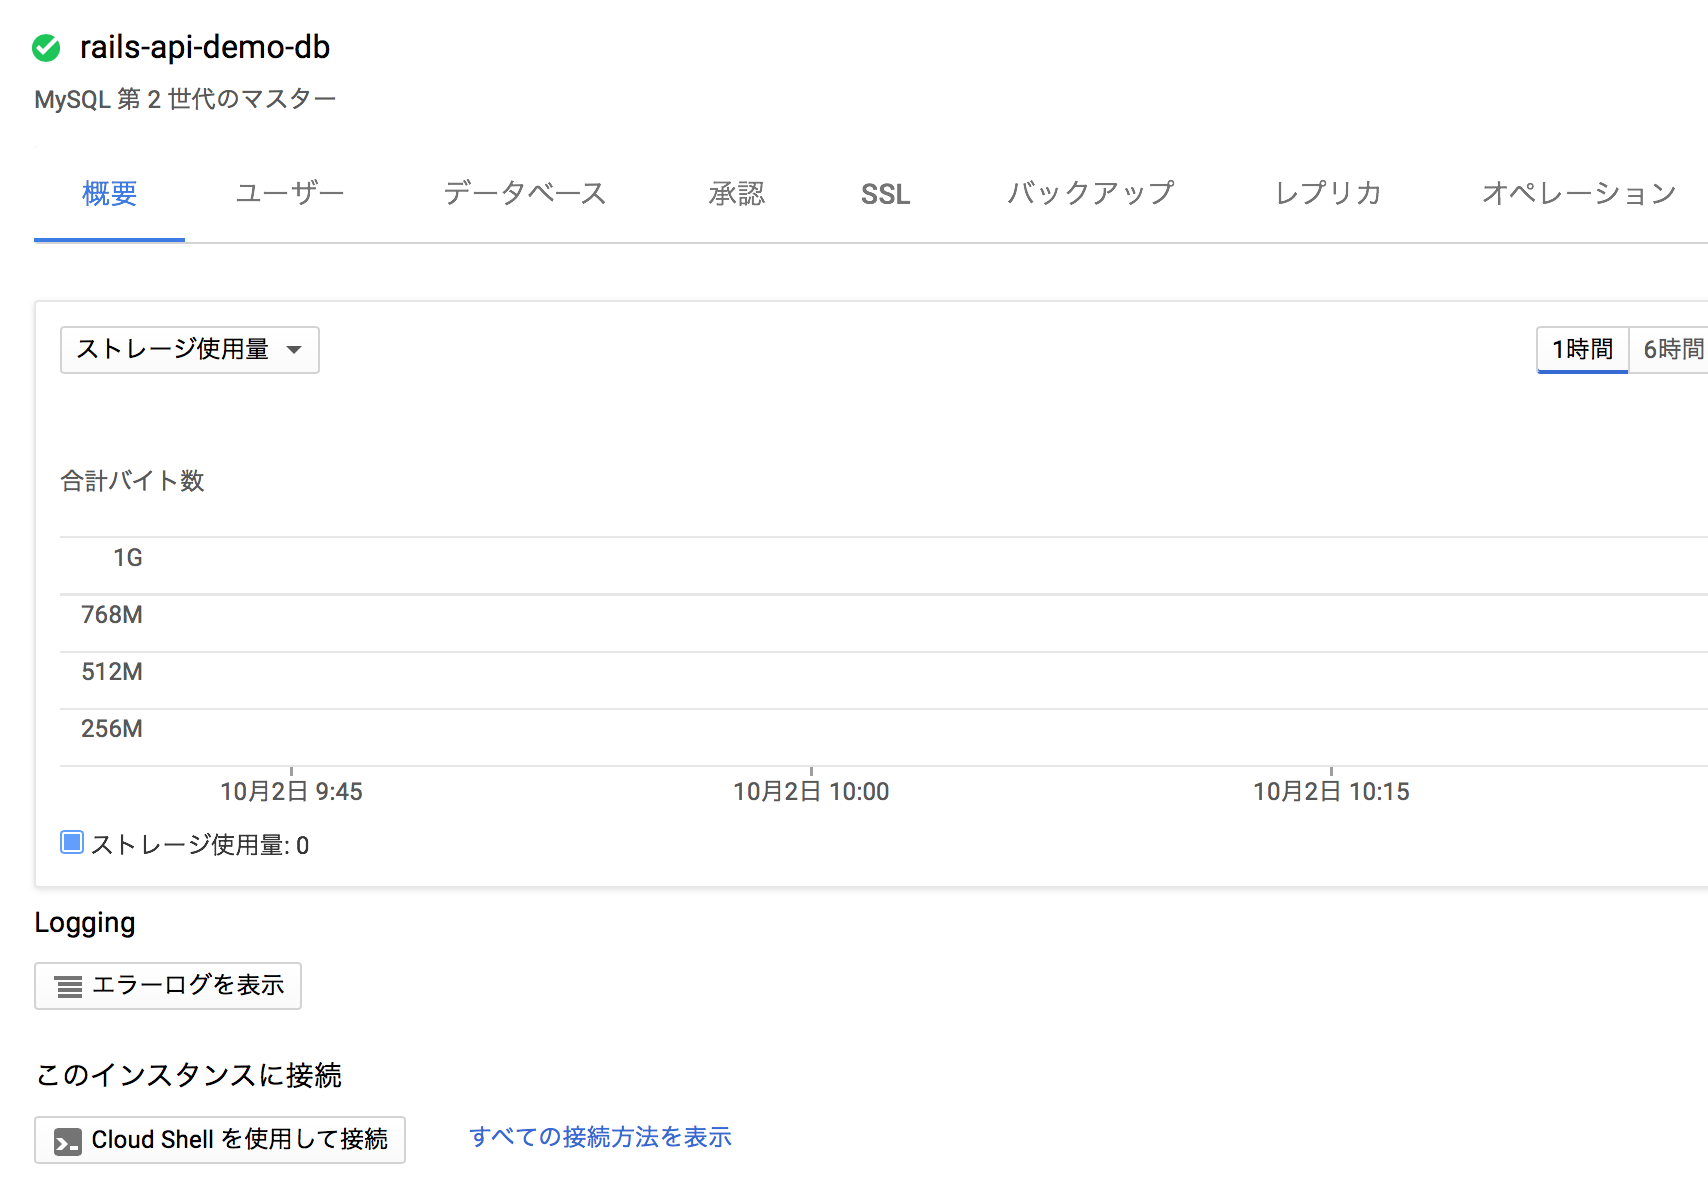
インスタンスの詳細 => Cloud Shellを使用して接続から接続する
$ gcloud beta sql connect rails5-demo --user=root
mysql > create database cat_list_production;
Modelを作成する
$ bundle exec rails generate scaffold Cat name:string age:integer
$ bundle add mysql2
$ bundle add appengine
DBのconnectionNameを取得する
(指定するのはDBのインスタンス名)
$ gcloud sql instances describe rails5-demo
connectionName: rails5-demo:asia-northeast1:rails5-demo
database.ymlに記載する
(socketの記述は /cloudsql/ + ↑で取得したconnectionName と設定する)
>>>>>>>>>>>>>>>>>>>>>>>>>>>>>>>>>>>>>>>>>>>>>>>>>>>
# [START production]
production:
  adapter: mysql2
  pool: 5
  timeout: 5000
  username: "root"
  password: "password_hogehoge"
  database: "cat_list_production"
  socket:   "/cloudsql/rails5-demo:hoge:rails5-demo"
# [END production]
<<<<<<<<<<<<<<<<<<<<<<<<<<<<<<<<<<<<<<<<<<<<<<<<<<<
ここでmigrationを実行すると諸々エラーが起きるのでGCP側の設定をもう少し頑張る...
$ bundle exec rake appengine:exec -- bundle exec rake db:migrate
>>>>>>>>>>>>>>>>>>>>>>>>>>>>>>>>>>>>>>>>>>>>
(errro)
Step #1: ERROR: Failed to start cloud_sql_proxy
Step #1: 2017/09/25 04:22:00 errors parsing config:
Step #1: 	googleapi: Error 403: Access Not Configured. Cloud SQL Administration API has not been used in project 12345 before or it is disabled. Enable it by visiting https://console.developers.google.com/apis/api/sqladmin.googleapis.com/overview?project=12345 then retry. If you enabled this API recently, wait a few minutes for the action to propagate to our systems and retry., accessNotConfigured
>>>>>>>>>>>>>>>>>>>>>>>>>>>>>>>>>>>>>>>>>>>>
Google Cloud SQL APIを有効にする
Google Cloud SQL API > 有効にする


Cloud IAMの設定を行う
//IAMの確認
$ gcloud beta projects get-iam-policy rails5-demo
//プロジェクトIDとNUMBERを見る
$ gcloud projects list
>--------------------------------------------------------
>PROJECT_ID             NAME               PROJECT_NUMBER
>rails5-demo            rails5-demo        220693378435
>--------------------------------------------------------

//IAMを追加する
add-iam-policy-bindingに続いて、
自分のPROJECT_IDを設定。
memberの:以下の番号は↑のPROJECT_NUMBERを設定して、@cloudbuild.gserviceaccount.comは共通。

$ gcloud projects add-iam-policy-binding rails5-demo \
  --member=serviceAccount:1111111@cloudbuild.gserviceaccount.com \
  --role=roles/editor
ここでようやくmigrationを実行できる(はず)
$ bundle exec rake db:migrate

>---------- CONNECT CLOUDSQL ----------
>cloud_sql_proxy is running.
>---------- EXECUTE COMMAND ----------
>bundle exec rake db:migrate
>---------- CLEANUP ----------
>PUSH
>DONE
ここで手元のMacの環境からDBに接続させてみる....
がSocketに接続できないと怒られる....。こちらも用意が必要なので、もう少し頑張る。
Can't connect to local MySQL server through socket '/cloudsql/rails5-demo:hoge:rails5-demo' (61)
(参考)https://cloud.google.com/ruby/getting-started/using-cloud-sql?hl=ja
cloudsqlのディレクトリを用意する
$ sudo mkdir /cloudsql
$ sudo chmod 0777 /cloudsql
cloud_sqlをダウンロードする
curl -o cloud_sql_proxy https://dl.google.com/cloudsql/cloud_sql_proxy.darwin.amd64
chmod +x cloud_sql_proxy
connectionNameを取得する
gcloud beta sql instances describe rails5-demo
>connectionName: rails5-demo:asia-northeast1:rails5-demo
socketを立ち上げる
./cloud_sql_proxy -instances="rails5-demo:hoge:rails5-demo" -dir=/cloudsql
> google: could not find default credentials. See https://developers.google.com/accounts/docs/application-default-credentials for more information.
<<--認証情報が外れているので認証を設定する
//認証情報を設定する
$ gcloud auth application-default login
//起動させる
$ ./cloud_sql_proxy -instances="rails5-demo:hoge:rails5-demo" -dir=/cloudsql
> 2017/09/27 13:05:38 Ready for new connections
ロガー
ログは普通のrailsアプリケーション同様にしてloggerで書き出しを行うとログビューアーで確認できます。便利!
	logger.error "--------------error-hoge----------------->"
	logger.warn  "--------------warn-hoge----------------->"
	logger.info  "--------------info-hoge----------------->"
	logger.debug "--------------debug-hoge----------------->"

バッチをcronに設定する
  class Application < Rails::Application
    config.autoload_paths += Dir["#{config.root}/lib"]
  end
class Tasks::Batch
  def self.execute
    p "test"
  end
end
$ rails runner Tasks::Batch.execute
GAEの場合はcron.yamlを自分で作成する
- description: new daily job
  url: /tasks/batch
  schedule: every 24 hours
  target: beta