はじめに
今回はS3をCloudFormationとGithubActionsを使って、構築していきたいと思います。
GitHubActionsとAWSの連携からS3作成までやっていきたいと思います。
目次
1.AWSとGitHubActionsの連携
2.S3の構築
3.最後に
4.参考
1.AWSとGithubActionsの連携
AWSとGitHubActionsの連携はOpenID Connectを使用します。
前提として、GitHubのリポジトリ、AWSアカウントは作成済みとします
1-1.AWSにてIDプロバイダの追加
AWSのマネジメントコンソールからIAMロール>IDプロバイダ>プロバイダを追加へと進みます。
プロバイダ設定にて下記設定を入力し、プロバイダを追加をクリックし登録します。
| 項目 | 入力内容 |
|---|---|
| プロバイダのタイプ | OpenID Connect |
| プロバイダのURL | https://token.actions.githubusercontent.com |
| 対象者 | sts.amazonaws.com |
1-2.GithubActions用IAMロールの作成
次にGithubActions用のIAMロールの作成をします。
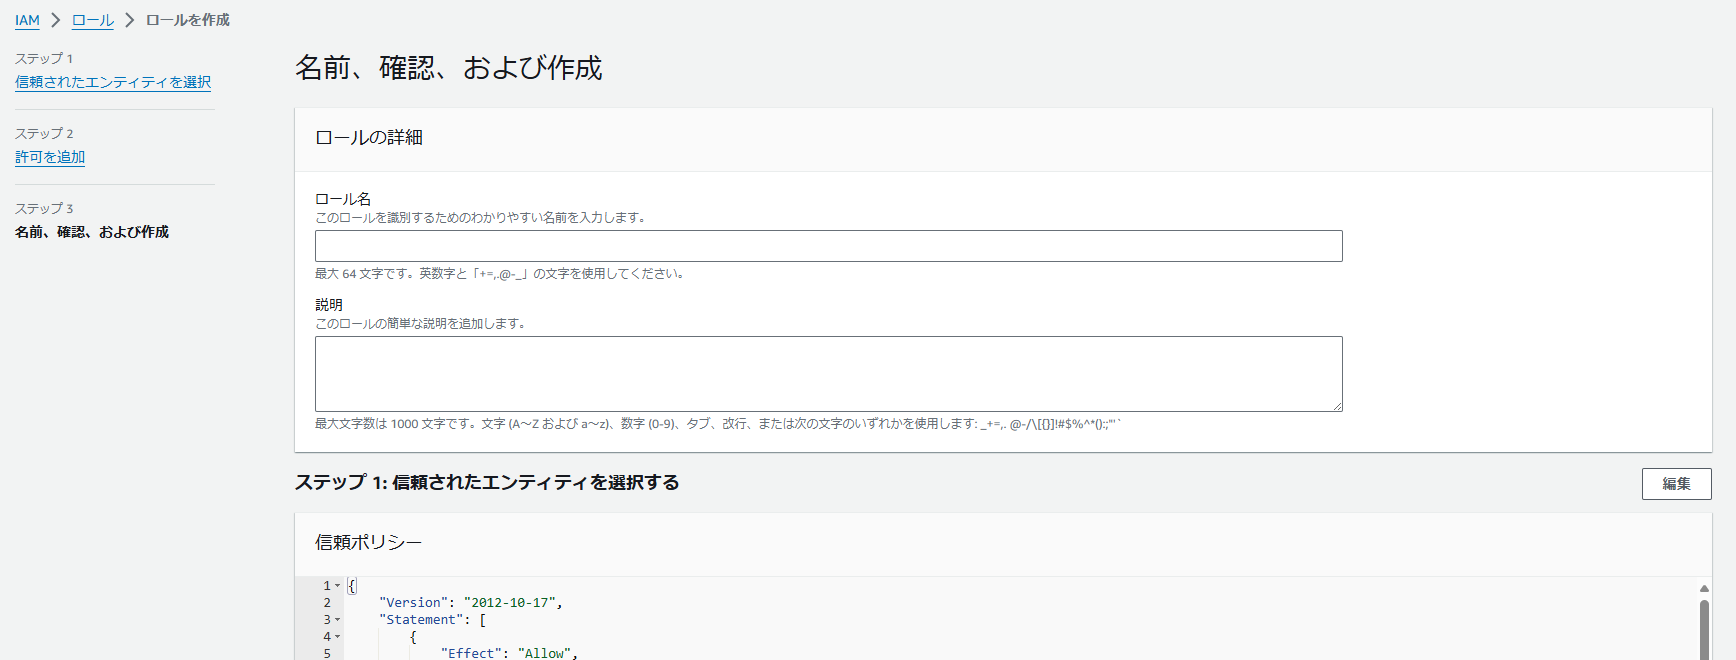
信頼されたエンティティを選択にて、下記設定を選択または入力し、次へをクリックします。
| 項目 | 入力内容 |
|---|---|
| 信頼されたエンティティタイプ | ウェブアイデンティティ |
| アイデンティティプロバイダー | token.actions.githubusercontent.com |
| Audience | sts.amazonaws.com |
| GitHub組織 | 自身のGitHubアカウント名を記載 |
| GitHubリポジトリ -オプション | 必要に応じて記載 |
| GitHubブランチ -オプション | 必要に応じて記載 |
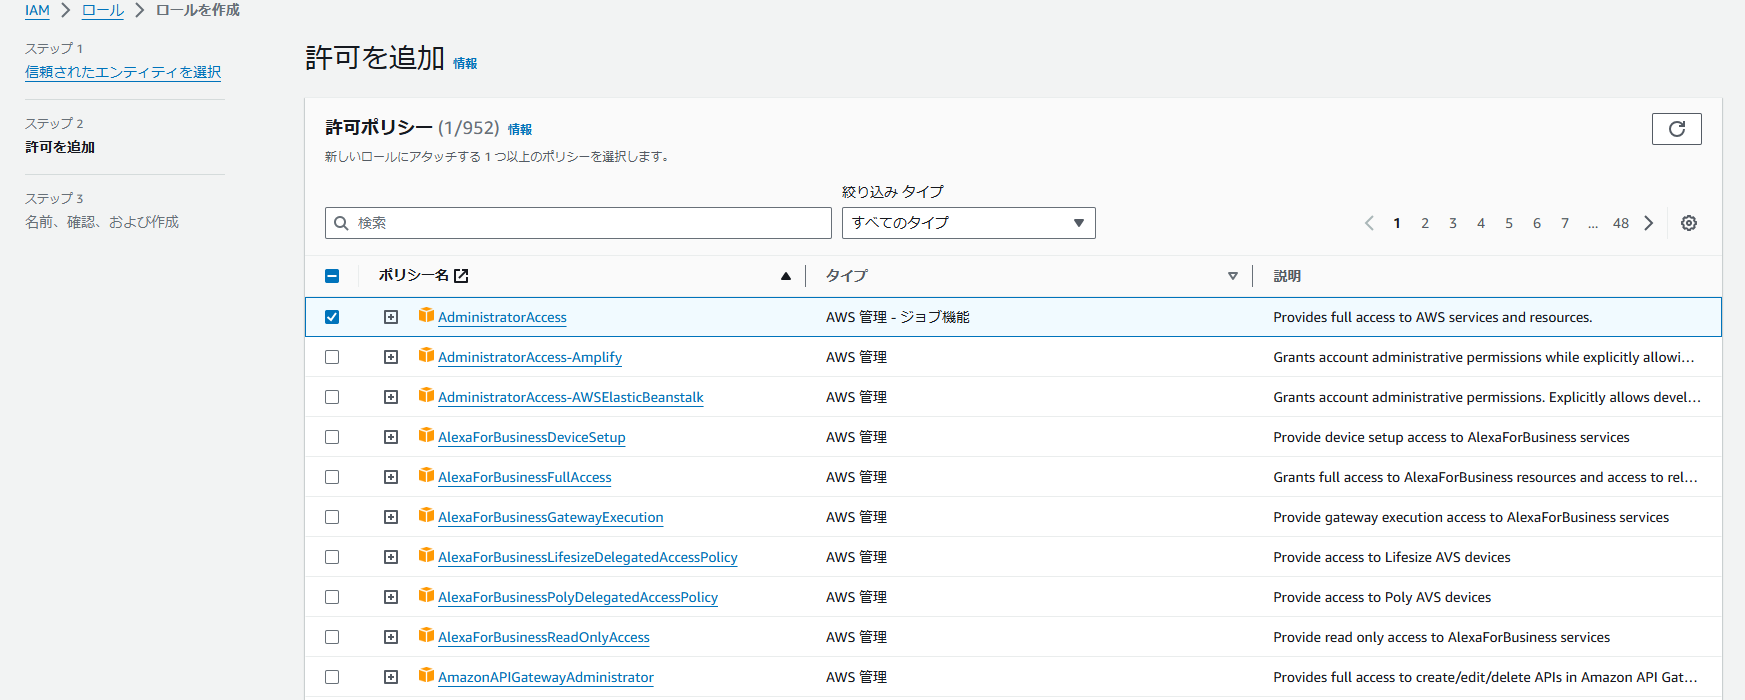
任意の許可ポリシーを追加します。
今回はテストのためAdministratorAccessを選択します。

以上で、AWSとGitHubActionsの連携は完了です。
2.S3の構築
GitHubActionsからCloudFormationを実行していきます。
実行するS3構築用のCloudFormationは下記サイトを参照してください。
2-1.GitHubActions実行ファイルの作成
リポジトリのroot配下に .github/workflows ディレクトリを作成し、Deploy-S3.yamlファイルを作成します。
今回のワークフローは自動実行ではなく、手動実行とします。
{}で囲っている箇所については適宜変更してください。
name: S3デプロイ

on: workflow_dispatch

permissions:
  id-token: write
  contents: read
jobs:
  aws-deploy:
    runs-on: ubuntu-latest
    steps:
      - uses: actions/checkout@v2
      - uses: aws-actions/configure-aws-credentials@v1-node16
        with:
          role-to-assume: arn:aws:iam::{AwsAccountId}:role/{IAMRole}
          aws-region: ap-northeast-1
      #S3作成
      - name: AWS Cloudformation Development S3
        run: aws cloudformation deploy --stack-name Deployment-S3 --template-file s3.yaml
        working-directory: ./infra
2-2.GitHubActionsの実行
GitHubのWeb画面にてActions画面に遷移します。
S3デプロイを選択し、画面右のRun workflowのプルダウンボタンからRun workflowをクリックします。
暫く待つと、実行中のworkfowが表示されるのでそれをクリックし、Job画面に遷移します。

下記の画面のように正常に完了したら、マネジメントコンソールからS3が作られたことを確認してください。

以上で、S3の構築は完了です。
3.最後に
こちらでGithubActionsを使って、CloudFormationを実行する手順は完了です。
参考になれば、幸いです。
4.参考サイト
OpenID Connect
AWS CLI


