はじめに
今回はCloudFormationを用いて、AWS Cognitoを構築していきたいと思います。
AWS CognitoはAWSが提供するユーザー認証サービスです。
今回はCognitoを単体で構築し、利用できるところまでやっていきたいと思います。
目次
・Cognitoの設定項目
・CloudFormation作成
・利用検証
・最後に
・参考
Cognitoの設定項目
今回はEメールアドレスを利用したサインインでの実施を想定しています。
また多要素認証はAuthenticator アプリケーションで実施します
アプリケーション統合のコールバックURL設定はhttps://www.yahoo.co.jp/にしております。
上記以外の項目についてはCloudFormationの設定をを見てご確認ください
CloudFormation作成
Cognitoのユーザープールとそれに関係するユーザープールドメインやユーザープールクライアントを作成します
Cognito.yaml
AWSTemplateFormatVersion: '2010-09-09'
Transform: AWS::Serverless-2016-10-31

Description: >
  CognitoUserPool deployment

#------------------------------------------------------------#
#Parameters
#------------------------------------------------------------#
Parameters:
  PJPrefix:
    Description: Project Name
    Type: String
    Default: pj-ogataro
    AllowedPattern: ^[a-zA-Z0-9\-]*$
  Environment:
    Description: Environment Name
    Type: String
    Default: dev
    AllowedPattern: ^[a-zA-Z0-9\-]*$


#------------------------------------------------------------#
#Resources
#------------------------------------------------------------#
Resources:
  ##ユーザープール作成
  UserPool:
    Type: AWS::Cognito::UserPool
    Properties:
      UserPoolName: !Sub '${PJPrefix}-${Environment}-UserPool'
      AdminCreateUserConfig:
        AllowAdminCreateUserOnly: False
      UsernameAttributes:
        - email # Eメールでのサインインを有効にする場合は"email"を指定
      AccountRecoverySetting:
        RecoveryMechanisms:
          - Name: verified_email
            Priority: 1
      MfaConfiguration: 'ON'
      EnabledMfas:
        - SOFTWARE_TOKEN_MFA #アプリケーションでのMFA
      AutoVerifiedAttributes:
        - email
    UpdateReplacePolicy: Retain
    DeletionPolicy: Delete

  #ユーザープールドメイン作成
  UserPoolDomain:
    Type: AWS::Cognito::UserPoolDomain
    Properties:
      Domain: !Sub '${PJPrefix}-${Environment}-domain'
      UserPoolId: !Ref UserPool

  #アプリケーション統合作成
  AppIntegration:
    Type: AWS::Cognito::UserPoolClient
    Properties:
      CallbackURLs:
        - https://www.yahoo.co.jp/
      ClientName: !Sub '${PJPrefix}-${Environment}-cognito-app'
      UserPoolId: !Ref UserPool
      RefreshTokenValidity: 1
      SupportedIdentityProviders:
        - COGNITO
      AllowedOAuthFlows:
        - code
      AllowedOAuthScopes:
        - openid

#------------------------------------------------------------#
#Outputs
#------------------------------------------------------------#
Outputs:
  UserPool:
    Value: !Ref UserPool
    Export:
      Name: !Sub '${PJPrefix}-${Environment}-CognitoUserPool-Output'
利用検証
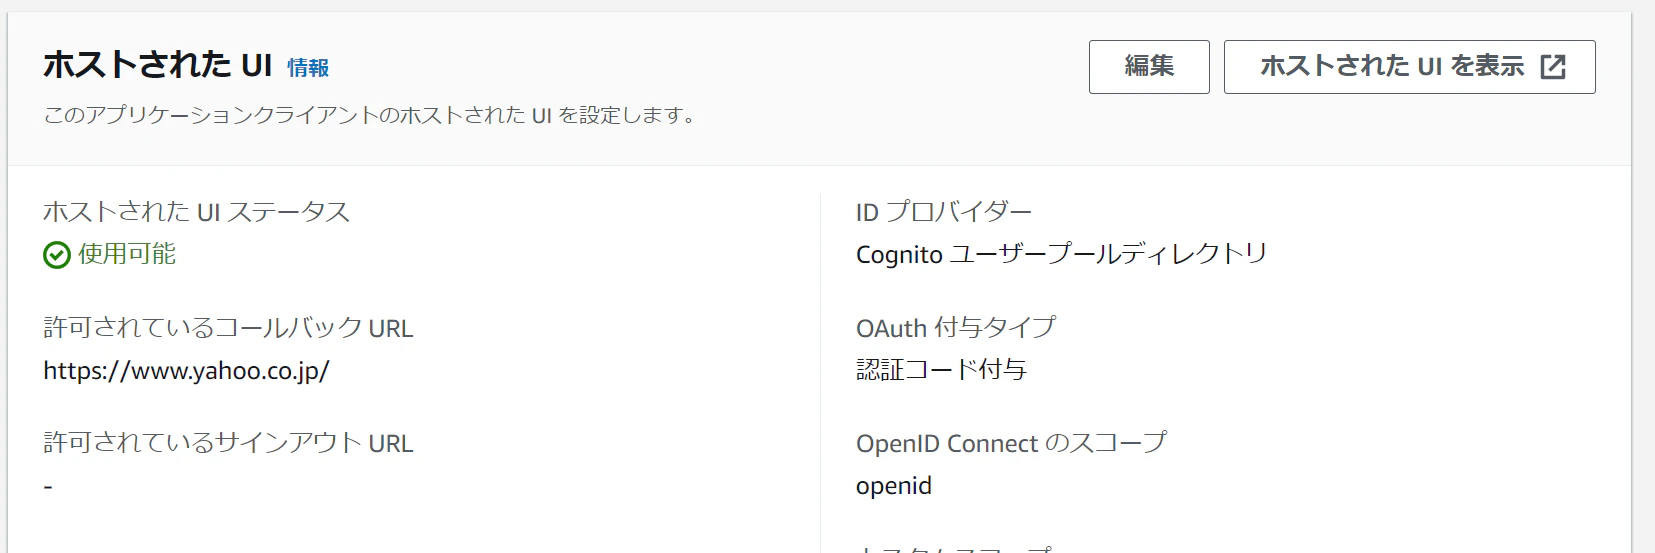
作成したCognitoのユーザープールからアプリケーションの統合で作成したアプリケーションクライアントを選択。
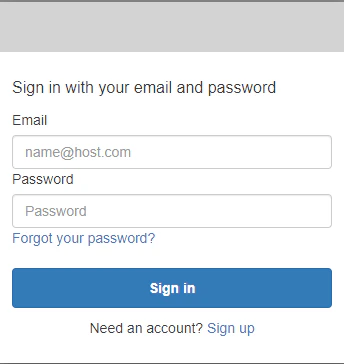
ホストされたUIから「ホストされたUIを表示」をクリックします。
そこでSignUPでユーザーの登録及びMFAの連携を実施し、サインイン出来れば完了です。
※上手くコールバックが成功しない時がありますので、その際はマネジメントコンソールからコールバックURLを他のURLや書き直すと上手くいく場合があります。
最後に
こちらでCognito単体を導入する手順は完了です。
今度はCloudFrontとの連携の記事を投稿できればと思います。
参考になれば、幸いです。
参考サイト
Cognito